So as I began to think ahead and read mods that others had done / suggested, I came across a number of posts talking about the need for an access panel into the forward fuse tunnel so you can easily get access to fuel filters for condition inspections and maintenance. I thought this made a lot of sense and decided that I also needed to include this mod in my build.
Decided to order two of the kits from Airward, Inc. This was really just some pre-cut sheet metal as well as a handful of hardware (rivets, nutplates, and screws) to install the tunnel access panel. I’m sure I could have created one on my own, but figured the pre-cut kit would have better cut lines, etc.
Initially I have only installed one of the access panels on the passenger side of the tunnel. I have seen plenty of others that installed both, I’m trying to decide if I really need access from both sides yet.
The instructions are mostly straightforward. It was slightly unclear how far forward / aft to install. I just made a judgement call and moved ahead. Also I noticed that the pre-drilled holes on the doubler (part of the reason I purchased this kit) didn’t fully align with the pre-drilled holes from Vans. 🙁 As I final-drilled, some of my holes are now out of round on the doubler. This isn’t a huge problem as I’m going to be installing some angle aluminum behind the doubler at this location for my Fuel system install.
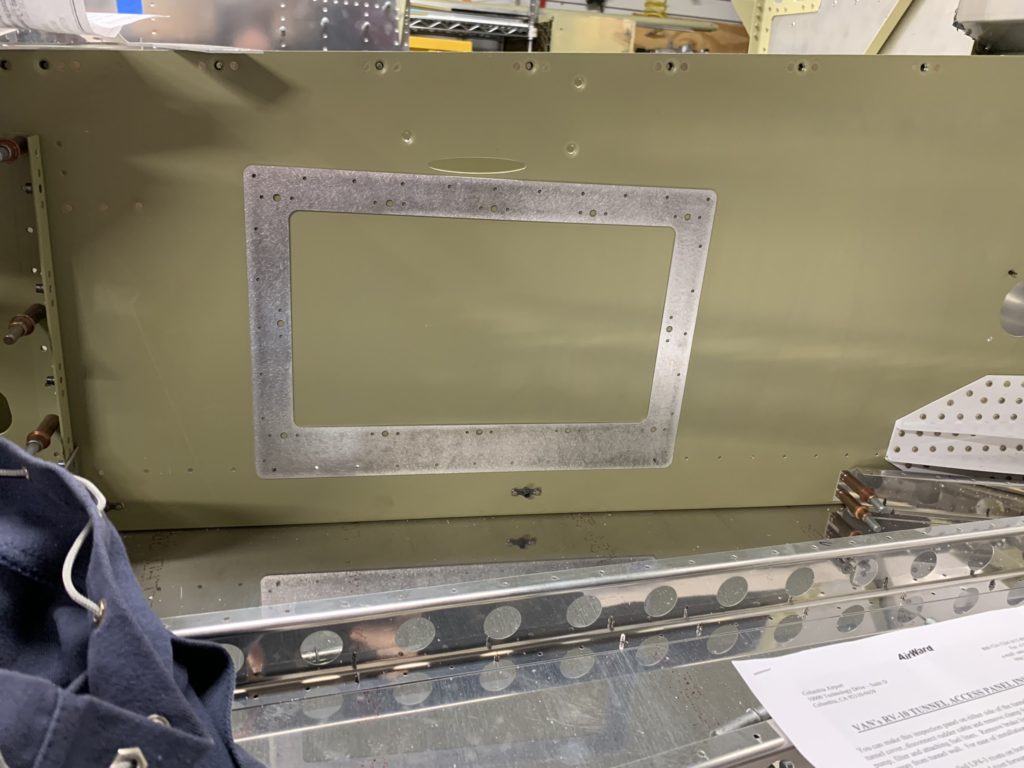
Location of access panel 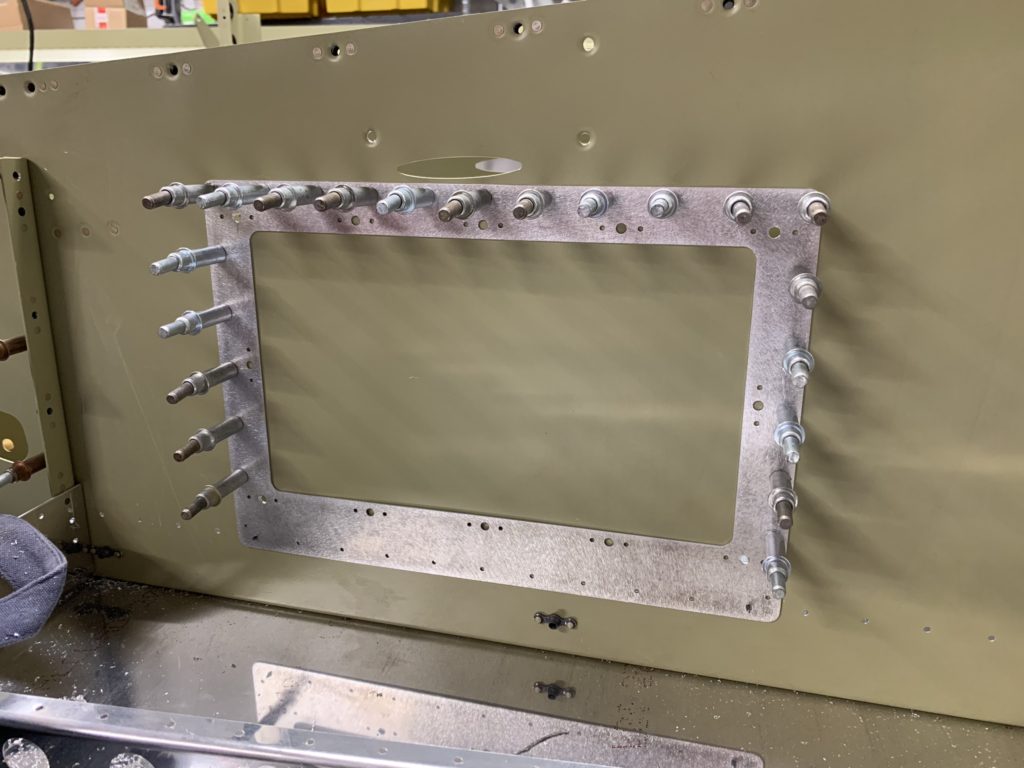
Drilling the remaining #40 holes
With the doubler plate match drilled along the bottom row of pre-drilled holes, I then match drill the remaining #40 holes around the outside of the doubler. Then, you drill the four corner screw holes, cleco the access panel into those holes and draw the access panel outline. Then it’s a matter of using a strep drill and your tool of choice to cut out the access panel hole.
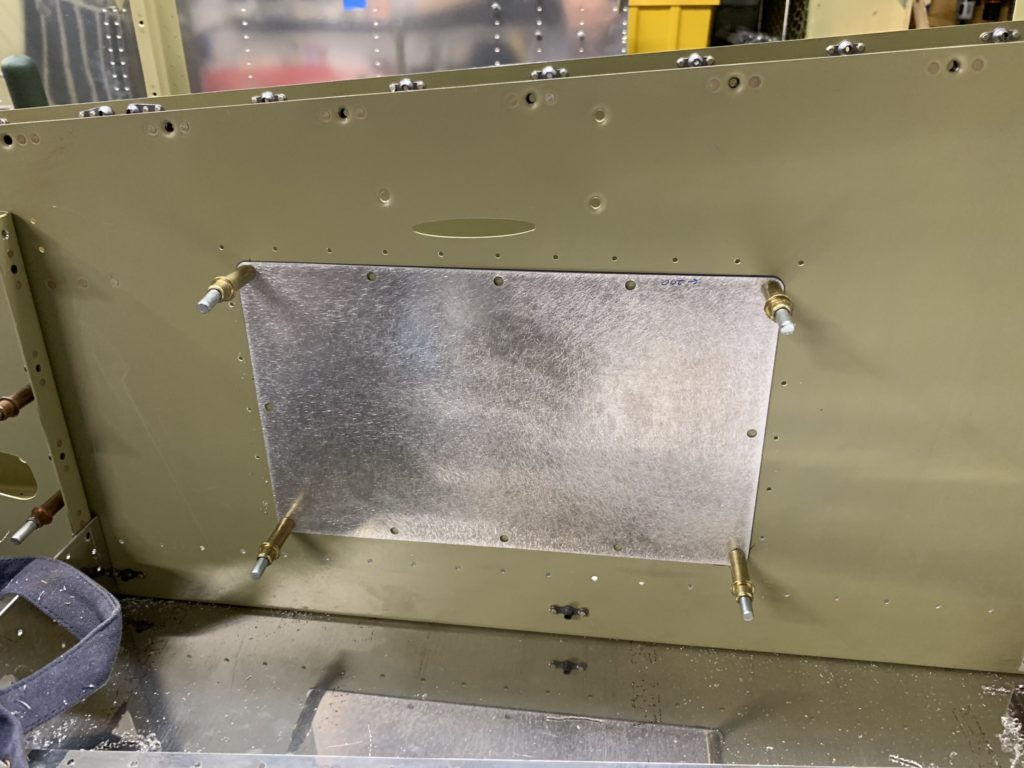
Draw the outline of the access hole you need to cut out. 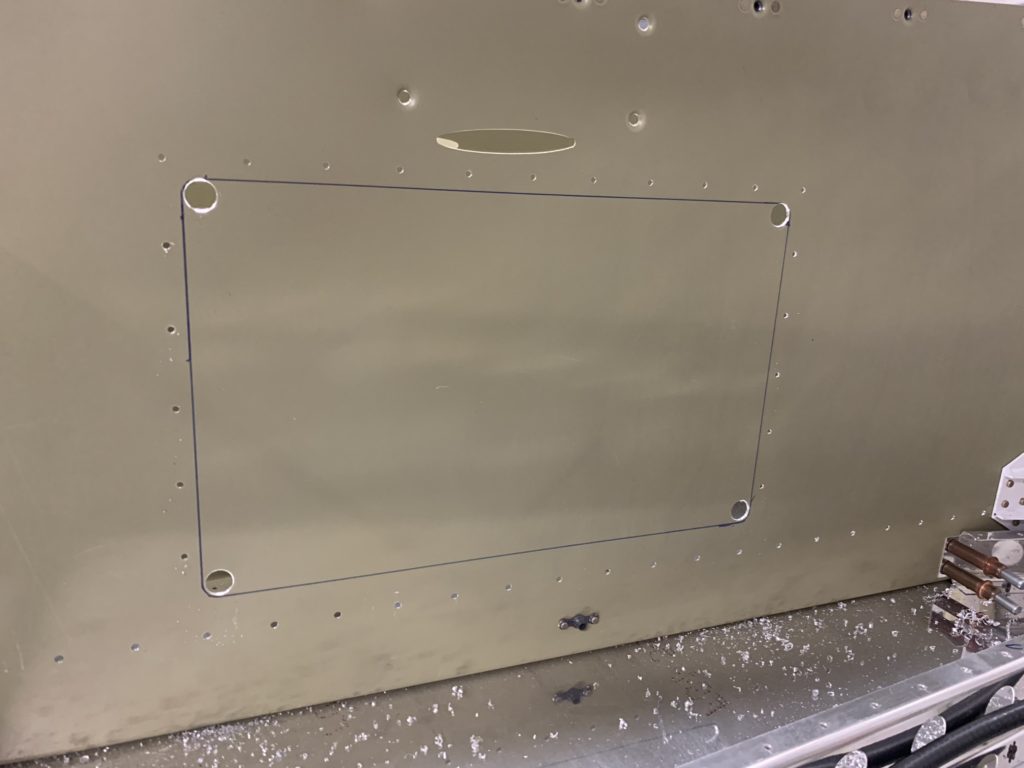
Use a step-drill to enlarge the holes 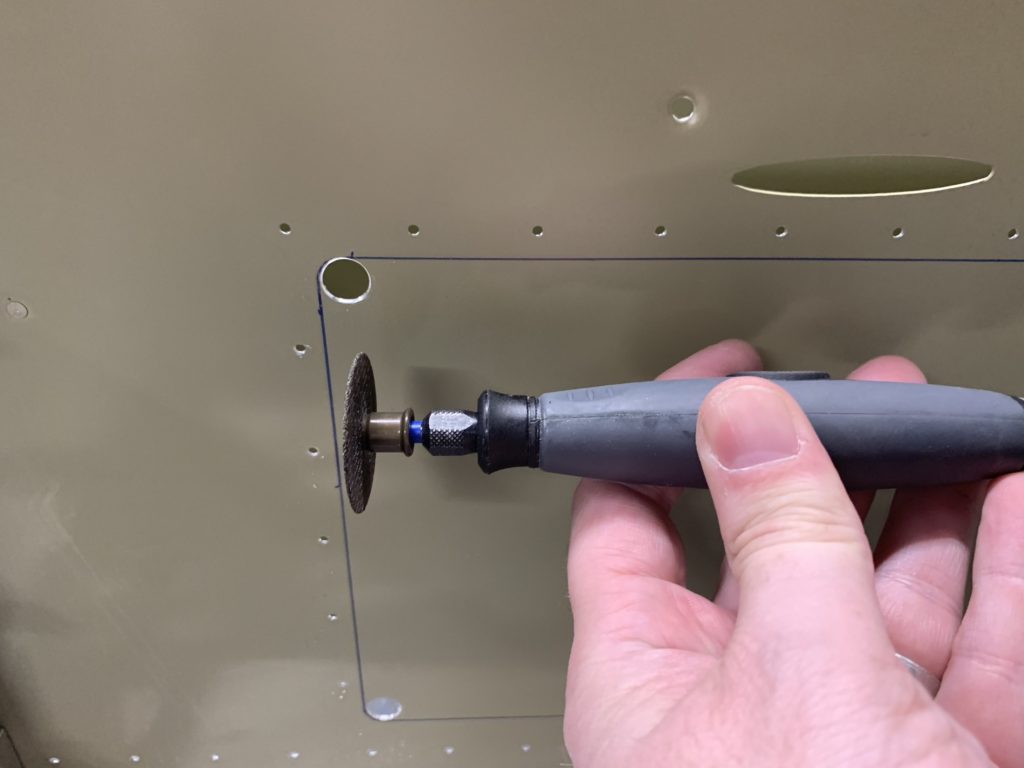
Use your tool of choice to cut out the rough opening 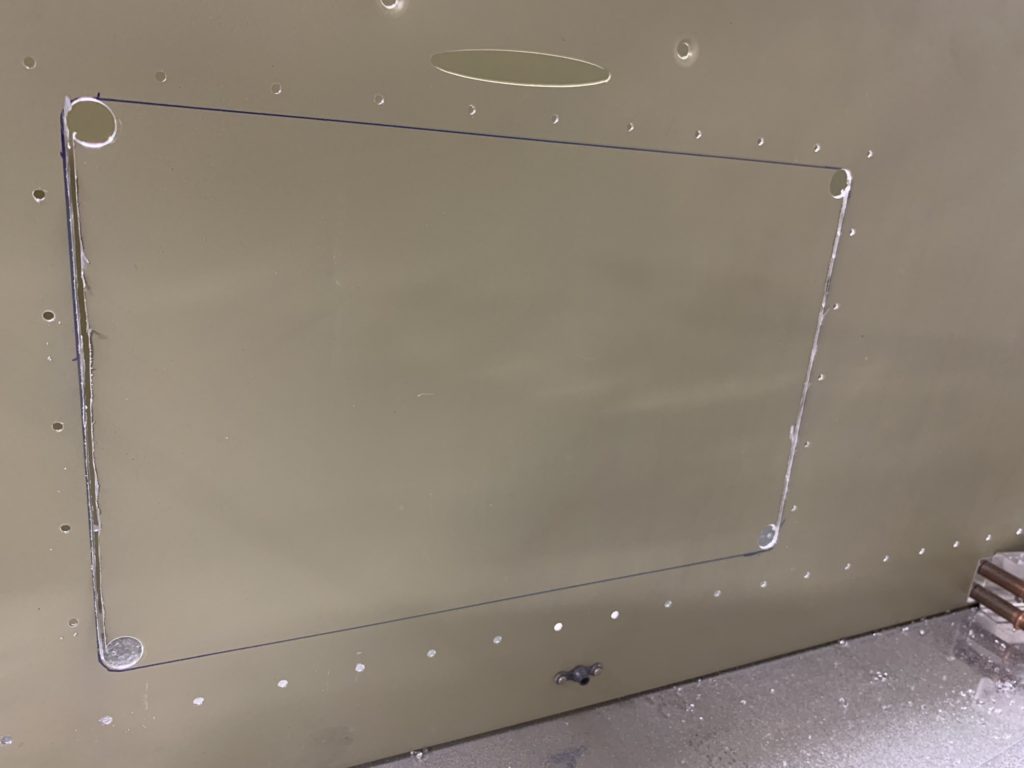
Rough cuts 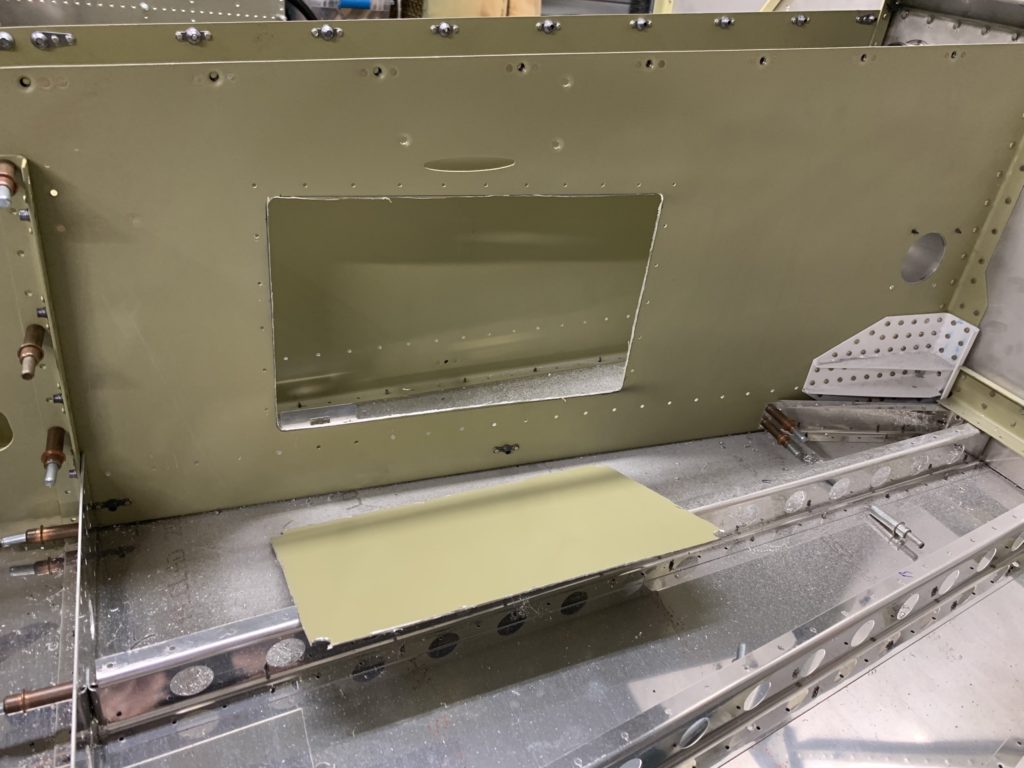
Success, you now have a hole!
Clean up the edges, cleco the doubler in place and test fit the access panel. This will take a little bit of trial and error so your access panel opening matches the access panel. Once you think you have it looking good, then install the hardware on the doubler for the nutplates, Clean and prime everything, then install the doubler (except the for bottom row of rivets until you are ready to install the cabin floor. )
