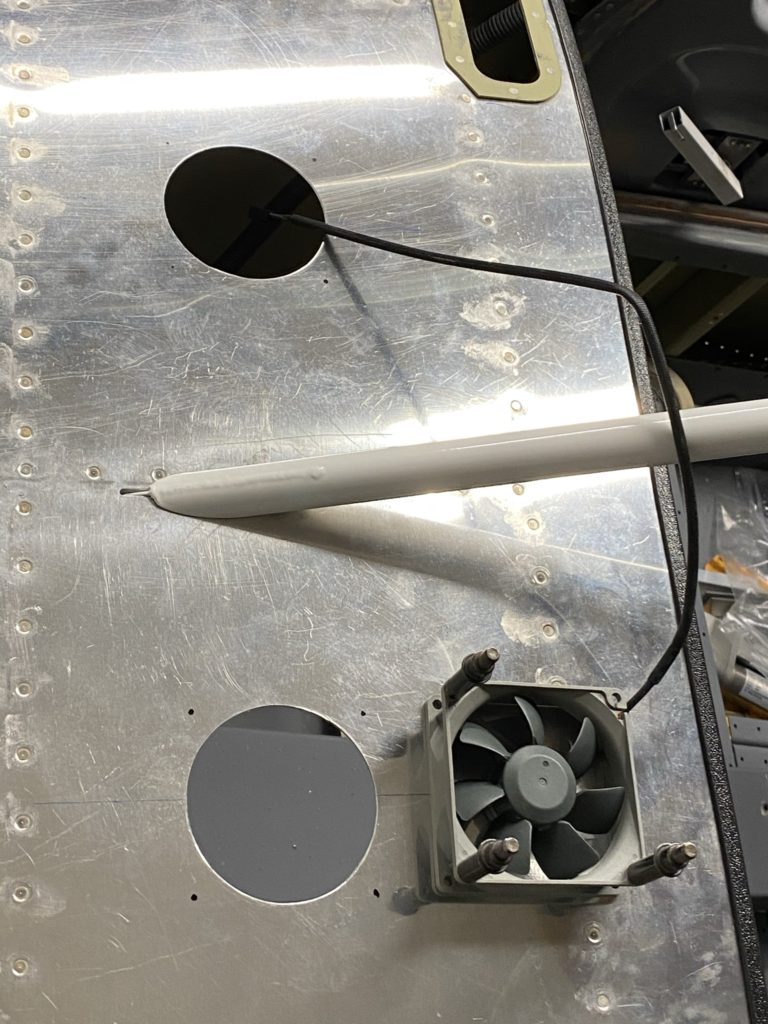
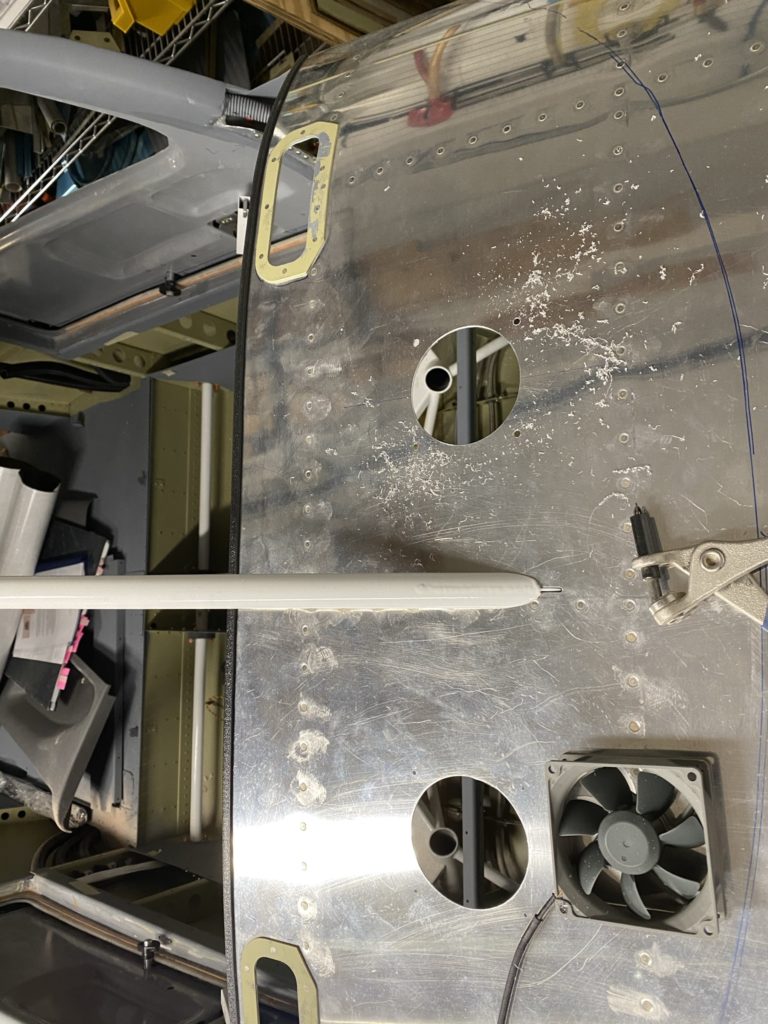
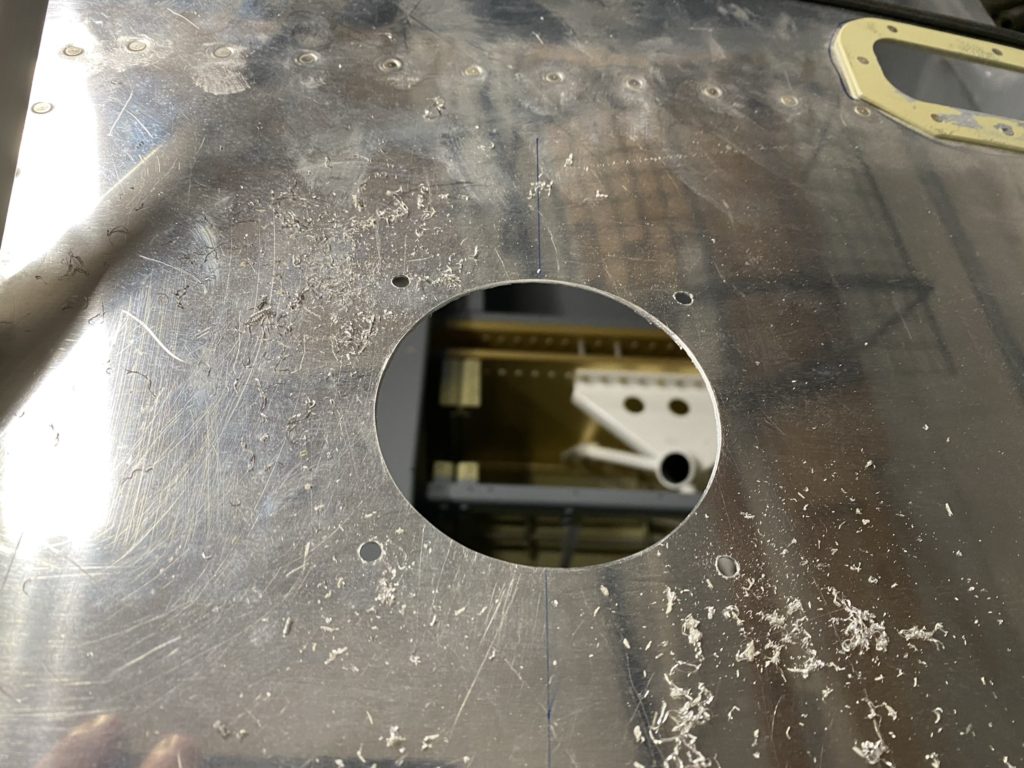
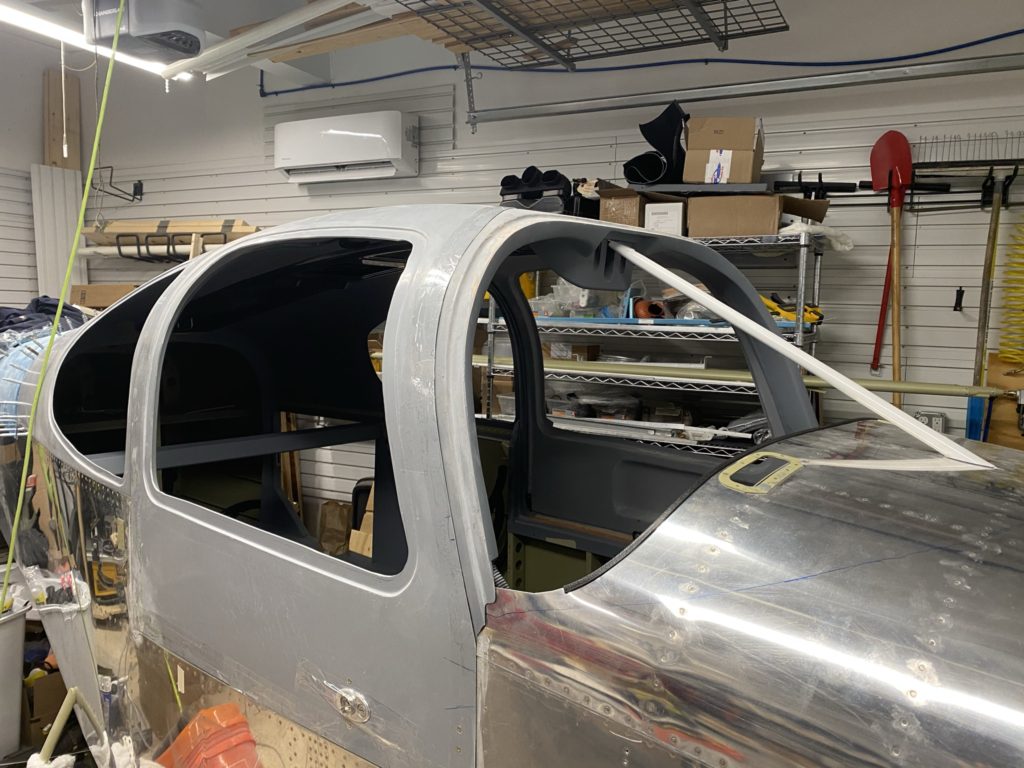
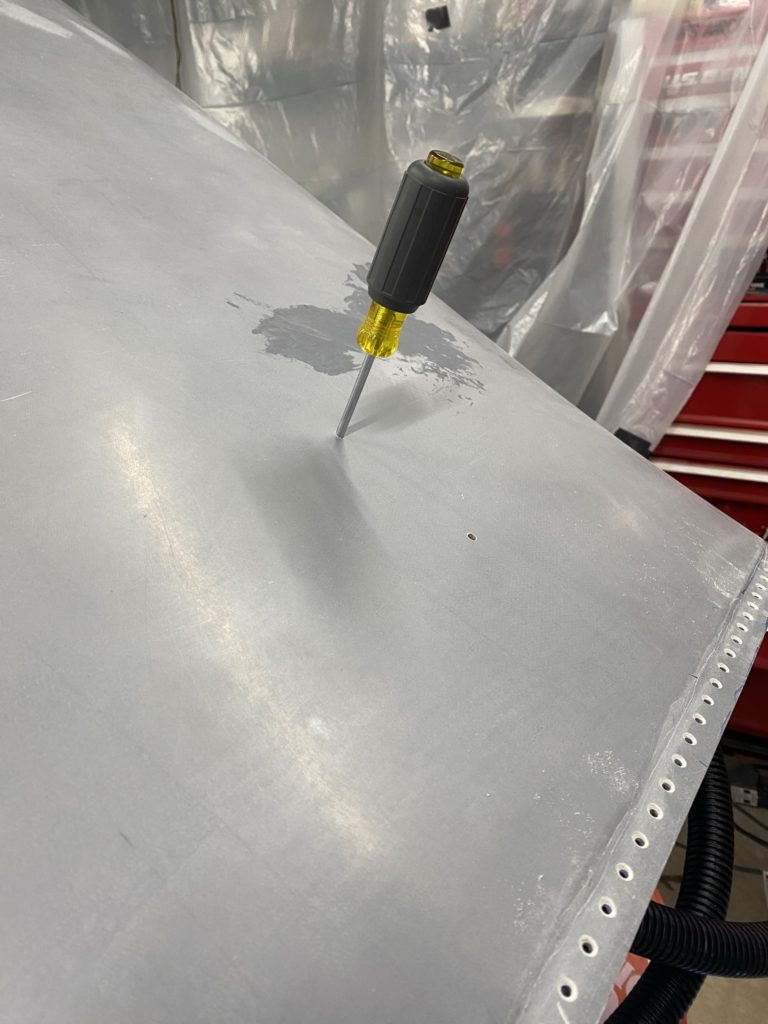
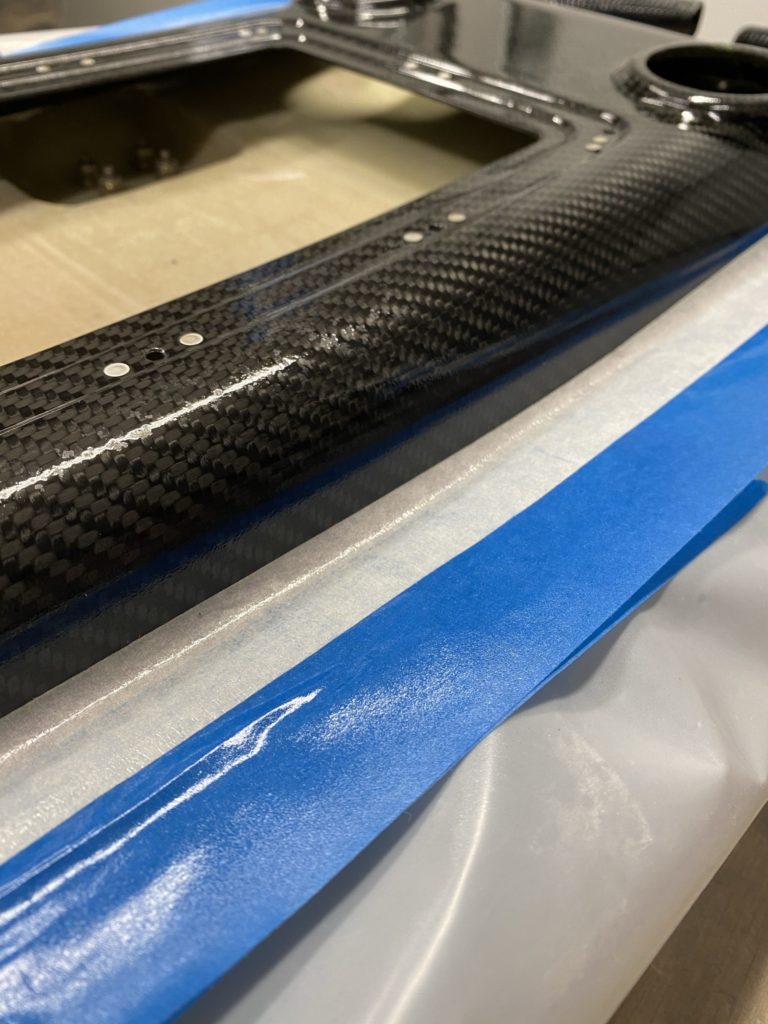
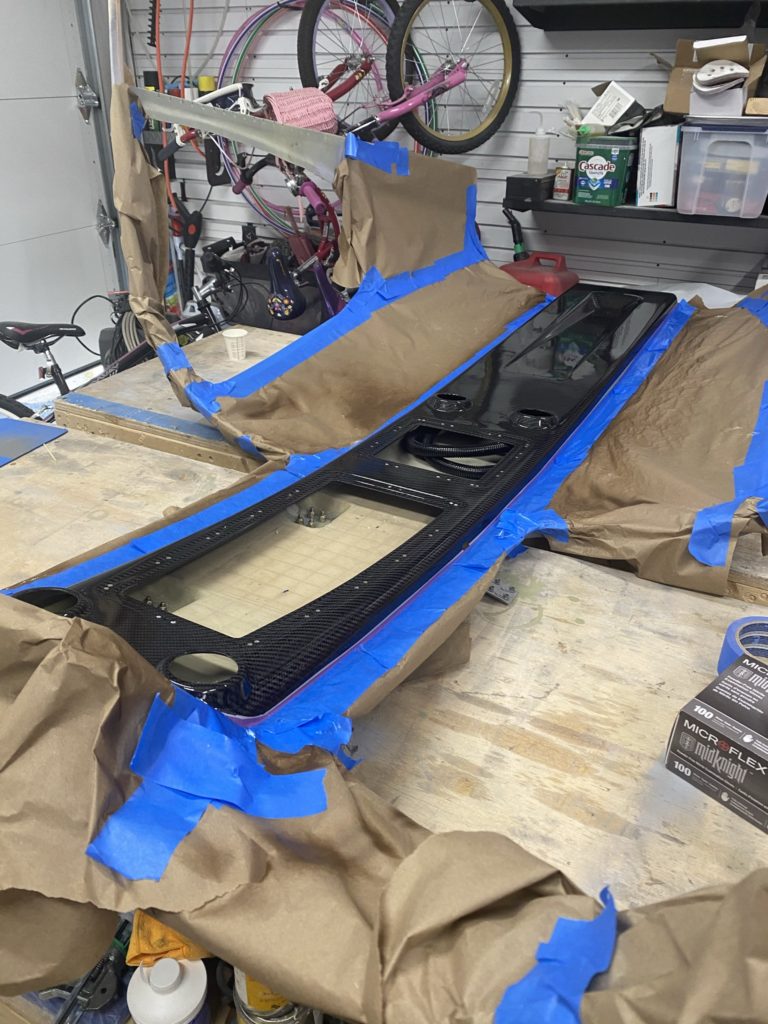
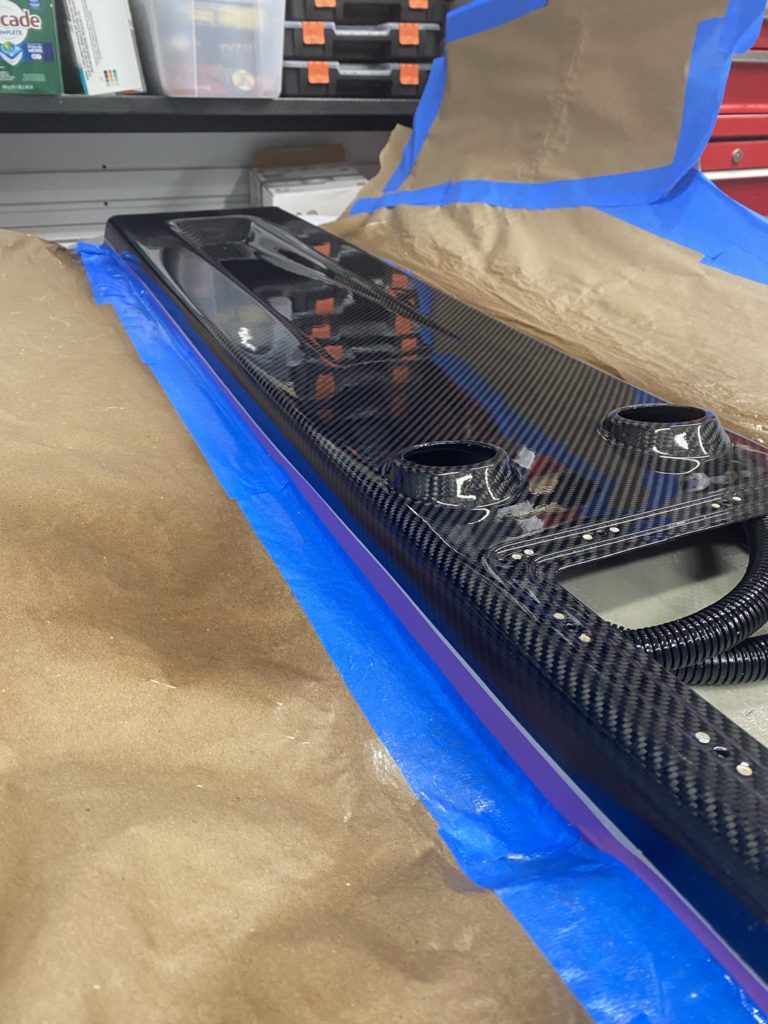
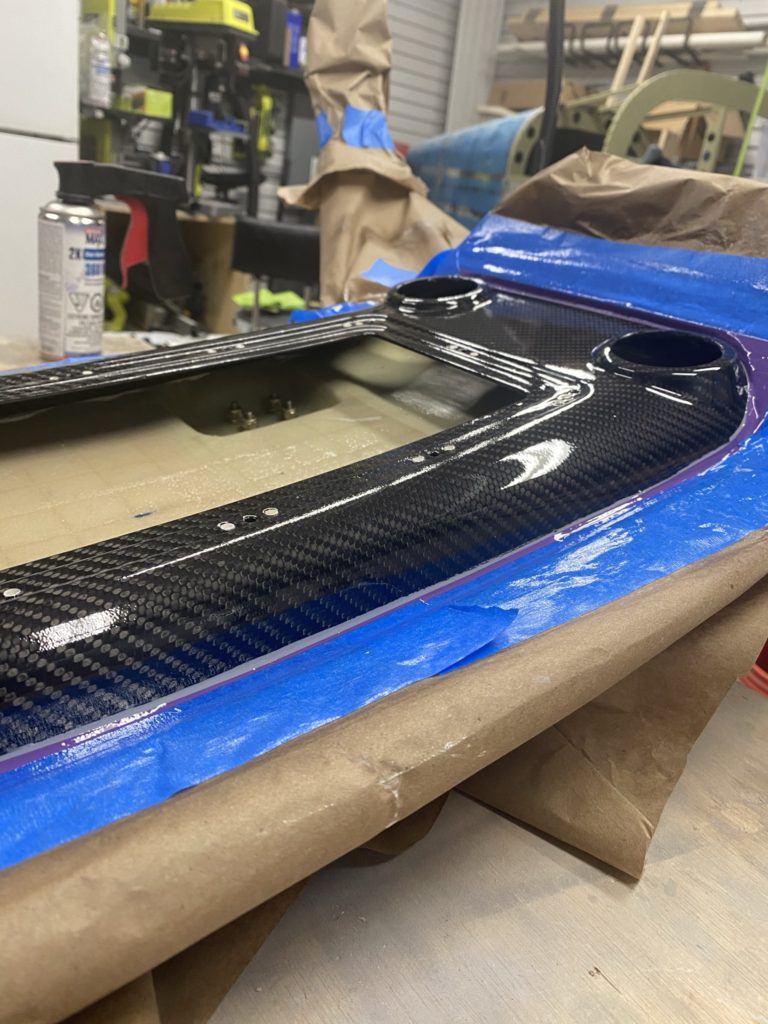
Next item on my to-do list was to cut the holes in the instrument panel for my defrost / avionics fans. I briefly put the windshield on the airframe to mark out where it looks like it will sit to ensure I don’t do something dumb. Next I measure where the hole centers should be off the center rivet line to try to make the fans symmetrical. I then drill a pilot hole at the center mark, then follow with a hole-saw in my cordless drill to make the larger hole. Using the fan as a template, I then mark out where the four mounting holes need to be, then drill one of the holes. I cleco the fan in place from underneath and use the fan as a drill guide to final drill the remaining 3 holes.
I plan to dimple the holes and install countersunk screws to keep the glare shield flush. I think I’m going to use the Aerospot Products glareshield, or possibly the one from SFSport Aviation instead of my original thought of using automotive bed-liner paint.
I also decided to change my mind regarding the insulation I am installing on my firewall. Originally I purchased fiberfrax and stainless steel foil and use that as my insulation, but decided to go with lavashield instead. I was thinking the lavashield looked nicer and was easier to install vs the fiberfrax method. Nothing scientific and I’m sure the fiberfrax is superior. I just didn’t like the look of the SS foil over the insulation. Honestly I think the lavashield looks like carbon fiber and at least provides a little insulation value over stock.
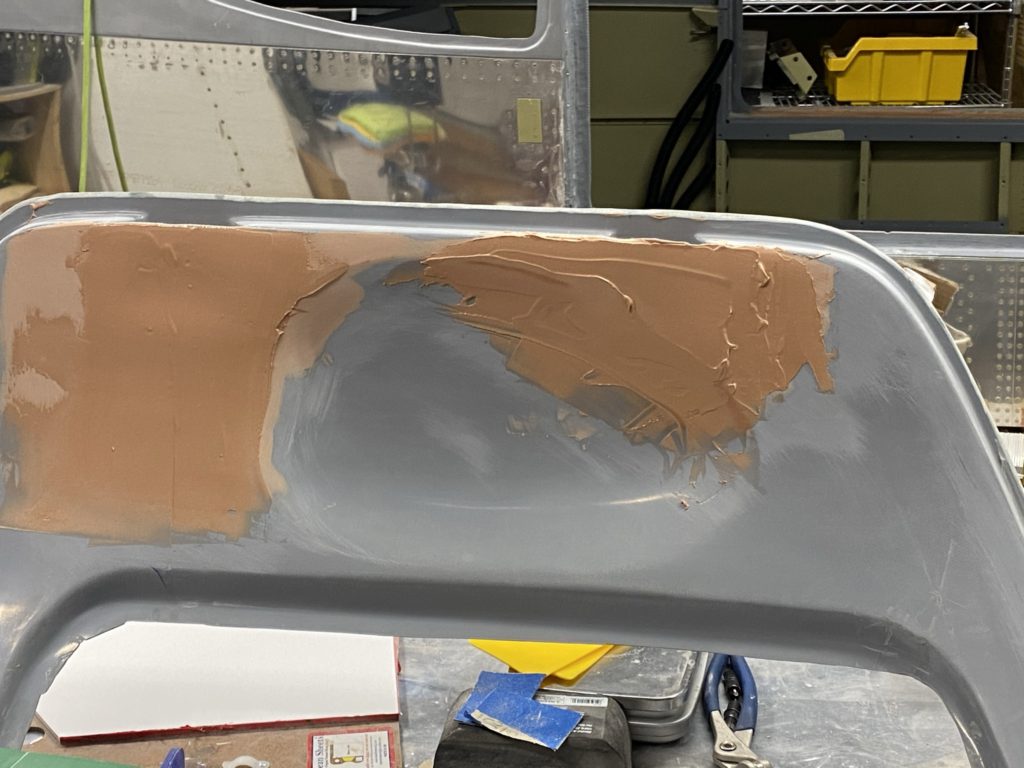
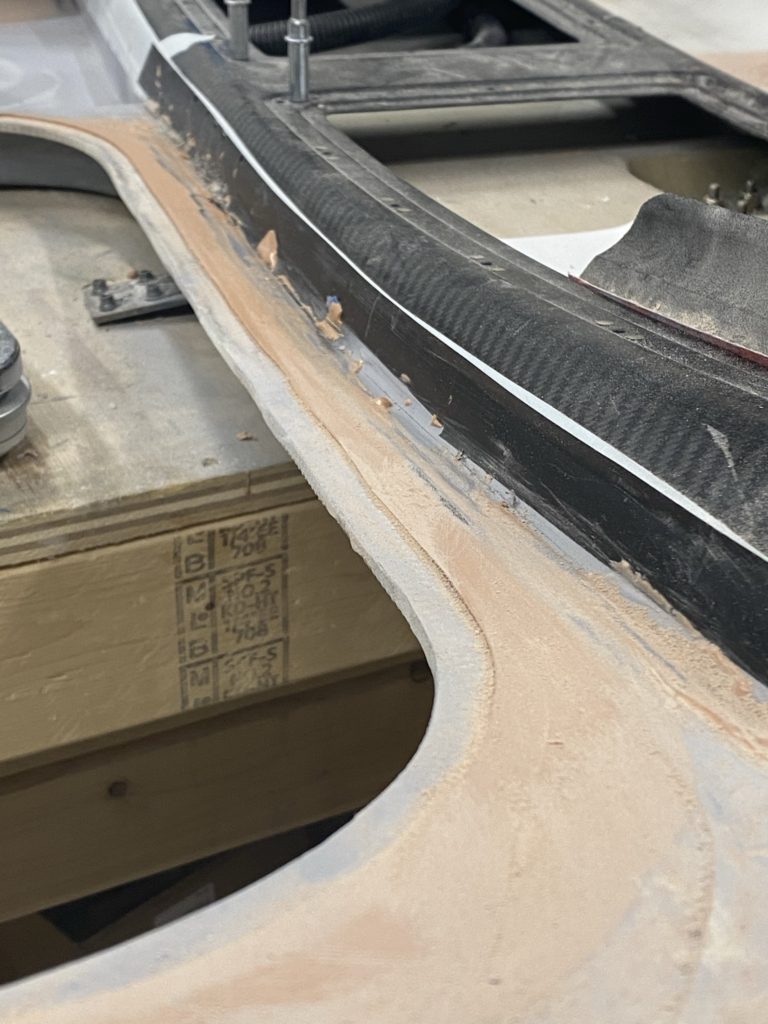
With those items checked off the list, I go back to filler and sanding on the doors and cabin top. I had a very slight gap between the cabin top joggle and the fuse skins that was not due to interference or trimming the cabin top enough, it just didn’t sit completely flush against the skins. I filled this with a little Aeropoxy Light and also decided I was going to cover the blind rivets on the outside of the skin with filler as well to make things look nicer. Again very thankful for the AC/Heat in the garage to make life easier as I sand and blend the cabin top.
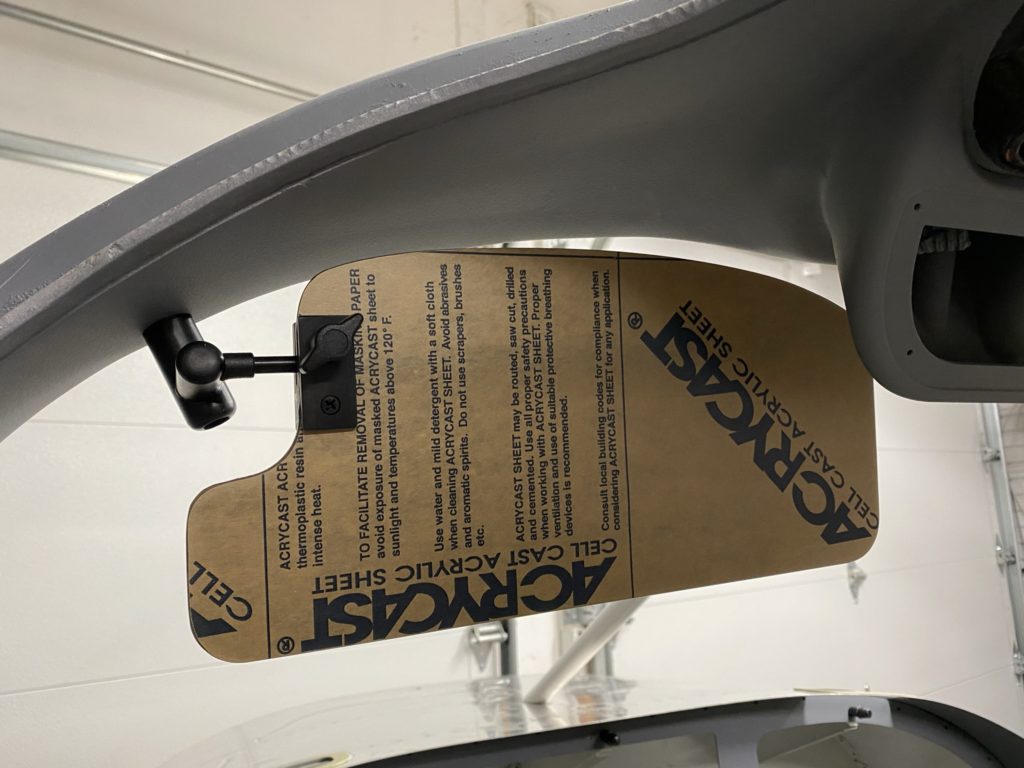
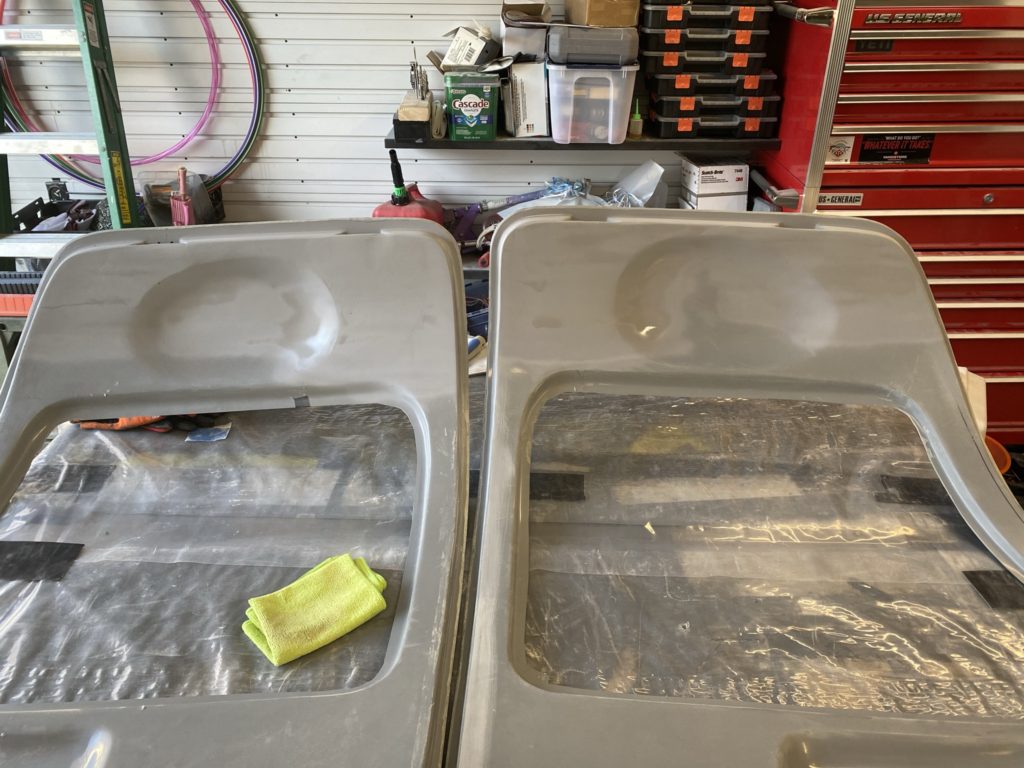
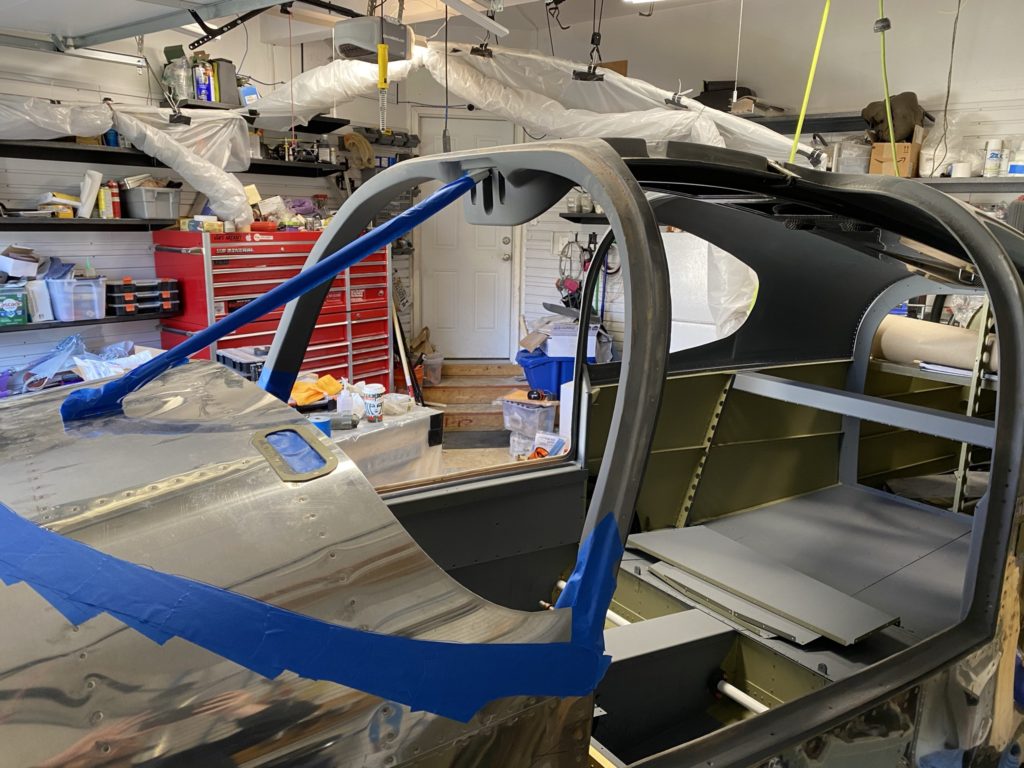
With the cabin top installed, I can start looking at some of the next items on the to-do list. To start, I decided to temporarily install my sun visors to make sure that they fit as expected. This was really a silly exercise as I had done some preliminary testing, but it’s always nice to see that things worked as expected.
I do realize I have to swing them down a bit to get past the switchpods, but that’s not a huge deal. If it really does bother me in the future, I can always cut the plexi down a bit on that corner.
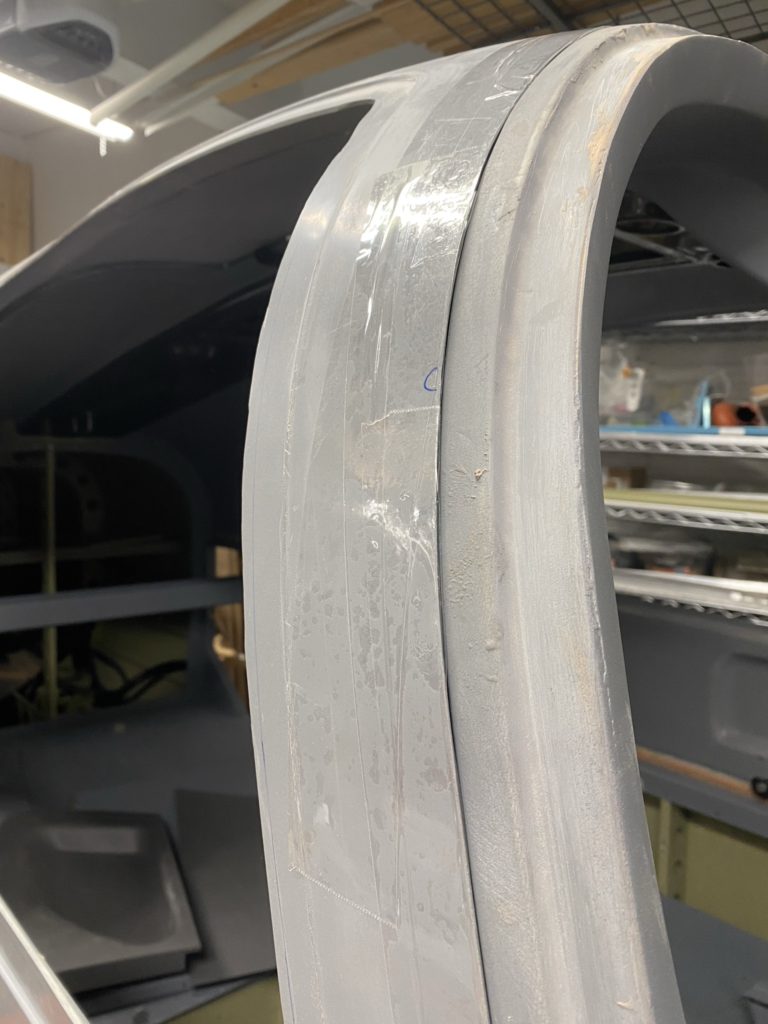
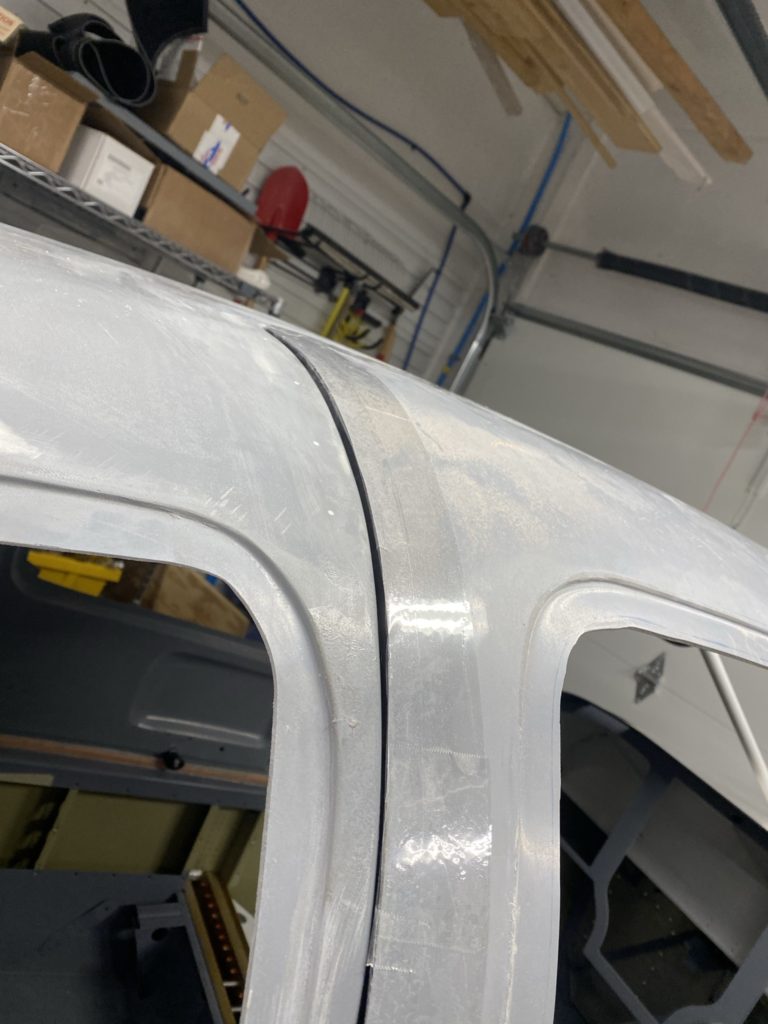
With that fun step done, I then switched focus to the doors. Since I’m going to do the McMaster Carr door seals, I needed to close the hinge pocket at the top of the door. To do this, I made some pre-preg fiberglass strips that I was able to install over the hinge pockets. I used clamps to keep these strips from sagging and allowed them to cure. I then used some Aeropoxy Light to feather the edges and make this change appear seamless. I also put some filler over the blind rivets for the door strut bracket just to make things look a little nicer. After a few rounds of filler and sanding, I sprayed it with grey primer and called it done. (I’ll come back to paint with the same interior paint I used in the cabin once I’m 100% done working on the doors).
Making the coverplates for the door hinges
Cover plates installed and test fit. You can just see the nutplates I used.
Beginning to blend everything with filler
Primed, looks good.
With the doors installed on the cabin top, it’s time to start working on blending the doors to the cabin top. Being careful not to bond the doors to the cabin top, I begin to slightly build up the cabin top edges to match the door edges. Lots of sanding applying filler and sanding it away.
Hope the doors come apart once this cures!
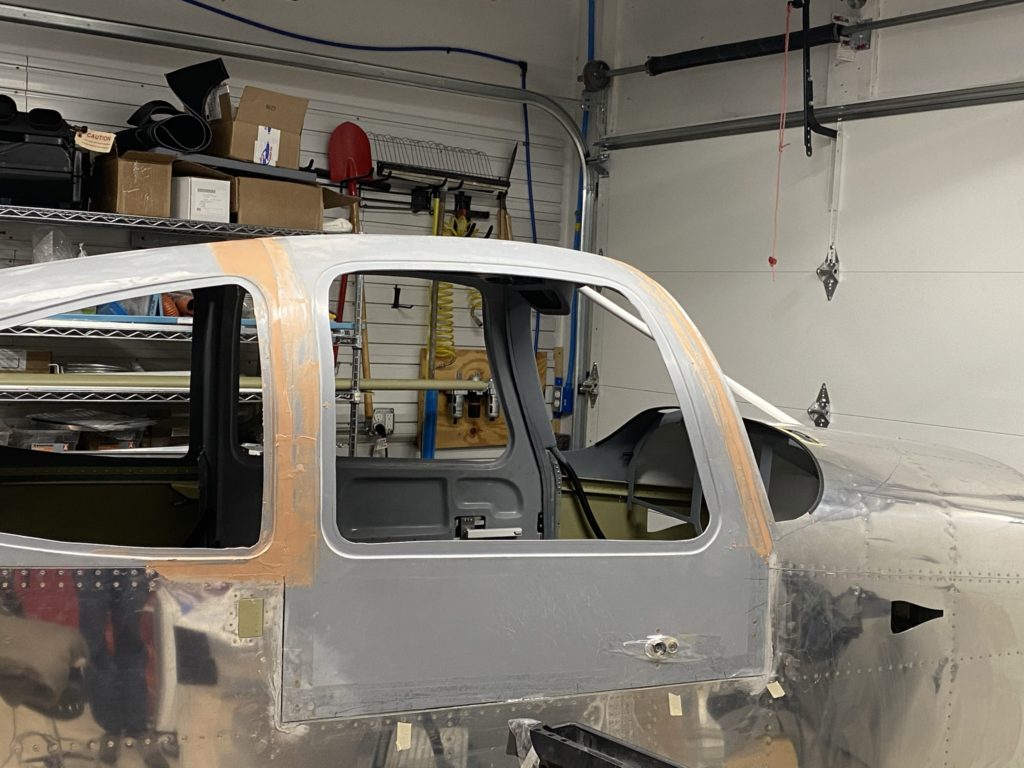
I repeated this on the pilot side and overall things look a lot better. I’m not shooting for laser perfection, but looking good from a few feet away. Still have more work to do, but making progress!
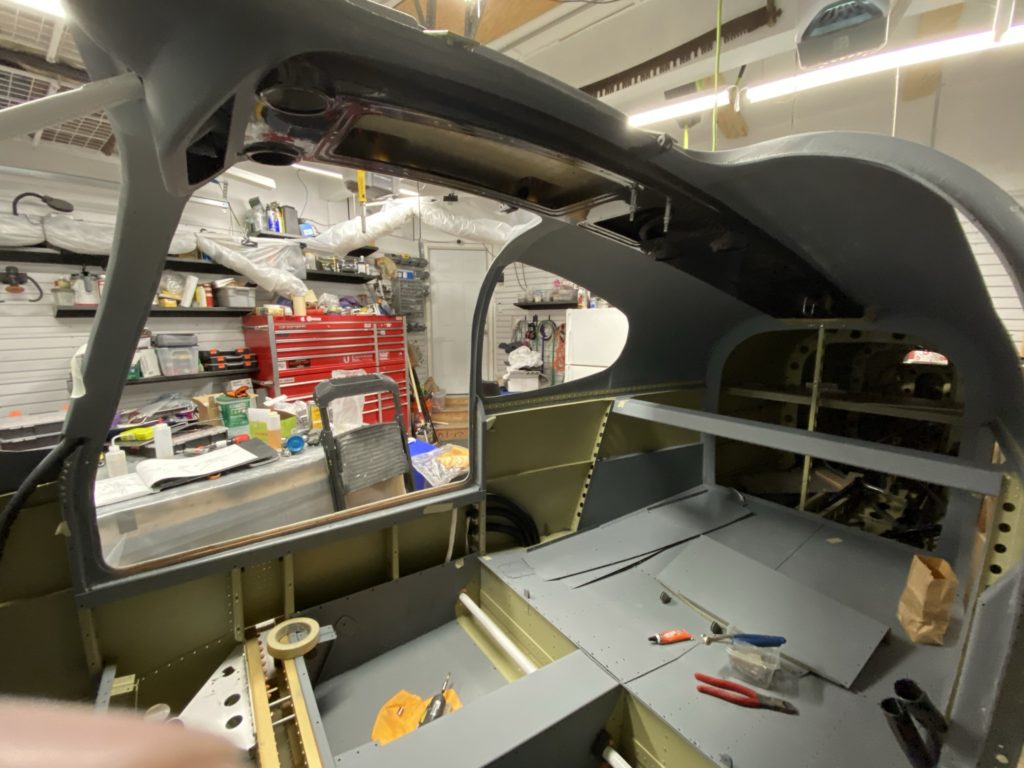
With the cabin top painted, my next major step forward was bonding the cabin top to the fuse. Prior to doing this I took a moment to verify that EVERYTHING that I needed to do was completed prior to installing the cabin top.
The last few items on my punch list were installation of the coat hanger for the aerosport overhead console, install the flanged ducts in the baggage bulkhead to feed air into the overhead console, match drilling the backing strip for the rear cabin top, and painting the glare shield.
I had a real mental block trying to figure out how to install the coat hanger hook in the aerosport overhead console. None of my “low profile” ratchets would fit between the console and the overhead to tighten the screws. I even ordered some hex head screws trying to get a wrench in there to tighten everything. Finally I remembered that the cabin top is fiberglass and I can fill/patch two holes without any real issue. It was quite easy to then install the hanger.
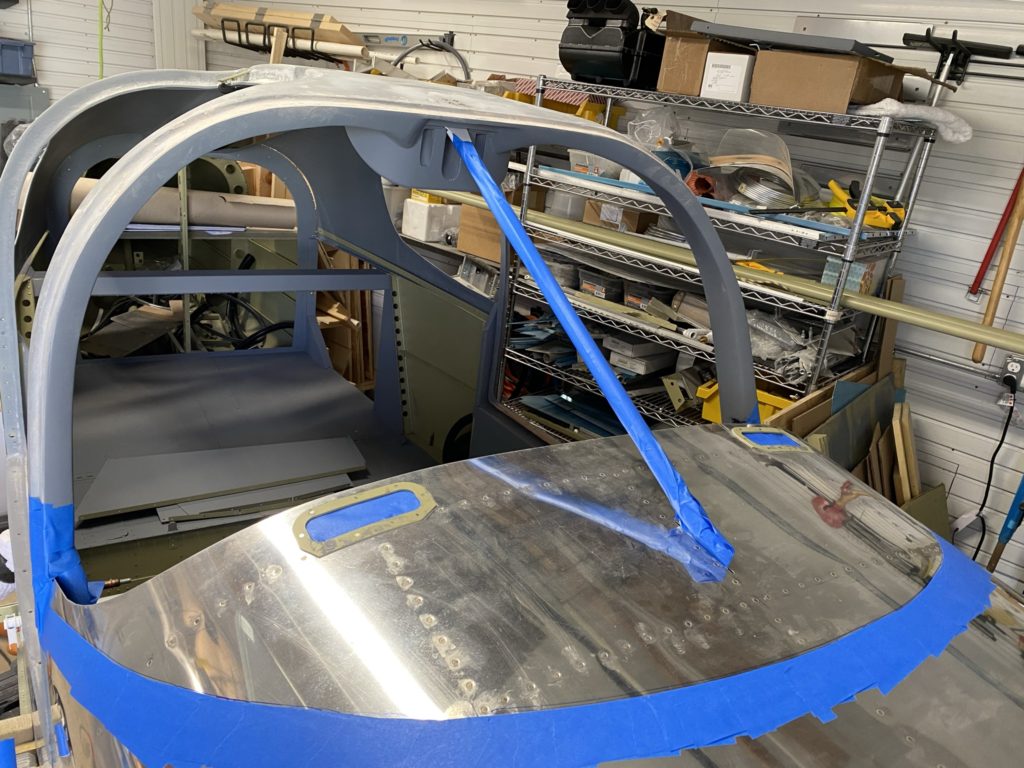
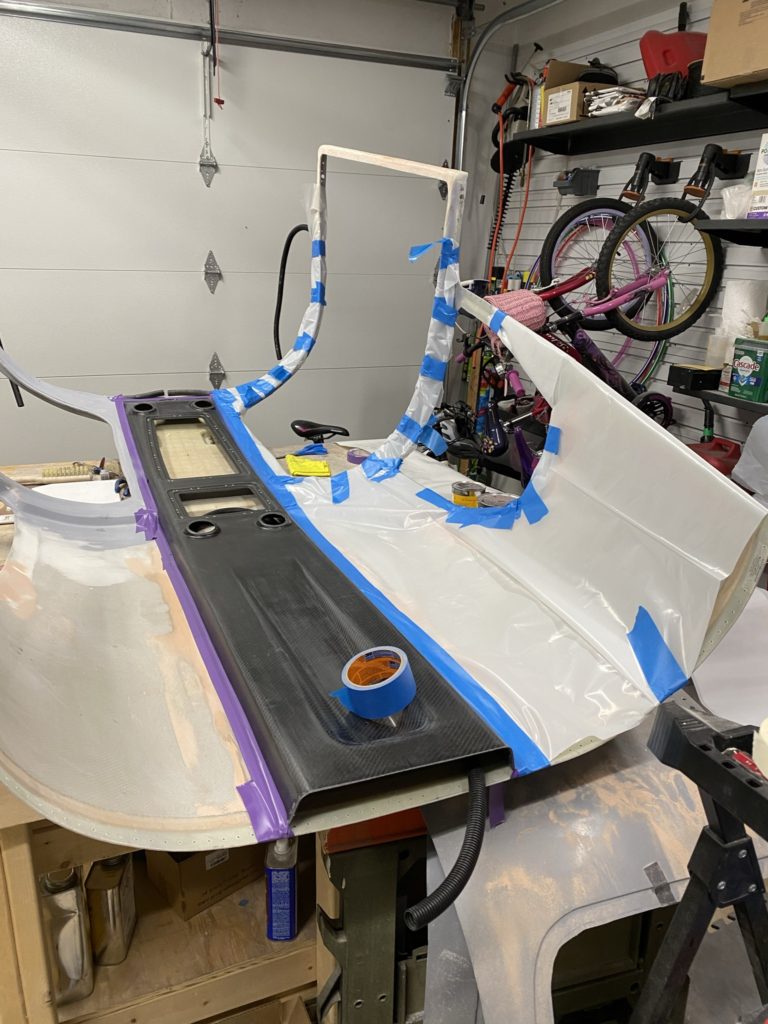
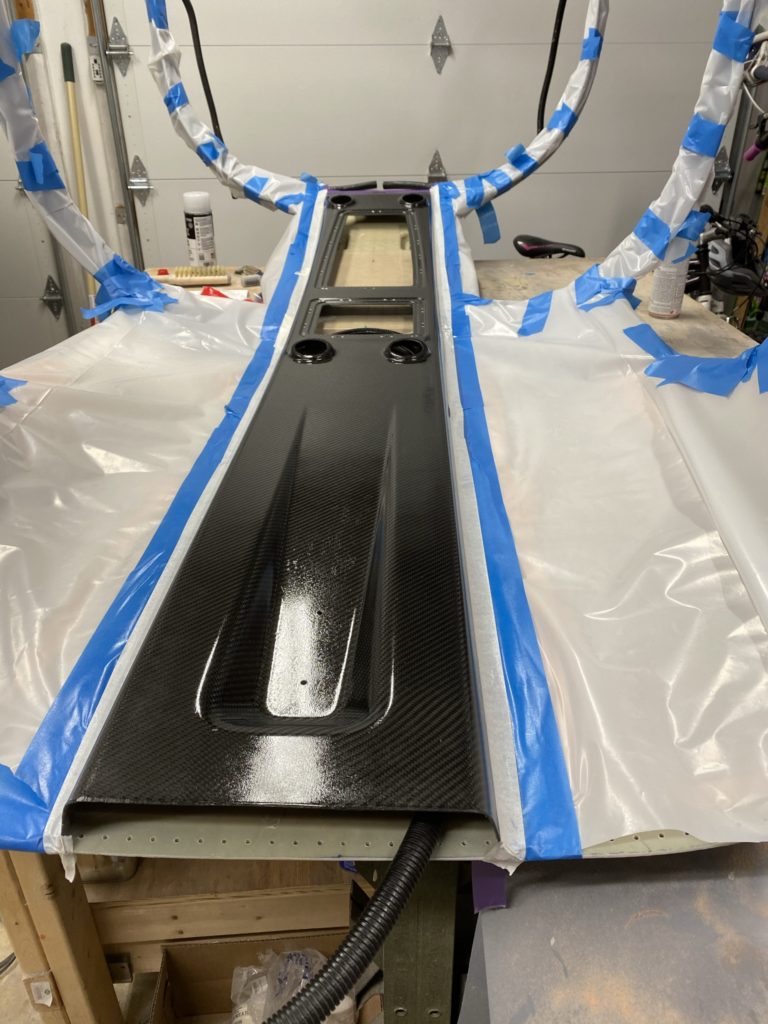
Next I placed the cabin to on the fuse and pulled out my windshield to mask off the area where I was planning to spray some black bed liner on the glare shield. It just so happened that just before I was going to go outside and start painting, I saw the Aerosport Products was offering a nice glareshield online that looked much better than anything I could have done myself. After a quick chat with my wife, I decided to not paint, but just purchase the Aerosport glareshield. Only thing wasted was some of my time, and a roll of tape.
After removing all the tape, I completed all the countersinking of the holes in the cabin top and prepped the backing strips. I initially thought that the side backing strips would be hidden by the Aerosport panels, but once everything was bonded in, I may not have been correct. We’ll after I finally install all the panels. Regardless I’ll have to do some touch up painting inside the cabin.
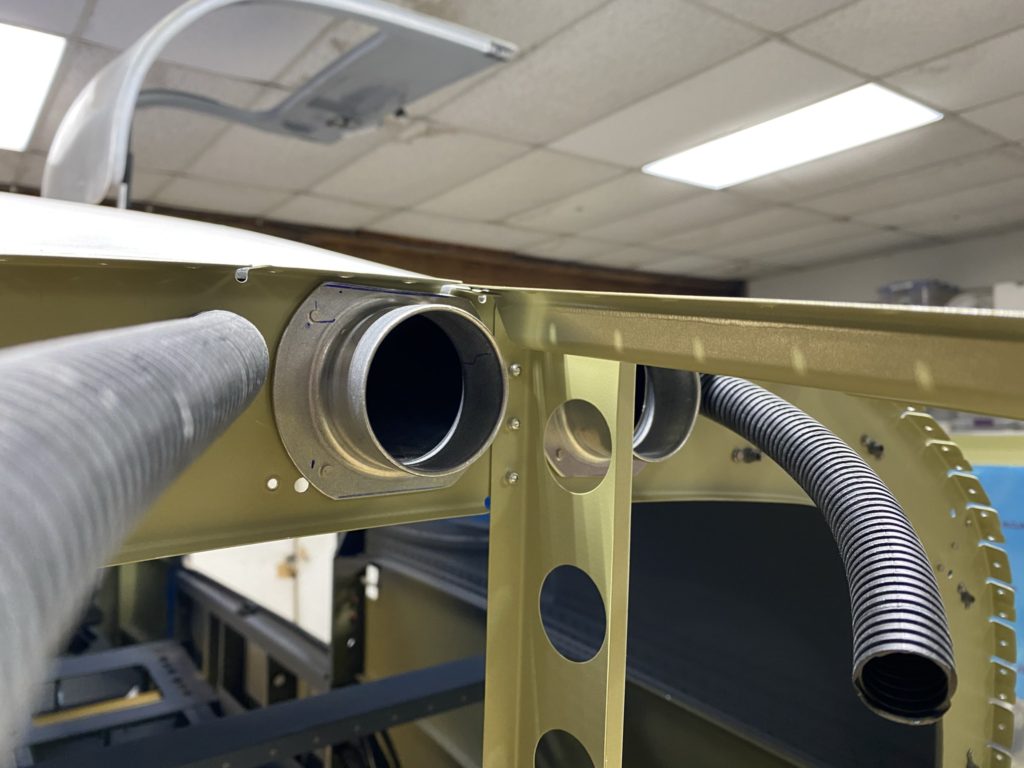
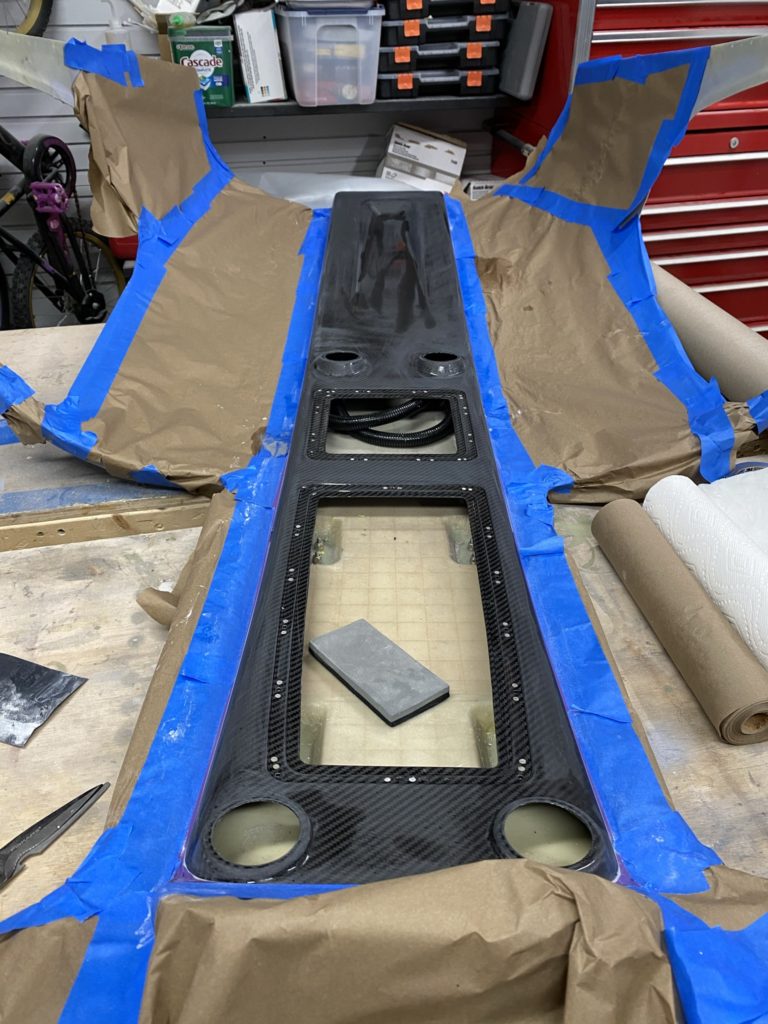
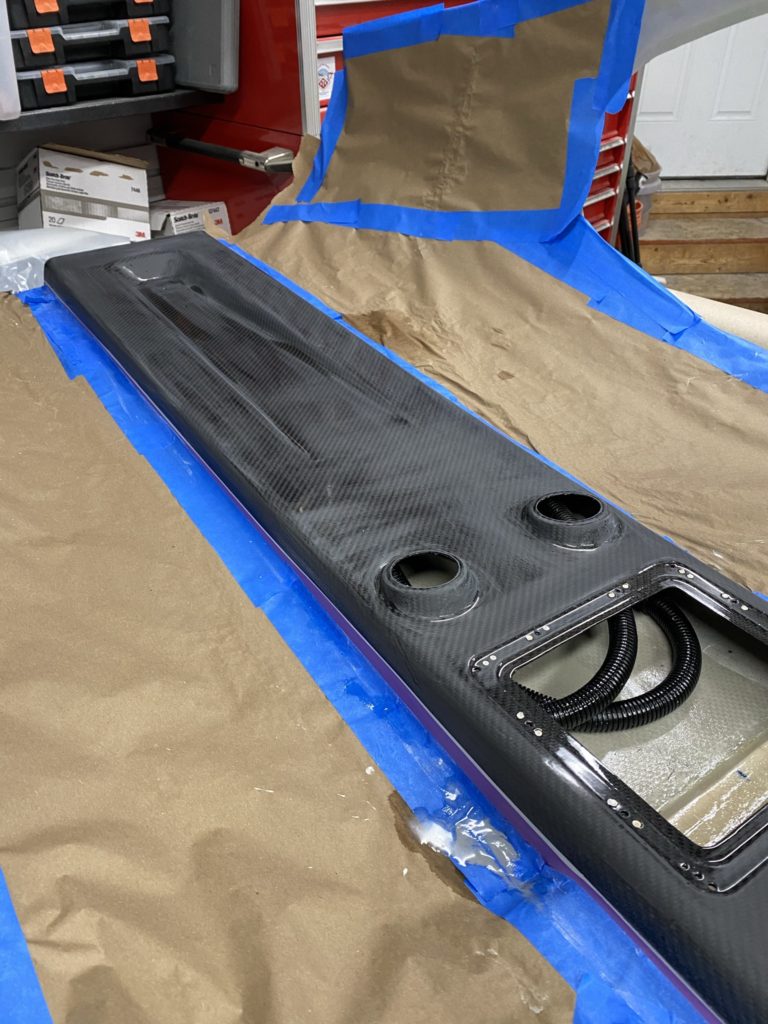
To feed air into the overhead console, I marked where I needed to install the flanged ducts, as well as the holes for the conduits. I ended up using a set of flanged ducts from Aircraft Spruce, however I may have been better off with the sets from Vans. End of the day, it all worked out as expected. I also drilled holes for the overhead conduits and pulled those through. Not sure if I need them, but easy enough to do now.
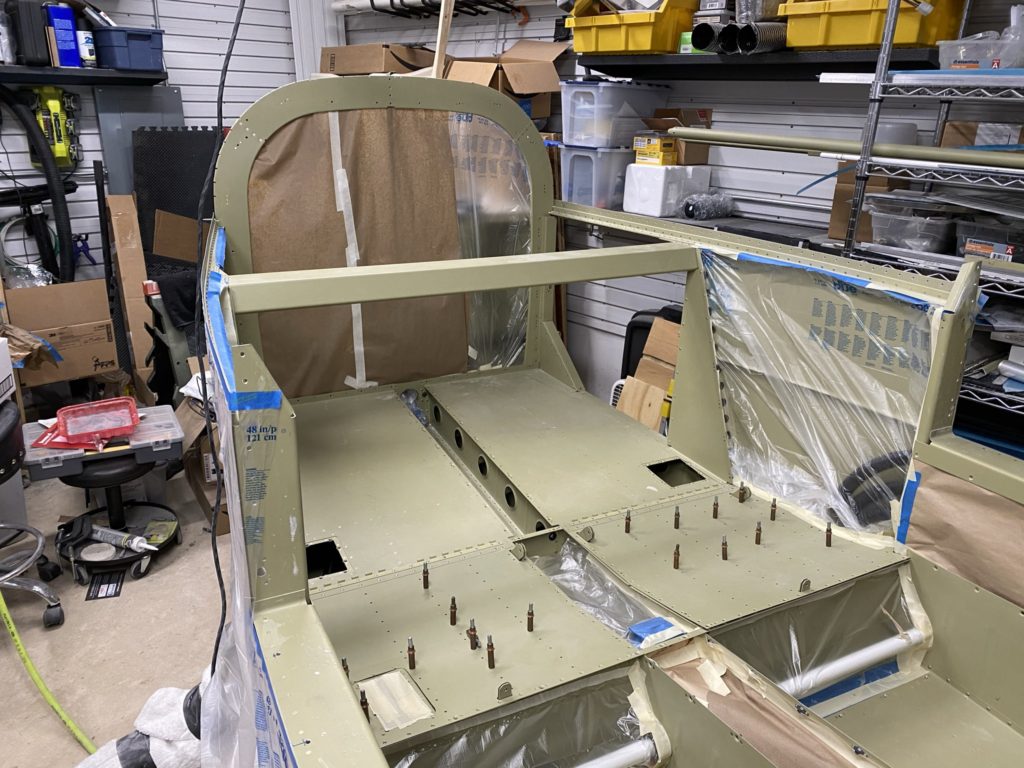
It was then time to install the cabin top. I mixed up a large batch of epoxy and flox and installed the cabin top filling any any gaps around the door with the epoxy and flox mix. I then riveted the rear edges of the cabin to the fuse below the rear windows with pull rivets and installed all the screws around the door frame to lock the cabin top in place with the epoxy cured.
With the cabin top installed, I realize that I have some touch-up to do around the doors and the cabin top backing strips, so I’m going to be crawling in with the paint gun a few times.
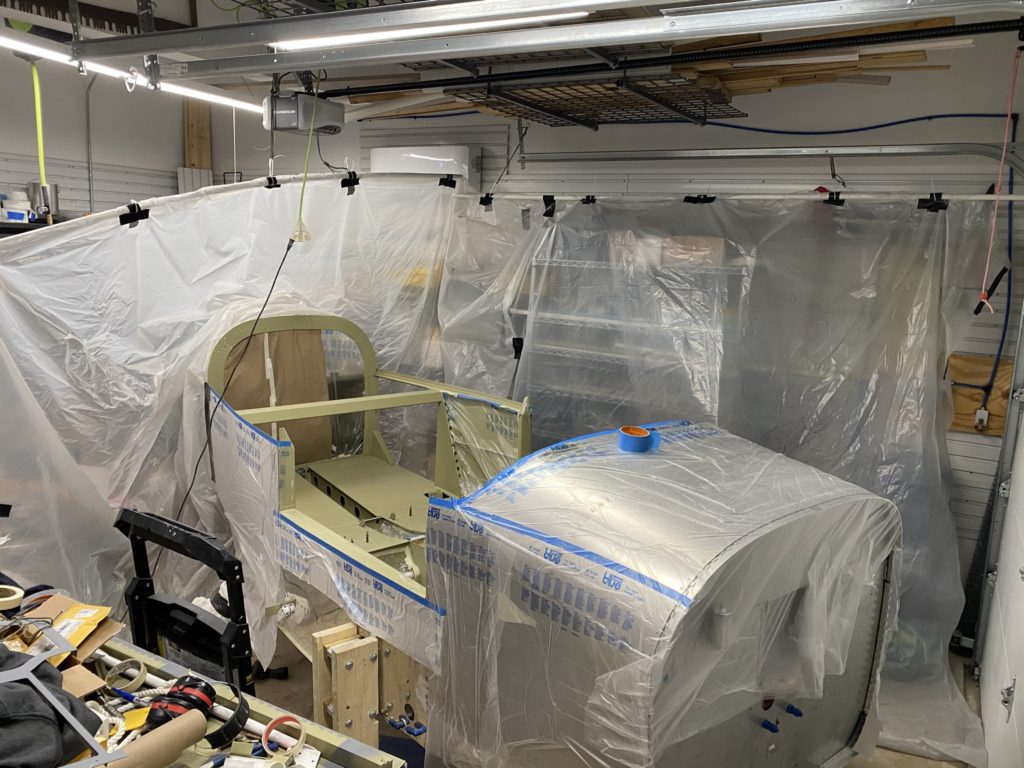
At this point (Early December 2020) I am paying for hangar space at Manassas Airport (EAA Chapter 186 Builder Hangar), but I’m obviously not ready to move yet. I do have a fire under me to get as much of the temperature dependent work done as quickly as possible, as well as all the painting, since the hangar is not insulated or heated. I’m also not allowed to do any painting in the hangar, so I’m trying to take full advantage of my nice heated workspace while I can.
I didn’t specifically speak about bonding the overhead console in the last post. Basically I followed the directions from Aerosport Products and used the Lord adhesive they sell (and plan to also use it for my windows). One suggestion is to purchase some additional dispenser tips when you do purchase from them.
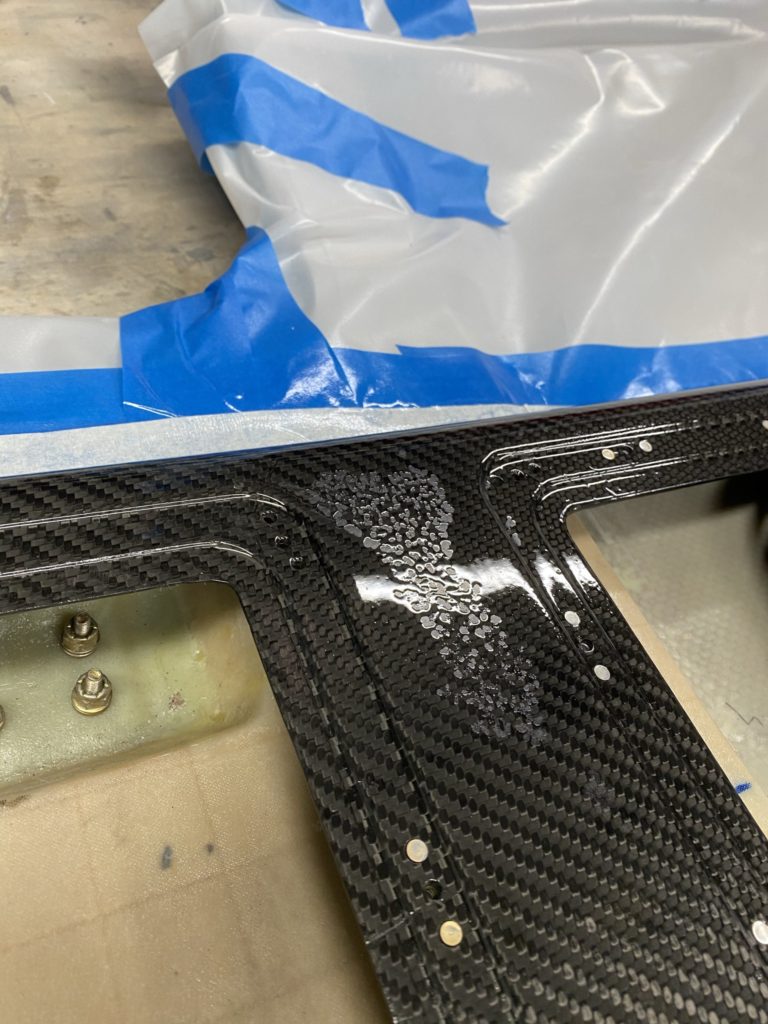
It took me a long time to get comfortable with the process blending the overhead to the cabin top. Wasn’t sure the best way to keep the overhead as carbon fiber, and also paint the cabin top interior. After a number weekends trying different things, I finally came up with a method that seemed to work. I ended up masking off the cabin top so just the carbon fiber overhead console was exposed. I then sanded / scuffed the carbon fiber to remove all the shiny spots and cleaned everything really well with a wax and grease remover. Then I used some SEM adhesion promoted followed by a few coats of Spray Max 2k High Gloss Clearcoat. Once everything had dried, I pulled off my masking tape, only to find that I had some adhesion issues / coverage issues in a few places.
Masking off everything but the overhead console
Coat of Adhesion Promoter
After spraying the clearcoat, noticed that this area had an issue
More issues
Hard to see, but clear didn’t cover everything
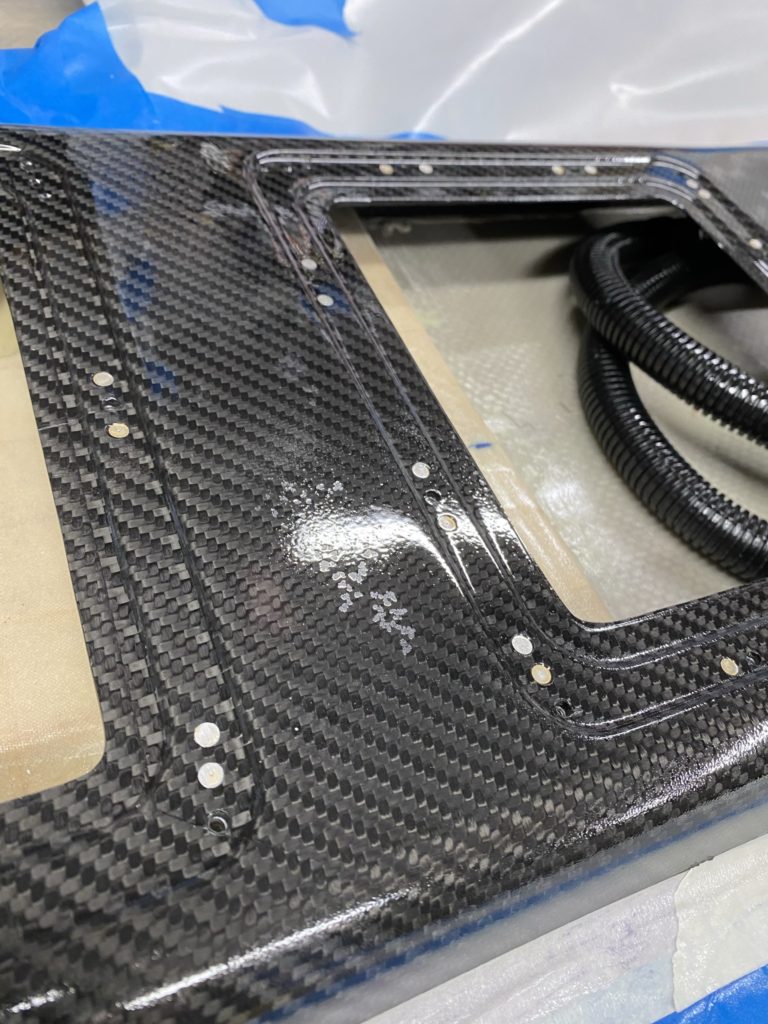
To fix this, I sanded the whole top down with 800 grit sandpaper to scuff the clear coat and sanded the problem areas down until they were flat. Then another round of cleaning (I think I cleaned everything 2-3 times just to be sure). Then it was the same technique of SEM Adhesion Promoter, and multiple coats of Spray Max 2k clear. Final product was a nice clear-coat finish… almost. Honestly this time things worked much better. Not perfect, and saw I had plenty of “orange peel”. Still fantastic for my first time and clear coat out of a rattle can!
Sanding down the clear coat
New round of Clear Coat
Looks good, but you can see the orange peel
I spend a number of hours wet-sanding the clear coat to remove the orange peel, then purchased a DA buffer and some cutting / polishing compound. I didn’t take it up to a “showroom finish” but did get it to the point where most of the scratches were out and it had a really nice flat shine. Overall I’m really happy with the finish of the overhead console.
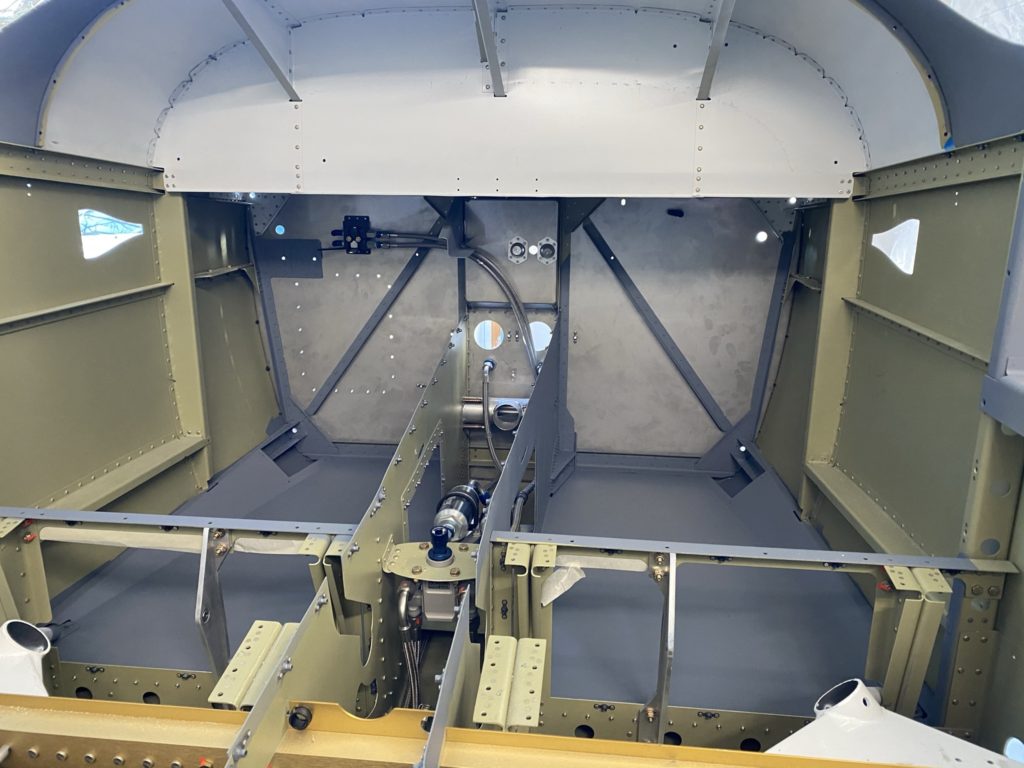
With the overhead console now clear coated, I then decided to permanently install the overhead switch pod. I used screws as well as a bead of Lord Adhesive as the switch pod will not come off. I masked off the are that would remain clear-coated and make some last touch ups needed on the overhead to cabin top transition.
Lastly I trimmed and permanently install the ends of the conduits into the switchpod and built up the transition from the switchpod to the cabin top to blend in the conduit. I’m actually starting to get a bit better with this process now that I’ve been doing it for a few months. Not that I think I could do an entire composite aircraft!
Next I start to spray some cheap high-build primer and start the process of progressively finer sanding until I get up to 800 grit. As I mentioned in an earlier post this year, I have struggled with colors and what I want to do with interior and exterior paint. After a lot of thought, I finally decided to pull the trigger on a paint color.
I decided to go with the Summit Racing HotRod Flat Paint – Grey I’ll admit that this was more of me just throwing my hands up and picking something vs a detailed analysis. I built a make shift paint boot and got a fresh set of respirator filters and went to work. I had no illusions that I would get a show quality paint job with my purple Harbor Freight spray gun, but I did at least want a pretty tough paint job without any shine.
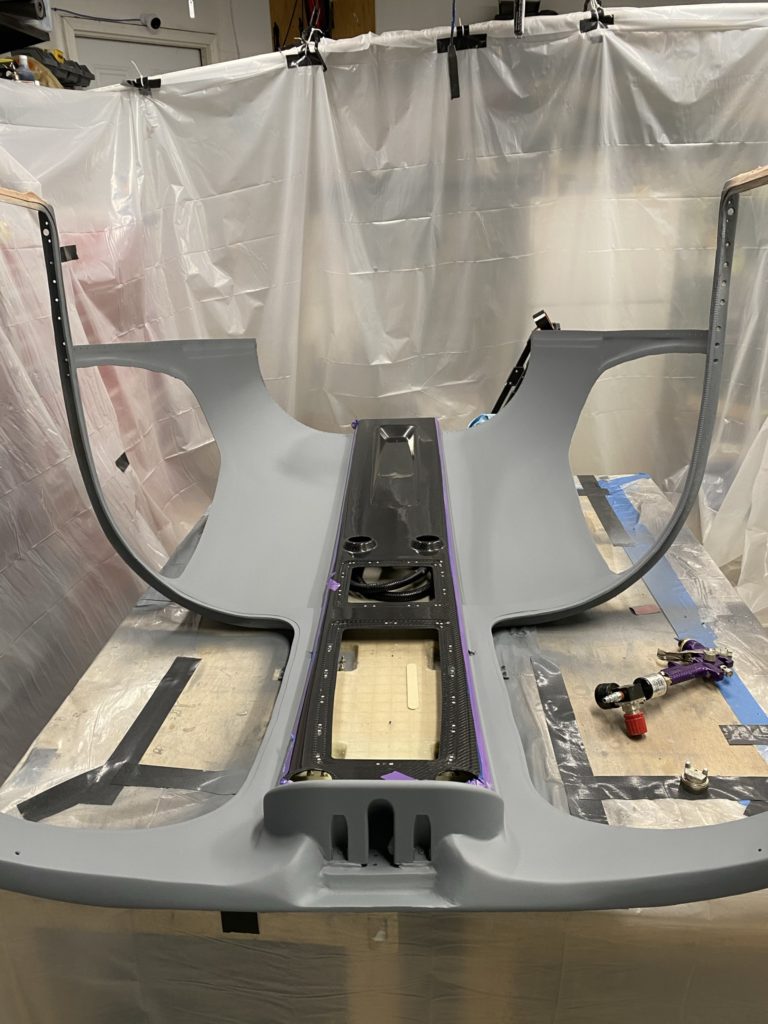
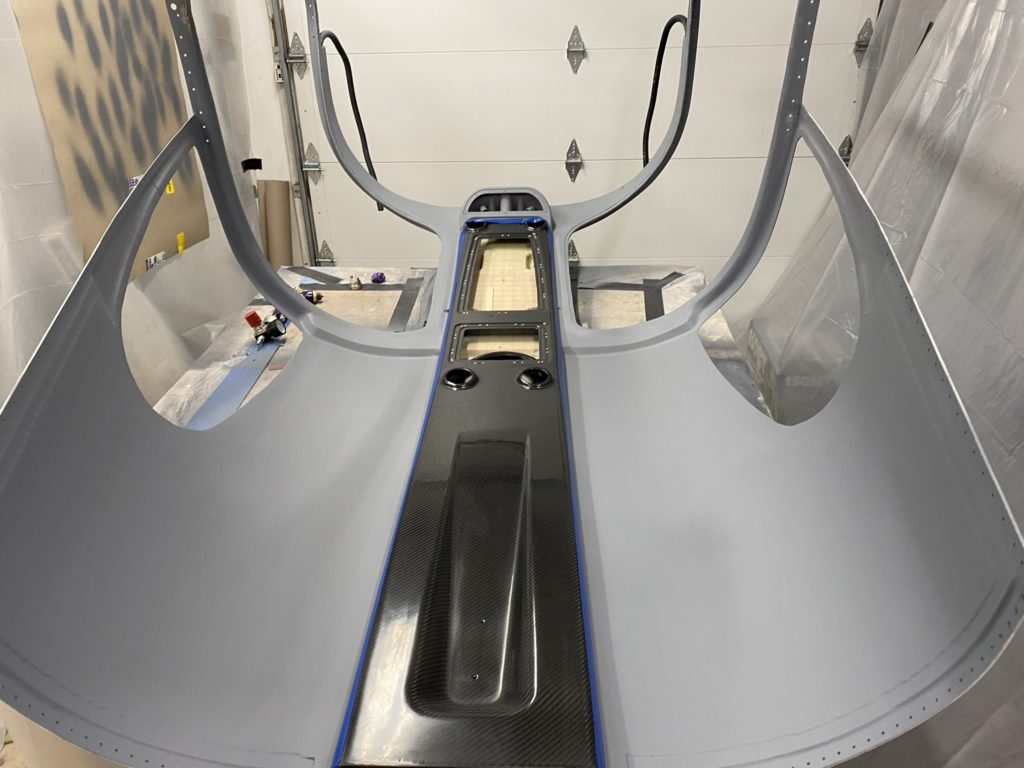
The first part that I painted was the cabin top. Due to the gun quality, the paint ended up with a bit of a textured finish which actually looked pretty good for what I’m using it for. I think I put down 3 coats of paint (just to be sure) before I peeled up the masking on the overhead console. The end result I think looks pretty good and will work for a garage DIY job.
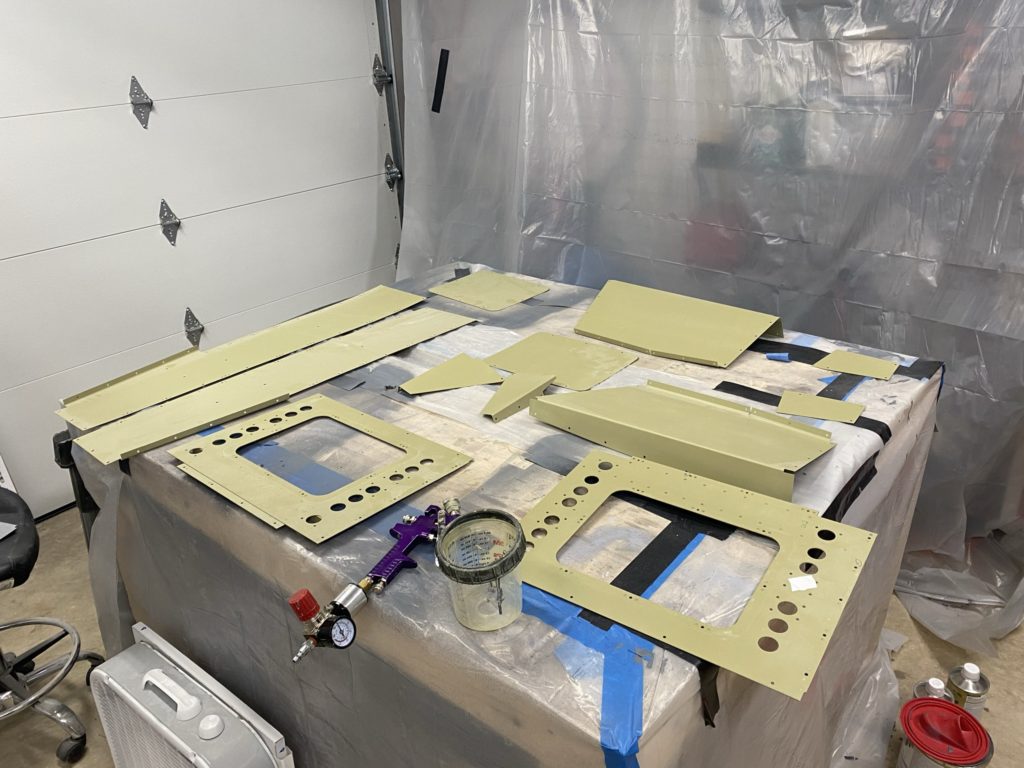
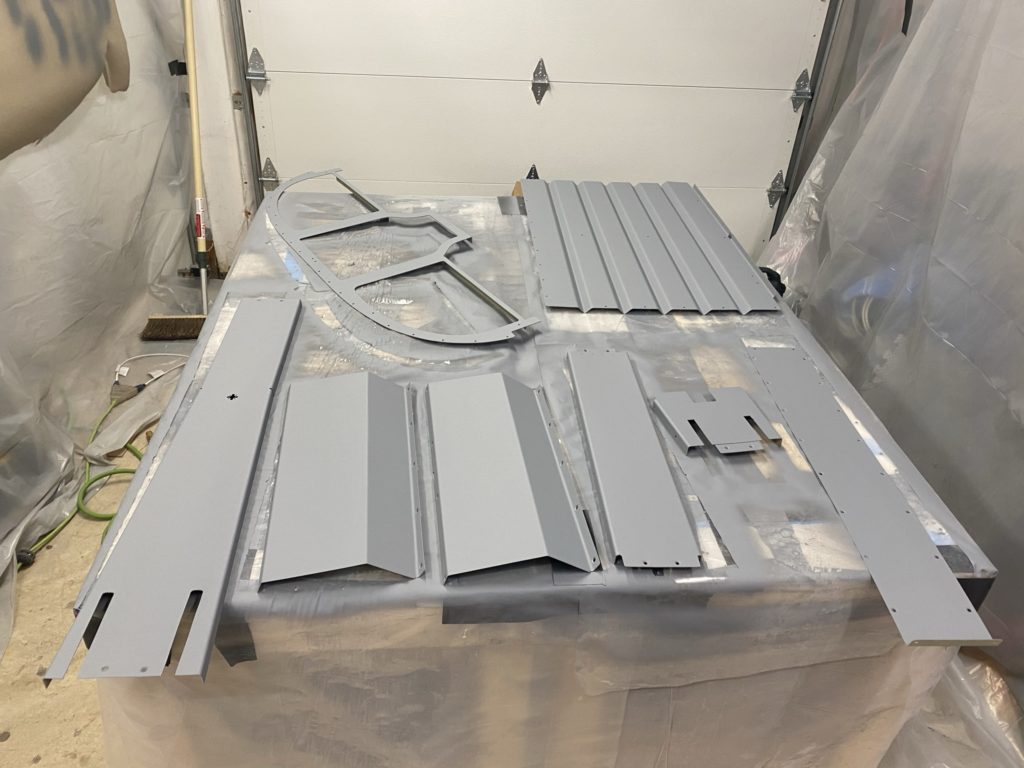
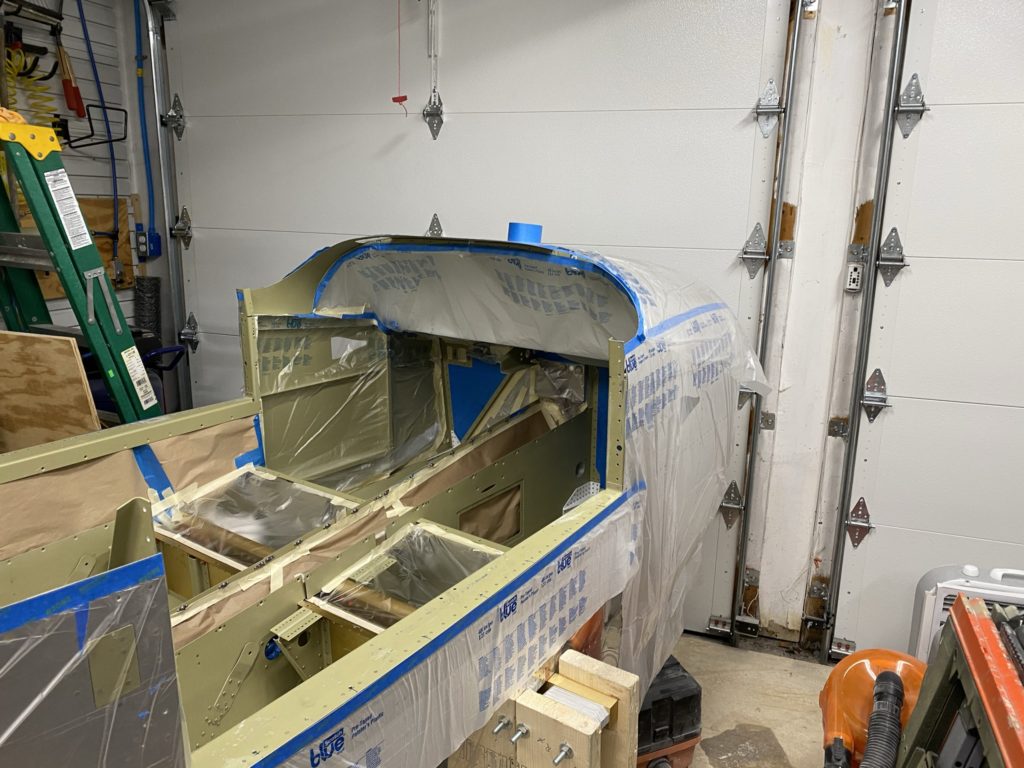
Once the cabin paint was dry, I moved the cabin top inside to get out of the way for a few weeks and started painting all the interior parts that are currently removable. Access Panels, side panels, and seat pans were all scuffed with grey scotchbright pads, cleaned and then sprayed. Then it was on to shifting my paint booth over the fuse and masking off the areas that needed to be protected. I did also remove the control approach pedals and hoses to keep them protected. I also masked off the firewall to ensure no paint got on the Stainless steel.
A few coats of paint really changed the entire look of the project and I’m really happy with the results. I have a few places that didn’t get good coverage (trying to lean into some areas was EXTREMELY difficult) and my lighting wasn’t really the best. I’m planning on doing a “touch up” coat in the next few weeks so hopefully I’ll get all those areas addressed.
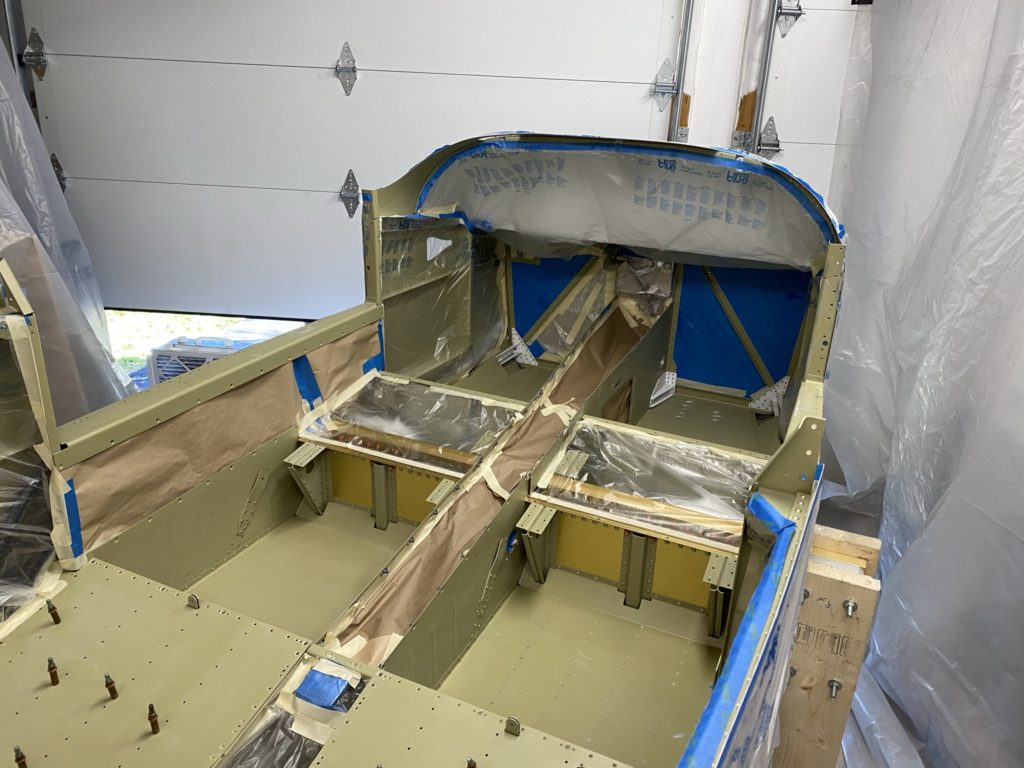
So I’m a big fan of conduits just in case you need to pull a wire or change something in the future. For the cabin top, I had seen where others had installed conduits in the front cabin pillars to the overhead console and thought that was a fantastic idea. What I didn’t realize when I started down this path, was that this also had an impact on how I was going to have to mount my sun visors in the future and lead me down that path of getting creative.
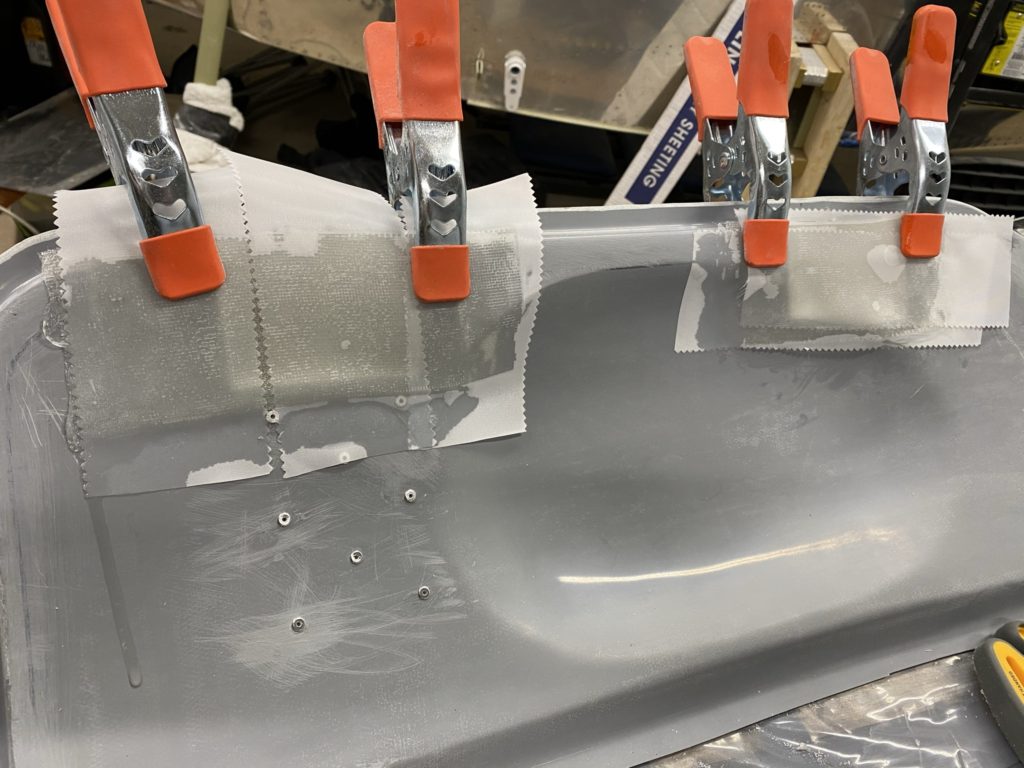
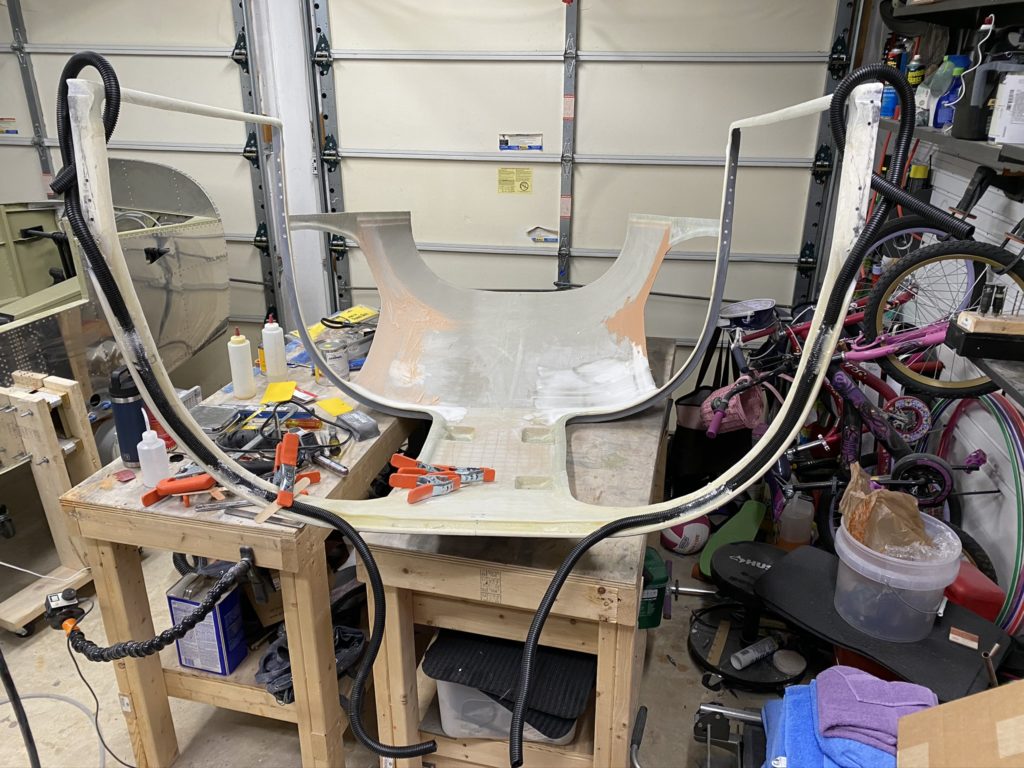
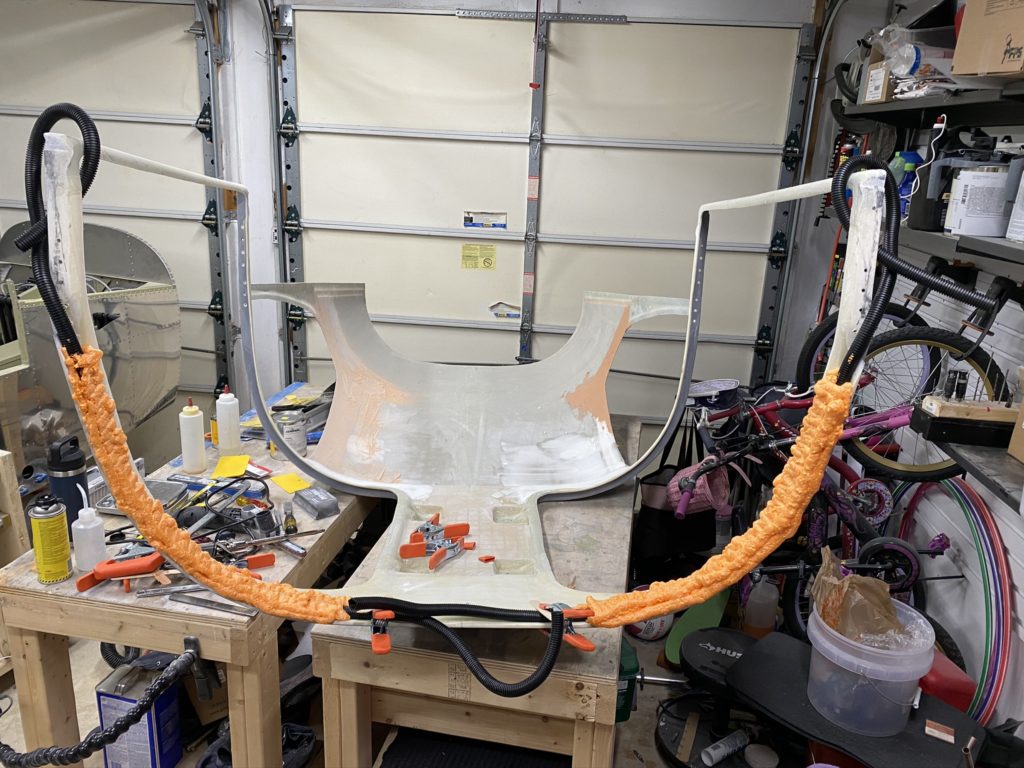
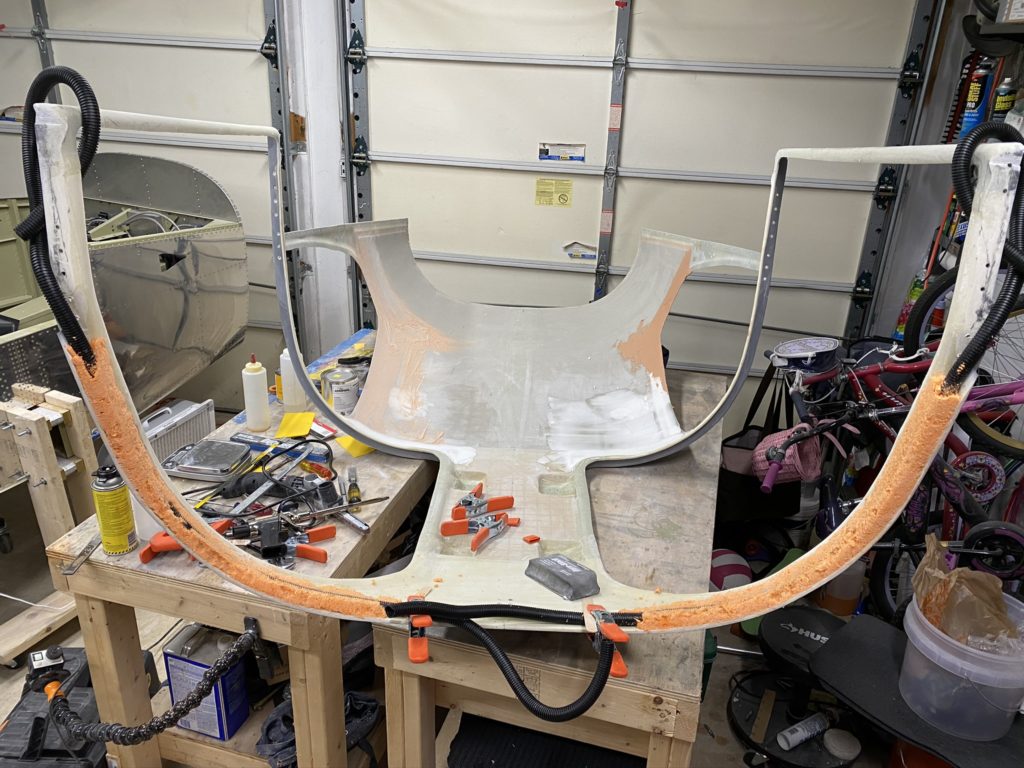
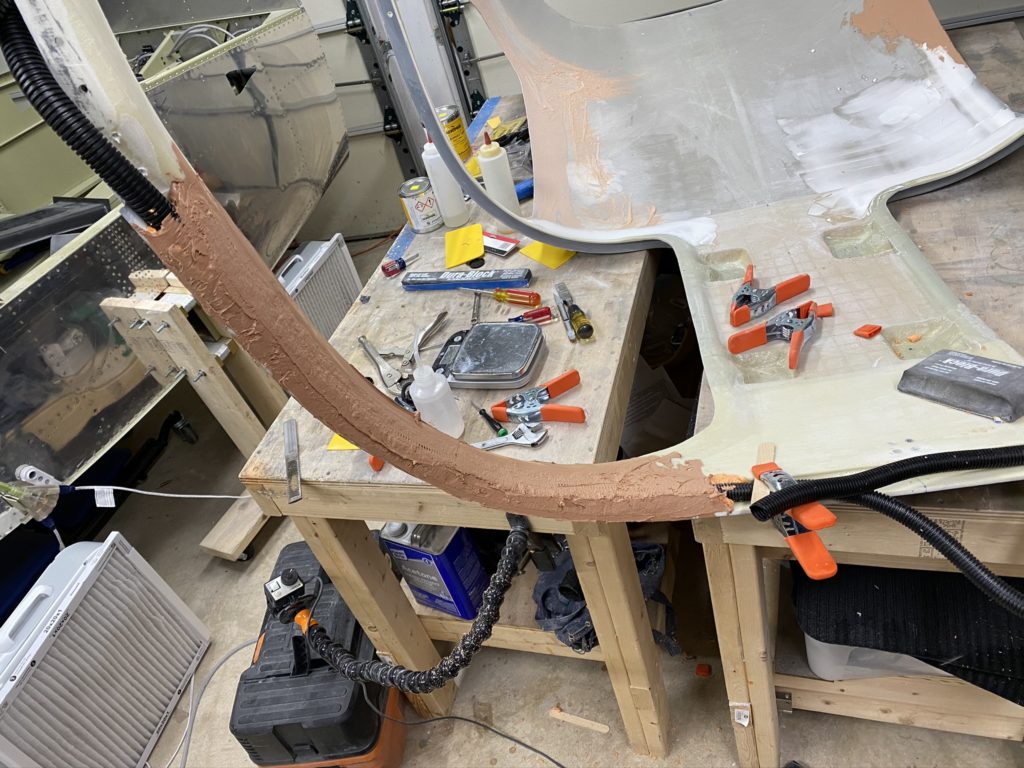
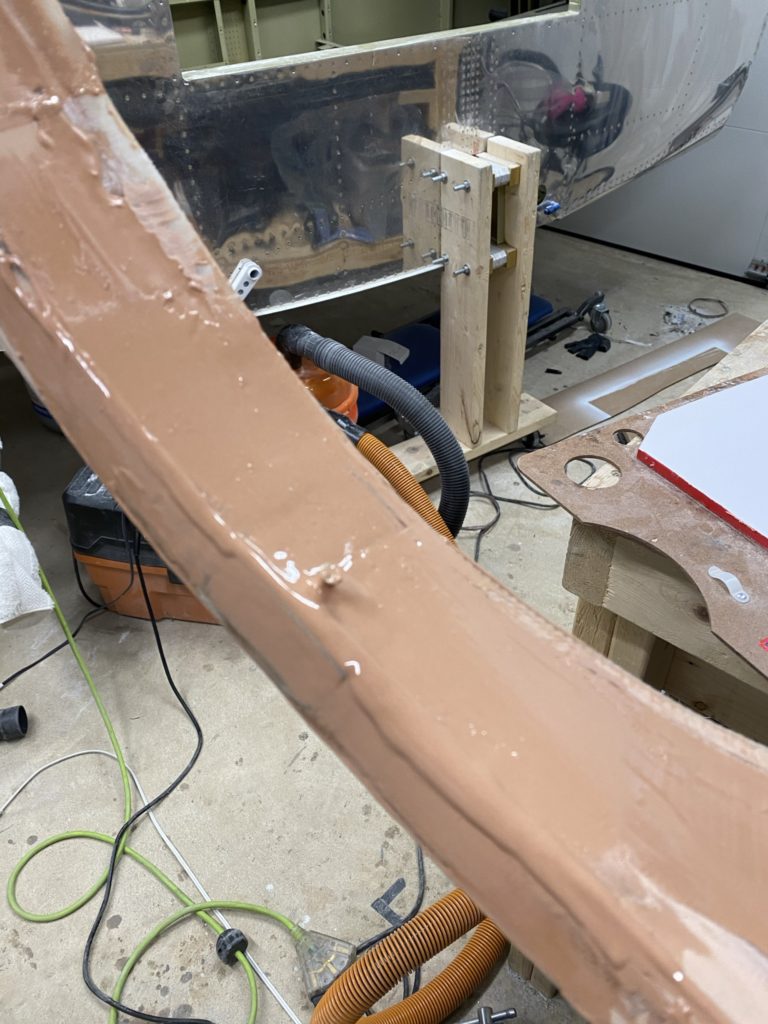
Starting off, I decided to use some extra conduit from Vans that I purchased for my wings. It’s the 3/4″ stuff (I think) that fits nicely in the cabin top channel. I used a small batch of epoxy and flox to “glue” the conduit in place so I could use some spray foam insulation to create the general contour of the forward pillars.
Conduit clamped in place
Spray foam
Sand the foam to create the rough shape
Aeropoxy Light (or expoy and micro) as a base for additional finishing
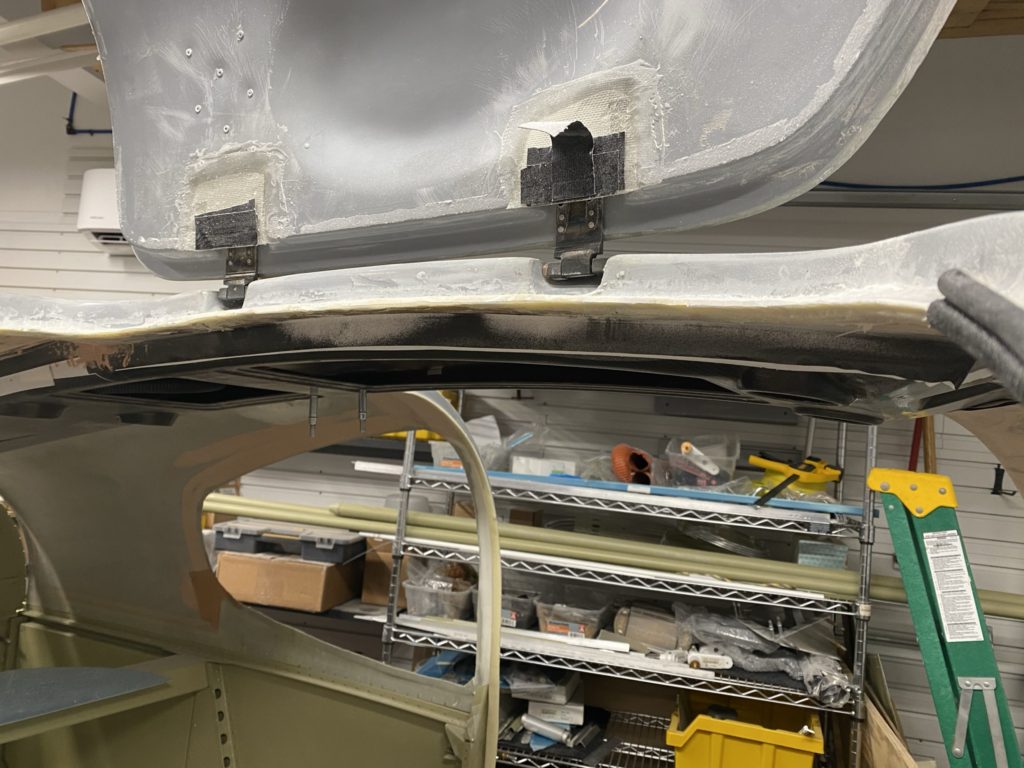
Once the foam was cured, I sanded it down to a rough shape, then put a skim-coat of AeroPoxy Light on to fill the outer most voids in the foam. This gave me a general profile and protected the conduit. I’ll cover this with a 2-3 layers of fiberglass later.
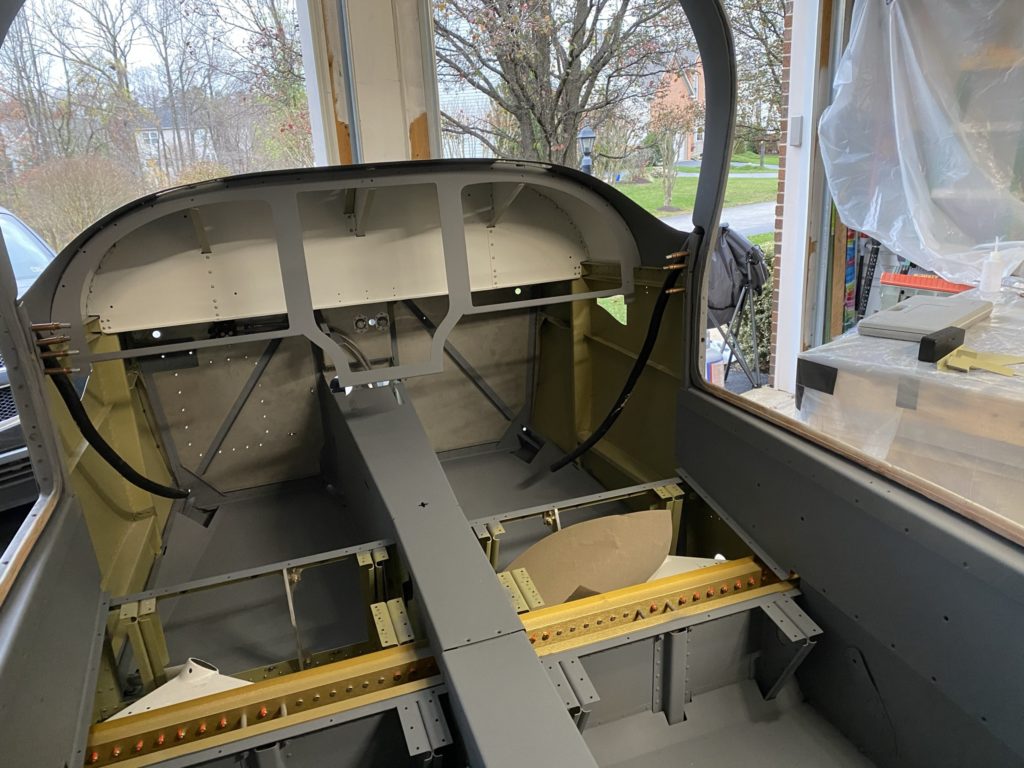
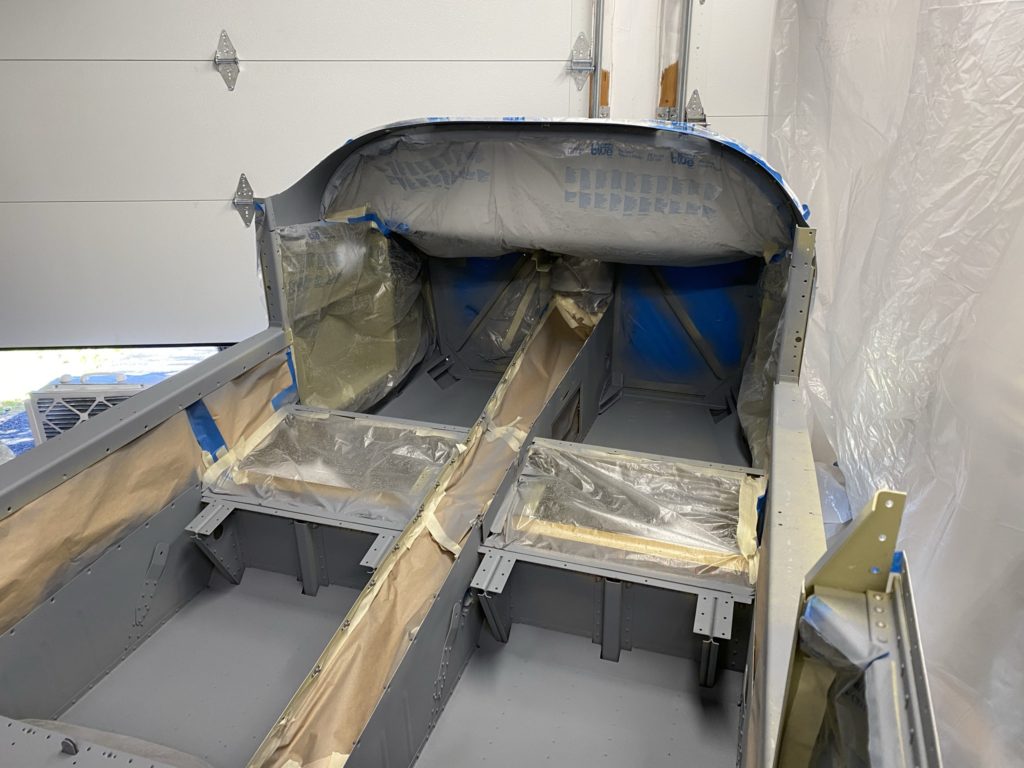
Next I begin to lay out the overhead console. I marked the center of the cabin top and the overhead console. I then began to drill #40 holes and cleco the overhead to the cabin top. I’ll use these holes later when I bond the overhead to the cabin top.
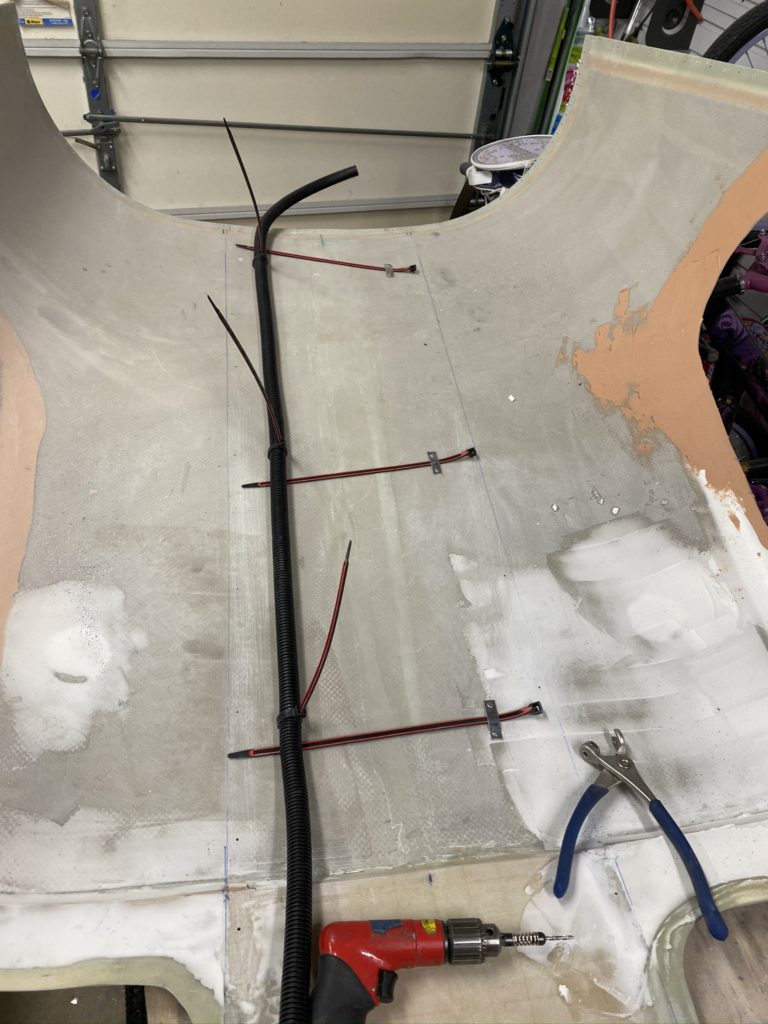
I know I mentioned how much I like conduits, so no surprise that I also wanted some conduits from the overhead area to the rear of the aircraft. Now this wasn’t my original idea. Honestly most of my “mods” aren’t my original idea, but I do adapt them to fit my needs. Anyway, I made a few small aluminum strips to hold zip ties to the cabin top. I secured them with pop-rivets and used the zip ties to hold the conduit in place.
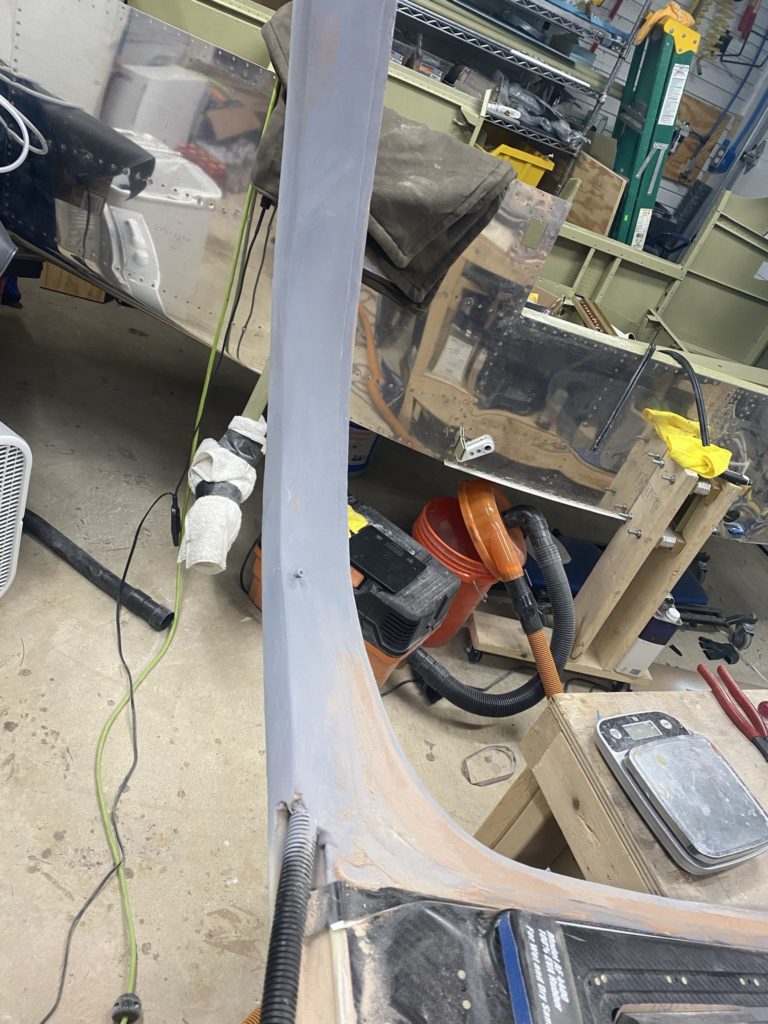
This is about the time I started to think about the visors. My original plan was to go with the Rosen visors, but decided to go a little cheaper and purchased the BlueSky visors. With the visors in hand, I had to come up with a mounting solution. The vendor instructions use a bock installed where I just ran the conduit so that won’t work. My first idea was to install a nutplate on a aluminum coupon for the visor to mount. I mounted this on the forward part of the pillar and contoured this in place. *Note this didn’t end up working. more later. I then glassed in the pillars and began to work on the overhead to cabin top transitions using Aeropoxy Light and lots of sanding.
When I put the cabin top back on the fuse and tried to verify that the sun visor mounts worked, I found that it didn’t. With the nutplates on the front of the pillars, it isn’t able to support it’s own weight. 🙁
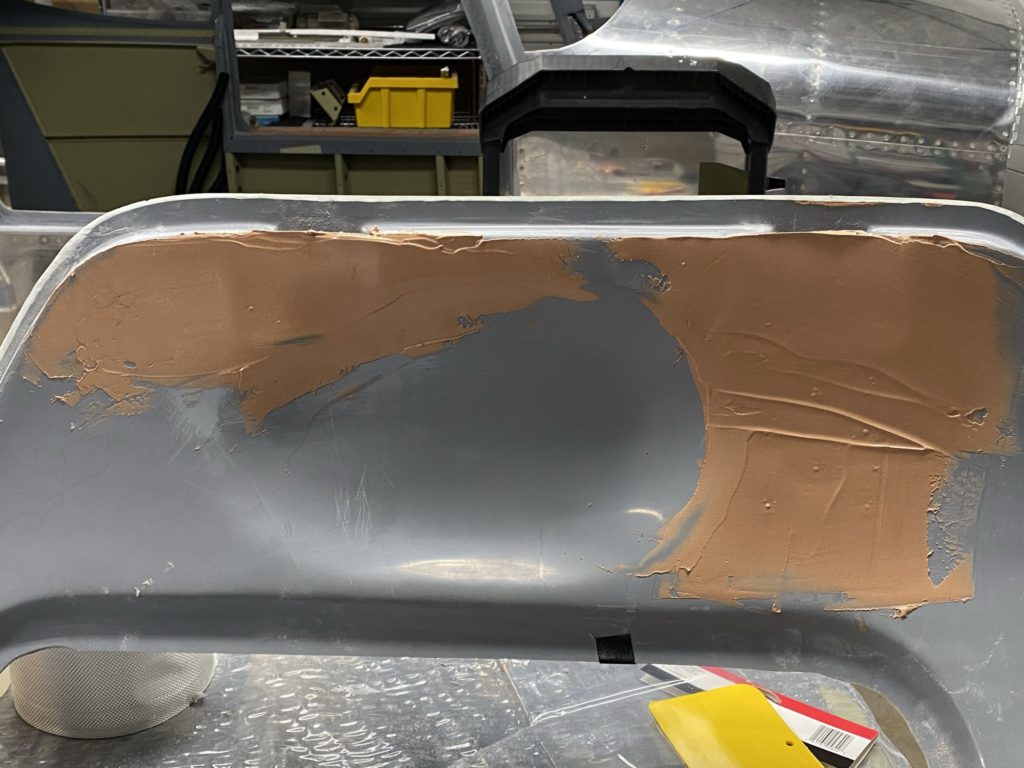
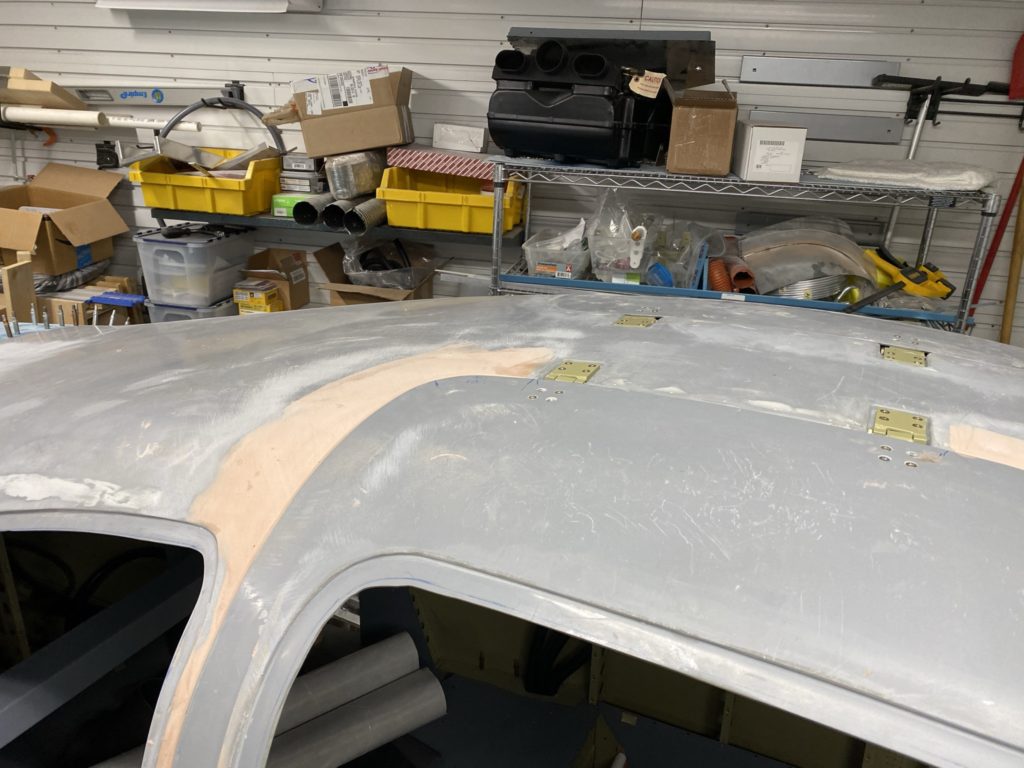
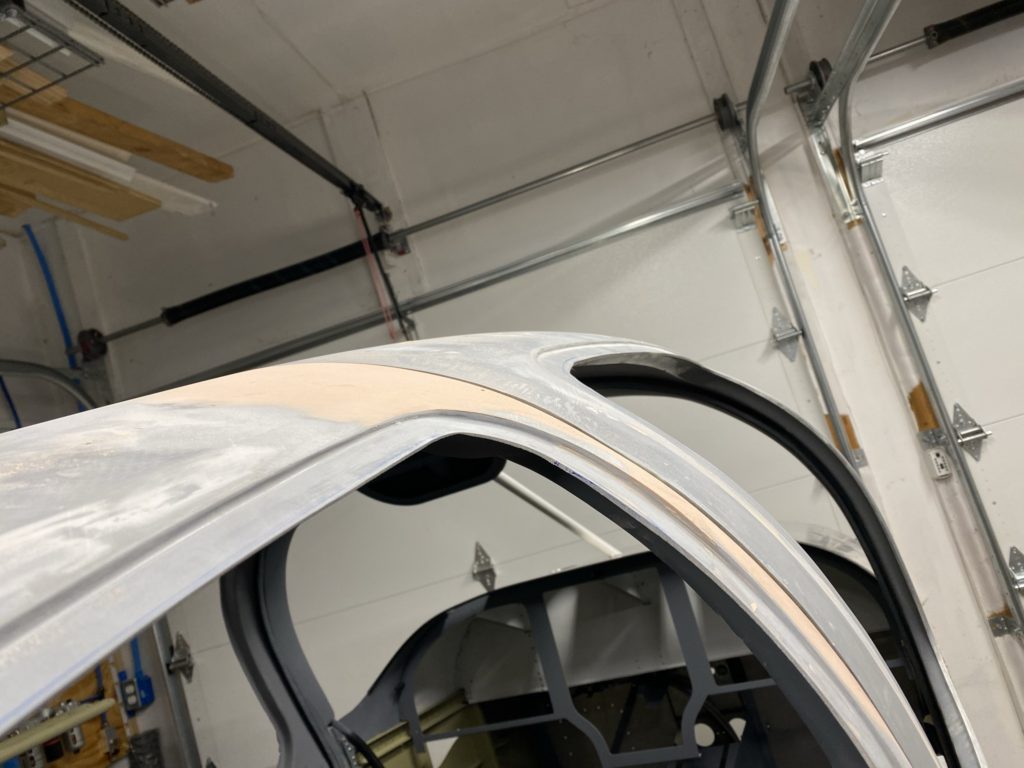
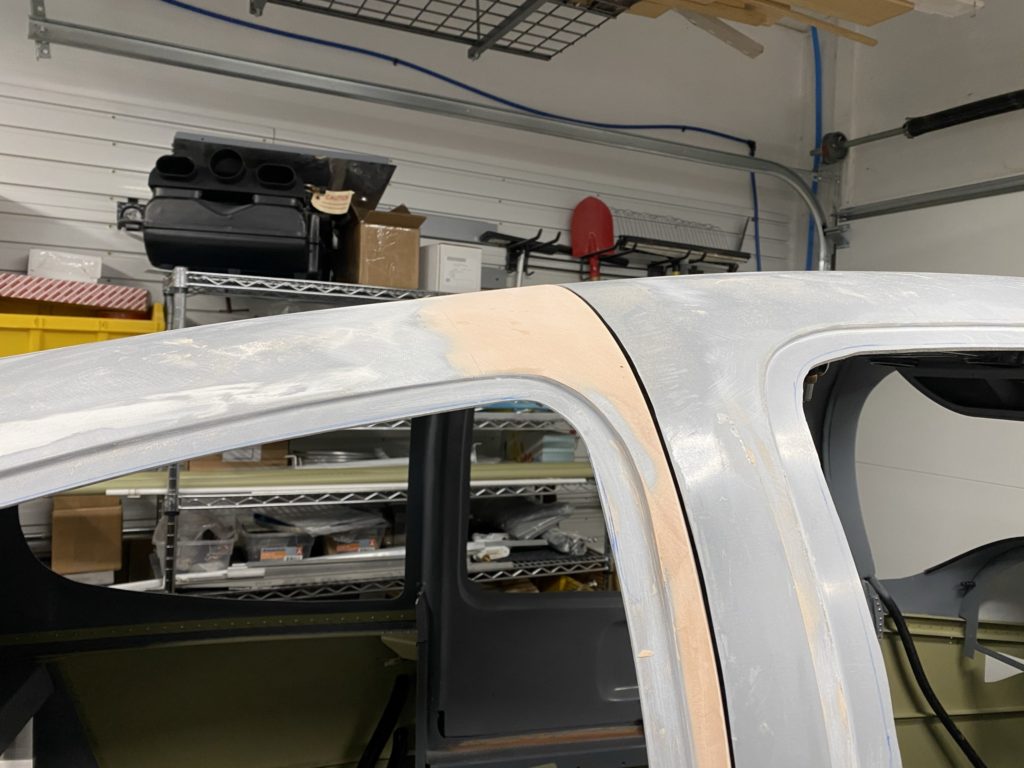
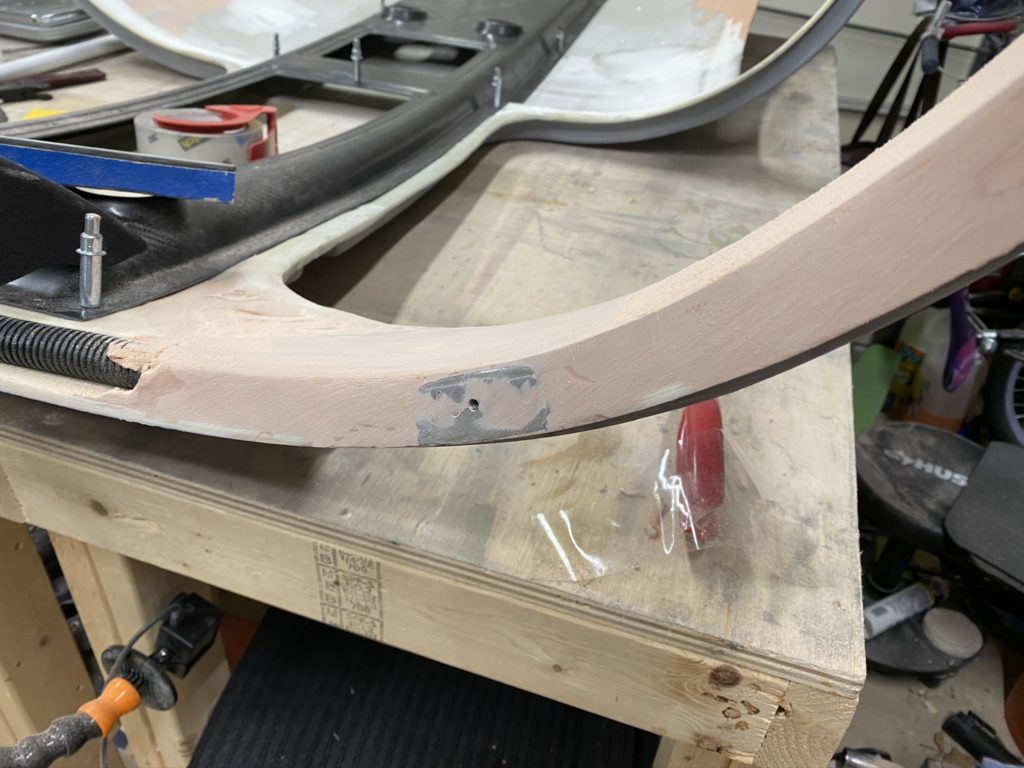
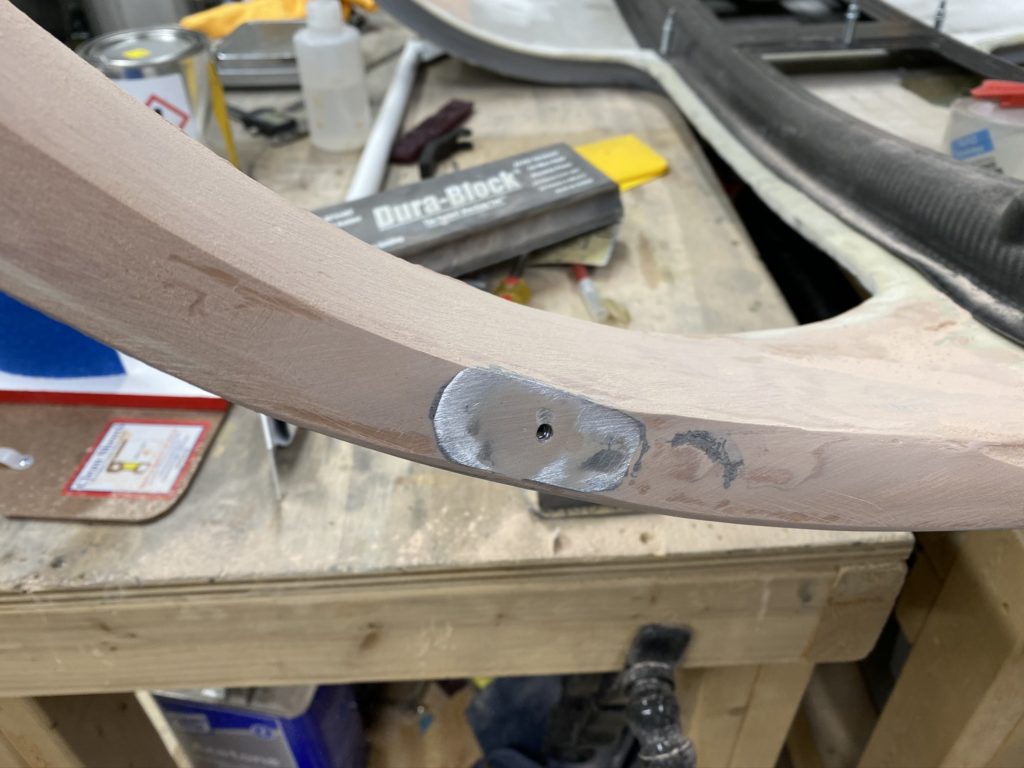
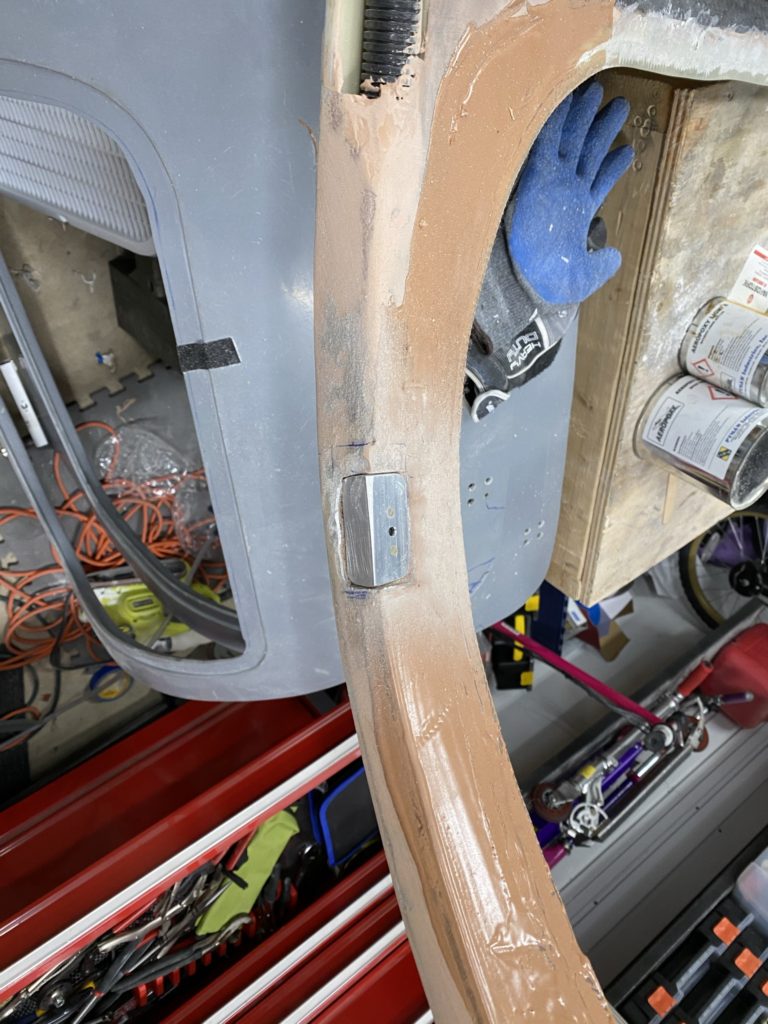
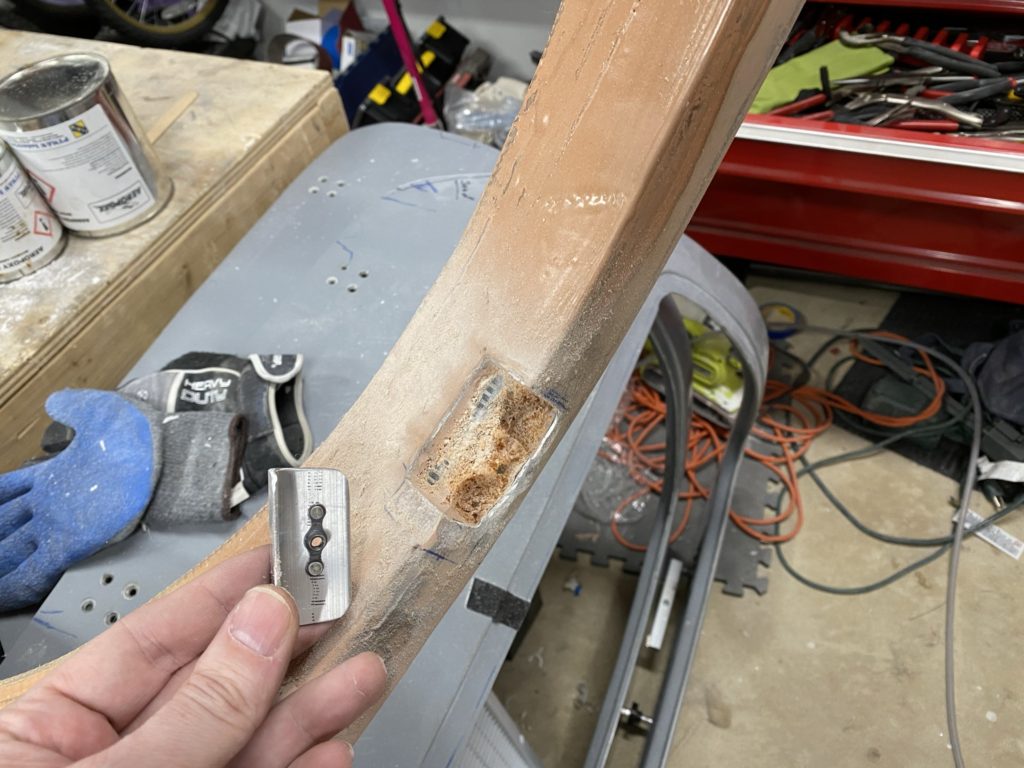
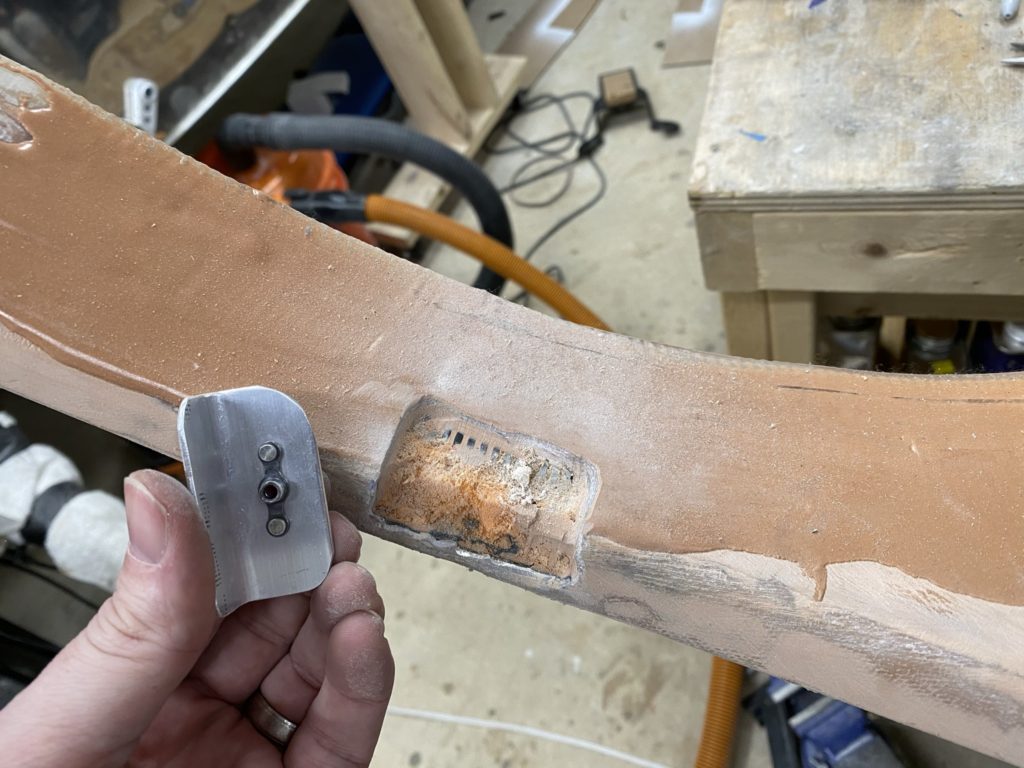
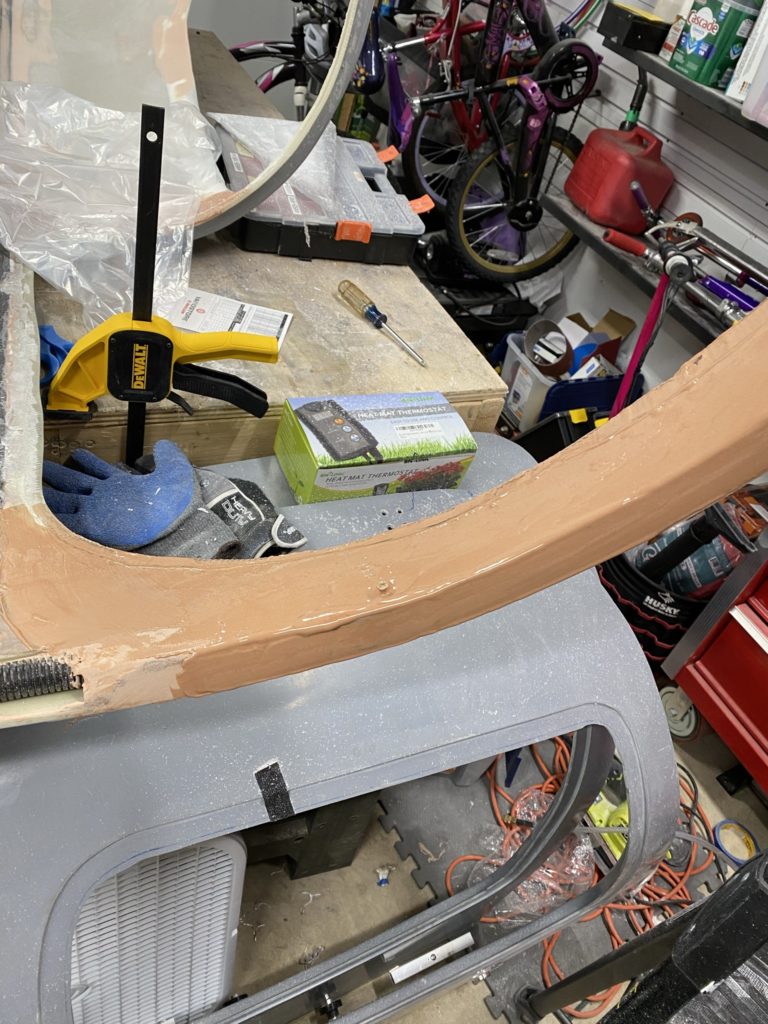
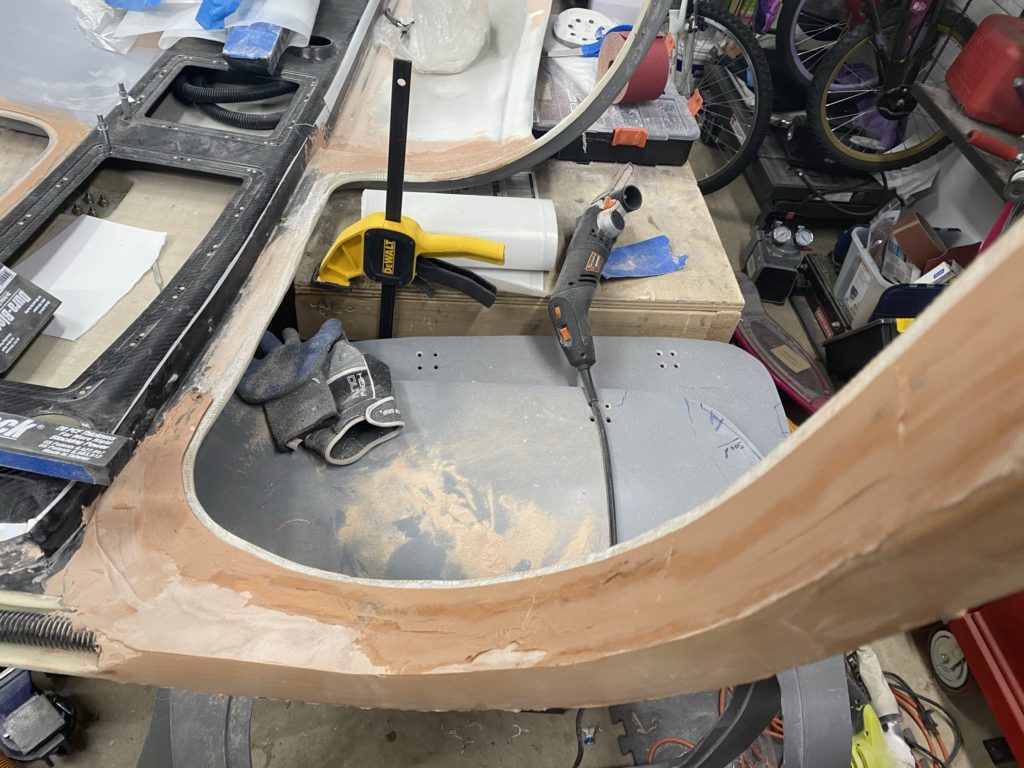
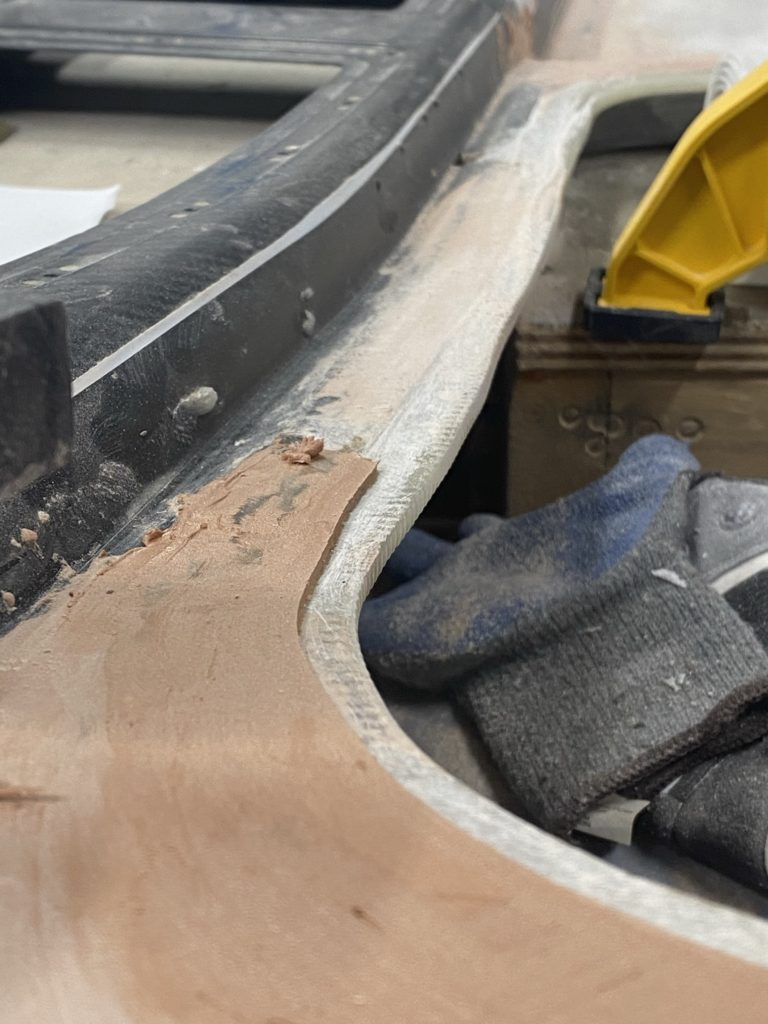
After some thought, I realized I needed to move the mounting point so it faces the center support bar. I removed these original nutplates, and created a new mount bracket using some 3/4″ aluminum angle with a nutplate mounted on it. I cut out space on the pillars to make enough room for my new angle aluminum mounting bracket and installed the new brackets (now facing towards the white cabin brace) and covered it with two layers of glass. Next I spend time with some Aeropoxy Light and sanding blocks to contour everything and get it looking nice again. I also went around the overhead console where it joins to the cabin top and dressed up those areas with Aeropoxy Light and more sanding until things were looking good. One of the details I also did was to install a segment of the McMaster Carr door seal when applying the Aeropoxy Light. This allowed the door seal to be flush with the cabin top interior. Hopefully it turns out looking nice.
New Visor mounting points
Ugly cut into my pillar
First round of filler
I used screws in the nutplates to keep them clean.
Starting to build up the interior to McMaster seal area.
Some high-build primer to help me see imperfections.
Working on the overhead to cabin top transition as well as the door edge to McMaster Carr seal edge.
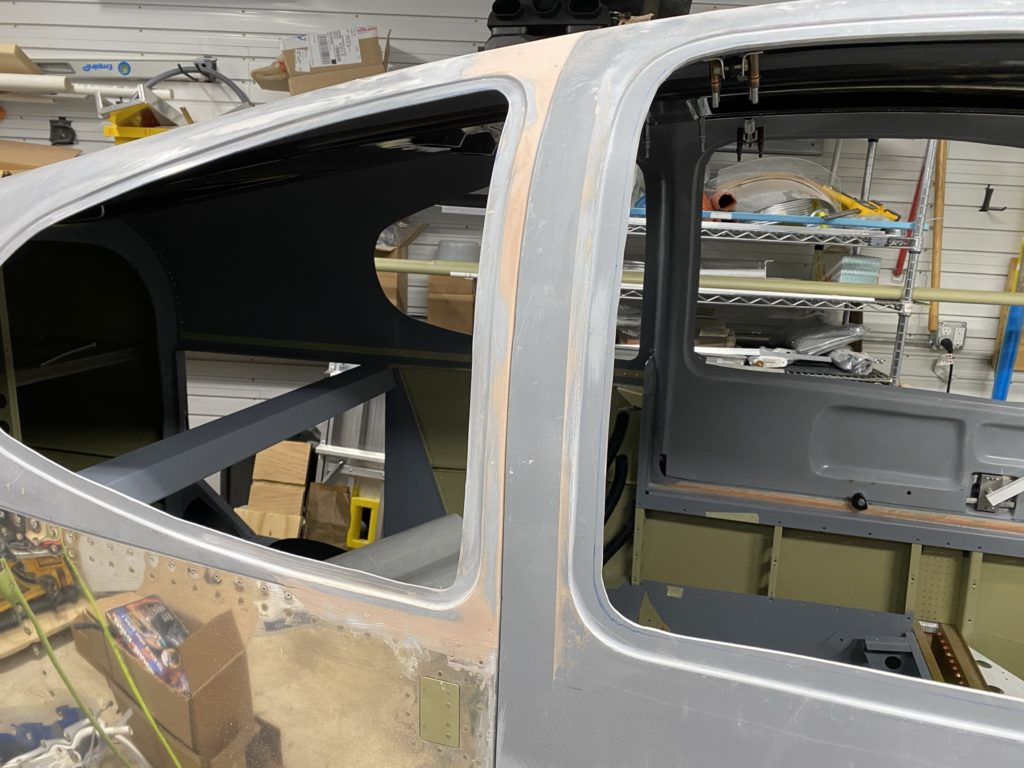
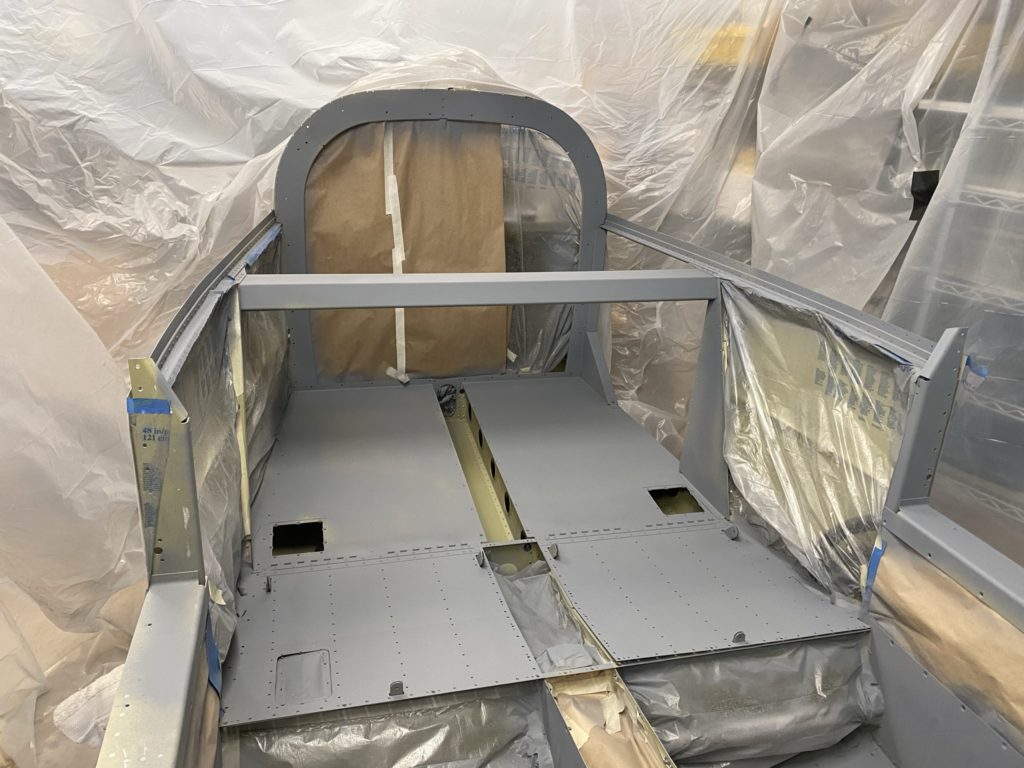
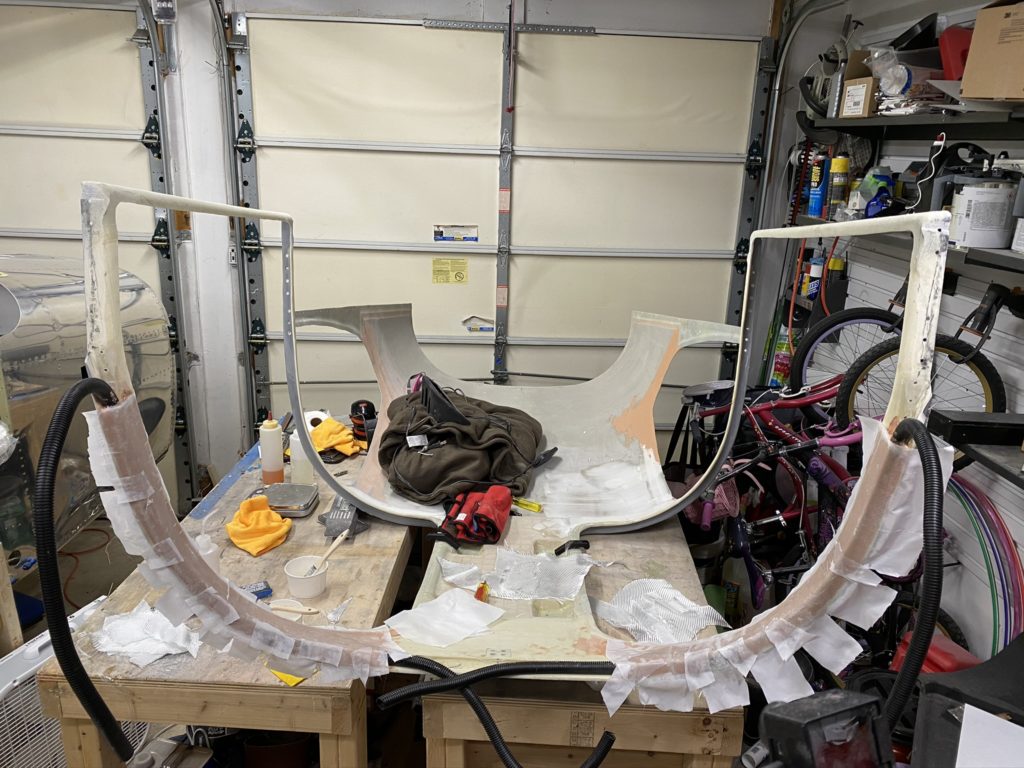
After I thought everything was looking good, I started to spray some rattle can high-build primer from Home Depot to help me get everything cleaned up. (Overhead was taped off when spraying primer). Once I had the inside door openings as well as the pillars and overhead transitions completed, Everything was sprayed with high-build primer and sanded (I think up to 800 grit) using some soft sanding blocks.
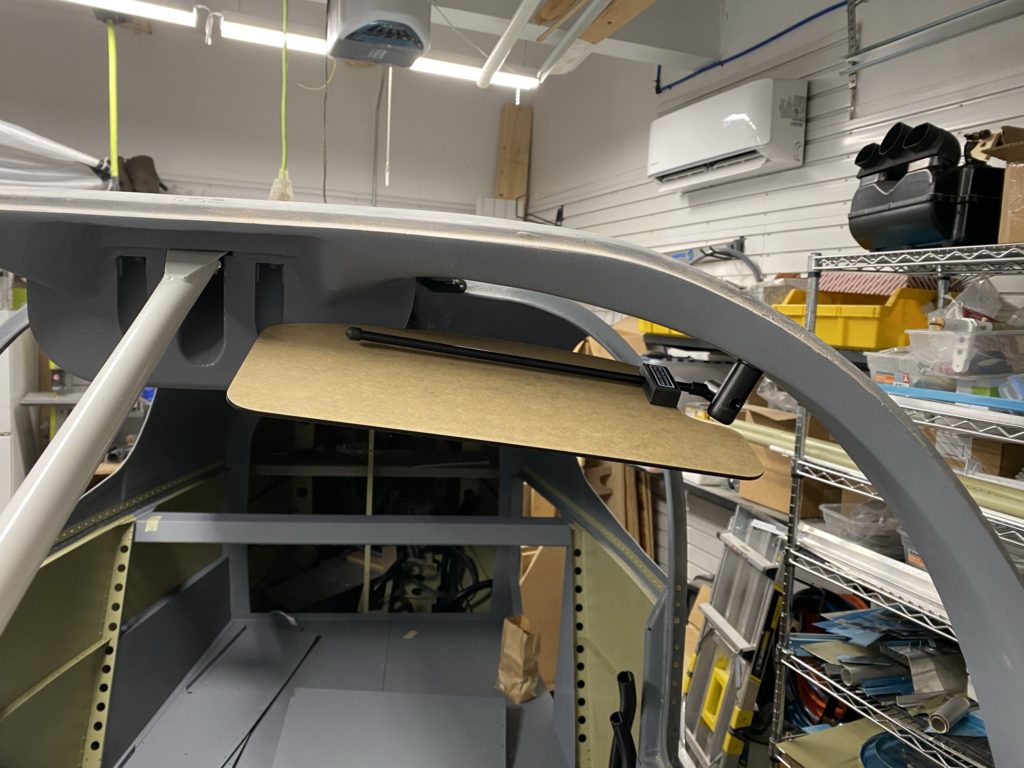
Slightly jumping ahead, here are some photos of the visors mounted. I’ll talk more about finishing the overhead console and switch pod in the next post.