So lots of progress happening over the last few years, blog posts – not so much. I can’t cover everything in a single post, but I’ll try to hit the highlights.
Moved the project to the local EAA chapter hangar at Manassas Airport. Got the engine, and wings mounted. Spent many hours getting avionics and engine sensors installed, including so many little things that I had to do multiple times to get them to my standards.
In April 2023, got into a private T-hangar on the East side of the field, and continued the push to get to “engine start”. Finally had all the parts and pieces in, and got the courage to finally try to start the engine on July 29th.
Everything worked perfectly. I didn’t have my mixture adjusted correctly, and my EGT’s were slightly misconfigured in the G3X (only showed 1 EGT vs 6). Also had a small oil leak from one of the oil cooler lines that I need to tighten up. Planning on a few more engine runs to confirm Primary/Backup systems and to follow “ground run” procedures as I inch closer to completion.
I also joined a local flight club and completed my checkout so I can re-build my proficiency and confidence. Need a few more hours before I update my policy from a build to full-flight. Also need to get my transition training completed. Goal is now to be ready for first-flight by end of the year.
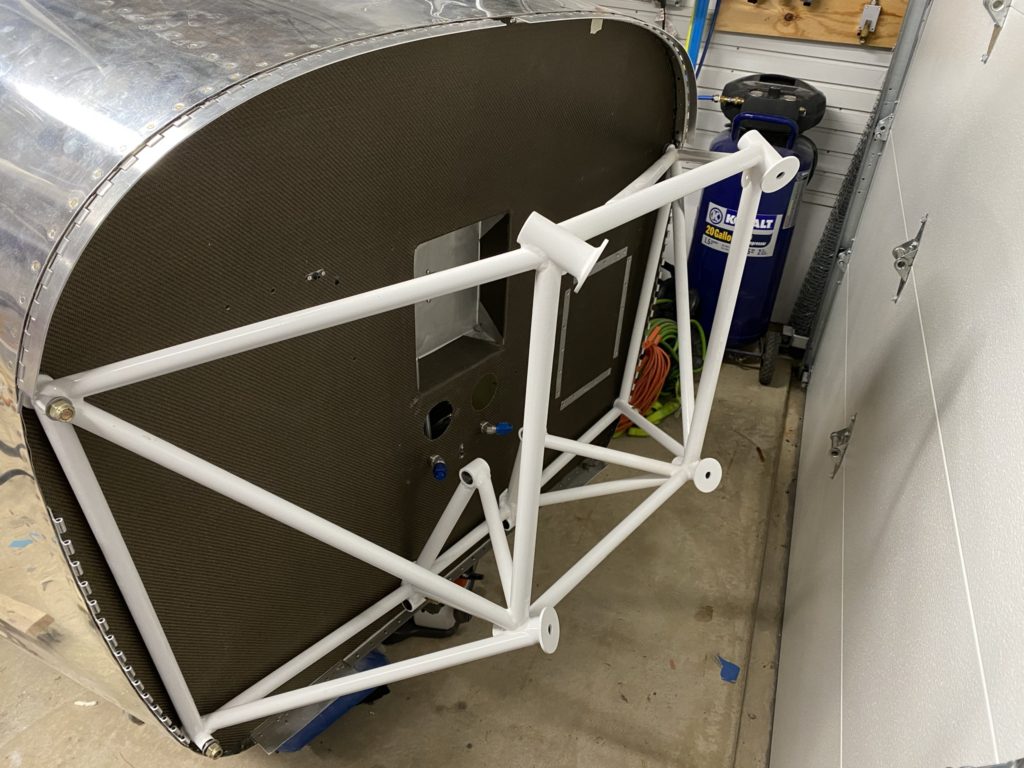
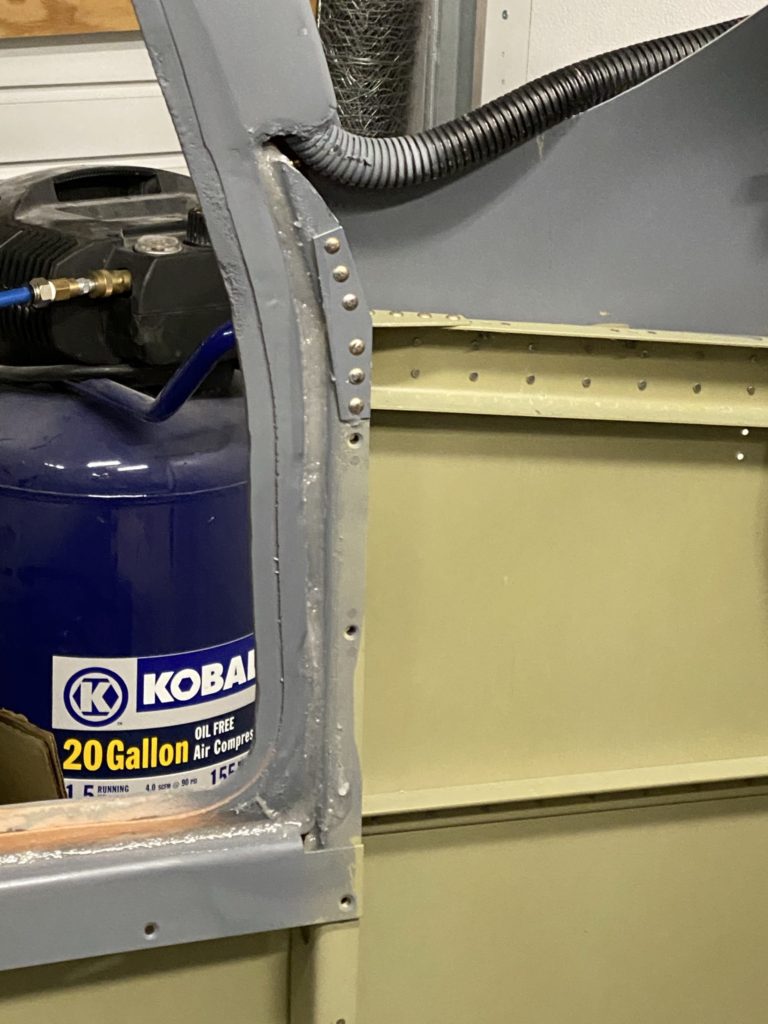
Looking to get the project ready to transport to the hangar, I started to work on the engine mount and landing gear. First step was to go through the process of installing the engine mount weldments. From memory, I believe the process was to drill one of the top mounting holes, then bolt the mount to the firewall. I also traced out where the insulation needed to be cut back so the engine mount will sit flush against the firewall. I then used the engine mount itself as a drill guide to drill the second top mounting bolt. With both top locations bolted down, I then drilled the final four mounting location.
Then it’s time to remove, deburr, clean up the insulation, etc. I then jumped ahead to build my oil cooler mount. Since I decided to go with an air conditioner, I had elected to go with an upgrade oil cooler from airflow system. This did require a minor update to the oil cooler mount to fit the larger oil cooler. I also installed a “turning vane” in the mount to help direct airflow at the advice of Airflow systems. I also traced out the mounting for the oil-cooler so I could trim back the insulation where I’m going to rivet the oil cooler down.
With everything cleaned up and deburred, I then permanently mounted the engine mount to the airframe with the help of some friends. This gave me very little room to move around the garage for a while.
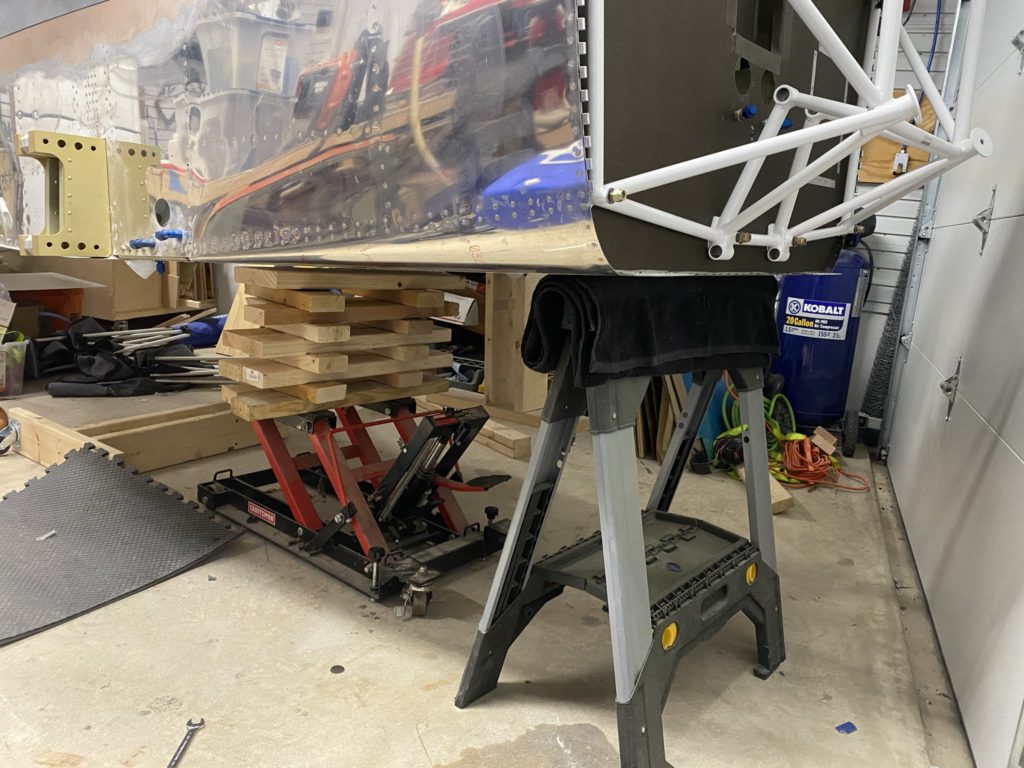
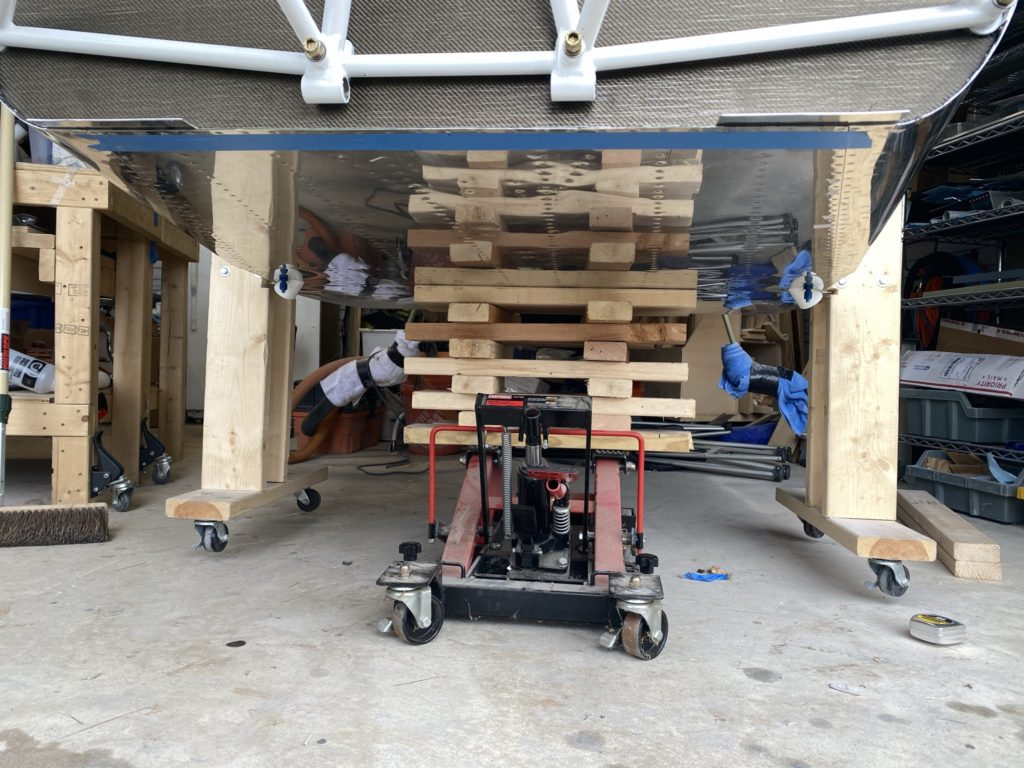
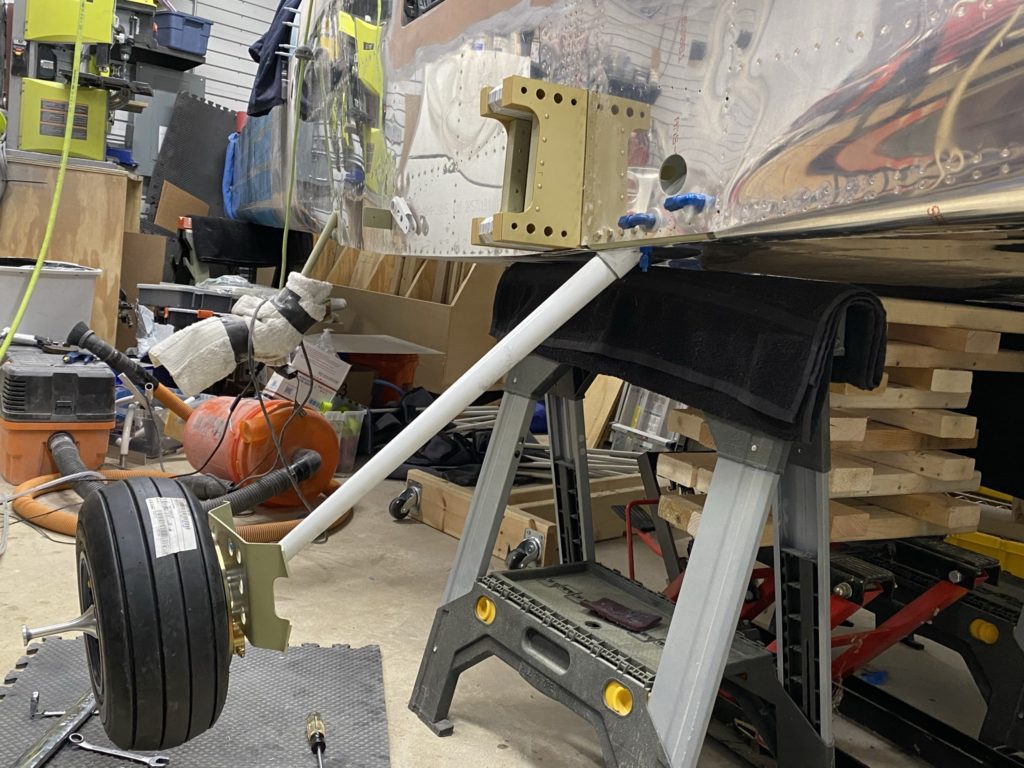
Next step was to start mounting the landing gear to the fuse. Took me a bit to come up with a good way to lift the fuse high enough to allow me to slide the landing gear legs in. I’m glossing over the build of the wheels and fairing brackets a bit. I used the Matco wheels and basically followed their instructions for assembly. Even so I think I still didn’t fully ‘understand’ what they were saying and had to take the wheels off a few times to get everything on correctly.
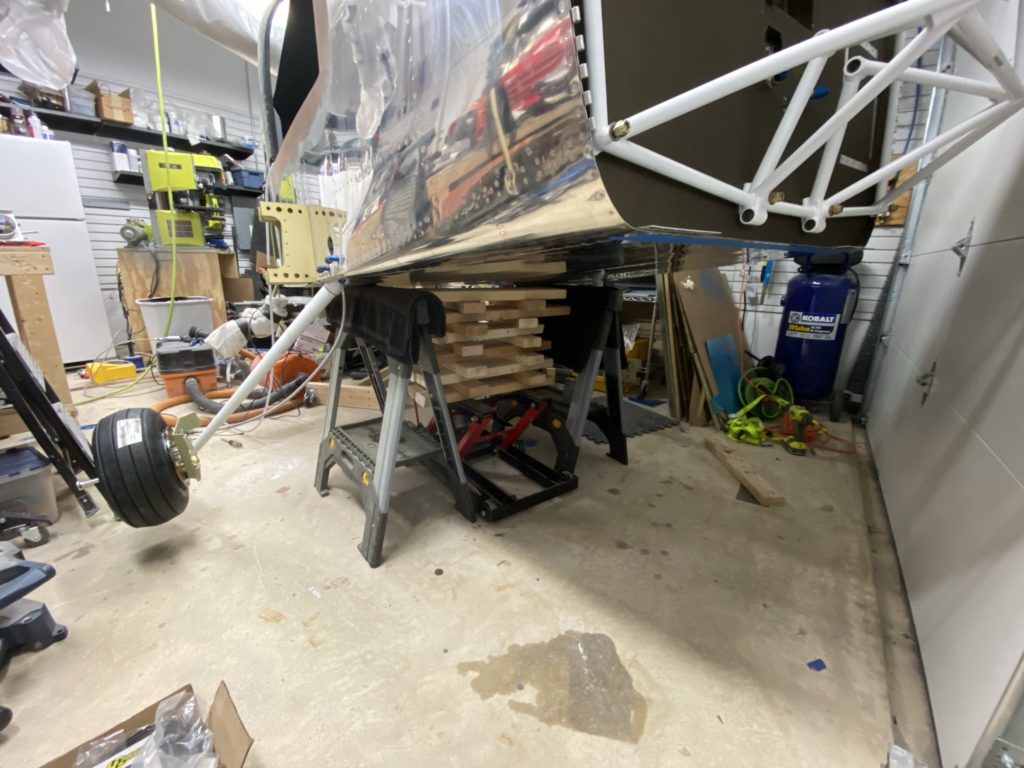
My final solution was to use my motorcycle jack and some 2×4 and 2×6 for cribbing. It was a little sketchy, but it did the job. My family helped keep an eye on things so nothing tipped over while I jacked the fuse up, installed the landing gear and got it lowered back to the ground.
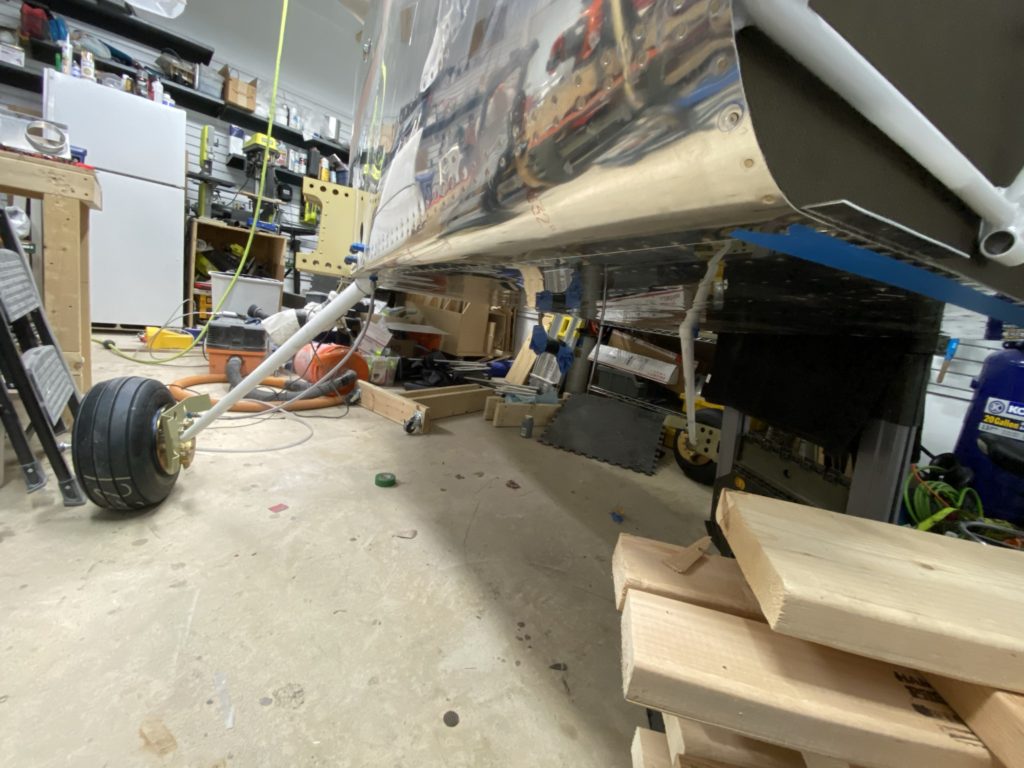
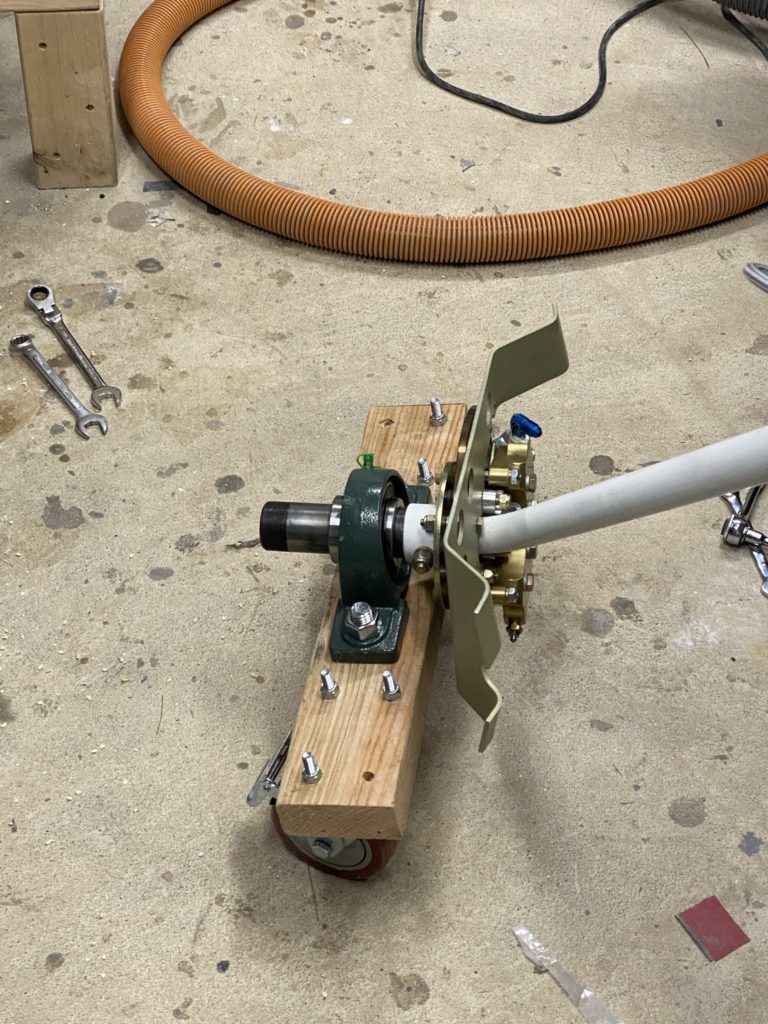
About this time, I realized that I could now no longer get the airplane out of the garage. I also couldn’t move it around at all and decided to try to make something so I could move the plane side to side. I found some pillow block bearings that looked like they could allow me to make a “skate”. I know others did something similar that looked a lot nicer. This was really only needed to get me through a few months before I moved to the hangar. With the help of Amazon, some spare lumber and casters, I swapped the tires, for the skates. Now I could shift the airplane around a bit depending on where I was working.
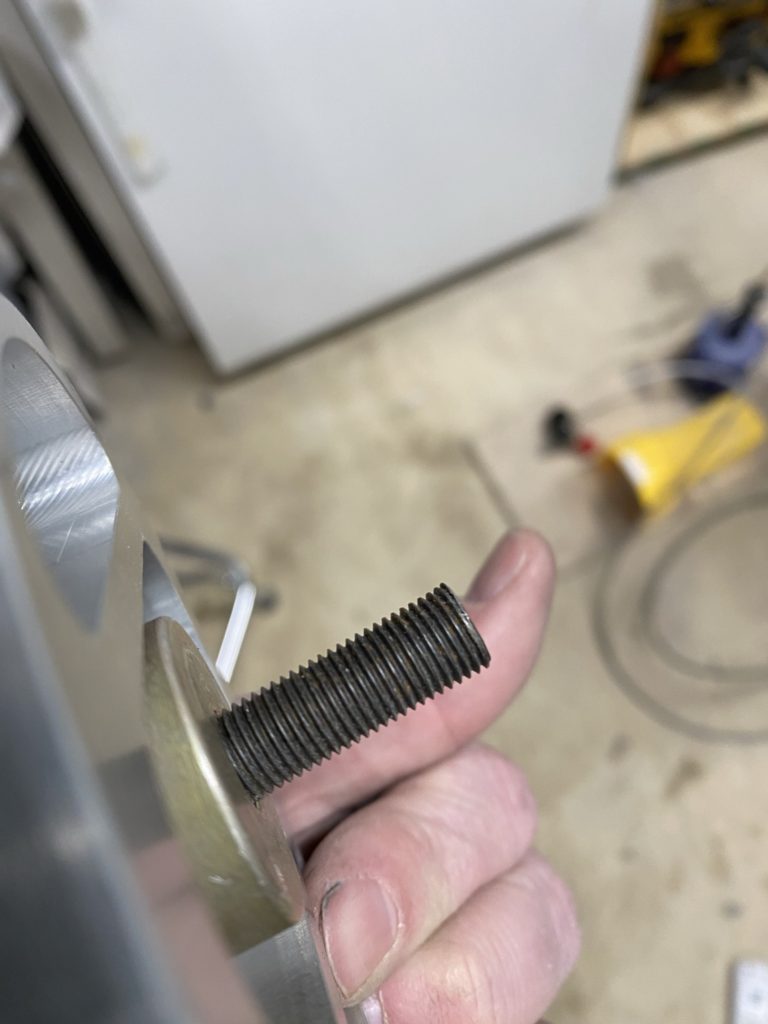
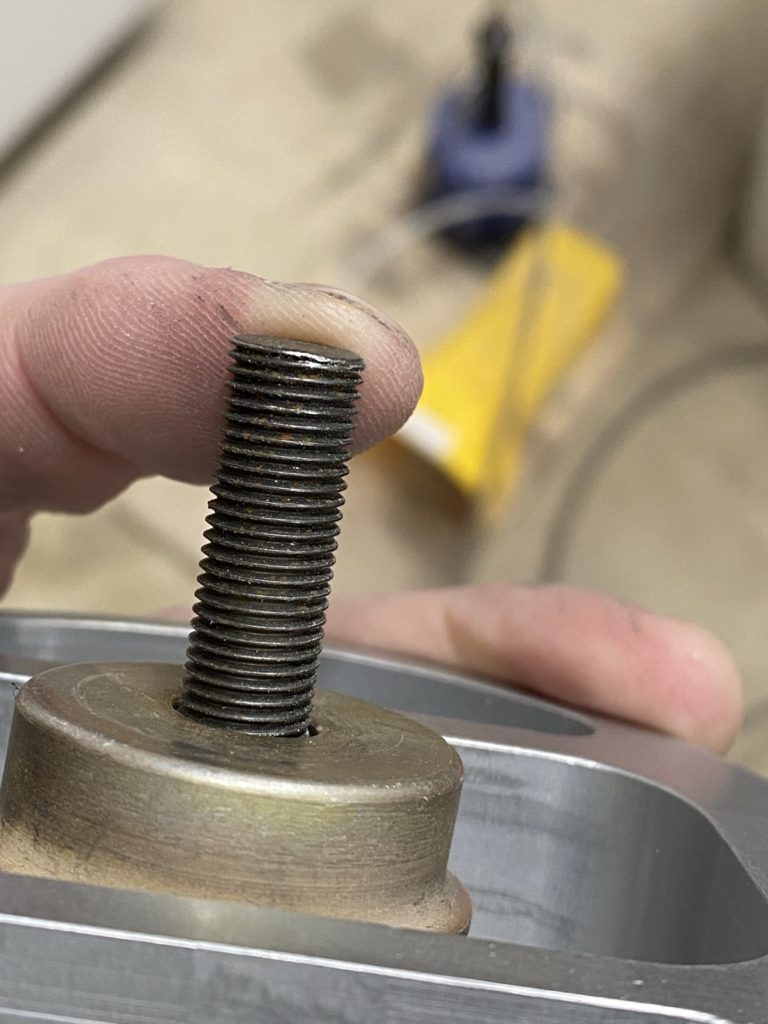
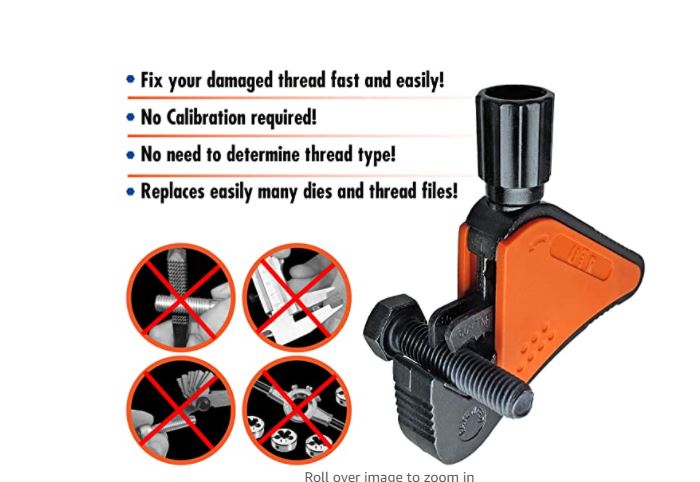
I started to look at the nose gear only to realize that the threads on the end of the nose wheel fork were damaged. After to talking to Vans, they suggested I try to file the threads so I could get the nut started or other “solutions”. I ended up getting a thread repair tool from Amazon that worked well to repair the damaged threads. After using it, I was finally able to get a nut installed.
Next few steps are installation of windows, windshield, and getting everything ready to move to the airport.
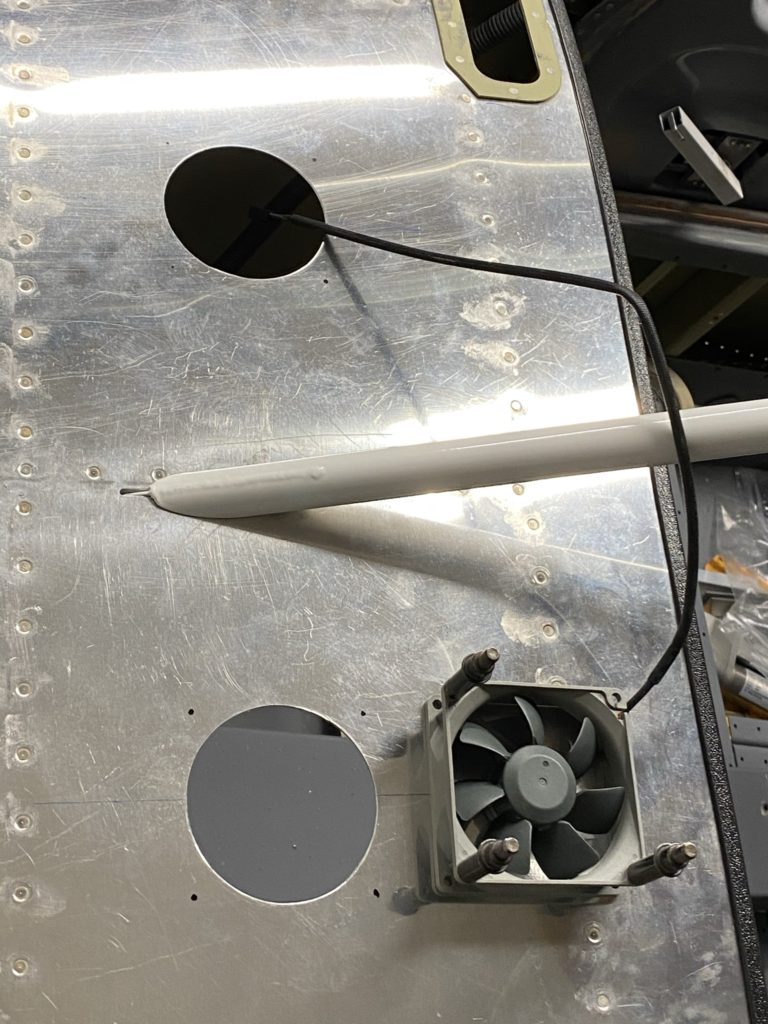
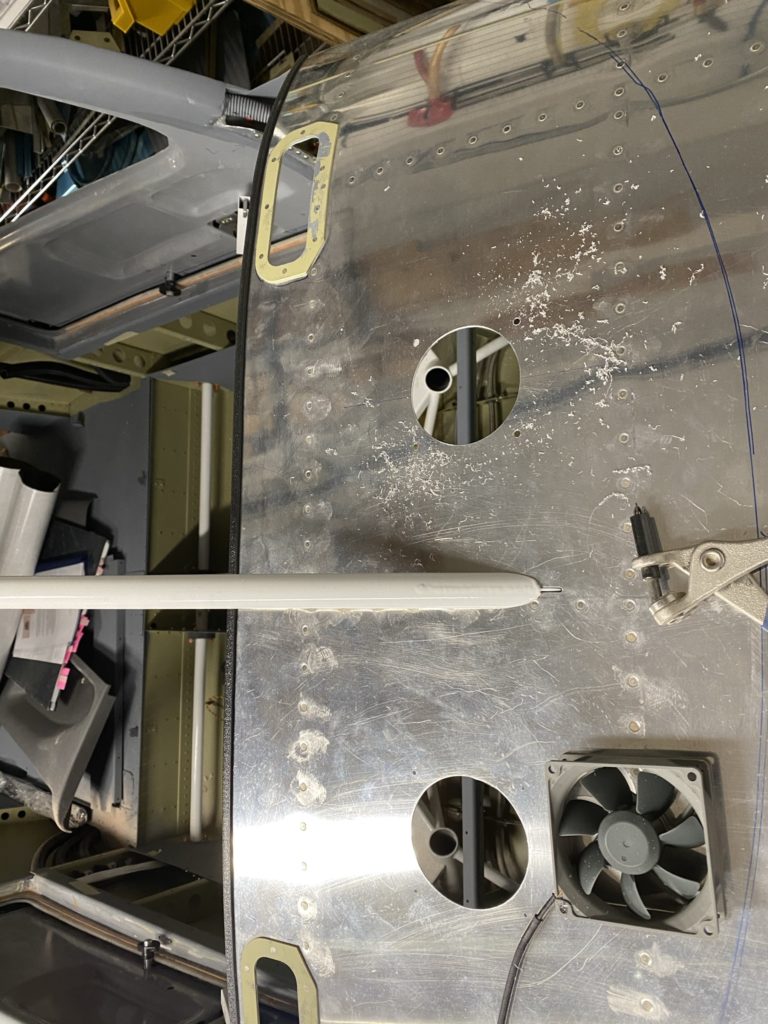
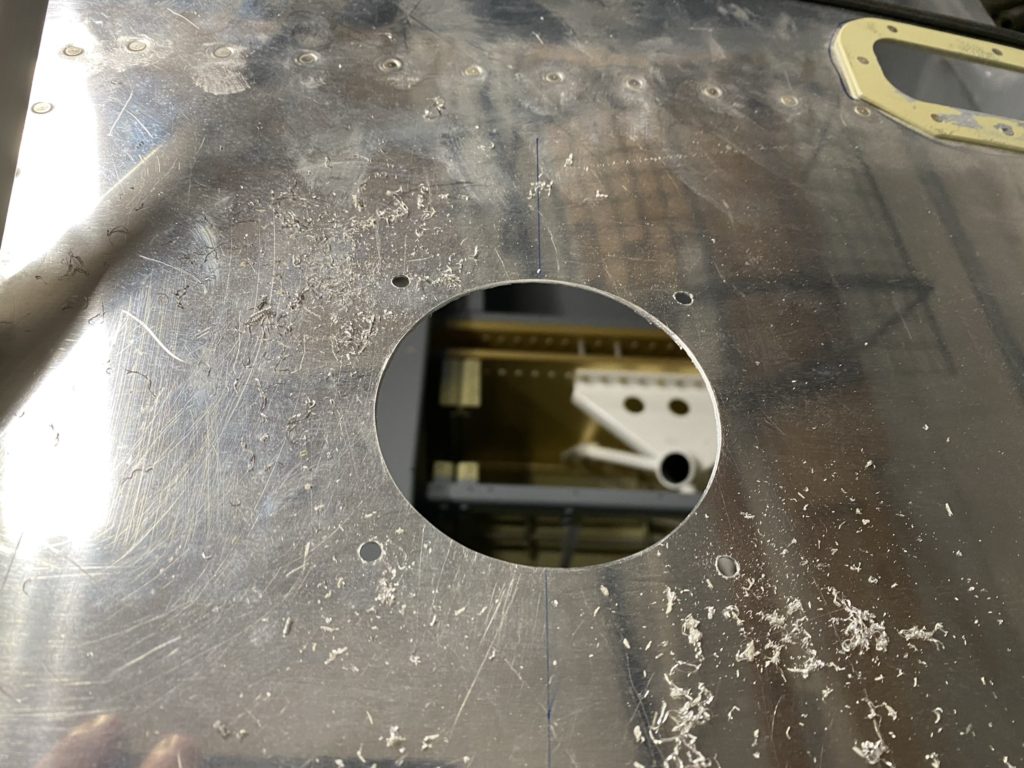
Next item on my to-do list was to cut the holes in the instrument panel for my defrost / avionics fans. I briefly put the windshield on the airframe to mark out where it looks like it will sit to ensure I don’t do something dumb. Next I measure where the hole centers should be off the center rivet line to try to make the fans symmetrical. I then drill a pilot hole at the center mark, then follow with a hole-saw in my cordless drill to make the larger hole. Using the fan as a template, I then mark out where the four mounting holes need to be, then drill one of the holes. I cleco the fan in place from underneath and use the fan as a drill guide to final drill the remaining 3 holes.
I plan to dimple the holes and install countersunk screws to keep the glare shield flush. I think I’m going to use the Aerospot Products glareshield, or possibly the one from SFSport Aviation instead of my original thought of using automotive bed-liner paint.
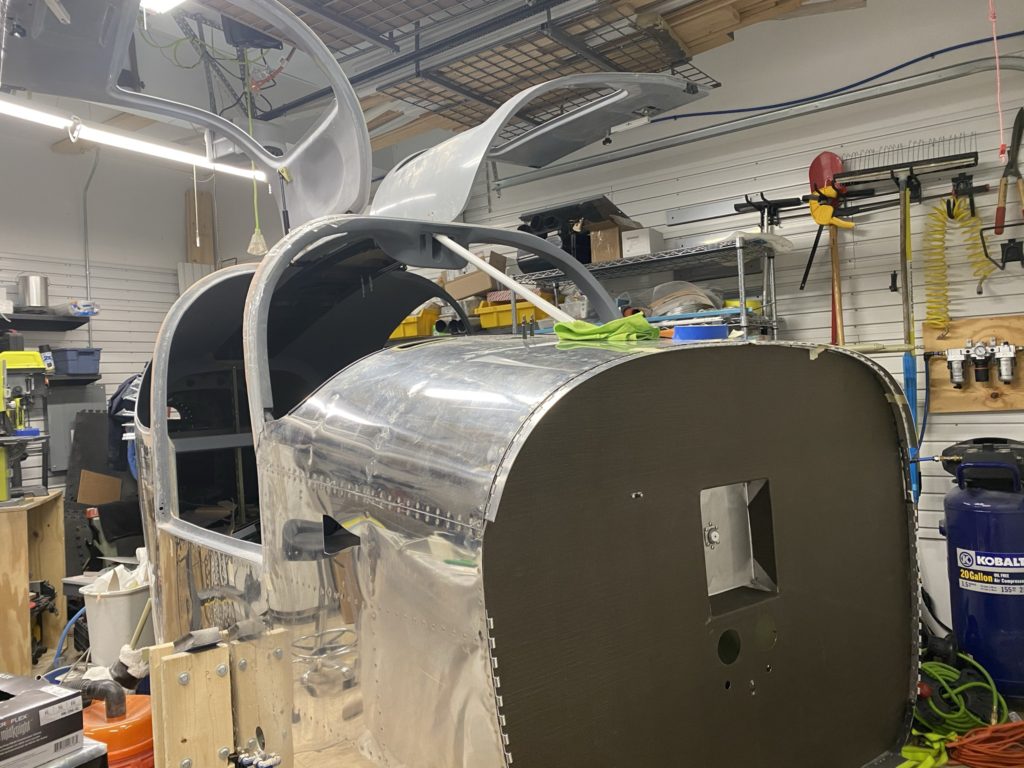
I also decided to change my mind regarding the insulation I am installing on my firewall. Originally I purchased fiberfrax and stainless steel foil and use that as my insulation, but decided to go with lavashield instead. I was thinking the lavashield looked nicer and was easier to install vs the fiberfrax method. Nothing scientific and I’m sure the fiberfrax is superior. I just didn’t like the look of the SS foil over the insulation. Honestly I think the lavashield looks like carbon fiber and at least provides a little insulation value over stock.
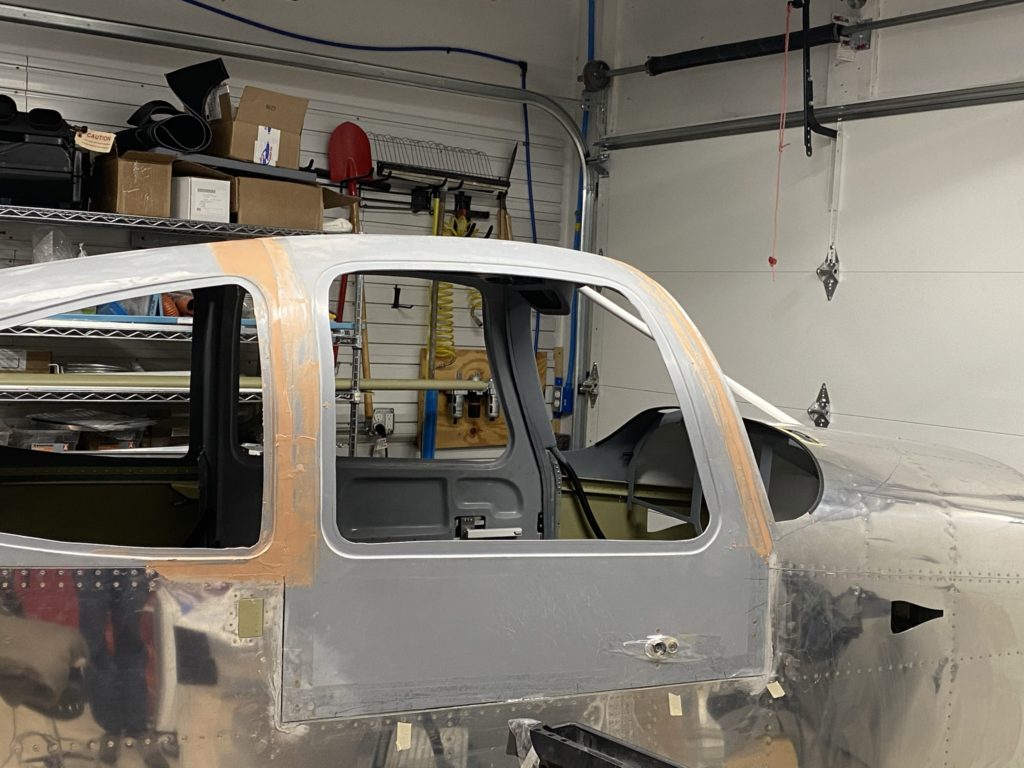
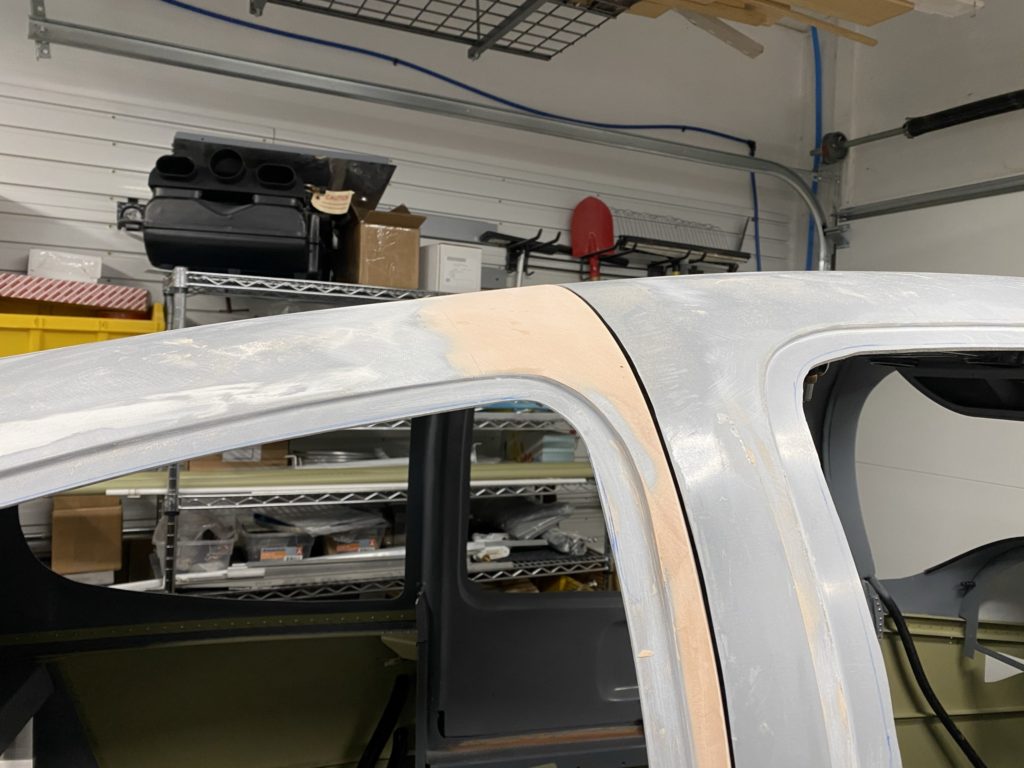
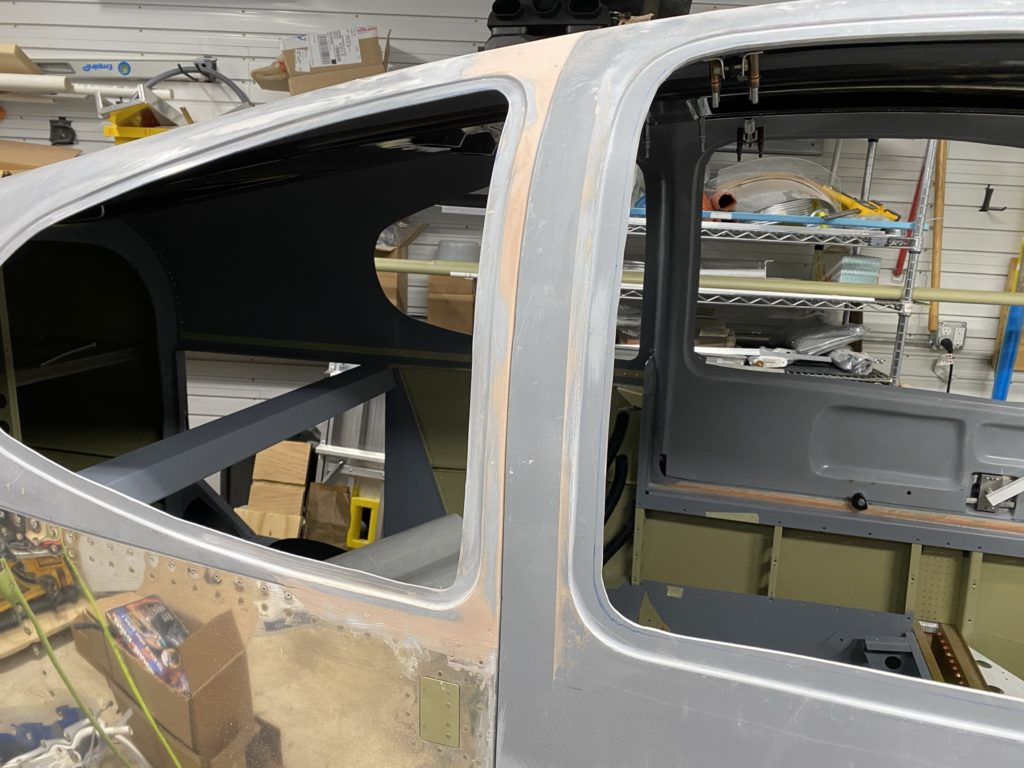
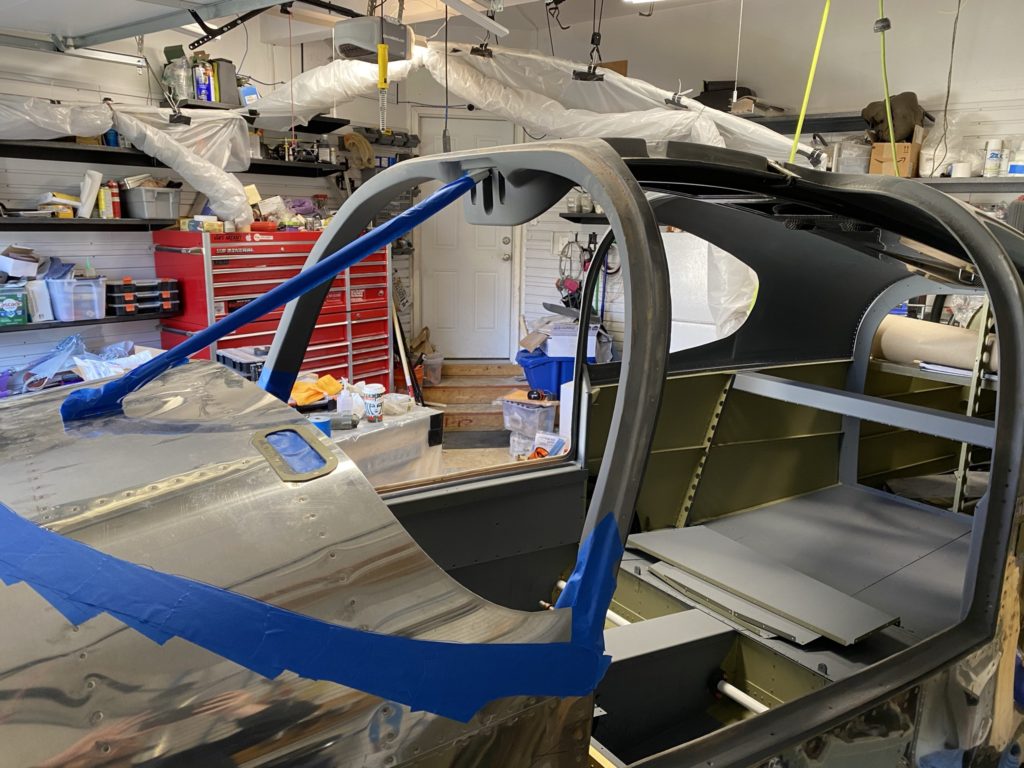
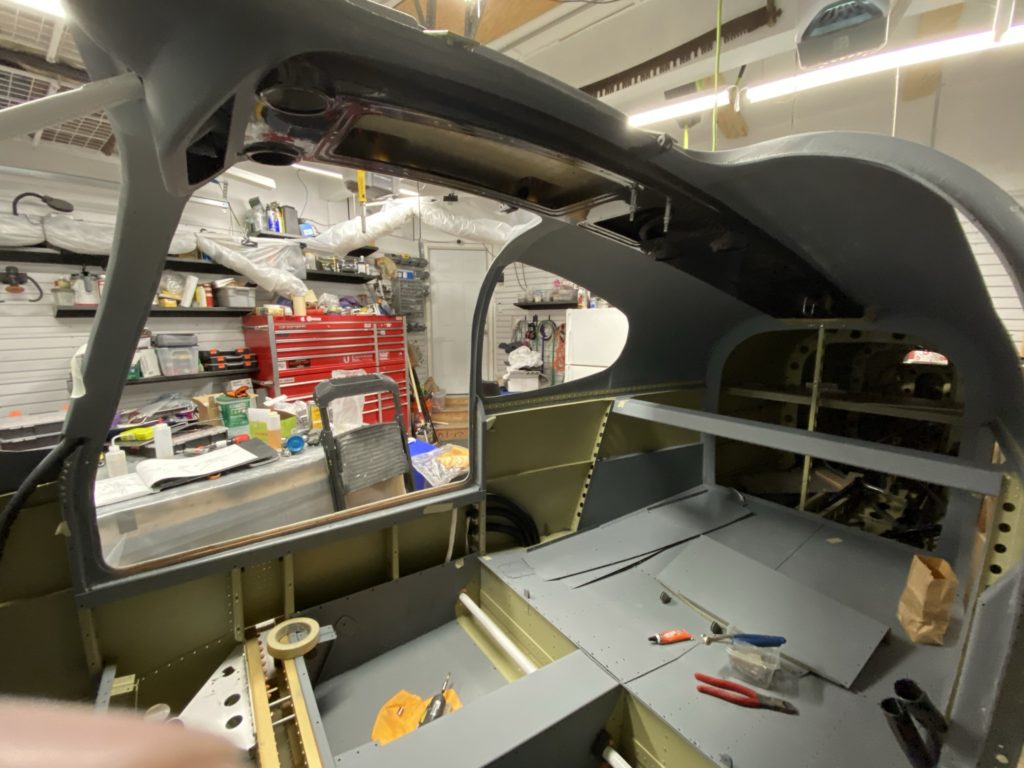
With those items checked off the list, I go back to filler and sanding on the doors and cabin top. I had a very slight gap between the cabin top joggle and the fuse skins that was not due to interference or trimming the cabin top enough, it just didn’t sit completely flush against the skins. I filled this with a little Aeropoxy Light and also decided I was going to cover the blind rivets on the outside of the skin with filler as well to make things look nicer. Again very thankful for the AC/Heat in the garage to make life easier as I sand and blend the cabin top.
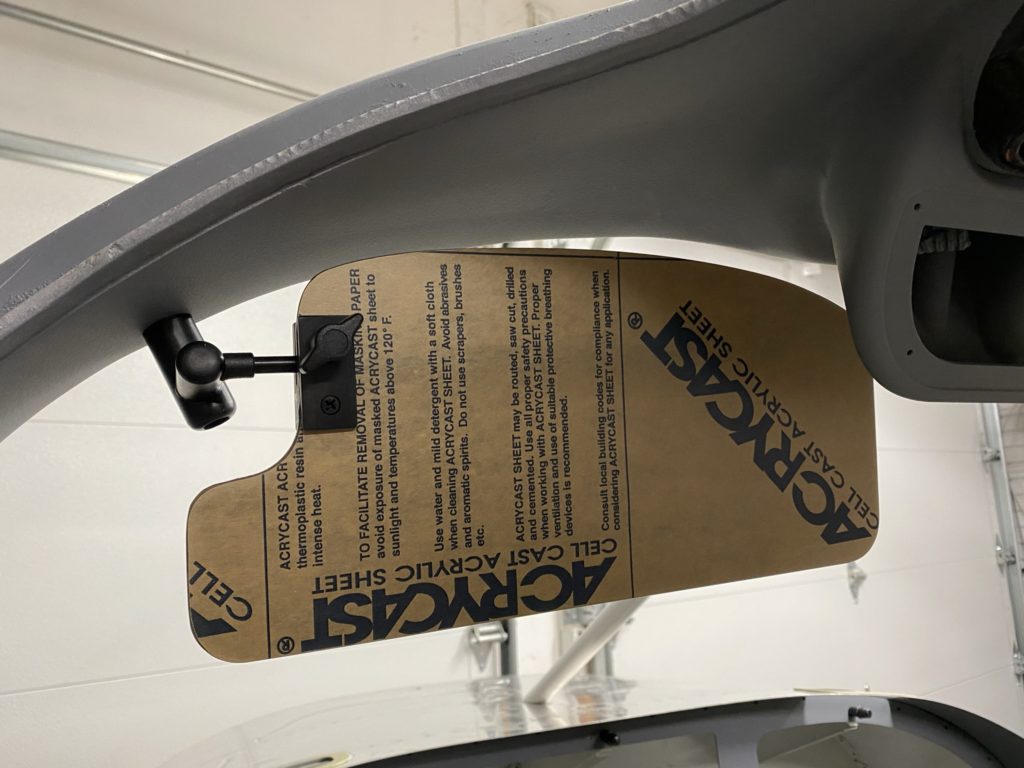
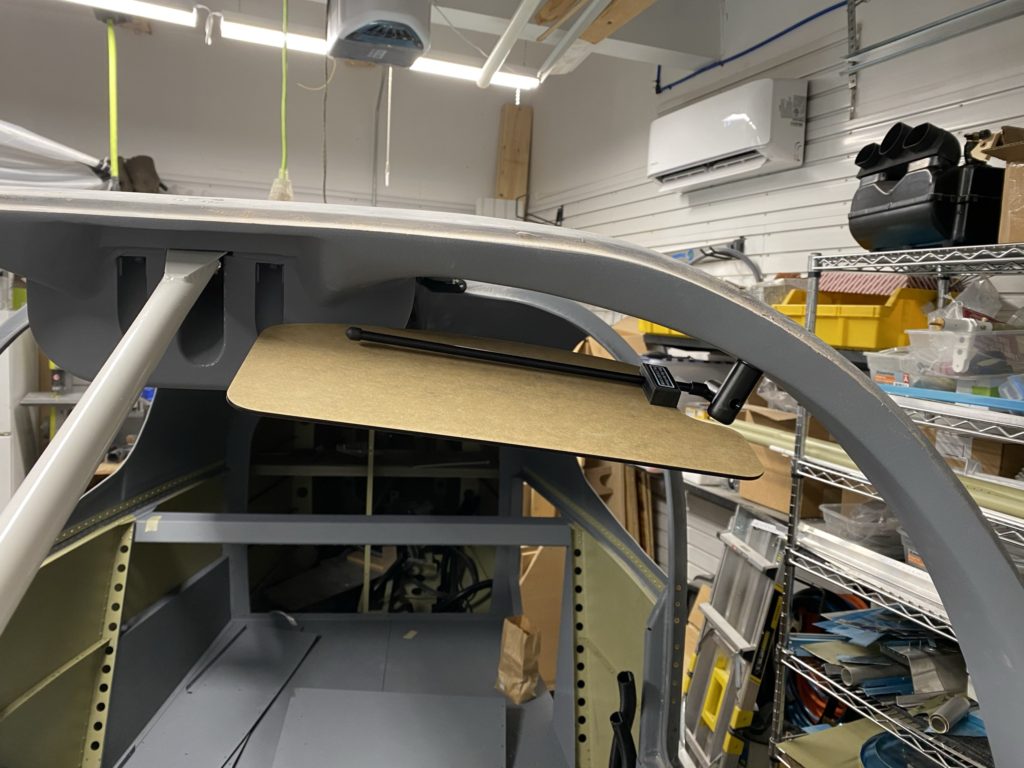
With the cabin top installed, I can start looking at some of the next items on the to-do list. To start, I decided to temporarily install my sun visors to make sure that they fit as expected. This was really a silly exercise as I had done some preliminary testing, but it’s always nice to see that things worked as expected.
I do realize I have to swing them down a bit to get past the switchpods, but that’s not a huge deal. If it really does bother me in the future, I can always cut the plexi down a bit on that corner.
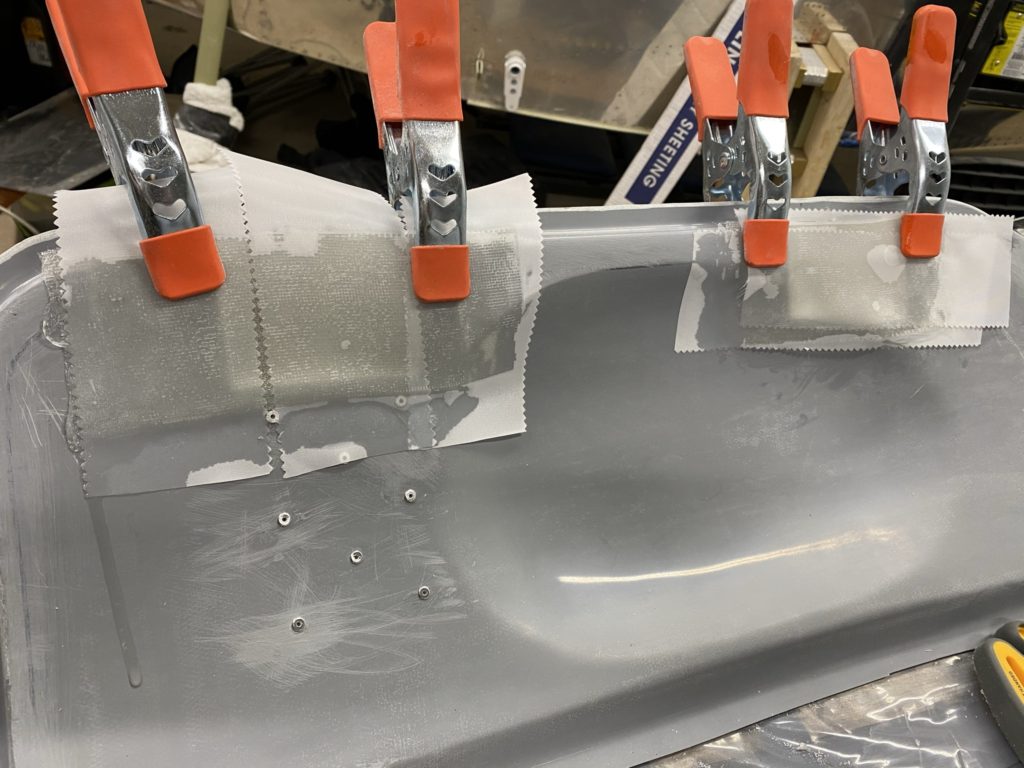
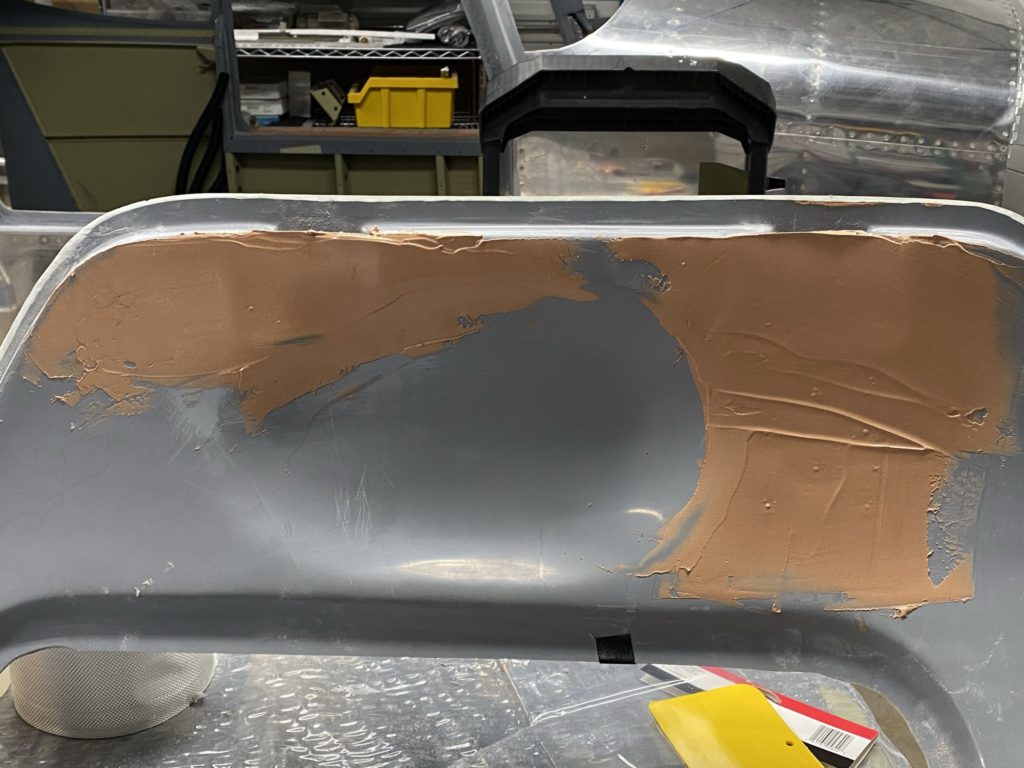
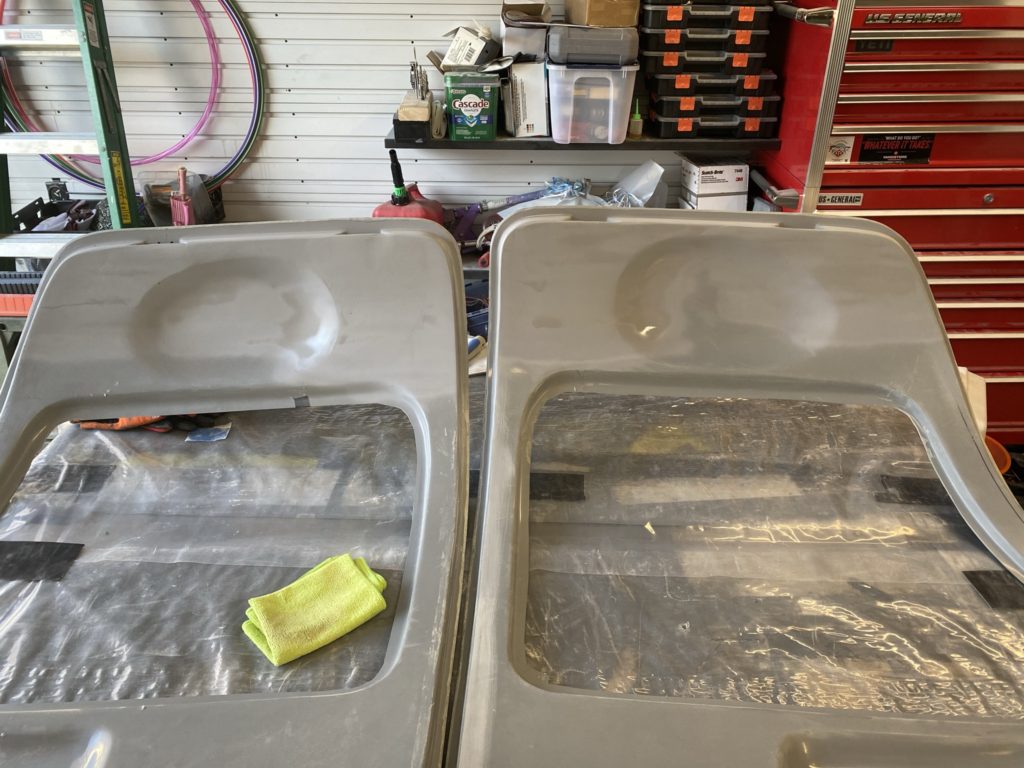
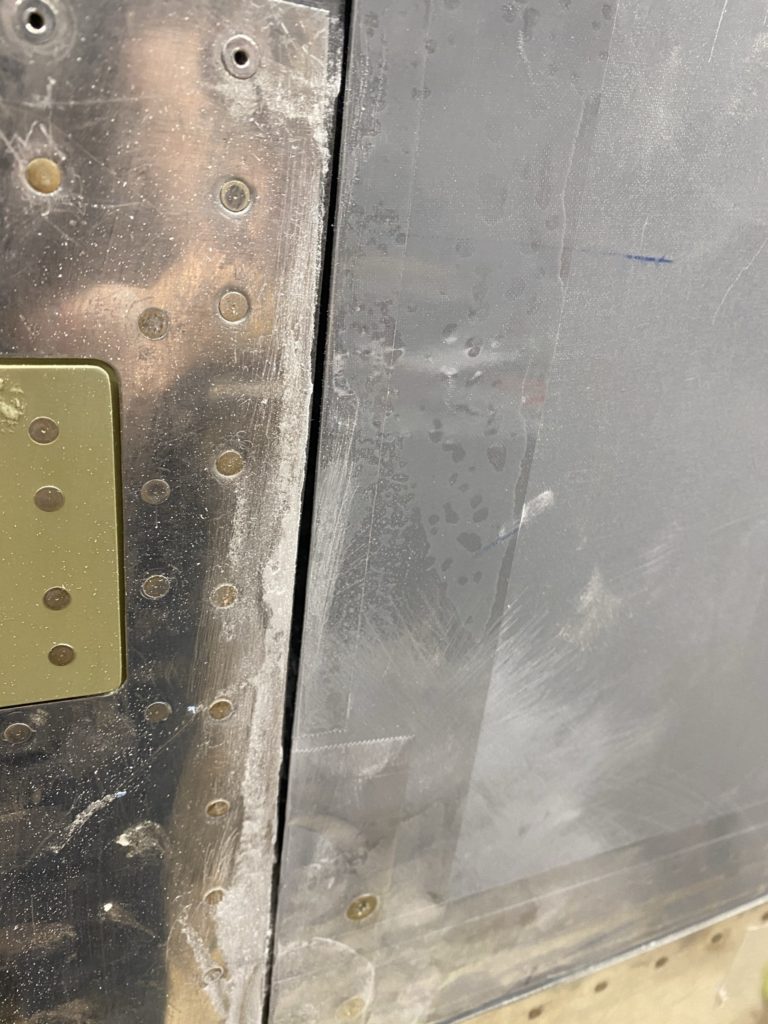
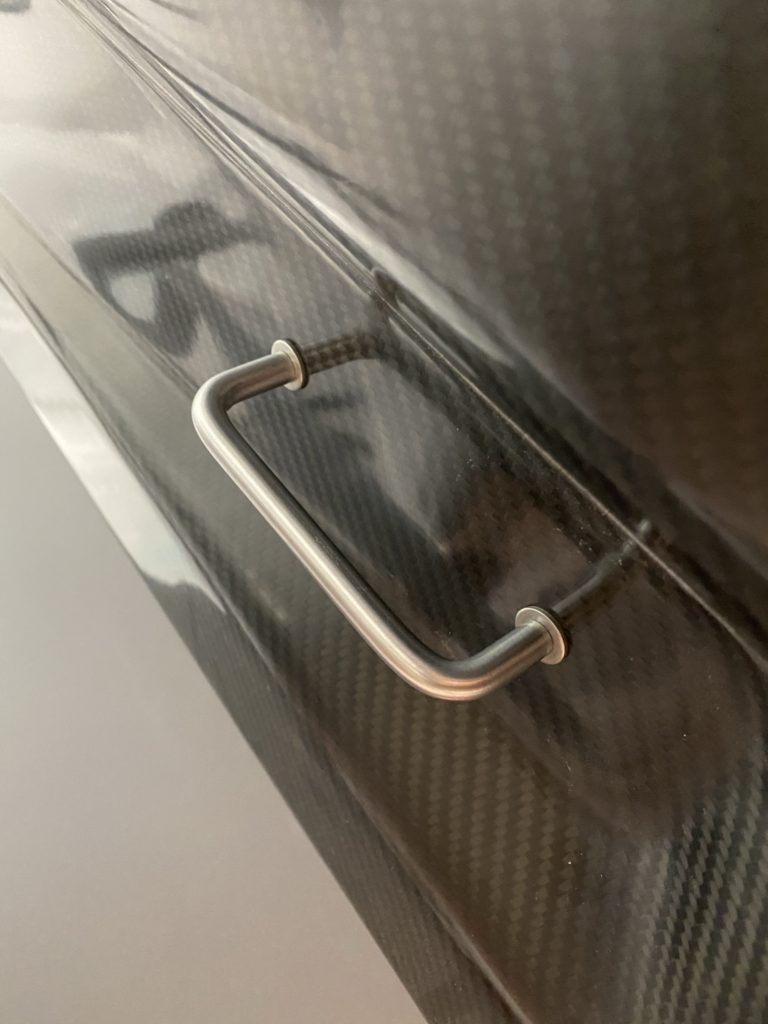
With that fun step done, I then switched focus to the doors. Since I’m going to do the McMaster Carr door seals, I needed to close the hinge pocket at the top of the door. To do this, I made some pre-preg fiberglass strips that I was able to install over the hinge pockets. I used clamps to keep these strips from sagging and allowed them to cure. I then used some Aeropoxy Light to feather the edges and make this change appear seamless. I also put some filler over the blind rivets for the door strut bracket just to make things look a little nicer. After a few rounds of filler and sanding, I sprayed it with grey primer and called it done. (I’ll come back to paint with the same interior paint I used in the cabin once I’m 100% done working on the doors).
Making the coverplates for the door hinges
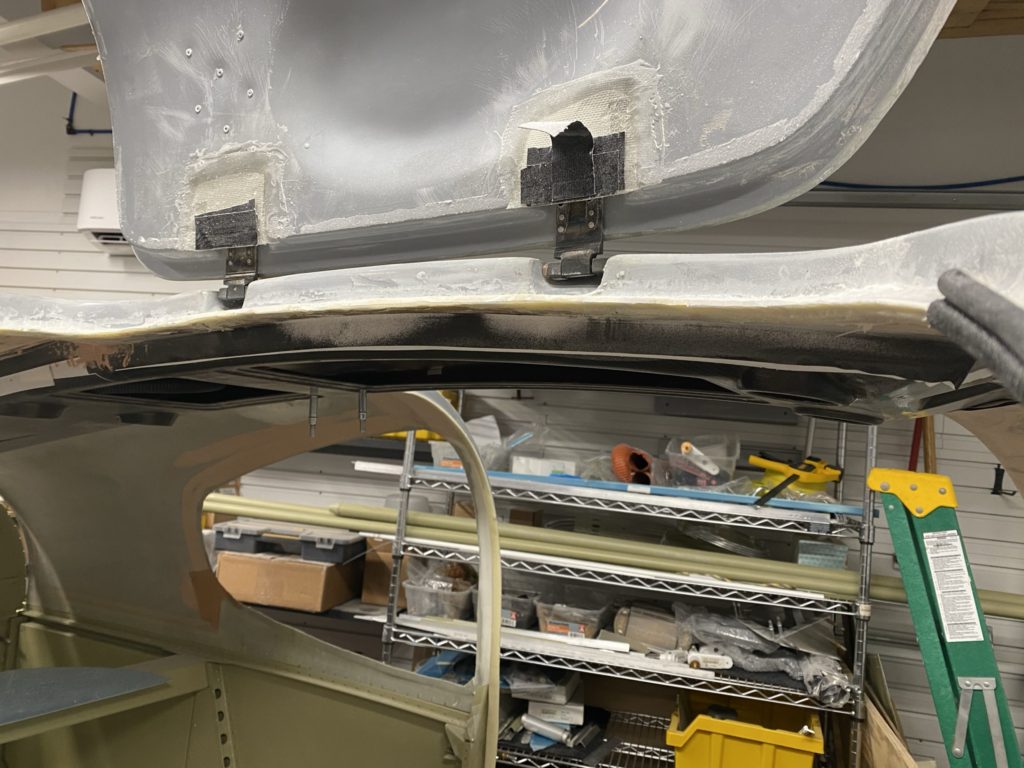
Cover plates installed and test fit. You can just see the nutplates I used.
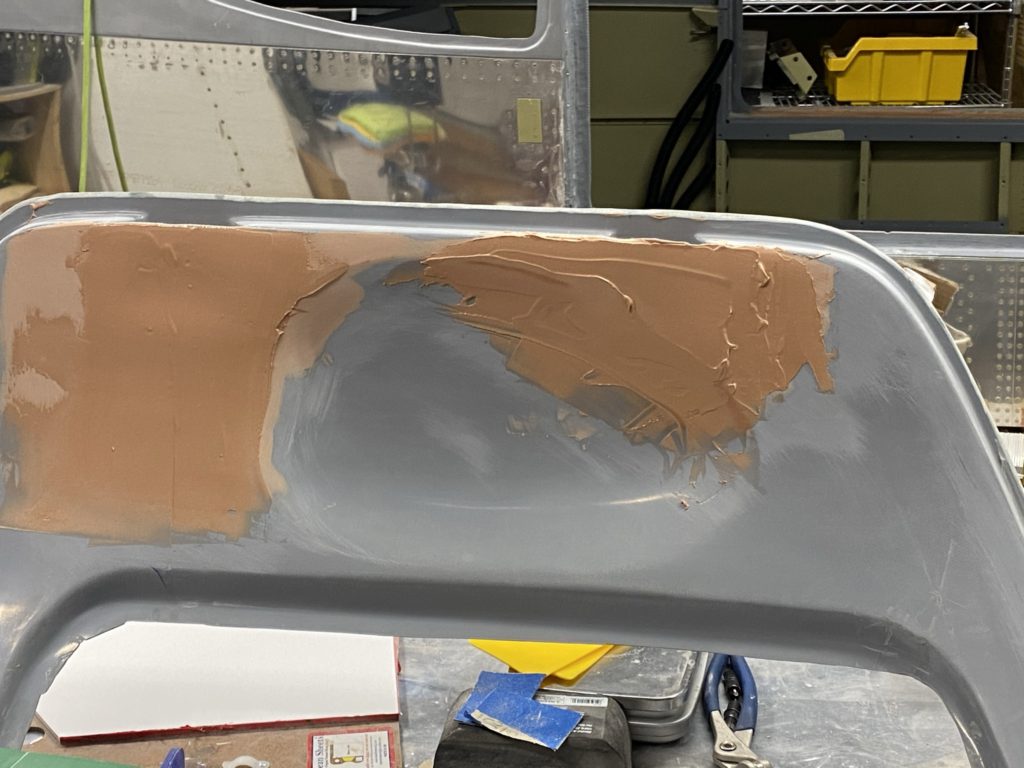
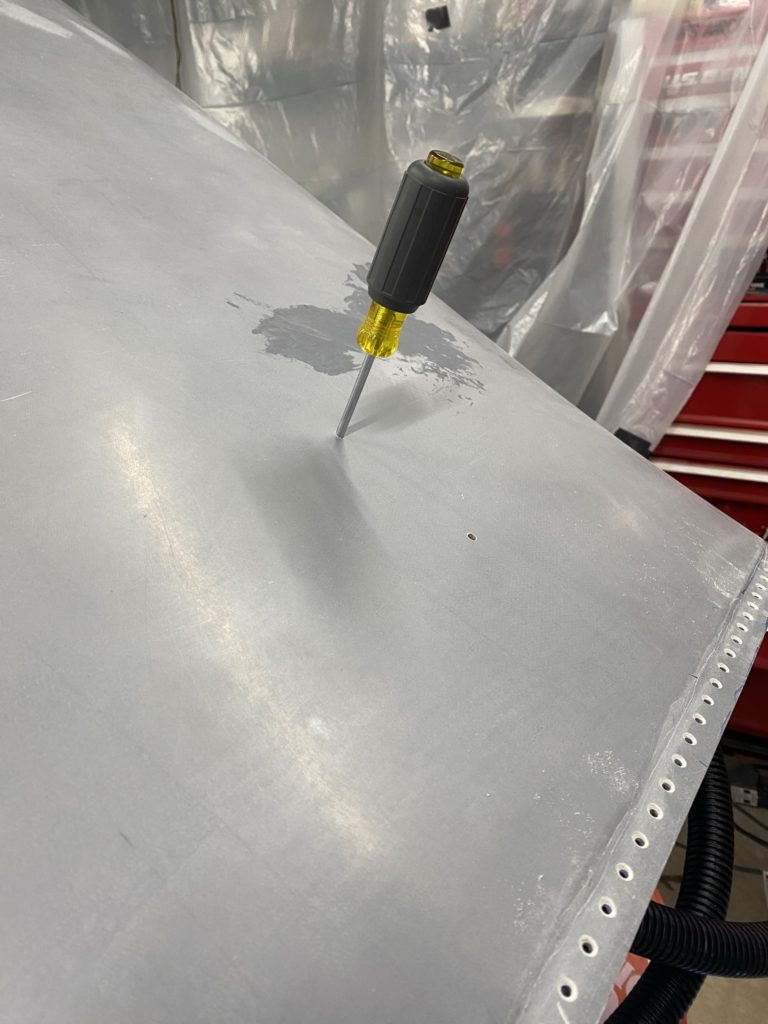
Beginning to blend everything with filler
Primed, looks good.
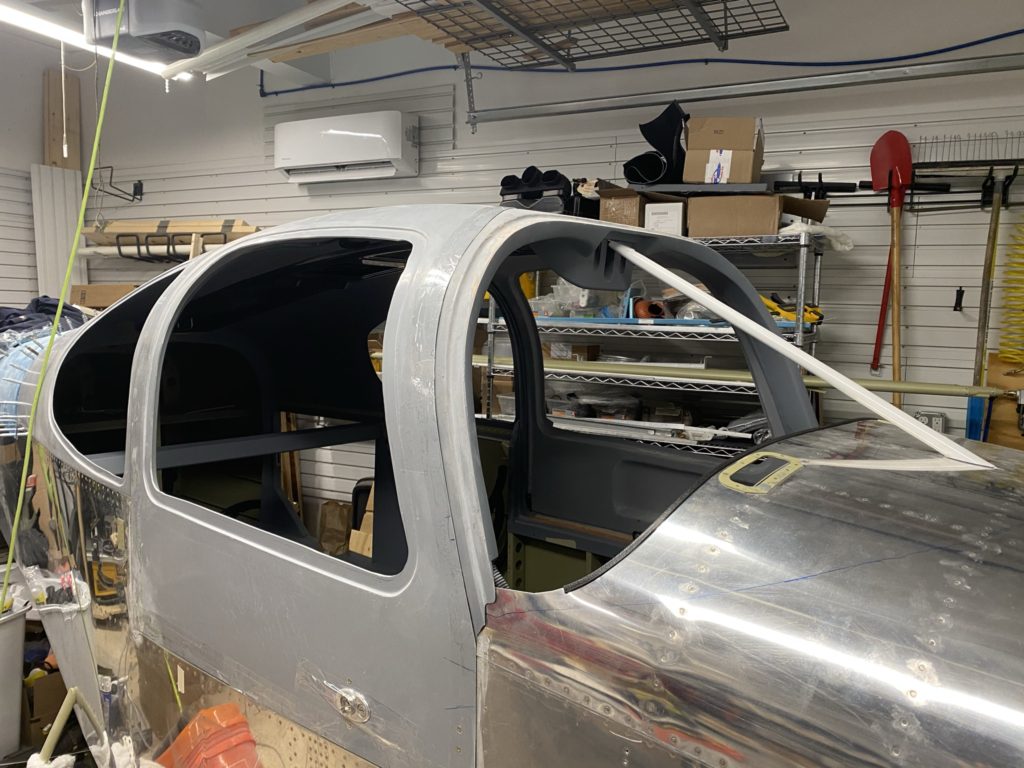
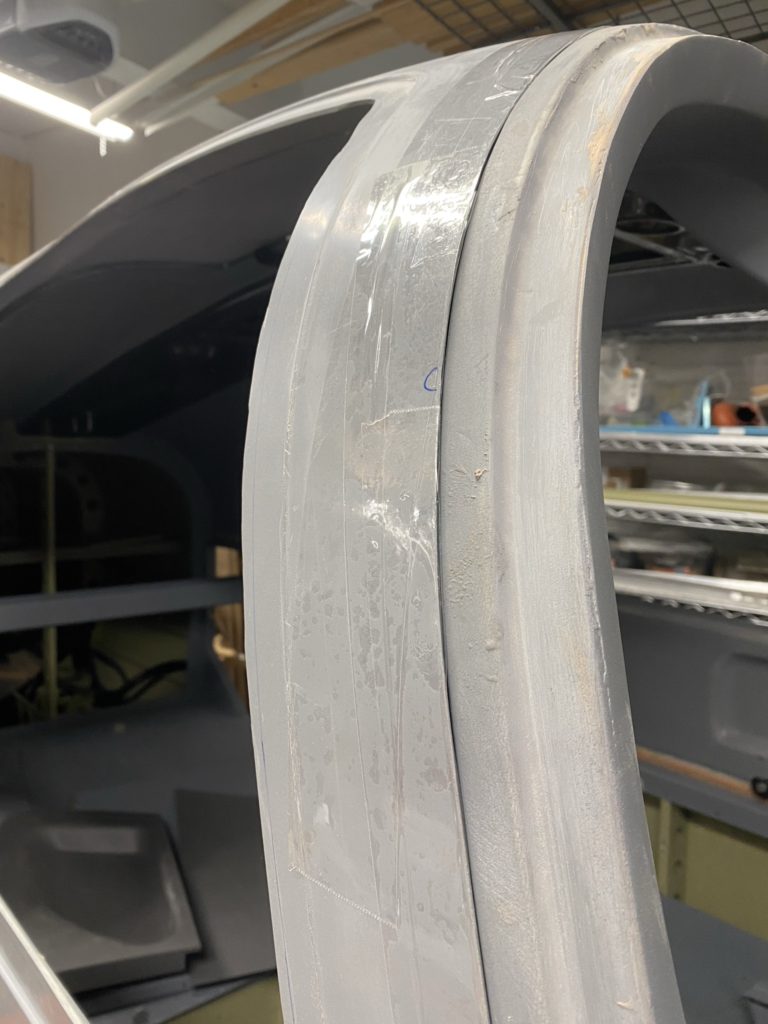
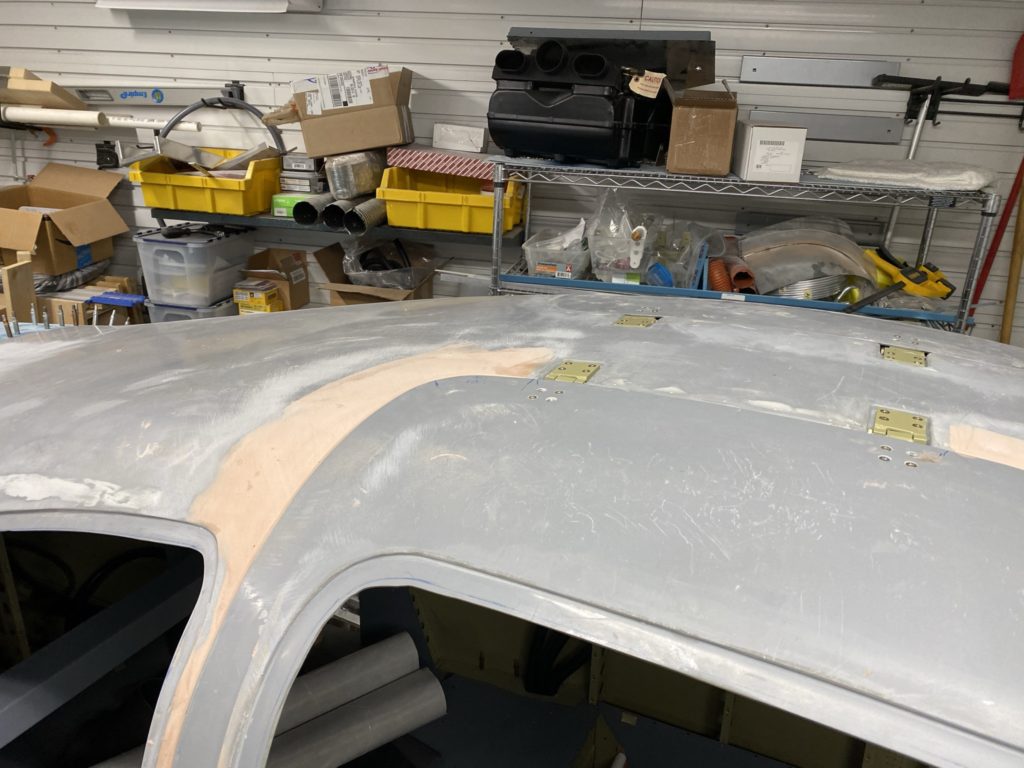
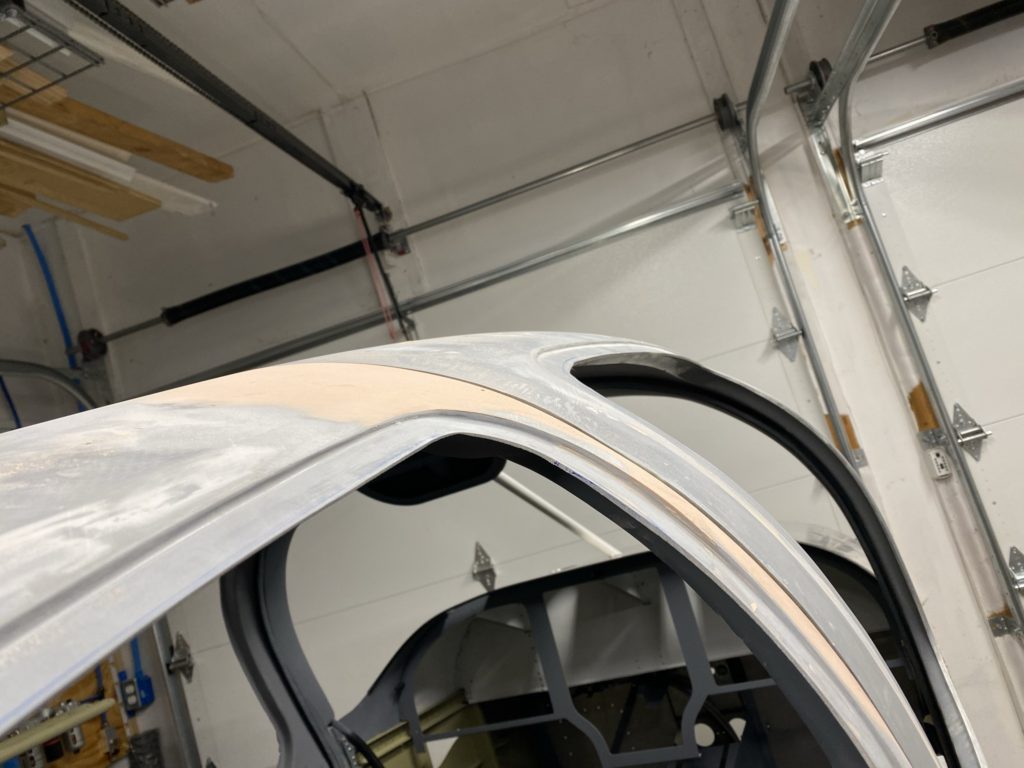
With the doors installed on the cabin top, it’s time to start working on blending the doors to the cabin top. Being careful not to bond the doors to the cabin top, I begin to slightly build up the cabin top edges to match the door edges. Lots of sanding applying filler and sanding it away.
Hope the doors come apart once this cures!
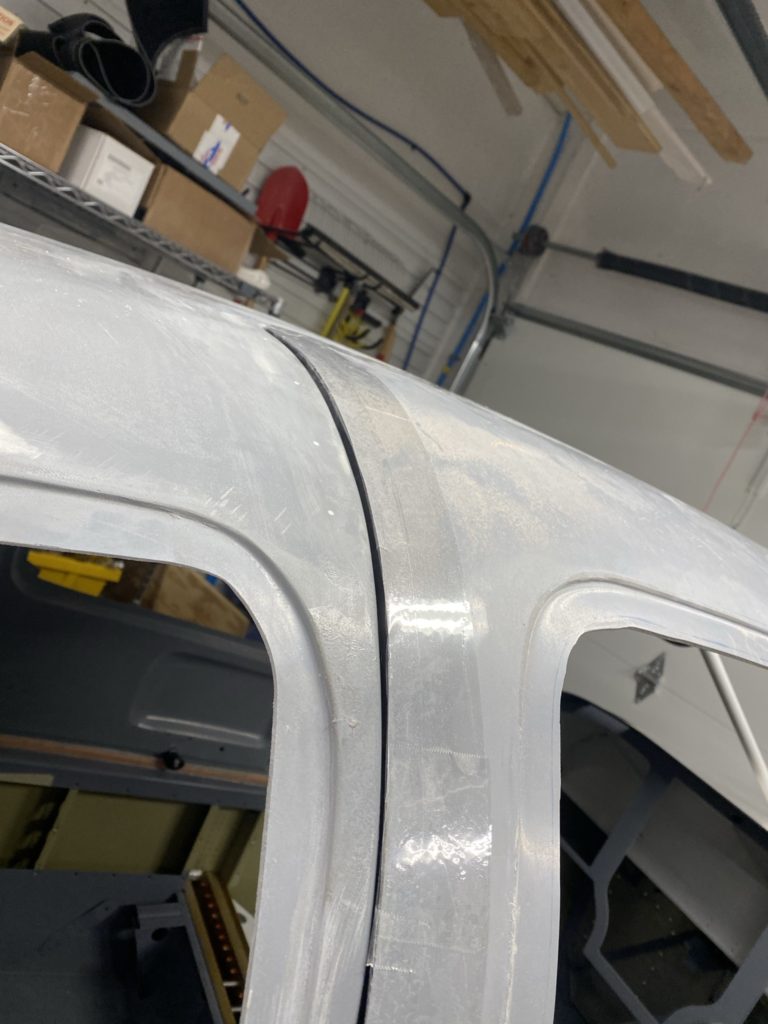
I repeated this on the pilot side and overall things look a lot better. I’m not shooting for laser perfection, but looking good from a few feet away. Still have more work to do, but making progress!
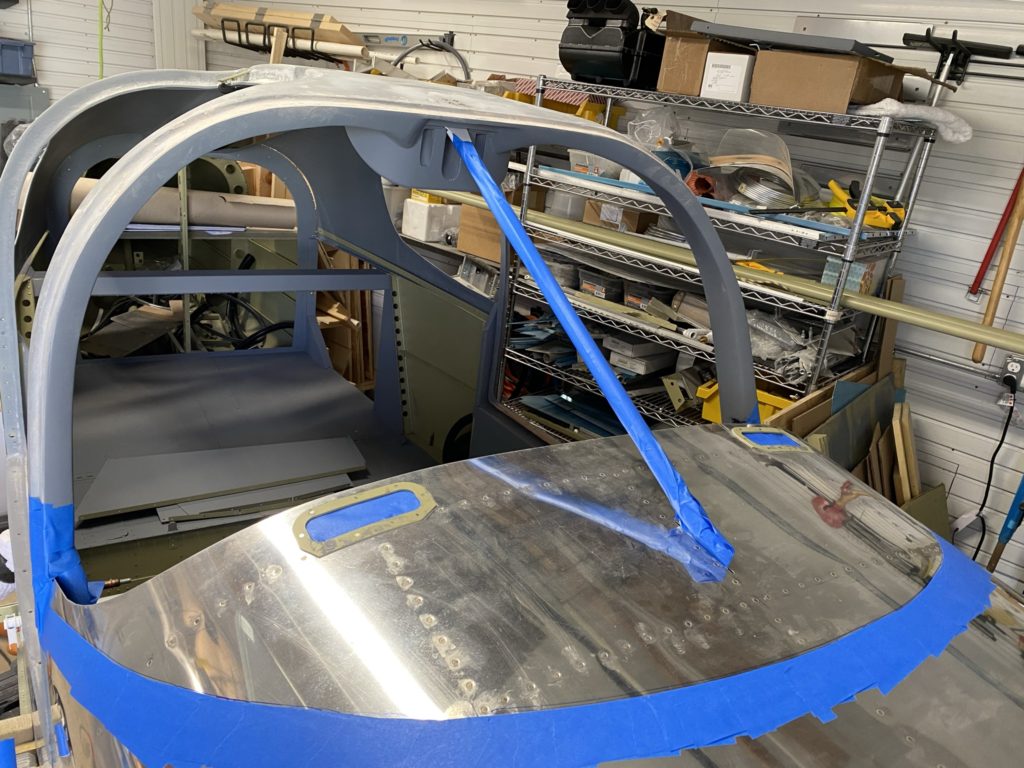
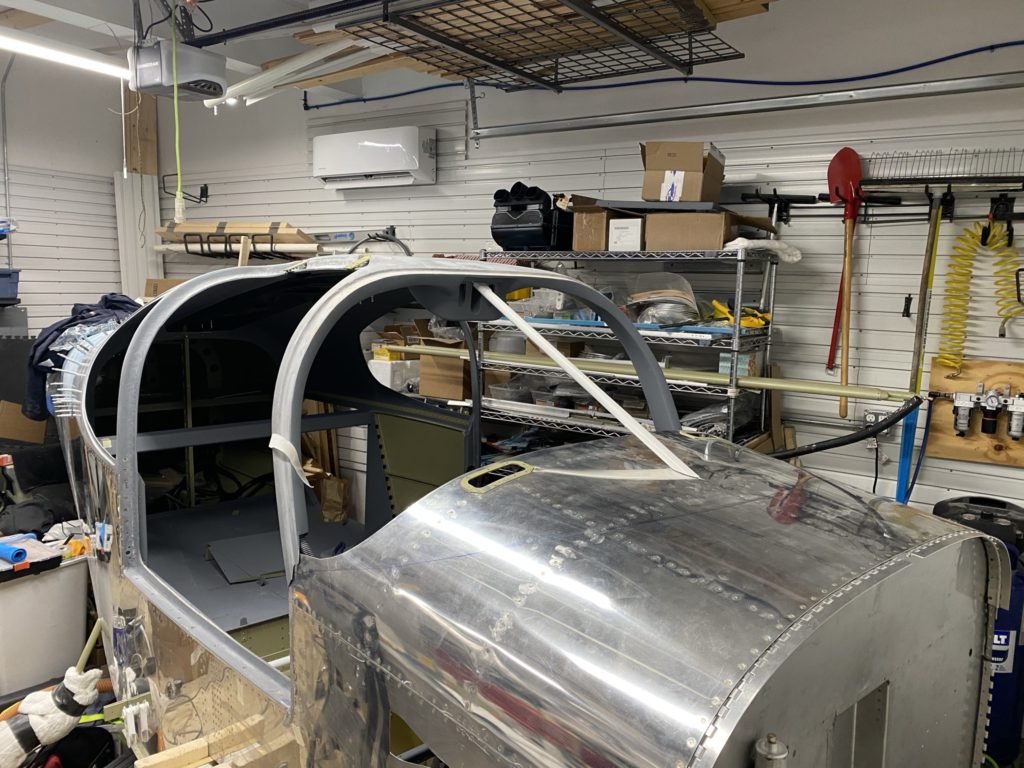
With the cabin top painted, my next major step forward was bonding the cabin top to the fuse. Prior to doing this I took a moment to verify that EVERYTHING that I needed to do was completed prior to installing the cabin top.
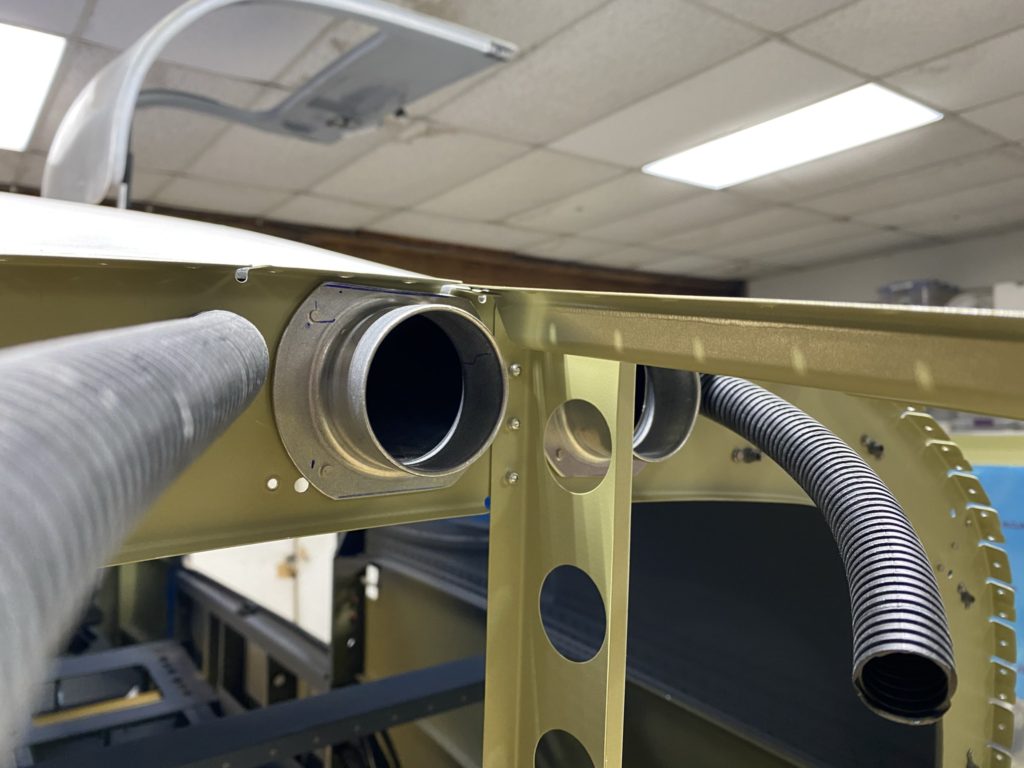
The last few items on my punch list were installation of the coat hanger for the aerosport overhead console, install the flanged ducts in the baggage bulkhead to feed air into the overhead console, match drilling the backing strip for the rear cabin top, and painting the glare shield.
I had a real mental block trying to figure out how to install the coat hanger hook in the aerosport overhead console. None of my “low profile” ratchets would fit between the console and the overhead to tighten the screws. I even ordered some hex head screws trying to get a wrench in there to tighten everything. Finally I remembered that the cabin top is fiberglass and I can fill/patch two holes without any real issue. It was quite easy to then install the hanger.
Next I placed the cabin to on the fuse and pulled out my windshield to mask off the area where I was planning to spray some black bed liner on the glare shield. It just so happened that just before I was going to go outside and start painting, I saw the Aerosport Products was offering a nice glareshield online that looked much better than anything I could have done myself. After a quick chat with my wife, I decided to not paint, but just purchase the Aerosport glareshield. Only thing wasted was some of my time, and a roll of tape.
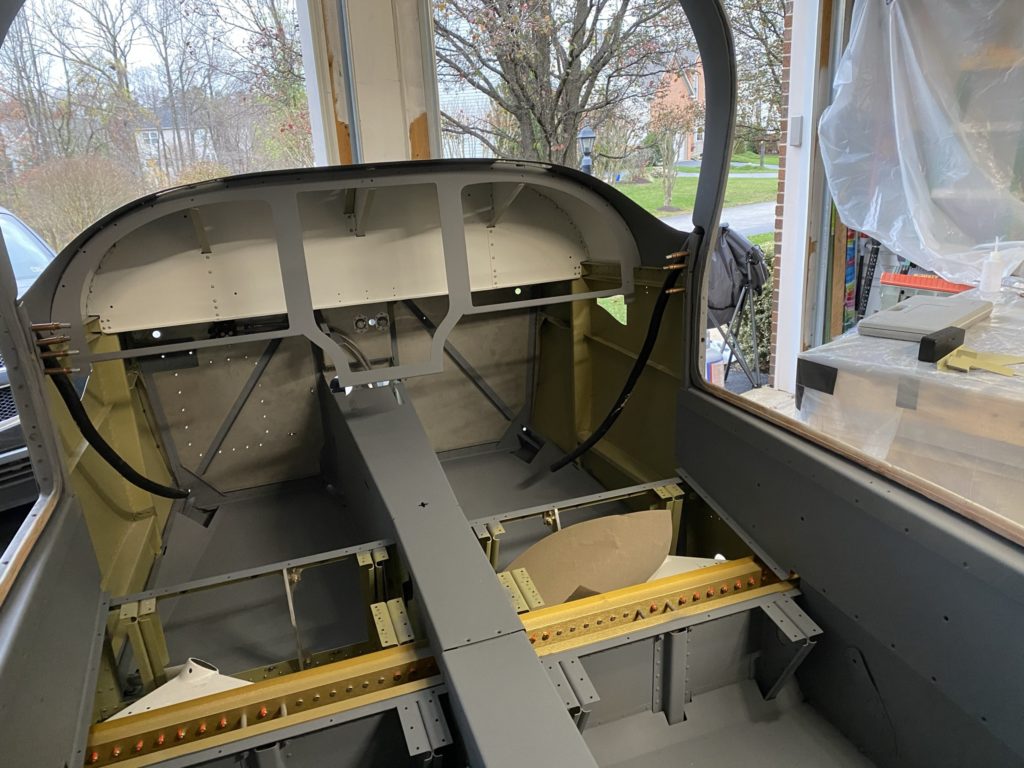
After removing all the tape, I completed all the countersinking of the holes in the cabin top and prepped the backing strips. I initially thought that the side backing strips would be hidden by the Aerosport panels, but once everything was bonded in, I may not have been correct. We’ll after I finally install all the panels. Regardless I’ll have to do some touch up painting inside the cabin.
To feed air into the overhead console, I marked where I needed to install the flanged ducts, as well as the holes for the conduits. I ended up using a set of flanged ducts from Aircraft Spruce, however I may have been better off with the sets from Vans. End of the day, it all worked out as expected. I also drilled holes for the overhead conduits and pulled those through. Not sure if I need them, but easy enough to do now.
It was then time to install the cabin top. I mixed up a large batch of epoxy and flox and installed the cabin top filling any any gaps around the door with the epoxy and flox mix. I then riveted the rear edges of the cabin to the fuse below the rear windows with pull rivets and installed all the screws around the door frame to lock the cabin top in place with the epoxy cured.
With the cabin top installed, I realize that I have some touch-up to do around the doors and the cabin top backing strips, so I’m going to be crawling in with the paint gun a few times.
At this point (Early December 2020) I am paying for hangar space at Manassas Airport (EAA Chapter 186 Builder Hangar), but I’m obviously not ready to move yet. I do have a fire under me to get as much of the temperature dependent work done as quickly as possible, as well as all the painting, since the hangar is not insulated or heated. I’m also not allowed to do any painting in the hangar, so I’m trying to take full advantage of my nice heated workspace while I can.