Finally got everything lined up to move the wings from the garage to our storage locker. Been stressing over this move for a while, getting friends lined up to help, renting the truck, making sure I had enough space for the wings, and how to keep everything safe during transport. Maybe I tend to over analyze a bit.
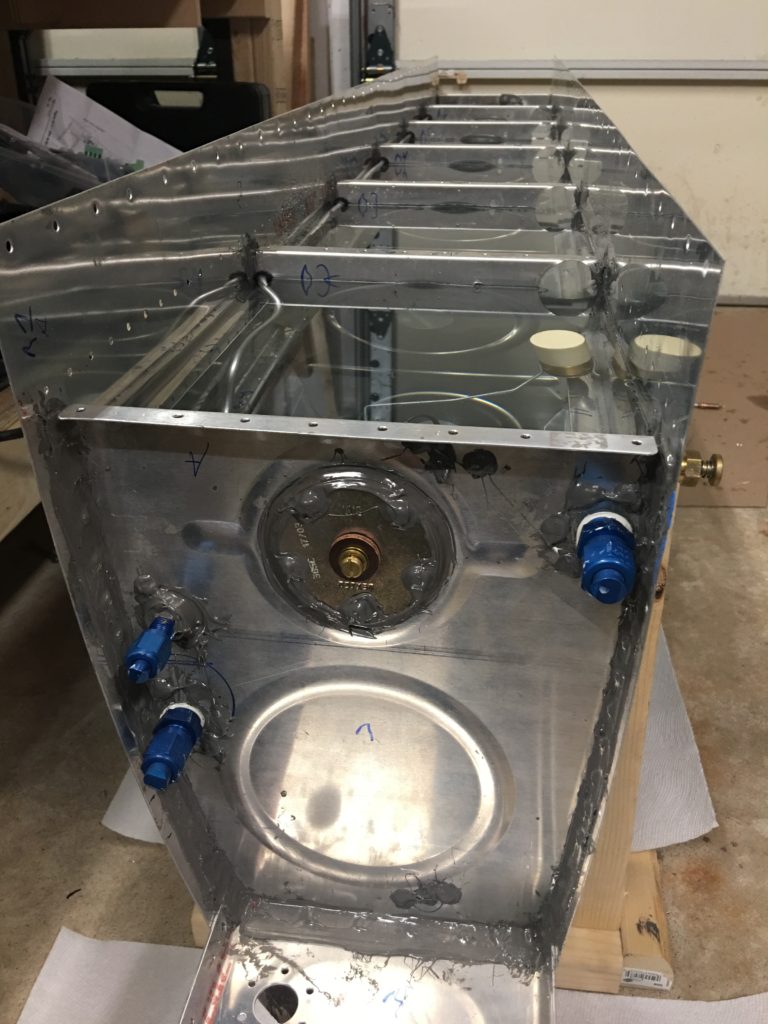
Anyway, I already had a storage locker that I am renting that had enough room to store my wings as I expected I would need to get them out of my garage eventually. With a UHAUL rented and friends headed over the help out, I was ready to execute. Plan was to move the wings to saw horses from the cradle, move the cradle to the truck, then lift the wings into the truck and onto the cradle. With two helpers, this was easily done. In hind-sight the only thing I would have done differently is wear heavier gloves as the ribs did a number on my hands (edges were not sharp, but gave me a bruise).
We strapped the wings into the cradles and the strapped the whole thing to the side of the UHAUL truck. I drove slowly and cautiously to the storage locker, hoping nothing would shift or get damaged (STRESS!!!). All was good and we arrived with no issues. Even had someone come over and ask what model airplane I was building while I was unloading.
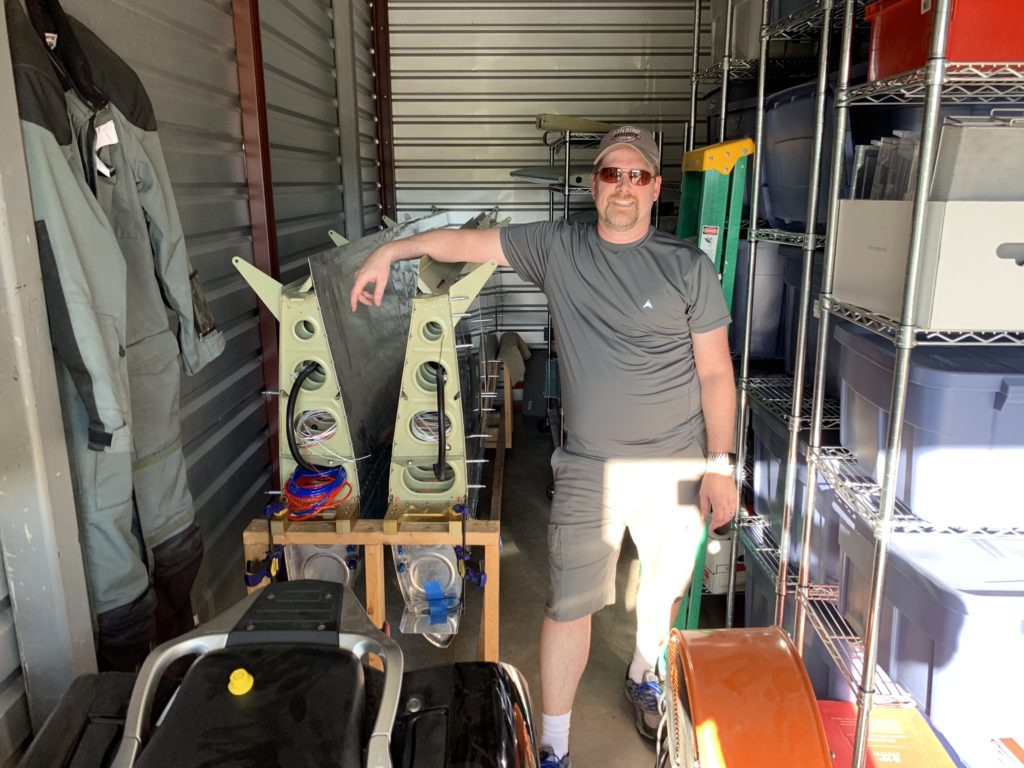
Relief that the wings are moved 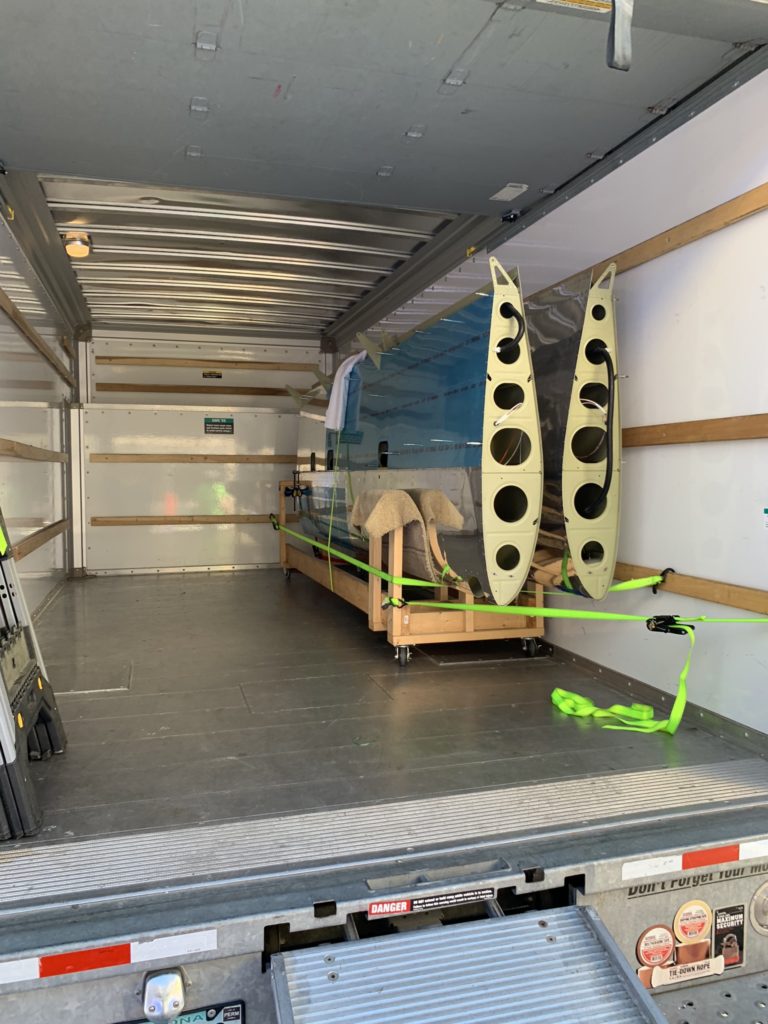
Strapped in the UHAUL 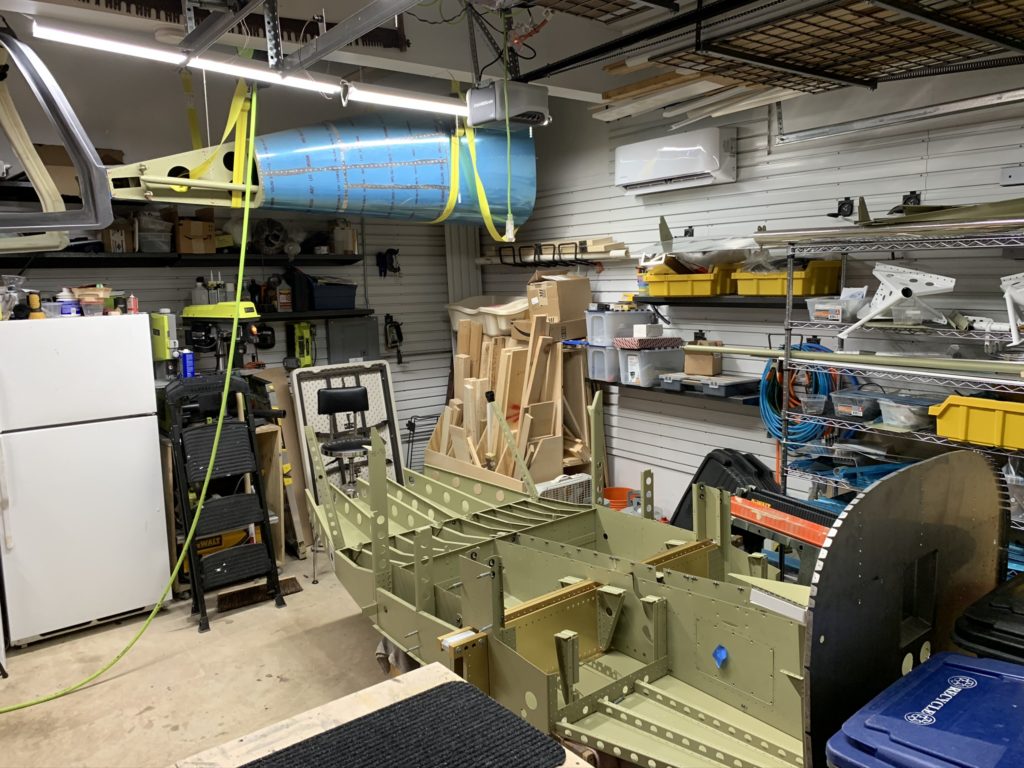
Space to move around!
With the wings moved to storage, that’s one less thing for me to worry about. I have space to move around and work on the fuselage.