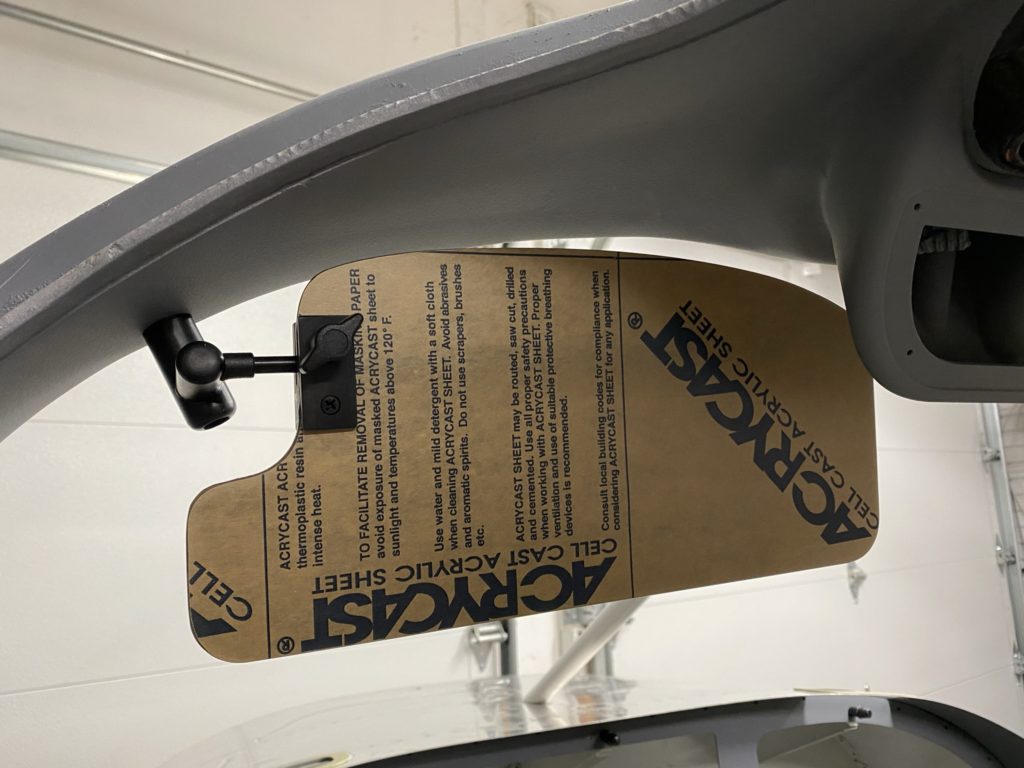
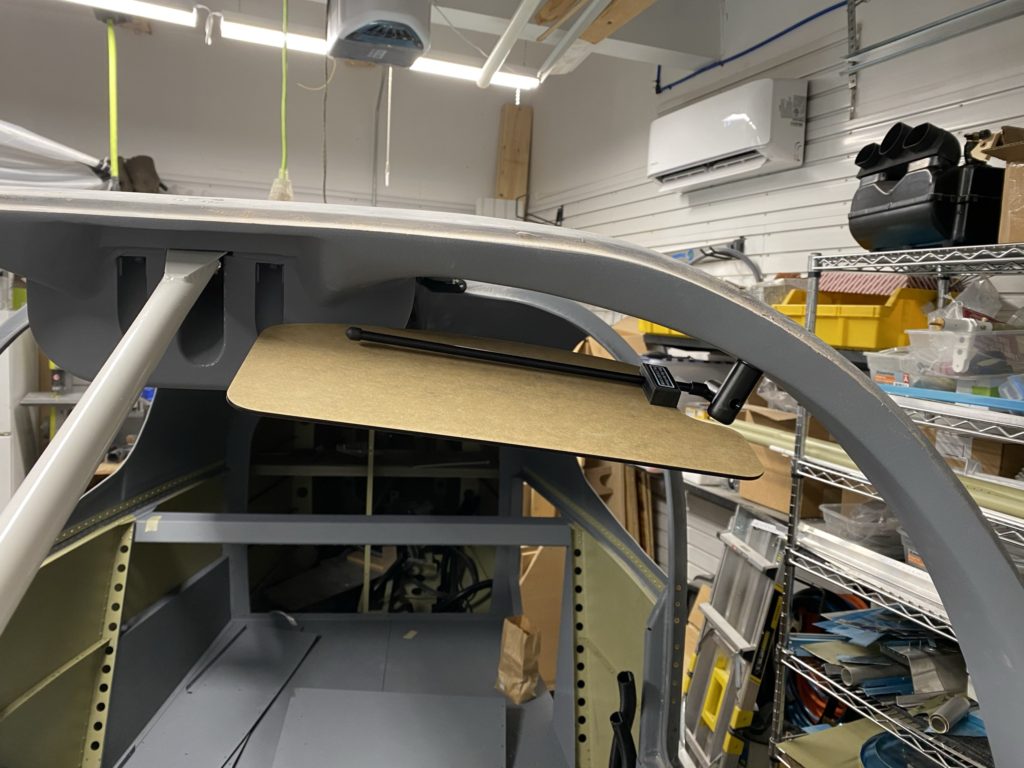
With the cabin top installed, I can start looking at some of the next items on the to-do list. To start, I decided to temporarily install my sun visors to make sure that they fit as expected. This was really a silly exercise as I had done some preliminary testing, but it’s always nice to see that things worked as expected.
I do realize I have to swing them down a bit to get past the switchpods, but that’s not a huge deal. If it really does bother me in the future, I can always cut the plexi down a bit on that corner.
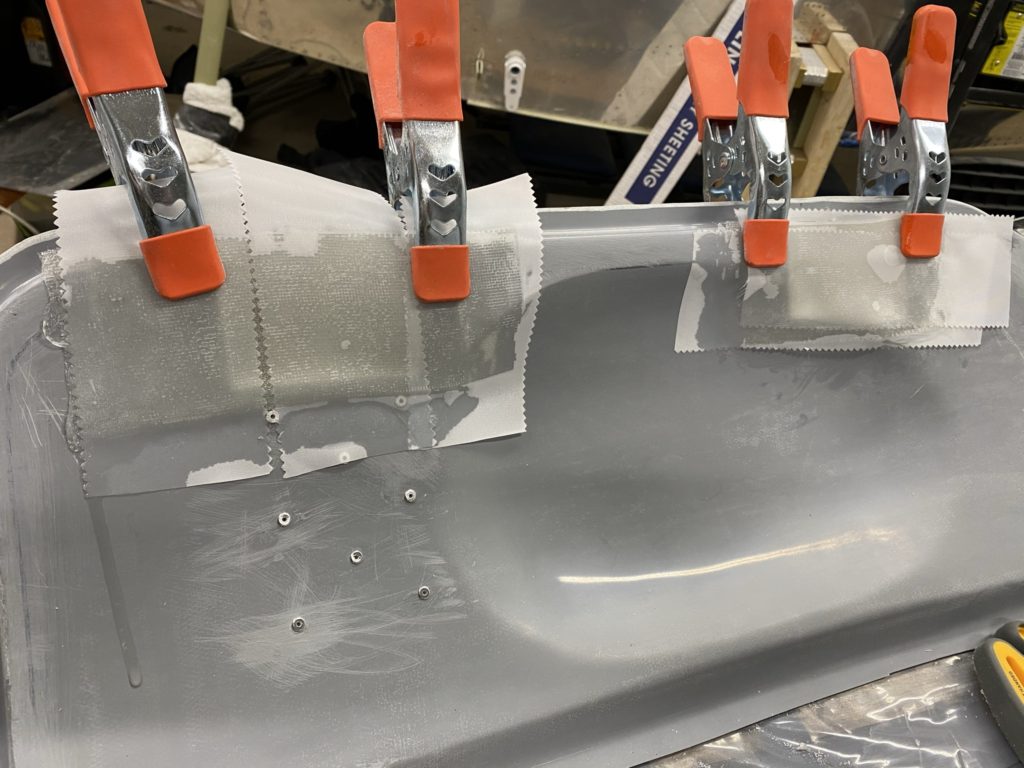
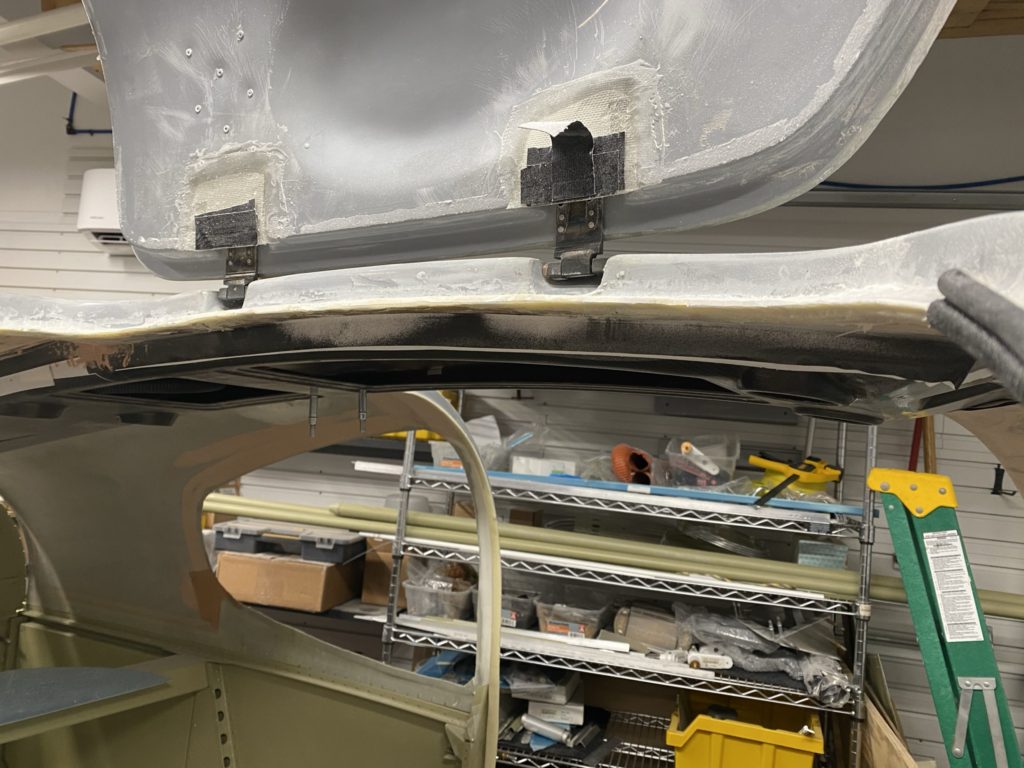
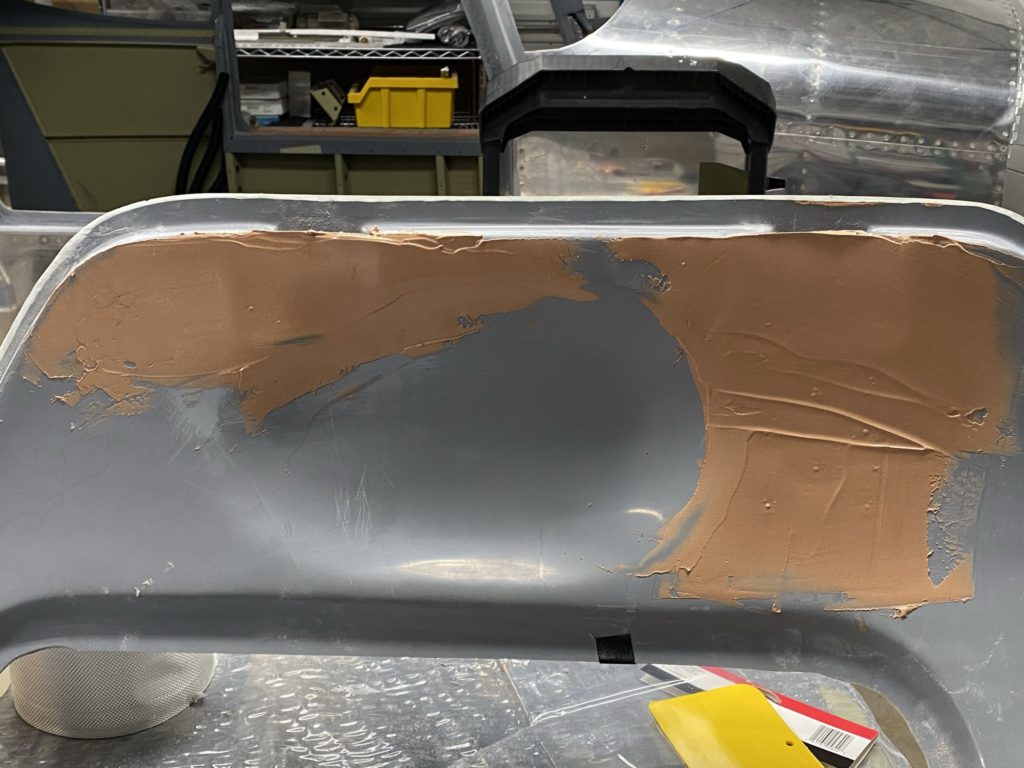
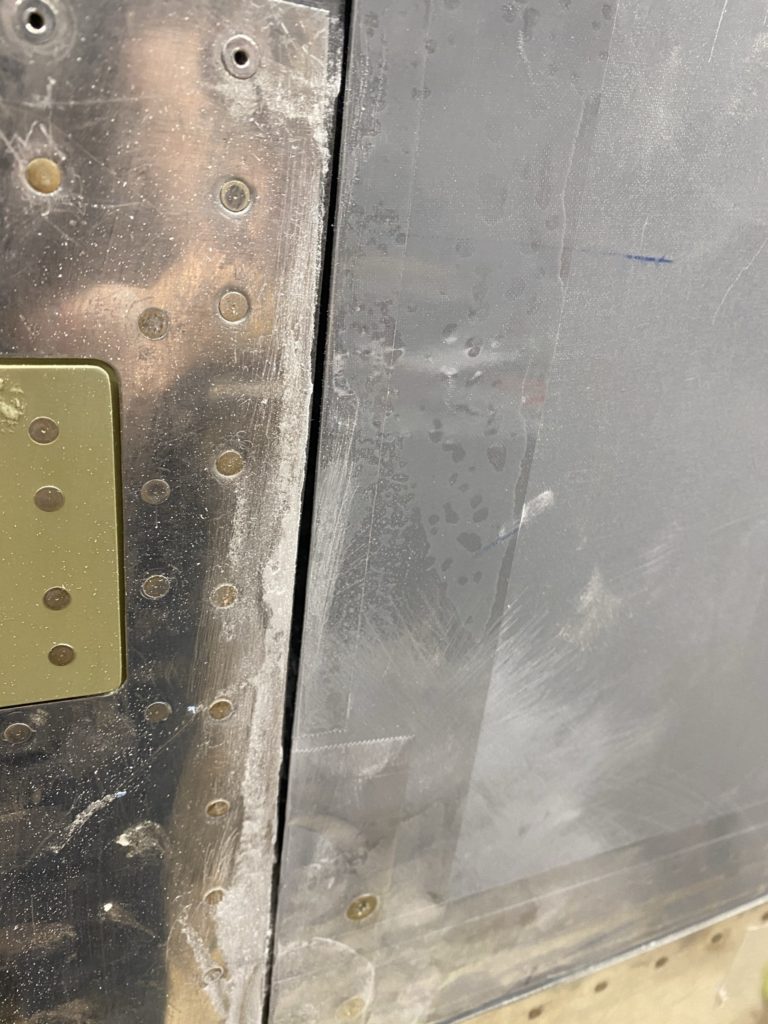
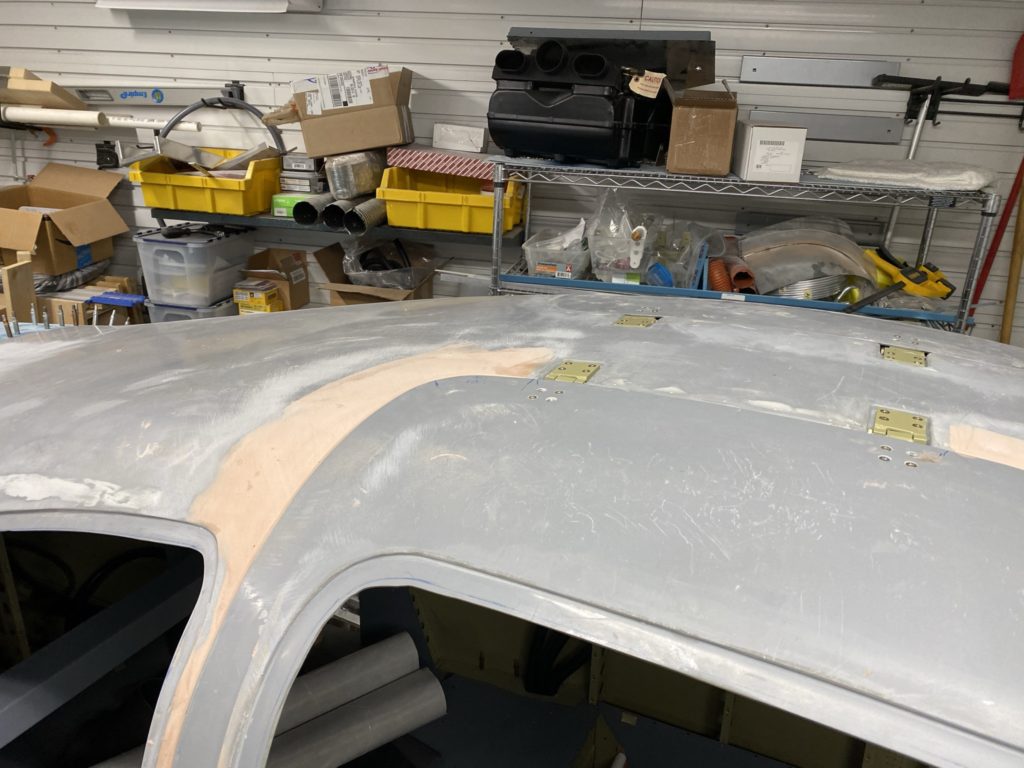
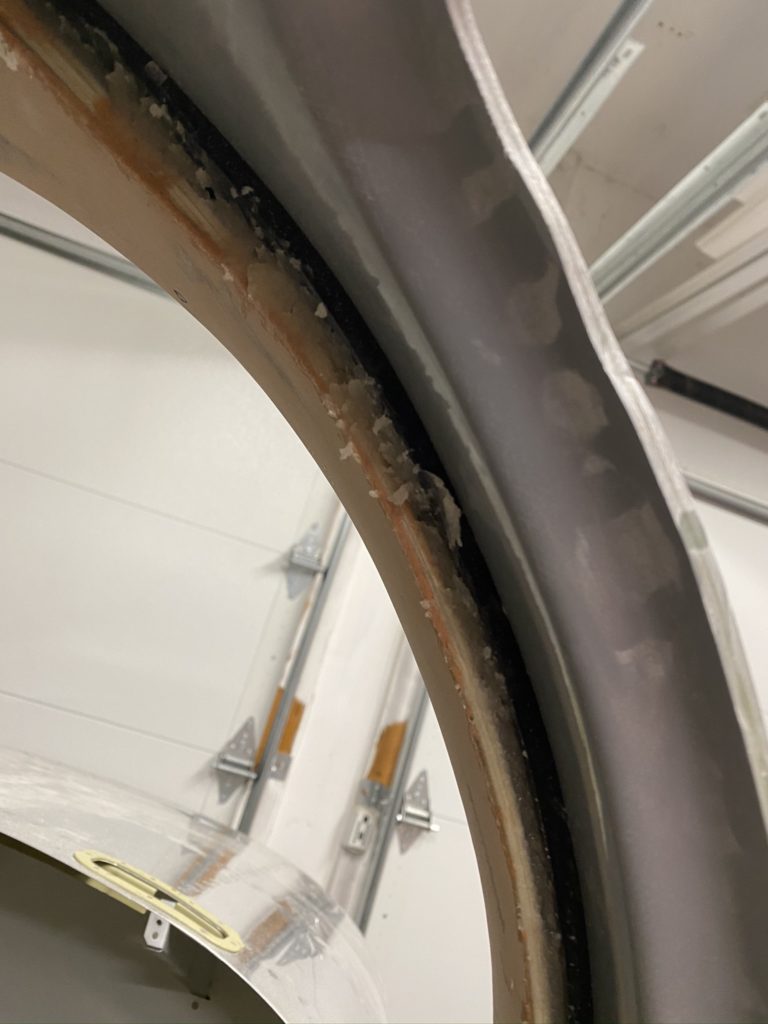
With that fun step done, I then switched focus to the doors. Since I’m going to do the McMaster Carr door seals, I needed to close the hinge pocket at the top of the door. To do this, I made some pre-preg fiberglass strips that I was able to install over the hinge pockets. I used clamps to keep these strips from sagging and allowed them to cure. I then used some Aeropoxy Light to feather the edges and make this change appear seamless. I also put some filler over the blind rivets for the door strut bracket just to make things look a little nicer. After a few rounds of filler and sanding, I sprayed it with grey primer and called it done. (I’ll come back to paint with the same interior paint I used in the cabin once I’m 100% done working on the doors).
Making the coverplates for the door hinges
Cover plates installed and test fit. You can just see the nutplates I used.
Beginning to blend everything with filler
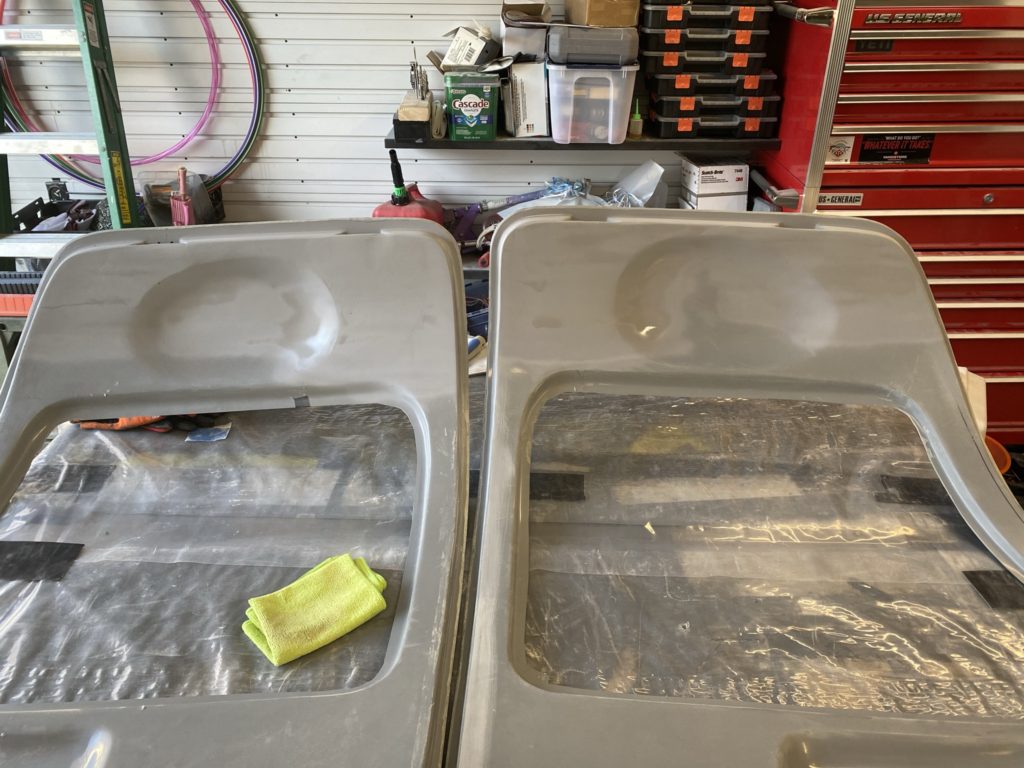
Primed, looks good.
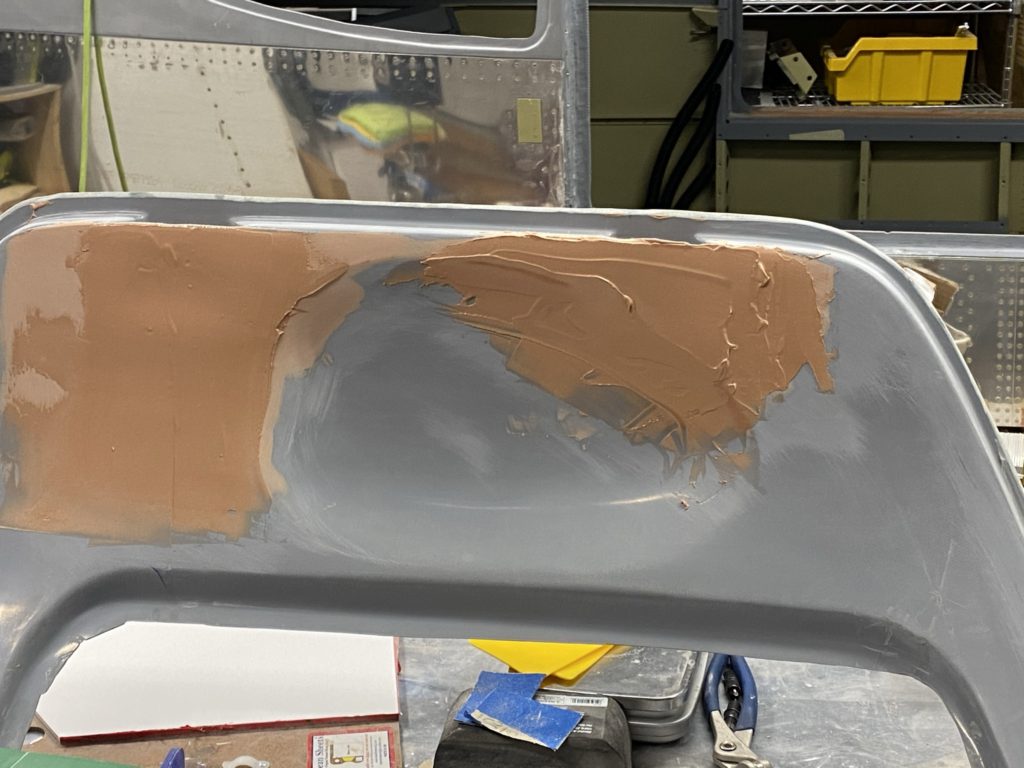
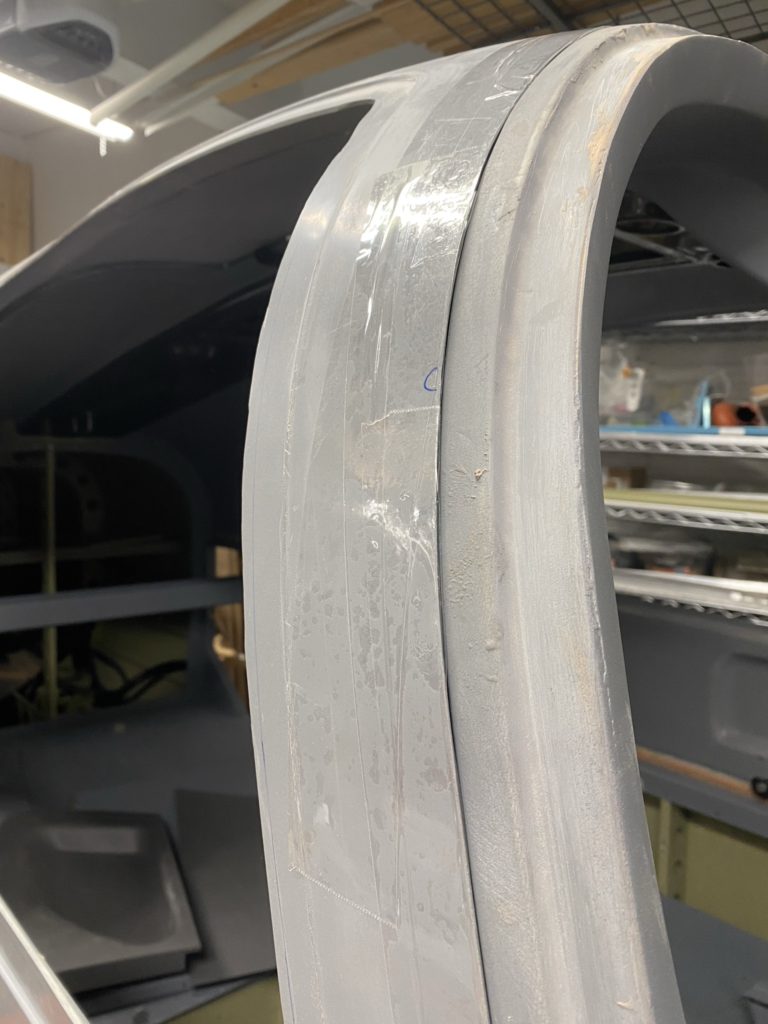
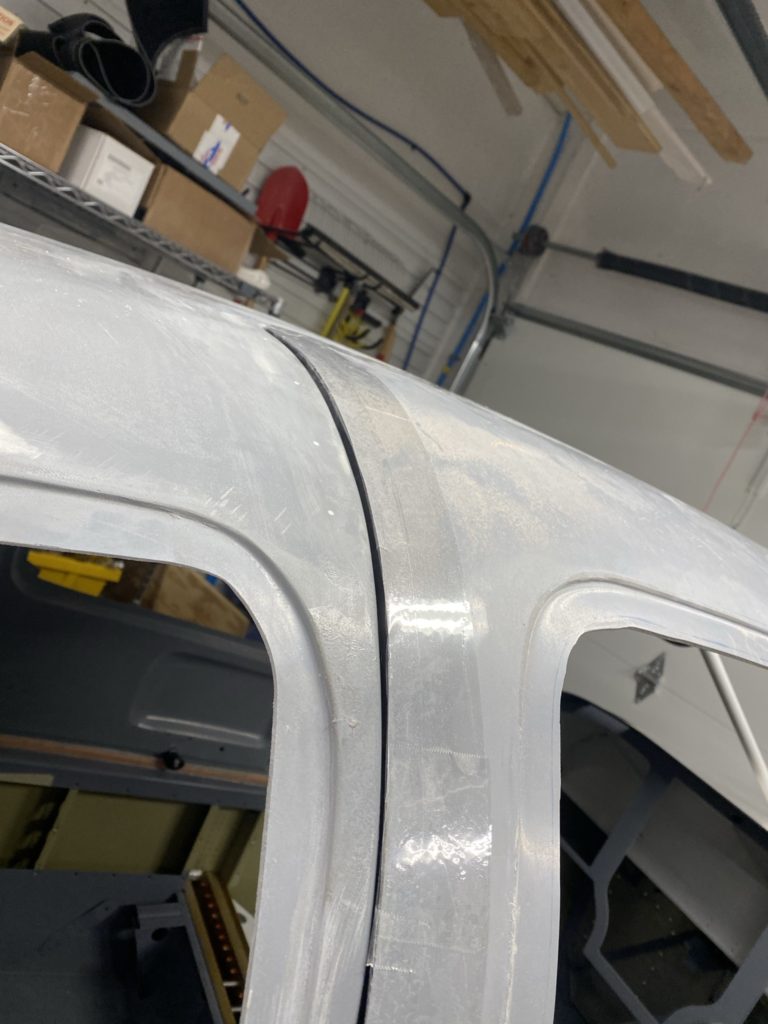
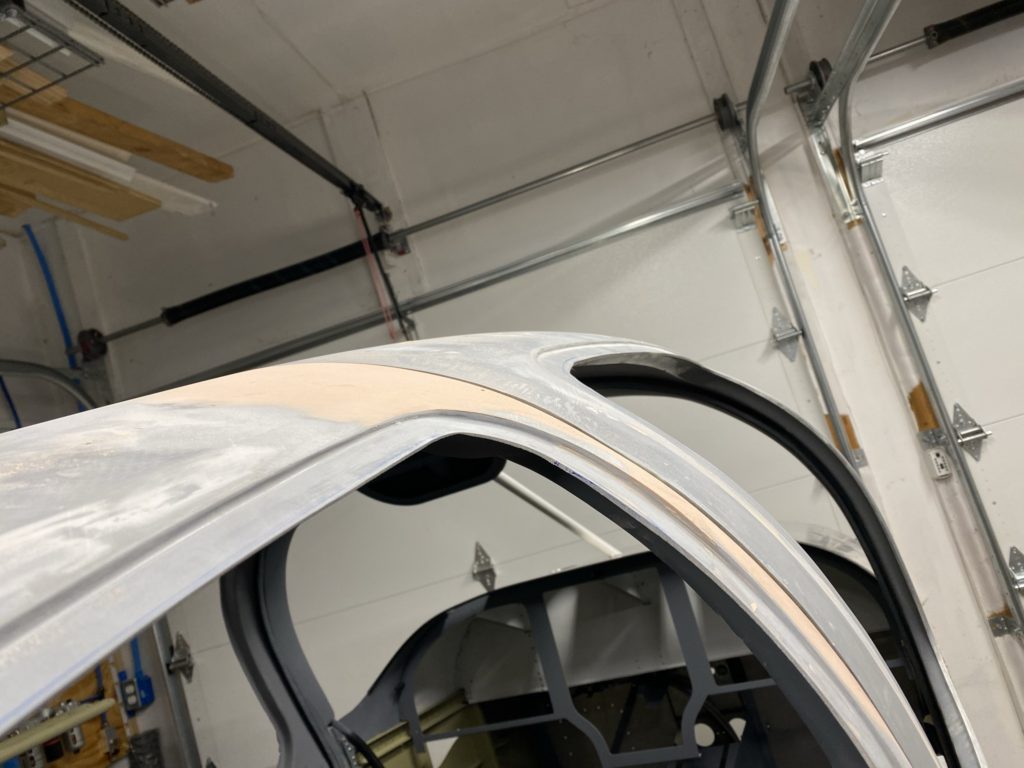
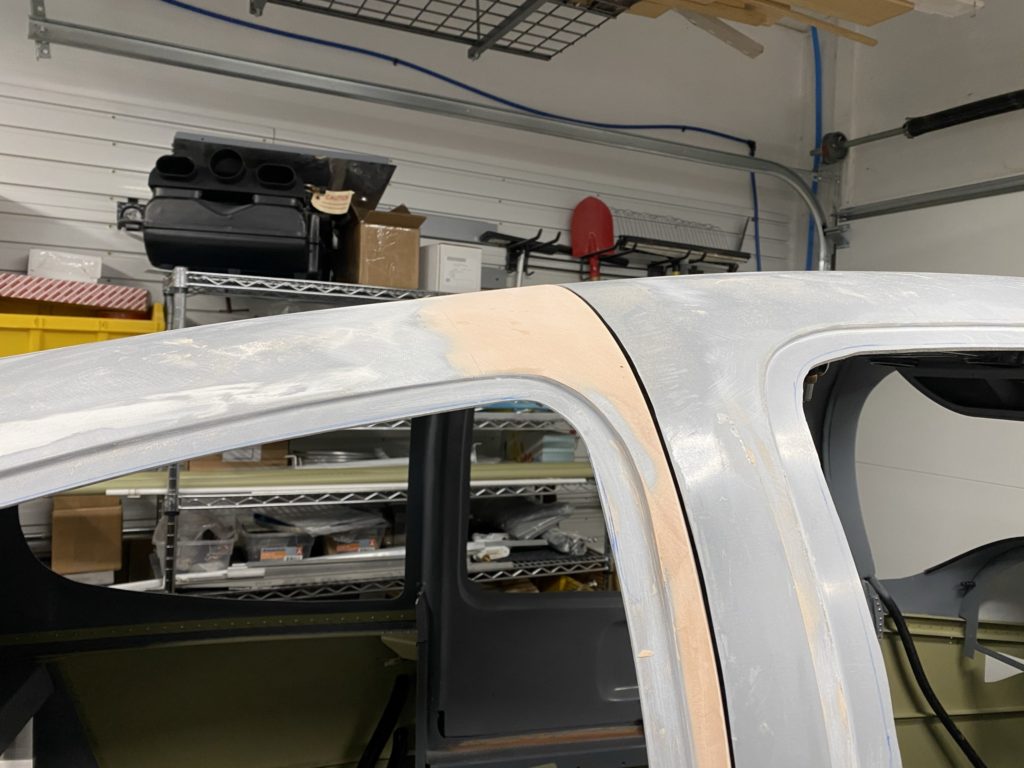
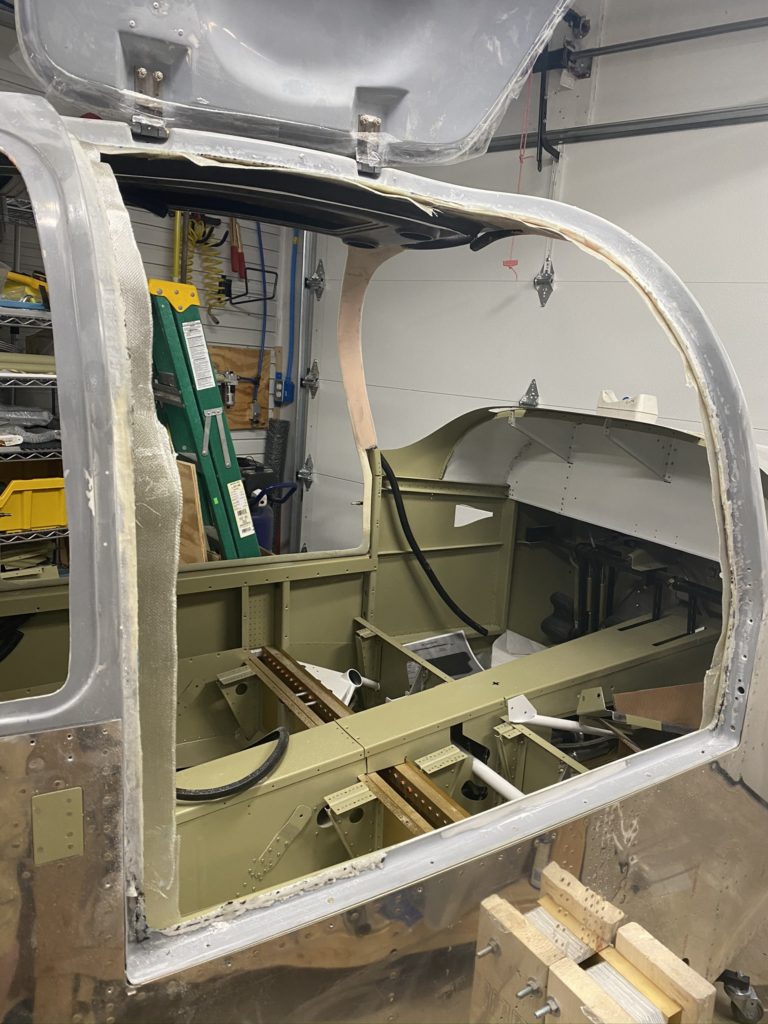
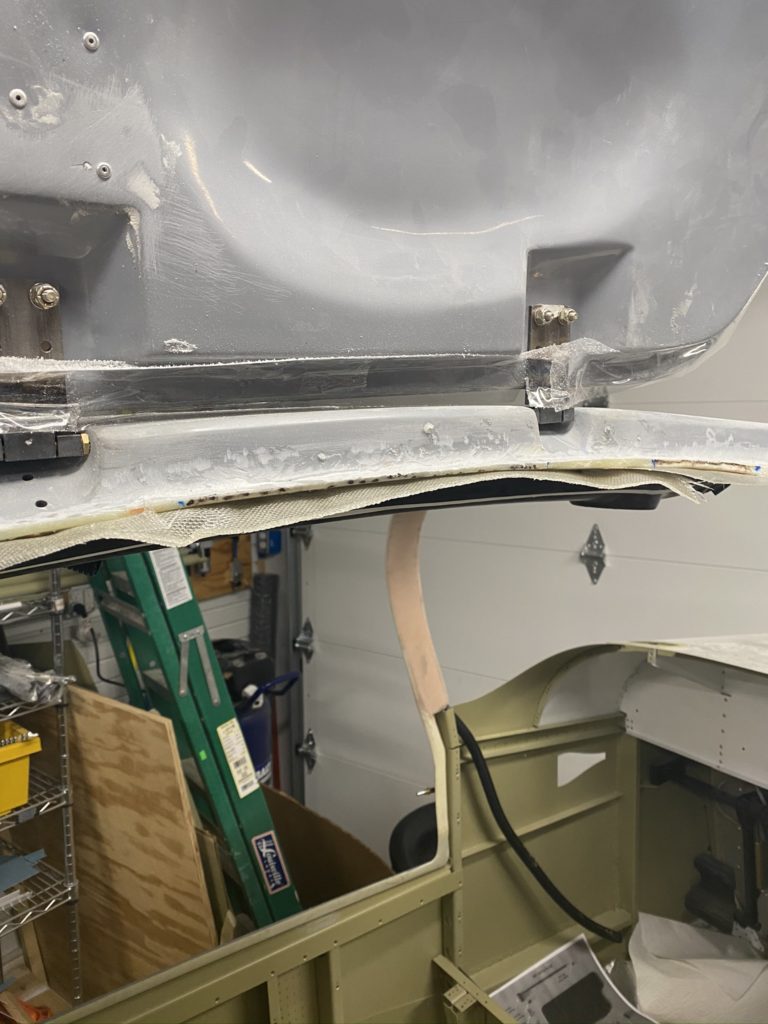
With the doors installed on the cabin top, it’s time to start working on blending the doors to the cabin top. Being careful not to bond the doors to the cabin top, I begin to slightly build up the cabin top edges to match the door edges. Lots of sanding applying filler and sanding it away.
Hope the doors come apart once this cures!
I repeated this on the pilot side and overall things look a lot better. I’m not shooting for laser perfection, but looking good from a few feet away. Still have more work to do, but making progress!
I have completed most of the work on the doors at this point. I have successfully installed the 180 degree plane around kit as well as the Aerosport Products low profile handles. This was tricky and while I took some video and photos, I’ll point you to Ed Kranz’s video.
I had originally purchased some Amazon door locks for the baggage compartment and doors, however I was never able to get them to fit properly with the low-profile doors. Path of least resistance was to go ahead and special order a set of 4 matching locks from ACS. They fit perfectly with no issues!
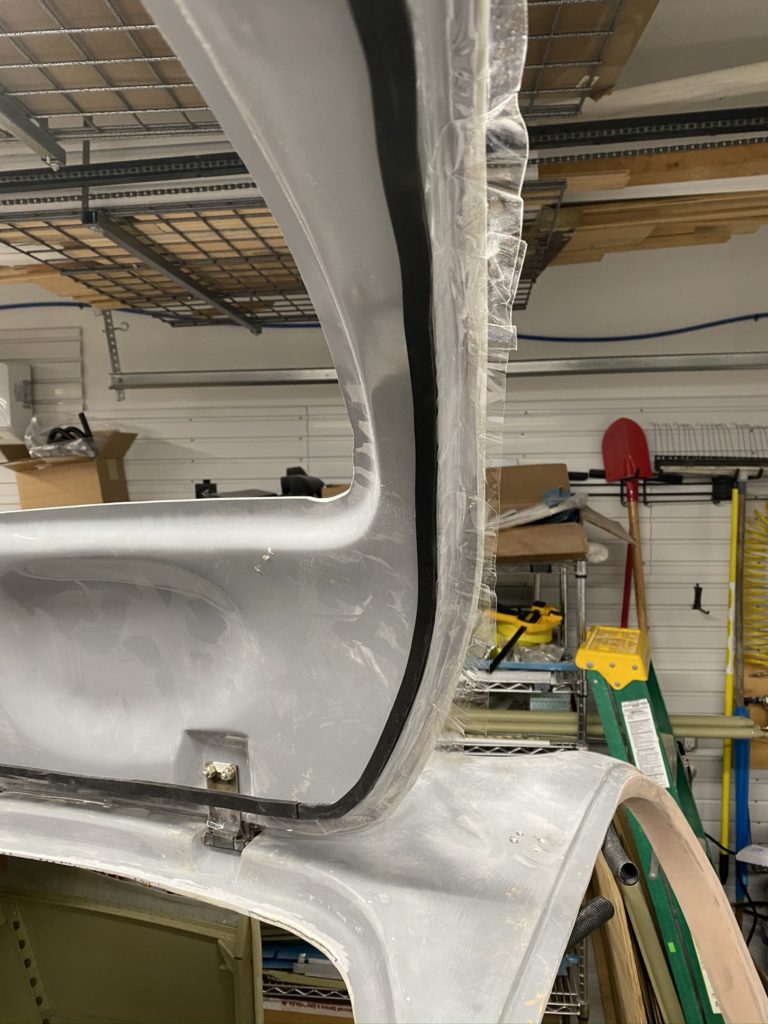
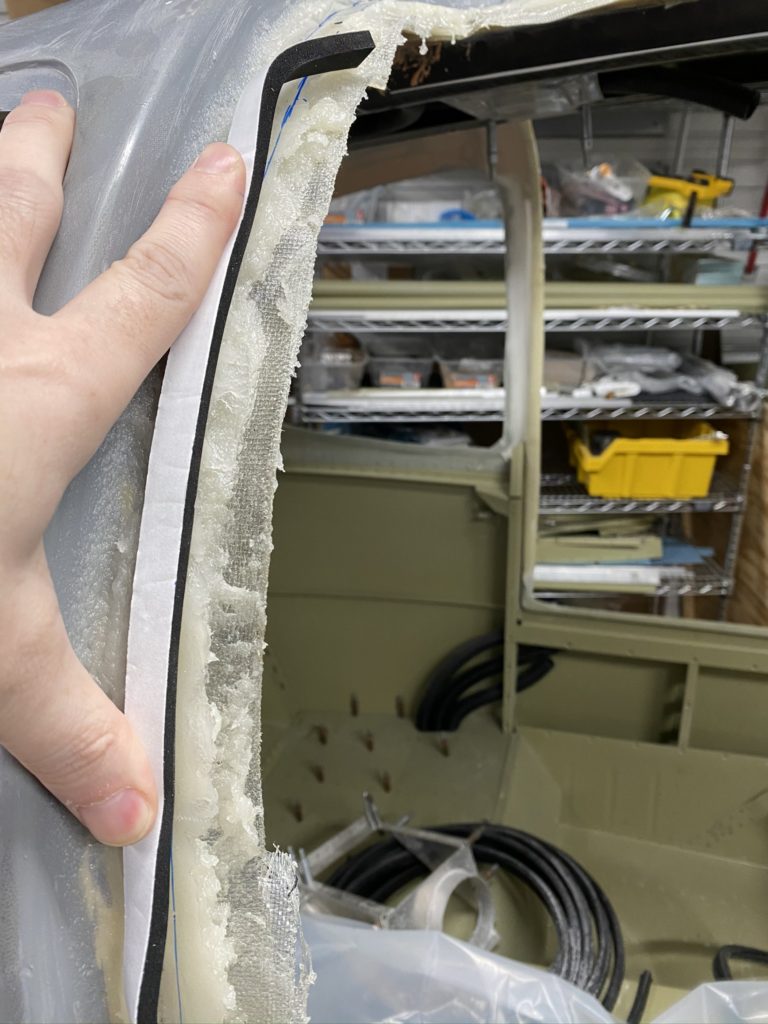
I then started to work on the McMaster Door seal mod. Honestly I had a really hard time wrapping my mind around how this would work. I had the great idea to purchase some 1/4 weather strip to help visualize and possible help with molding the flange. I installed the weather strip where I thought the seal should meet with the door, spread some epoxy and flox around the lip around the door opening, and closed the door so it could set. (Hint: this may help, but it doesn’t release from epoxy. This lead to a minor panic attack). Ended up climbing in from the other side to cut / tear the weather strip and sanding out what was embedded in the epoxy. Ugh!
OMG, what did I do! Thought I accidentally bonded the door to the cabin!
This did not work as planed 🙁
After a lot of sanding, looking better.
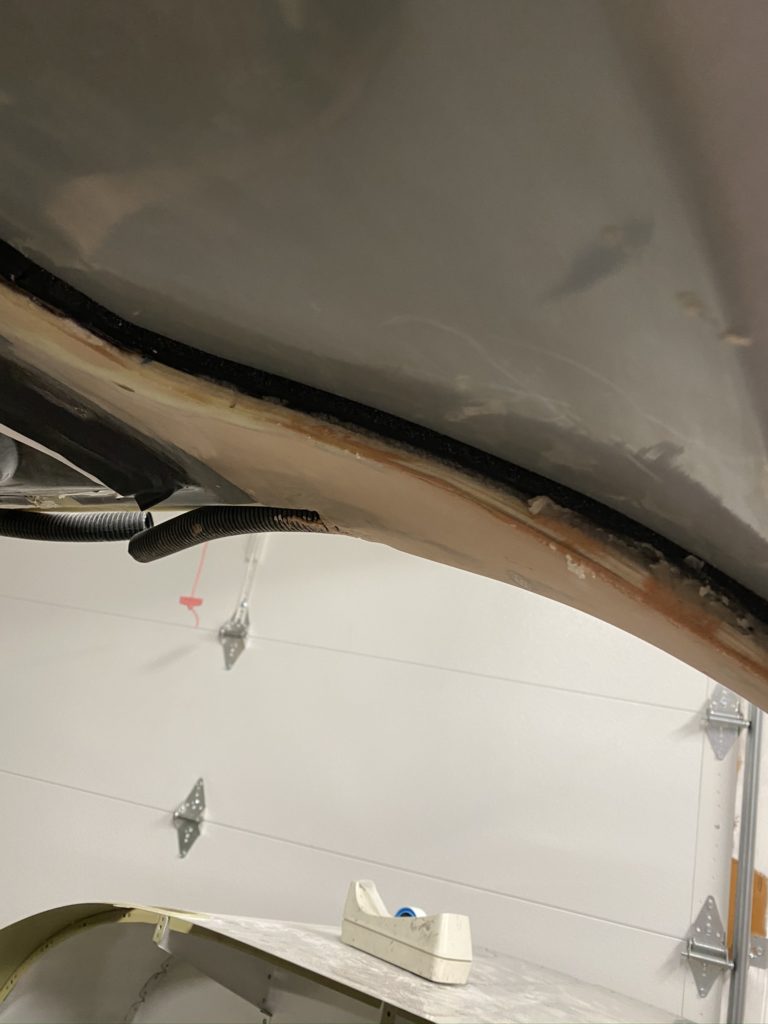
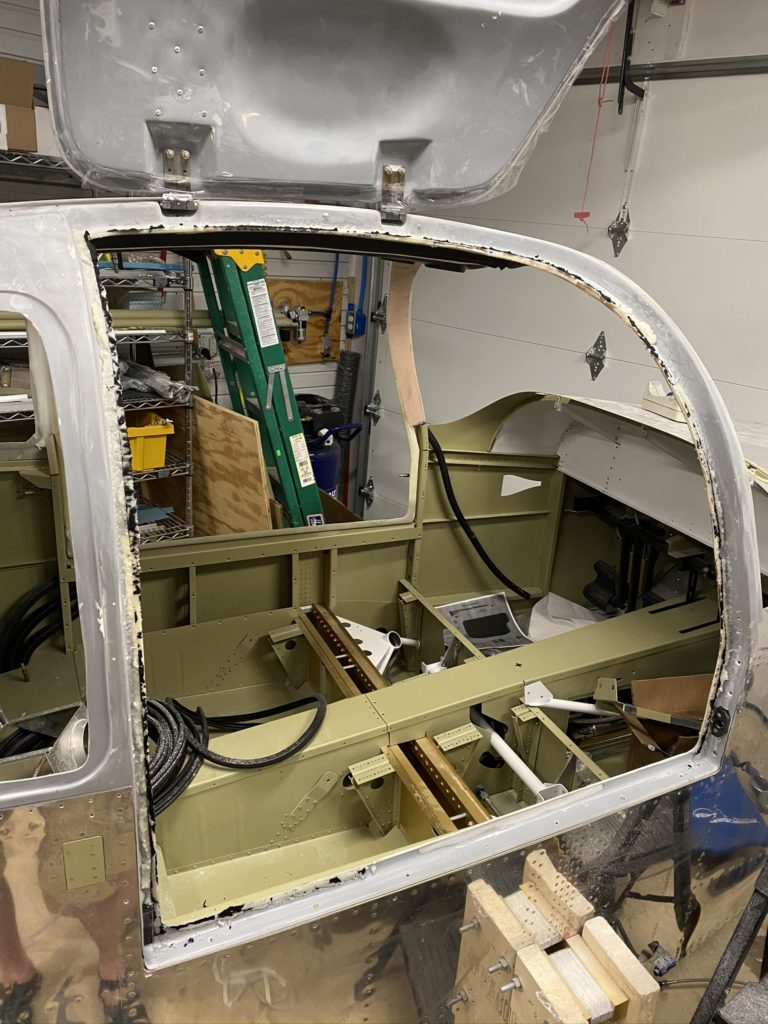
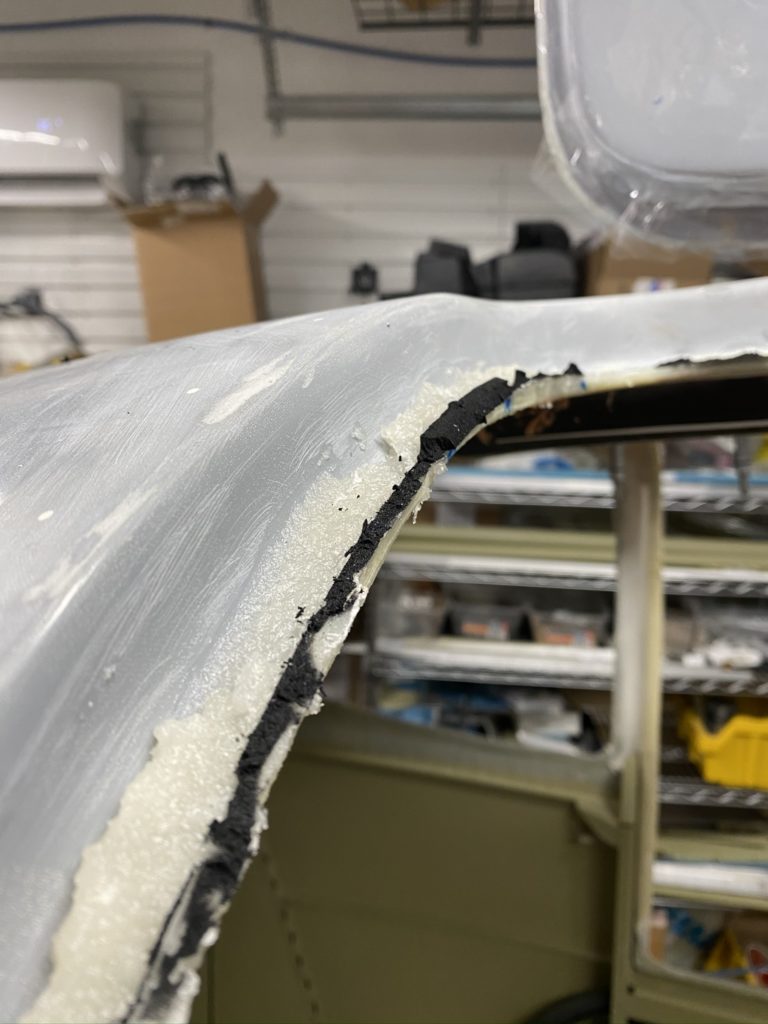
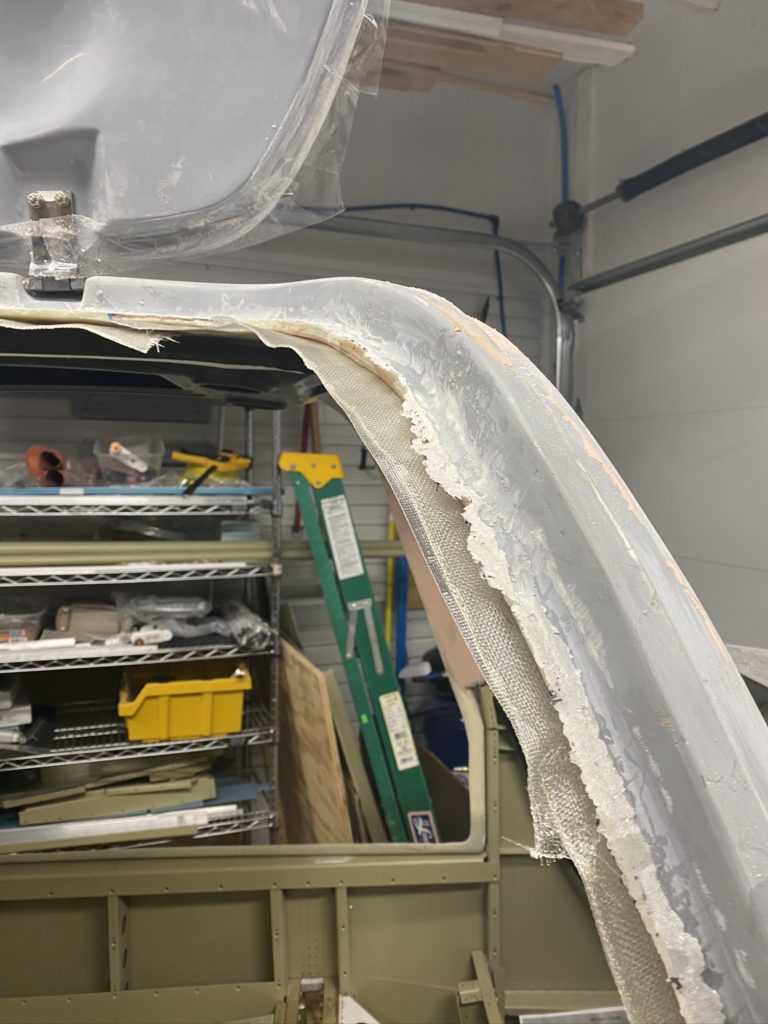
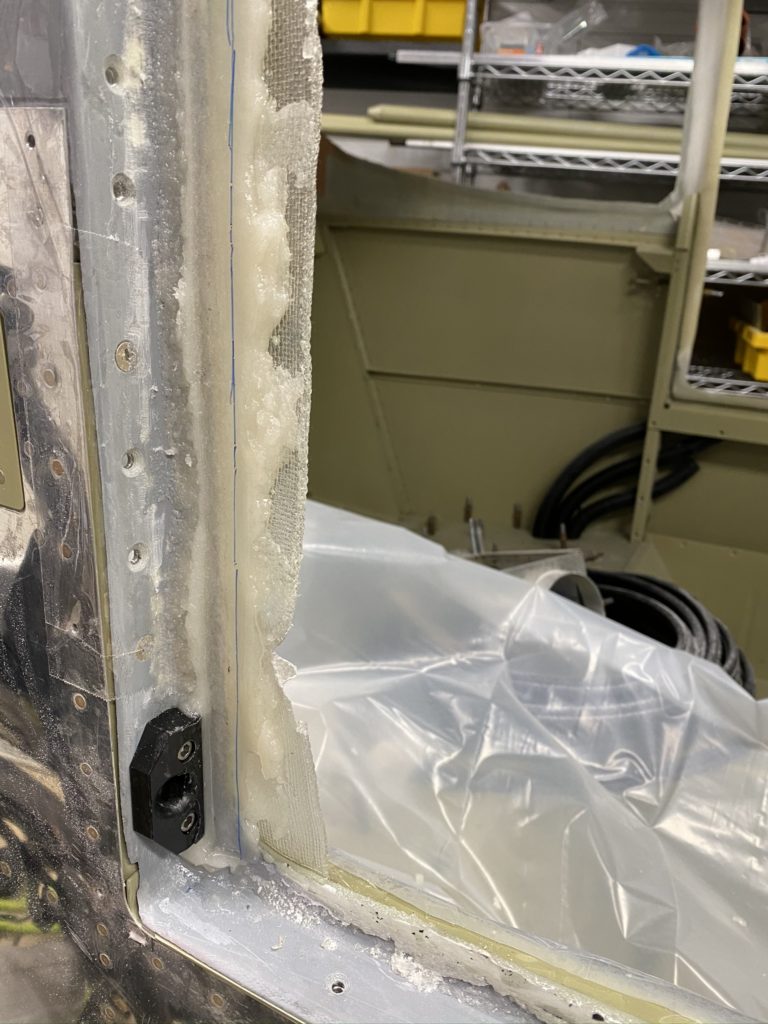
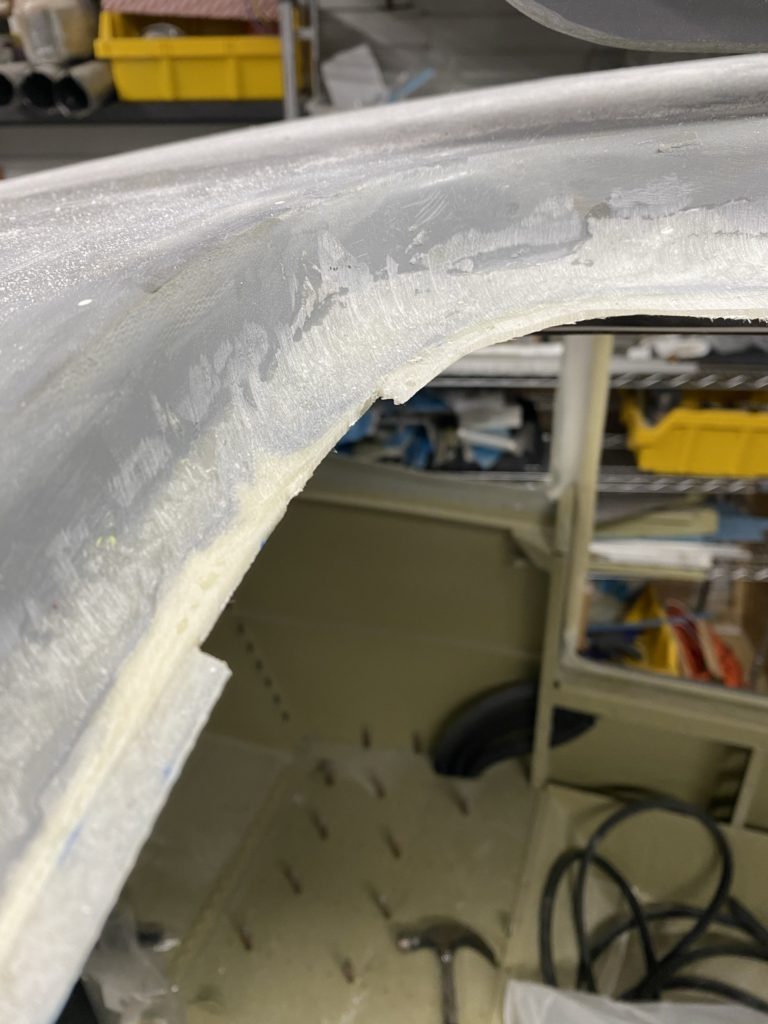
At this point I realized I had trimmed my cabin top door flange a little too far back. To fix this, laid up some strips of fiberglass on the interior of the door flange (poorly I might add). Once that was cured, I built up the area with epoxy and flox using the previous strips to support everything. I learned from my previous mistake and this time used the weather strips but covered everything in packing tap. I then closed the door to give me the needed clearance between the cabin top and the door.
The edge of this mess is where the flange should be. 🙁
Go ahead and mock me, this looks horrible!
Fiberglass tape as a temp support so I can build up the flange
Fill this area with Flox and try again.
Epoxy and flox curing.
Notice I put packing tape on the weather strip this time. Lesson learned.
Success
Sharpie lines to show where to trim
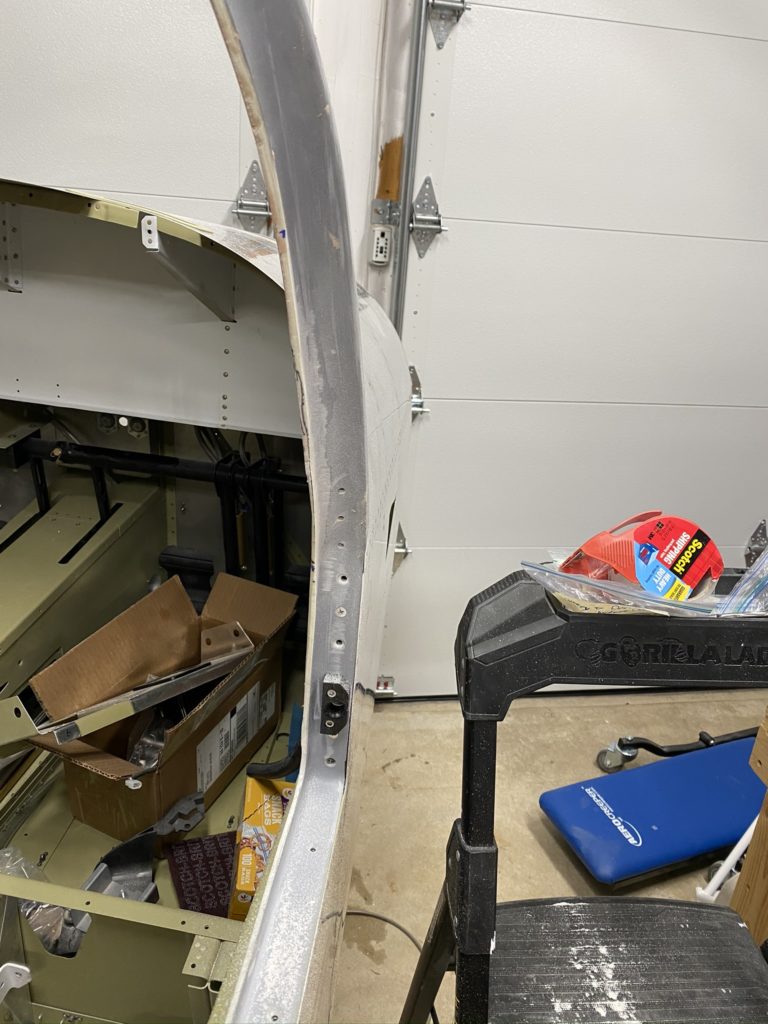
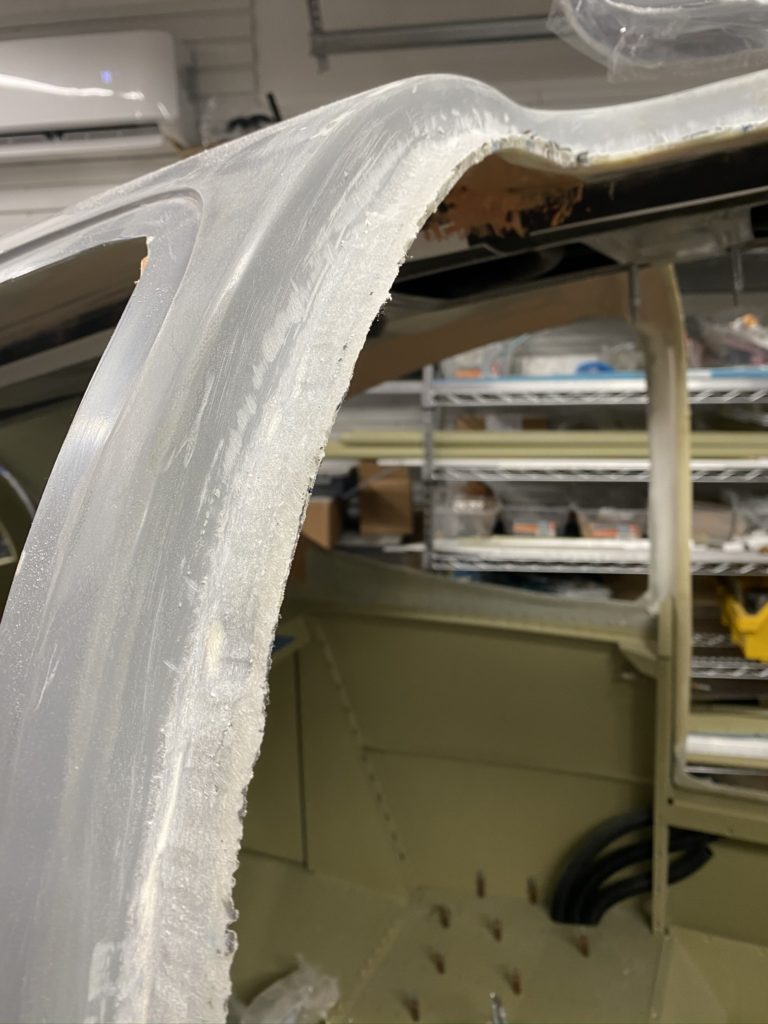
With that adventure completed (at least on one door), I started the process of trimming all the excess. Cutoff wheel I used for original trimming of the flange worked perfect, followed by a lot of sanding of the interior to clean everything up. (Basically sanded away the fiberglass tape and some of the epoxy flox.). Wasted a bunch of supplies, but part of the learning process.
Not everything worked perfectly, had a few places where my new flange broke off while I was sanding. I just scarfed the surrounding area and built it up again. I’ll say that’s the one thing about fiberglass I do like, it’s not too hard to repair, it just takes time.
Oops, didn’t mean for that to break off.
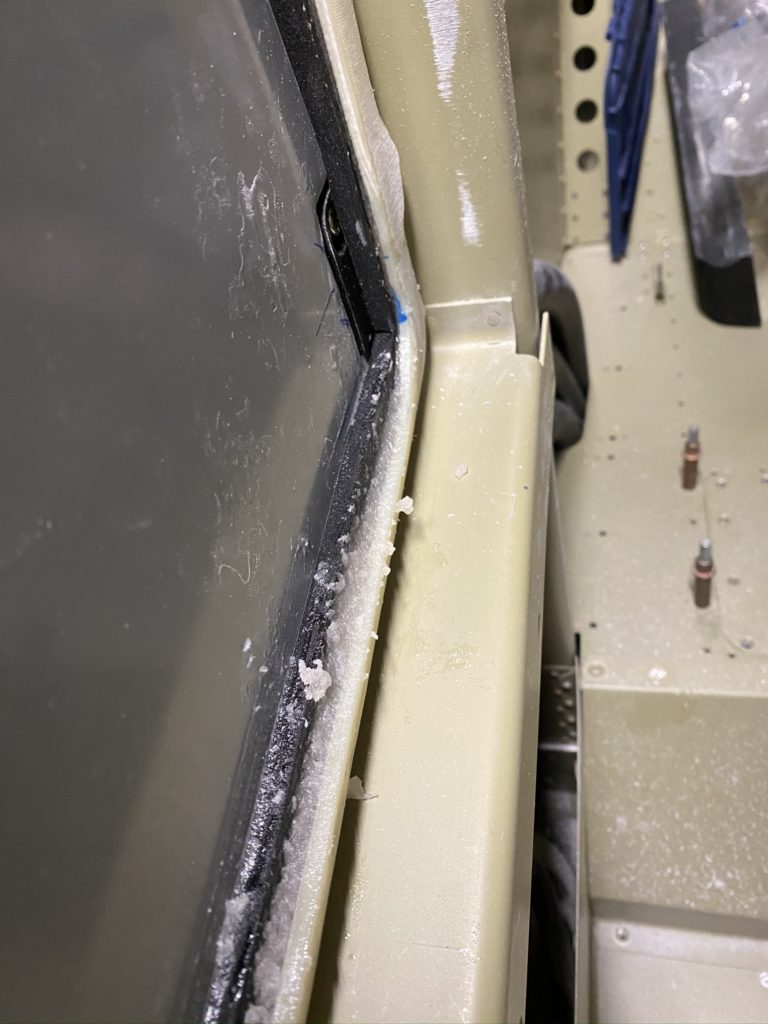
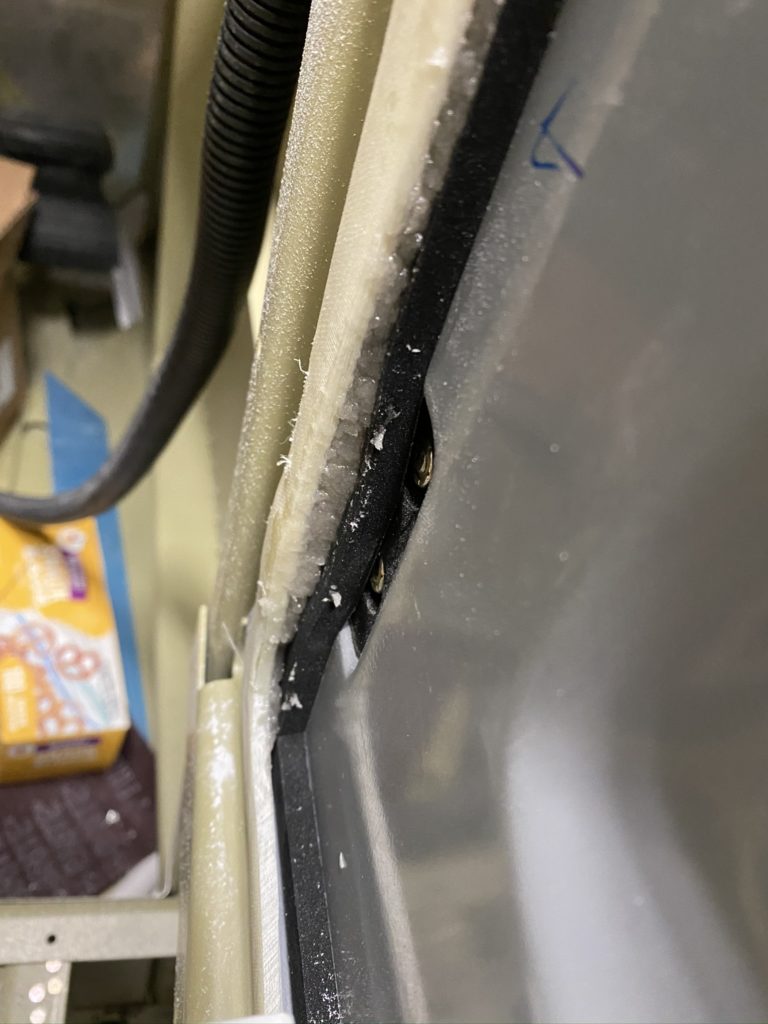
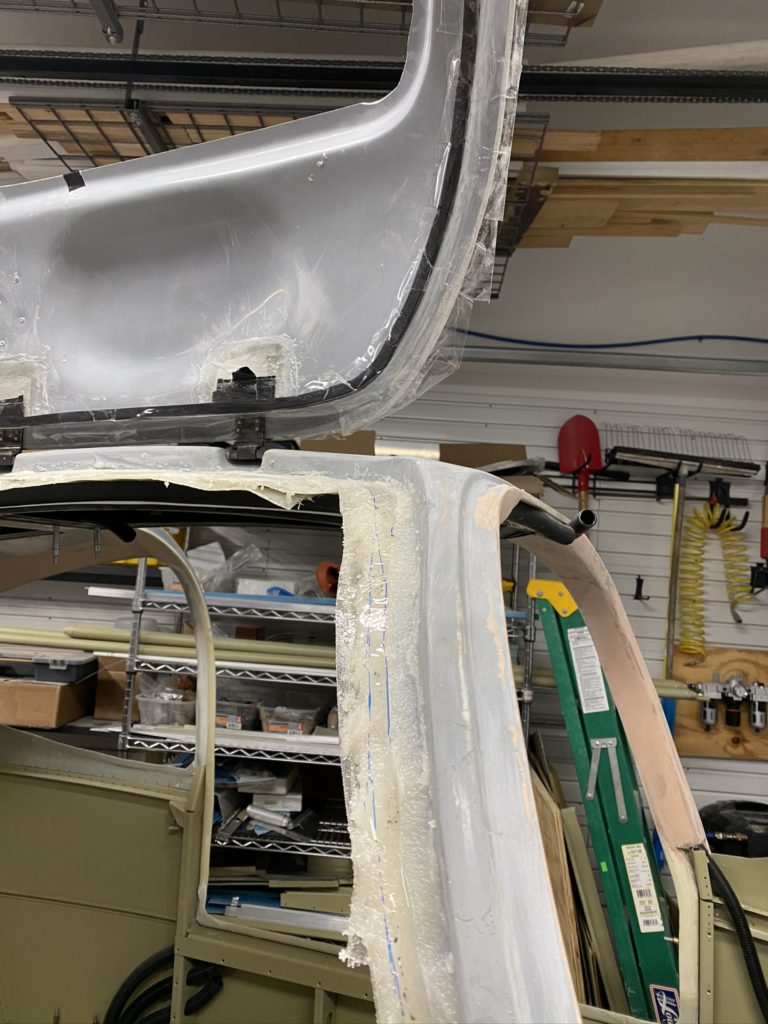
With the door flanges build up to the correct width, I then moved on to using a length of the McMaster door seals as a mold to get the right depth for flange. I mixed more more epoxy and flox and using a piping bag I squeezed the mix into the seal. I then installed on the door flange and closed the door to allow to cure. This gave me a custom fit flange for the door seal. Once the entire opening was completed, I removed the cabin top to start finishing in inside.
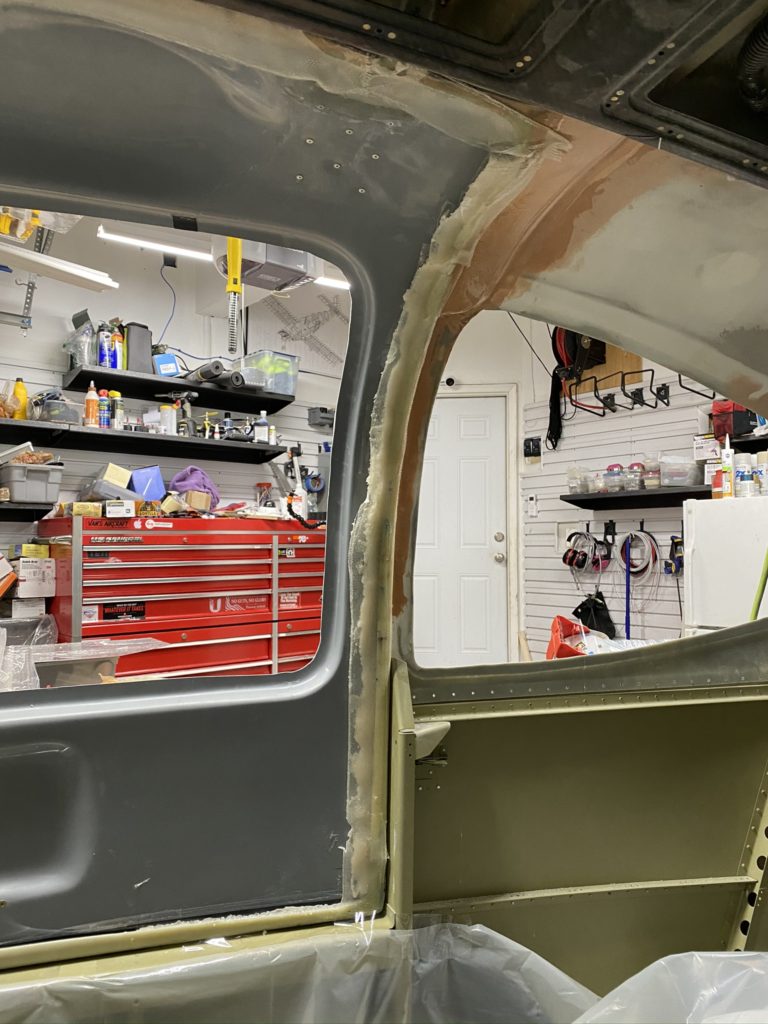
With both doors bonded, I continue to work on the “fit and finish” part of making sure they sit flush to the cabin top. One difficulty I had was making sure I didn’t sand too much off the doors as I tried to get them fit. I finally broke down and made myself a tool to try to help speed the process up.
Home made Edge-finder
I decided to use some extra aluminum scrap and make a poor-mans edge finder so I could mark a rough outline of where I had to sand down to. Easy enough to make. Just take a strip of aluminum, fold in half. Drill a hole near the edge and then using some duck-bill pliers, bend the other half to line up with the hole. Bent part goes against the fuselage, and your sharpie goes in the hole. Should line up mostly – if adjust the bends.
This worked great to give me something cut/sand down too and really allowed me to speed things up. My first door took forever before I made this. The second door was just a few hours now that I knew what I was shooting for.
I also got a little aggressive with the belt sander on the door gutters and got them all sanded down appropriately for the McMaster Door seals. Only issue I can see at the moment is on the passenger side bottom sill. With the door closed, it doesn’t compress the door seal. I may have to sand / re-build up that area with fiberglass to get it to better compress against the door. That is the beauty of fiberglass, easy to fix things if you are willing to make it happen.
With the doors basically trimmed to size, I then cut off the alignment tabs so I can start mounting the doors to the hinges. With the tabs cut off, I end up having to do a bit more sanding to get all my edges even more beveled so the door sits flush (Oh so much sanding). These photos are from mid-June and even then the weather only allowed me to sand outside early in the mornings for an hour or so before it was miserable. I ended up throwing my hands up a bit and just used a dremel sanding drum and belt sander somewhat aggressively.
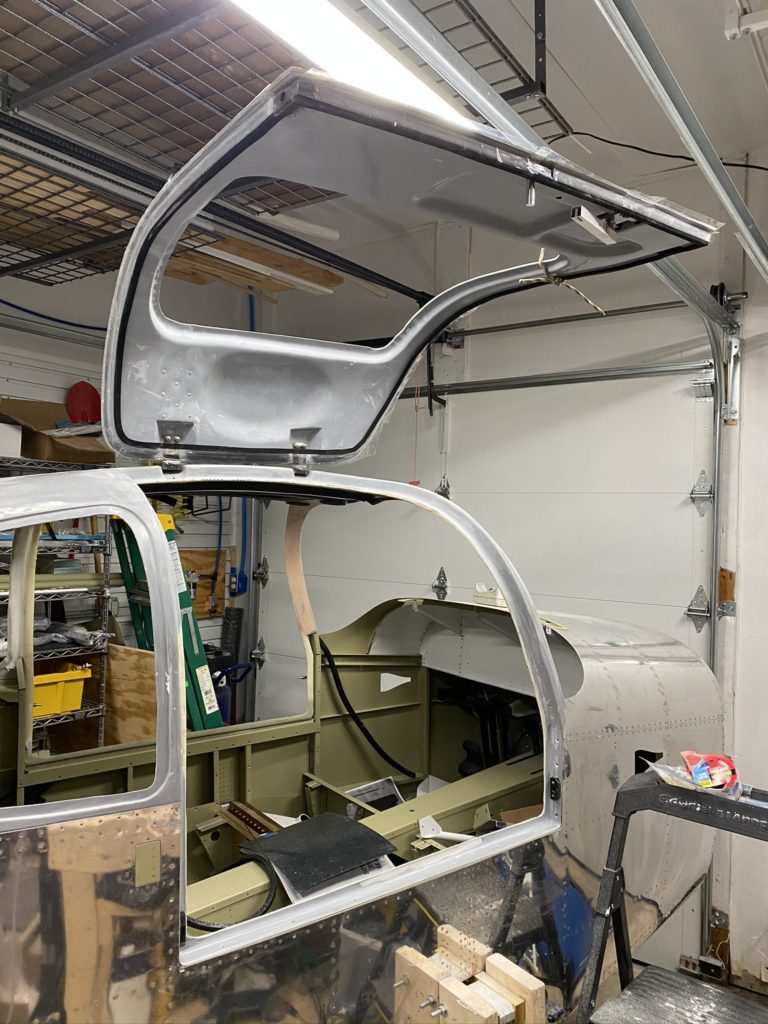
Once the doors really sat flush (or as close as I was able to get), I went to mount the hinges. Again, another mental block as this seemed like another big step. I really wasn’t. Study the plans so you understand what hinge part goes where. Cut the threads off the correct bolt, and use some shims to get the hinge aligned in the hinge pocket. It wasn’t really that bad. Only thing I had to do that wasn’t in the plans was sand a bit of relief on the side of the hinge where the “hinge” bolt sits to allow some movement to get the hinges aligned.
Then I get to crawl into the cabin with the door taped into place, and attach them to the hinges. Everything went according to plan and the doors were able to swing open on the hinges.
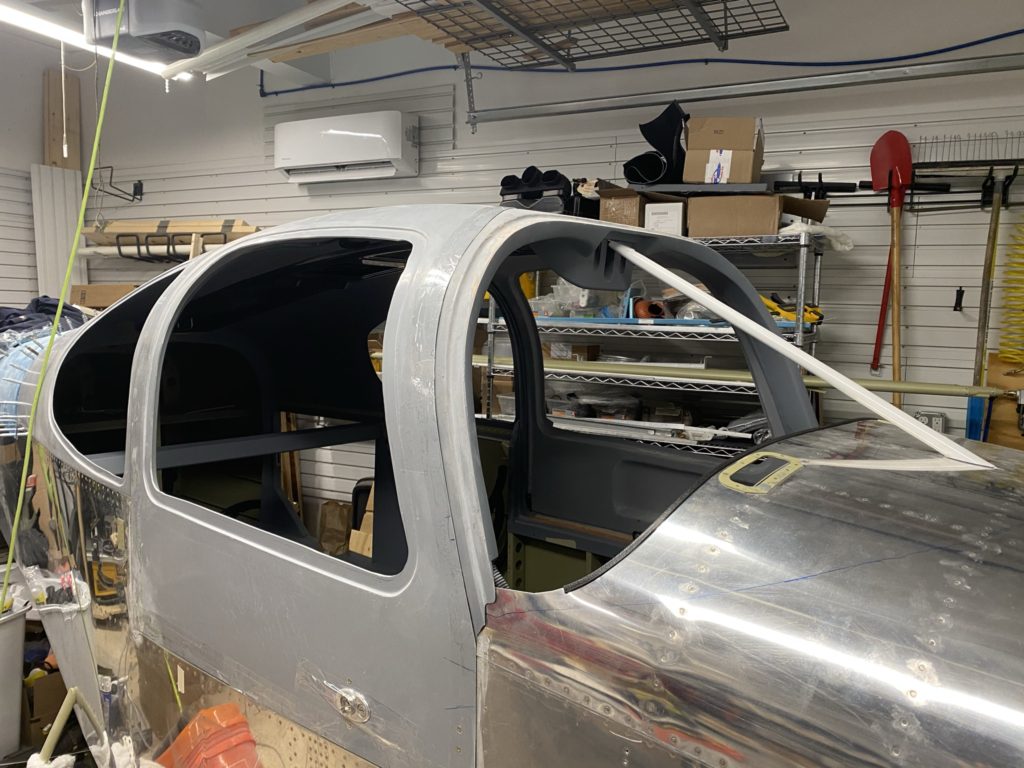
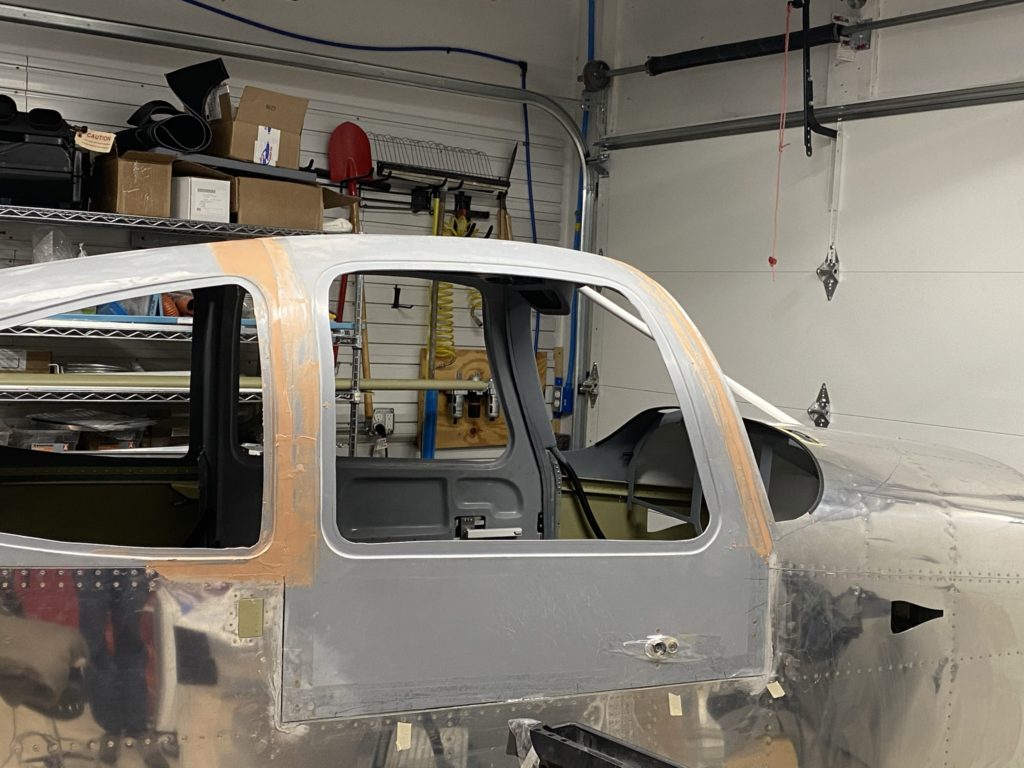
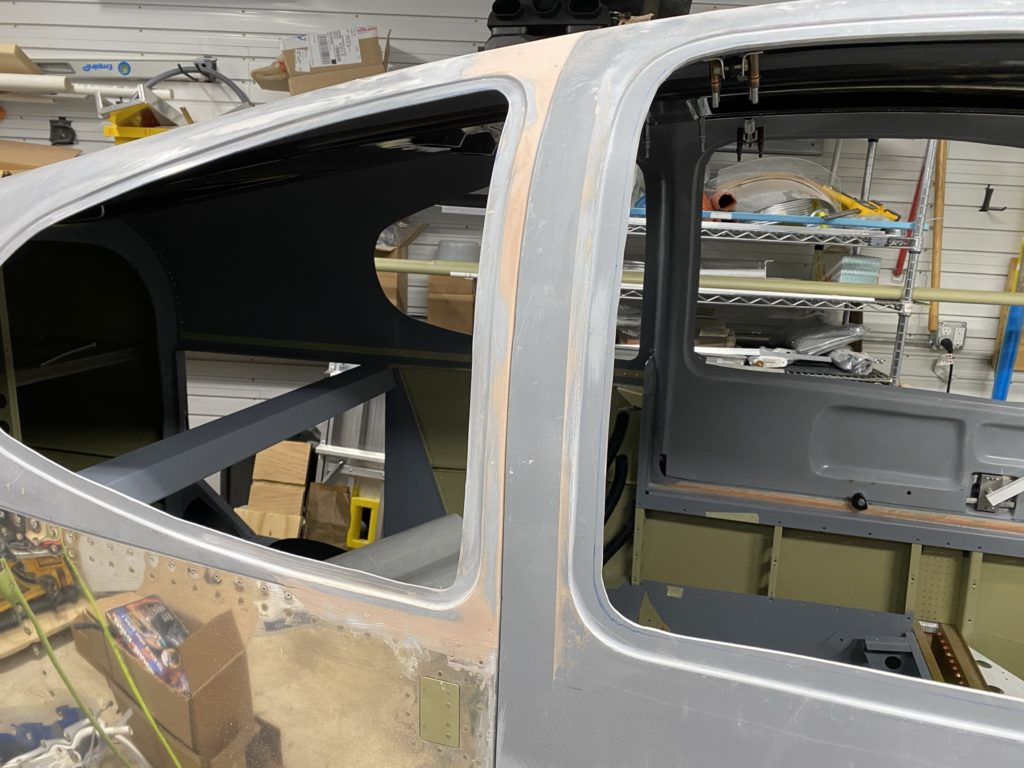
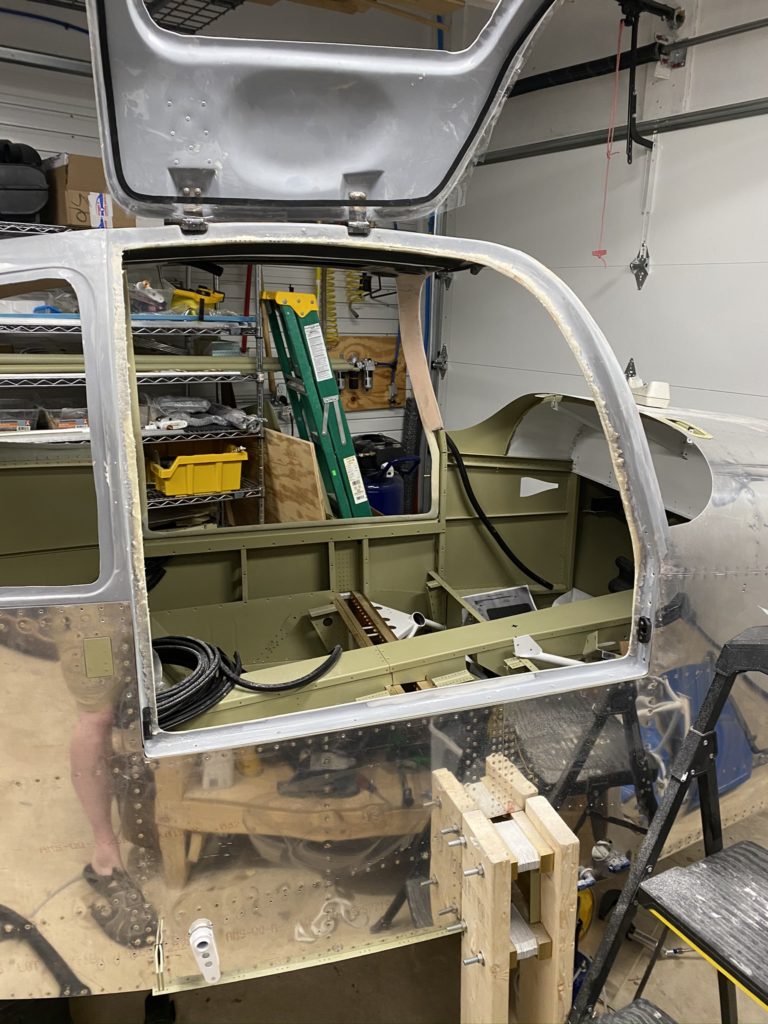
With the doors hinges installed, I can move to working on the overhead console and cleaning up the cabin top interior as well as trying to install the door handles and latching mechanism.
With the cabin top in place and temporarily fastened to the fuse with screws, I started to trim and fit the doors. My current thought process for the build sequence is a little different than the VANS plans due to a few upgrades I purchased.
I’ll do the initial / rough fitment of the doors with the cabin top installed with screws / clecos. Once the door hinges are installed, I can then put the doors to the side, mount the strut brackets, then remove the cabin top to install the overhead canopy. I’ll also install the conduit in the pillars and clean up the cabin top as I’m not sure if I’m going to go with the Aerosport headliner or just paint it.
Anyway, I first have to mark the doors so I can rough trim everything. Honestly I didn’t trust the scribe marks, so I added a little bit to all the measurements before I cut things. I marked the window trim, celco, and final trim lines as well as the outter trim lines of the door shells. I also drill out the “dimples” called out in the plans on each part. I really shouldn’t have bothered on the upper window holes as I’ll touch on later.
I then take the doors outside and begin to trim using the cutoff wheel provided by vans. Others have not been happy with these wheels, but honestly they are holding up for me and working well. Give yourself extra room so you don’t accidentally go over the lines but it made fairly quick work. Only downside was my air compressor couldn’t keep up so that was my only limiting factor.
With the doors trimmed, I then sanded the inside of the shells, then went to mount both halves together on the fuse. The forward and aft door holes did line up and fit into the holes in the fuse (mostly). Also the lower window alignment holes matched up fairly well, but with those four points clecoed together, there was no way to get the top of the windows clecoed. I got concerned till I heard this was a common issue with the mold. Ignore and move on was the answer.
With the door initially clecoed in, I used my hole finder to drill out the other locations. With those clecoed, I then re-drilled the fwd and aft holes using the hole finder so they were square and clean. I then drill all the window holes together. Clean everything up, then worked on getting my courage to start the first epoxy session.
So it ended up taking me almost a week before I was confident I was doing everything correctly. Even still, it was very stressful for me as I felt the clock ticking the whole time. Take your time to have everything prepped. I decided to use packing tape to prevent the door from bonding to the fuse. I applied tape all long the door edges and anywhere I thought epoxy might get on the cabin top.
Mixed up about 5oz of neat epoxy and painted both mating surfaces with a light coat. Next I installed the parabeam fiberglass and applied some neat epoxy to it as well. Then I mixed up a batch of epoxy and cab-o-sil. I think I made about 15oz of thickened epoxy total for each door (more than the 10 oz that Vans estimated). This may be because I left my flanges larger than the plans but would rather have extra squeeze out vs having voids.
With epoxy applied, I put the halves together and installed on the cabin. I applied the bottom clecos, then the window clecos. I then decided I was going to drill holes in the door flanges just outside the scribe line into the cabin top. I drilled just enough to get the cleco to “bite” but not necessarily all the way through the cabin tip. On the right door (first one), I chickened out and then just grabbed a bunch of clamps and put water bottles on top of the door. On the left door, I went “whole hog” and fully clecoed the door to the cabin top to hopefully get an even better fit.
Epoxy applied
Clecos and Clamps – so much fun
Nothing but clecos, I liked this method better.
Once the epoxy cures, I remove the door from the fuselage and begin to trim the doors to size. This is now getting into the “artistic” side of the build a bit. Trimming and sanding the door to the proper size without sanding too much off does require some skill, which I will admit I really don’t have. As much as I try to get a nice close fit, of course I muck it up a bit. One thing I realized was that I really didn’t trim the cabin top door edges back far enough. I’m planning on doing the McMaster Carr door seals, so they already needed to be trimmed more, but in a few places the cabin door edge was hitting the door making things more difficult to get flush.
In trying to get more info on the McMaster Door seal installation technique, I did find this PDF from Les Kearney that is on the Matronics site. Looks like I don’t need to be a perfectionist as I can once again use the cabin top as a mold with some micro epoxy to get really perfect door edges. This helps me move forward a bit as I don’t have to be a perfectionist on the edges as I originally thought..