Defrost Vents, Firewall insulation, and more cabin top filler

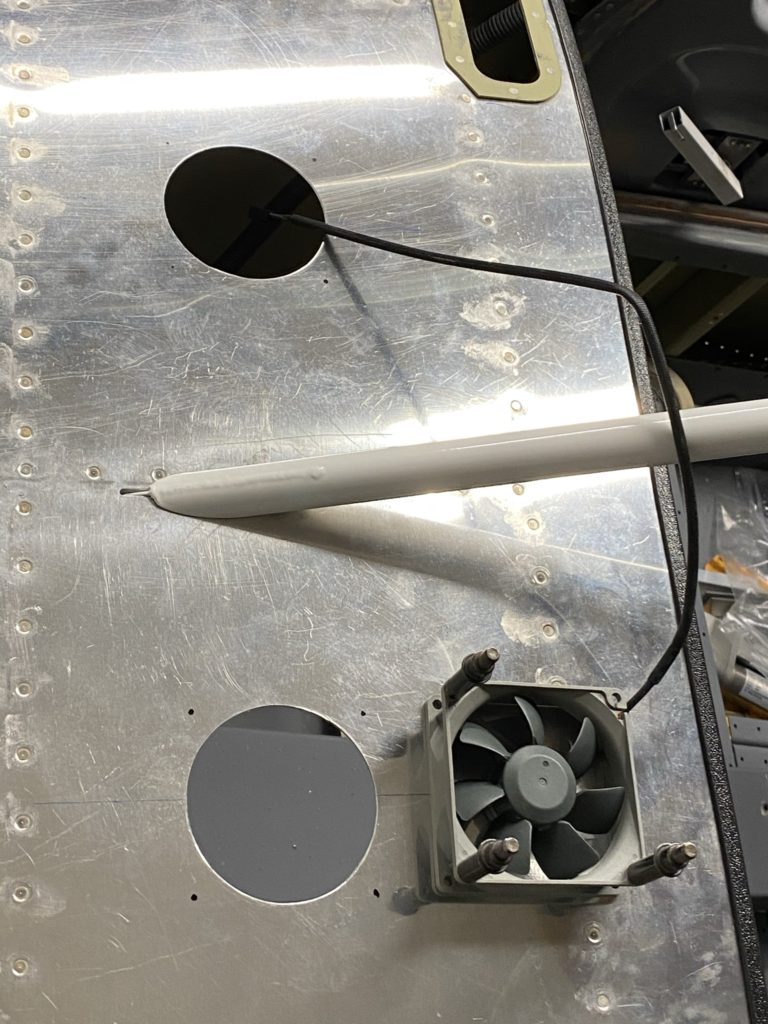
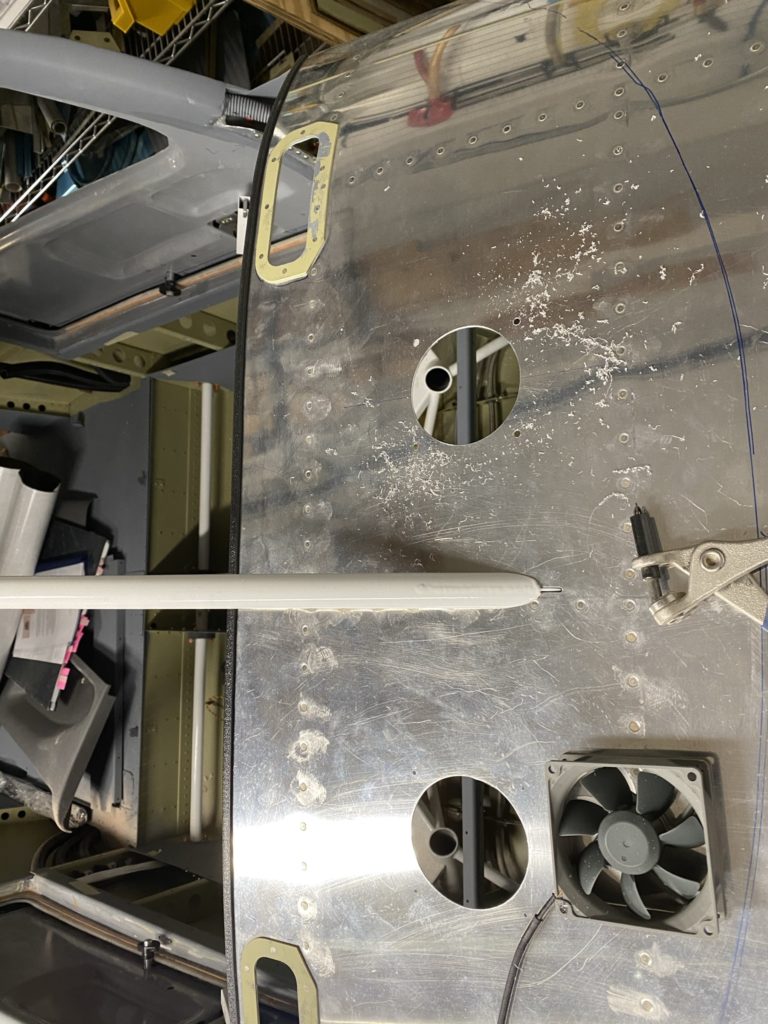
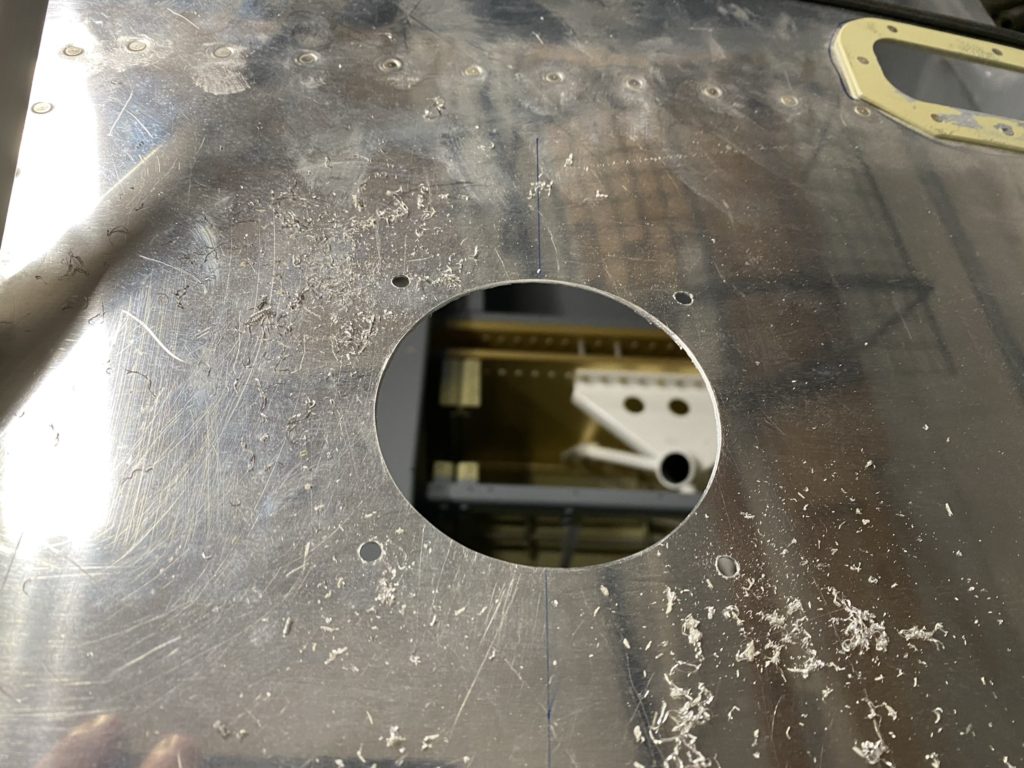
Next item on my to-do list was to cut the holes in the instrument panel for my defrost / avionics fans. I briefly put the windshield on the airframe to mark out where it looks like it will sit to ensure I don’t do something dumb. Next I measure where the hole centers should be off the center rivet line to try to make the fans symmetrical. I then drill a pilot hole at the center mark, then follow with a hole-saw in my cordless drill to make the larger hole. Using the fan as a template, I then mark out where the four mounting holes need to be, then drill one of the holes. I cleco the fan in place from underneath and use the fan as a drill guide to final drill the remaining 3 holes.

I plan to dimple the holes and install countersunk screws to keep the glare shield flush. I think I’m going to use the Aerospot Products glareshield, or possibly the one from SFSport Aviation instead of my original thought of using automotive bed-liner paint.

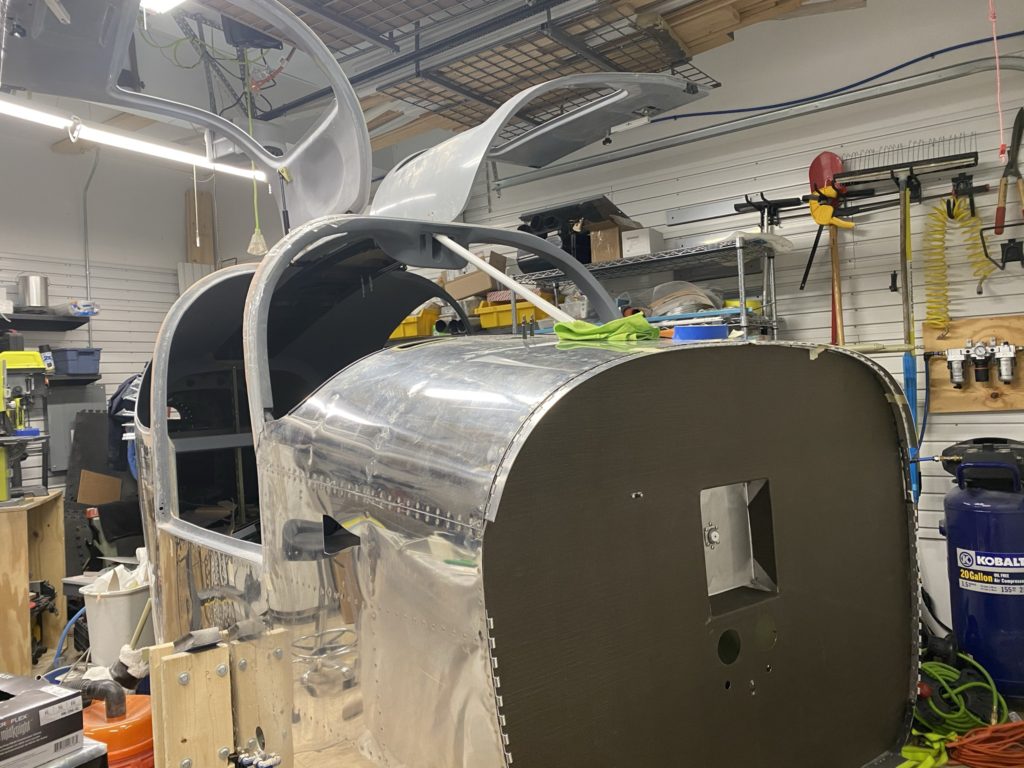
I also decided to change my mind regarding the insulation I am installing on my firewall. Originally I purchased fiberfrax and stainless steel foil and use that as my insulation, but decided to go with lavashield instead. I was thinking the lavashield looked nicer and was easier to install vs the fiberfrax method. Nothing scientific and I’m sure the fiberfrax is superior. I just didn’t like the look of the SS foil over the insulation. Honestly I think the lavashield looks like carbon fiber and at least provides a little insulation value over stock.

With those items checked off the list, I go back to filler and sanding on the doors and cabin top. I had a very slight gap between the cabin top joggle and the fuse skins that was not due to interference or trimming the cabin top enough, it just didn’t sit completely flush against the skins. I filled this with a little Aeropoxy Light and also decided I was going to cover the blind rivets on the outside of the skin with filler as well to make things look nicer. Again very thankful for the AC/Heat in the garage to make life easier as I sand and blend the cabin top.

Firewall – Part 1

Next on the list was building the firewall (Section 27). After pulling the firewall out of it’s protective shell and locating all the needed parts, I was able to start clecoing everything in place. I found there was some finishing work that needed to be done to get all the firewall braces to fit together properly. Nothing major, but just a little different than most of the other areas so far. Maybe that was to make sure that you had a pretty tight fit between components?

One thing I’ll note that is ever called out in the plans. The stainless steel firewall is SHARP. I really tried to be careful around it but did end up with a few fairly deep cuts on my hands. Worst papercut ever!

Once all the braces were final drilled, I moved onto the tunnel. Nothing really difficult here either beyond measuring where to drill for the SCAT tube support. Cleco the remaining parts together, final drill then deburr everything and prime.

With all the parts primed, it was time to deburr the firewall itself and dimple. A few things I’ll go ahead and call out.

  1. As called out on Page 27-5, two nutplates are installed on the engine side of the firewall. This isn’t mentioned in the steps but dimple correctly for these nutplates.
  2. I went ahead and dimpled ALL the holes on the firewall as I was unsure if I should or not. Were I to do this again, I would not dimple the holes under the F1001-C (bottom of the firewall) as a squeezer could get there later. Can’t comment on Upper Fuse ribs yet.

Riveting the braces onto the firewall skin was straightforward. Just don’t rivet the area where the triangle brace goes or you will need to drill that out later. I ended up backriveting most of this with only a few minor issues. I supported the firewall on scraps of plywood so I didn’t bend any of the flanges.

The only other “mistake” I made was when I was riveting the WD-1004 brace to the tunnel skin. I read the note, but still put the rivets in backwards. Drilled them out and put them in correctly just in case. Honestly it was easier to rivet following the directions (shop head on the WD-1004 side)

At this point my mid-fuse bottom skin is still not riveted together, just waiting to get someone over to help me set these rivets. Maybe I could back-rivet these on the bench, but getting a helping hand seems like a better idea.