I didn’t specifically speak about bonding the overhead console in the last post. Basically I followed the directions from Aerosport Products and used the Lord adhesive they sell (and plan to also use it for my windows). One suggestion is to purchase some additional dispenser tips when you do purchase from them.
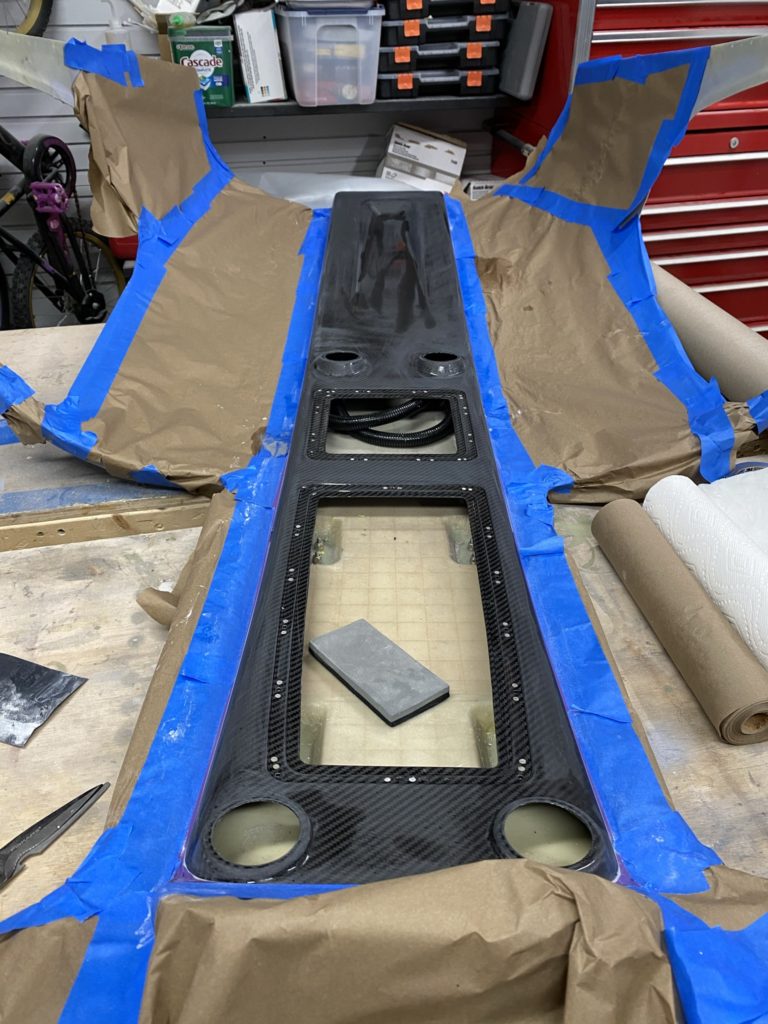
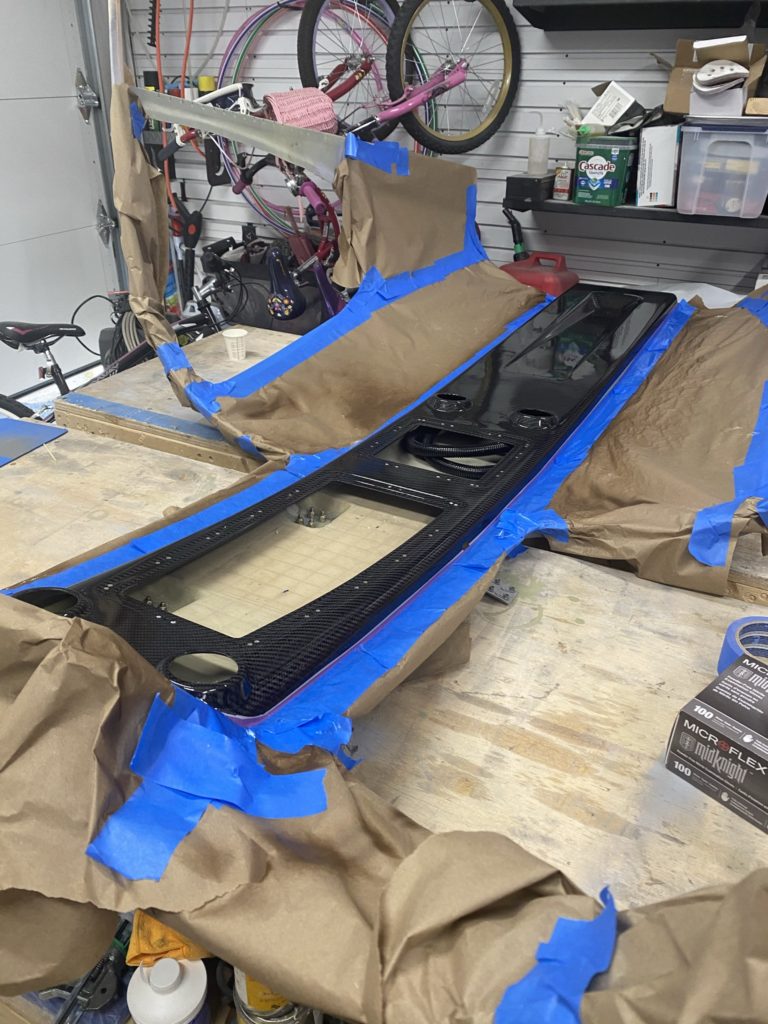
It took me a long time to get comfortable with the process blending the overhead to the cabin top. Wasn’t sure the best way to keep the overhead as carbon fiber, and also paint the cabin top interior. After a number weekends trying different things, I finally came up with a method that seemed to work. I ended up masking off the cabin top so just the carbon fiber overhead console was exposed. I then sanded / scuffed the carbon fiber to remove all the shiny spots and cleaned everything really well with a wax and grease remover. Then I used some SEM adhesion promoted followed by a few coats of Spray Max 2k High Gloss Clearcoat. Once everything had dried, I pulled off my masking tape, only to find that I had some adhesion issues / coverage issues in a few places.
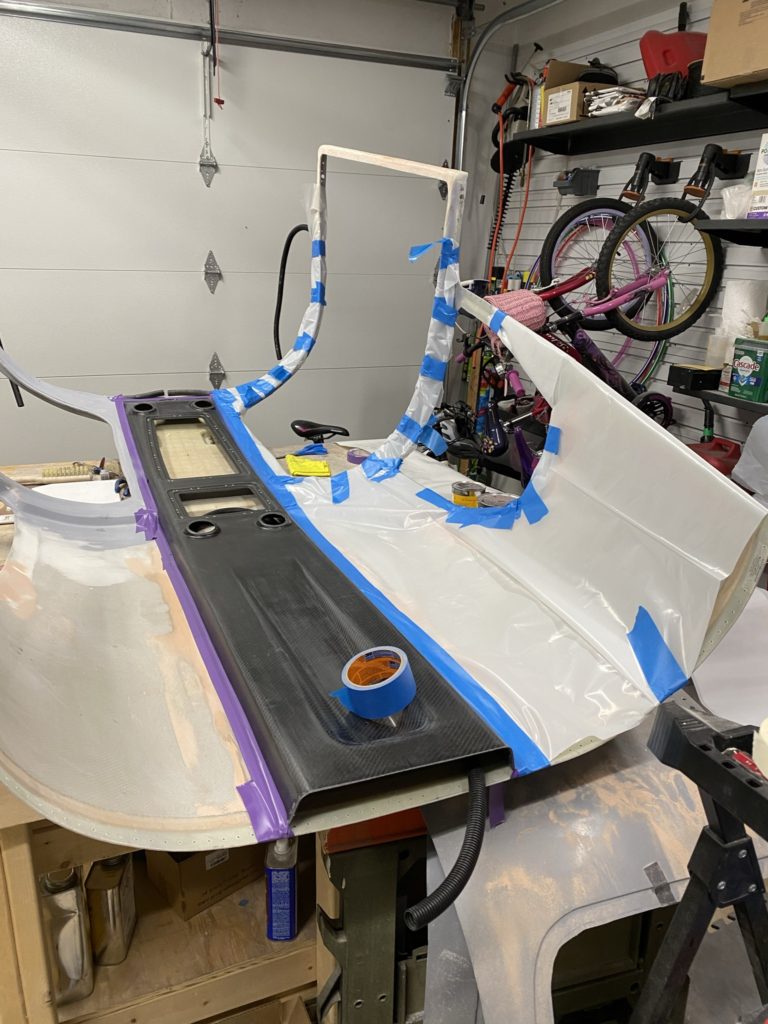
Masking off everything but the overhead console 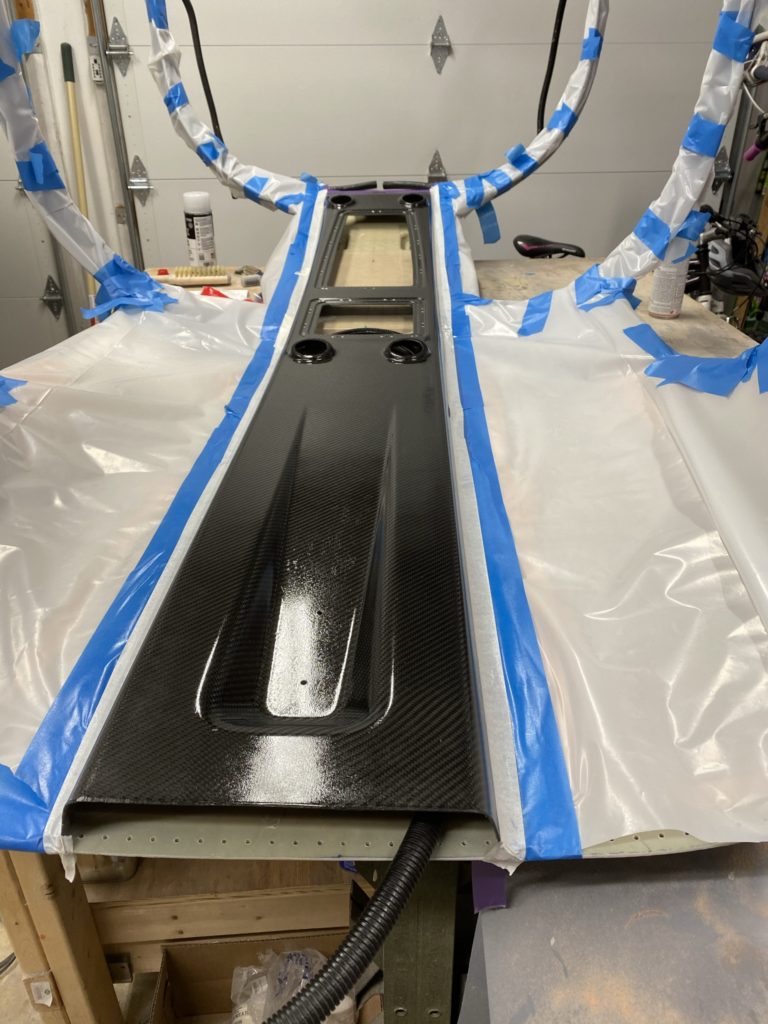
Coat of Adhesion Promoter 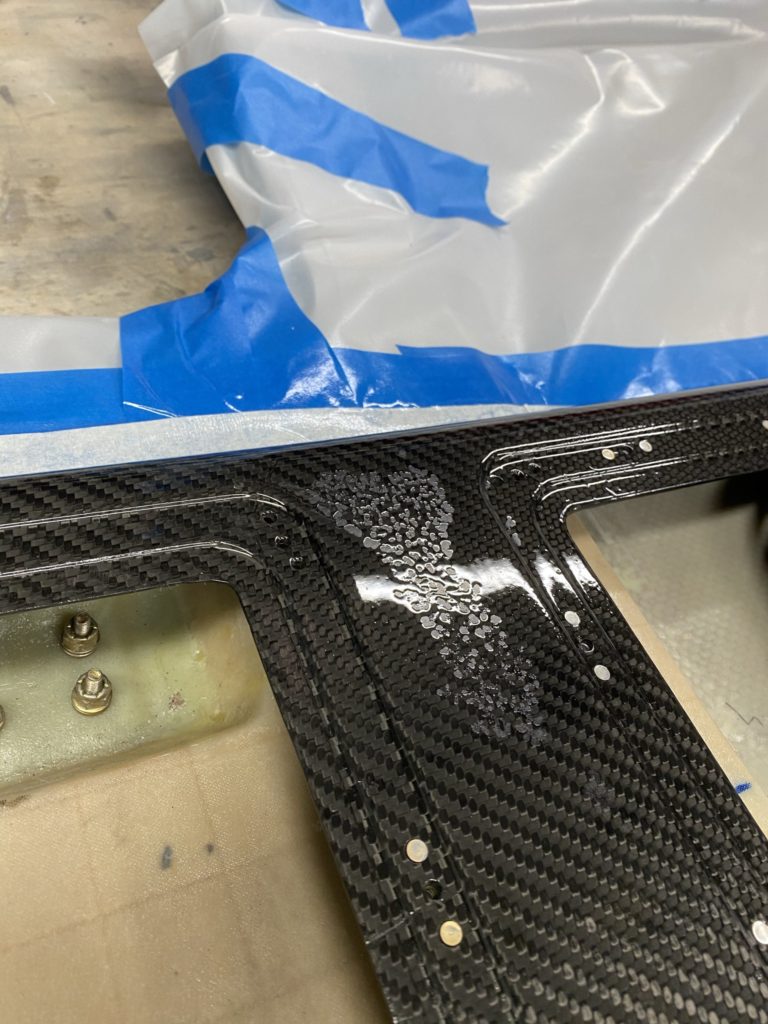
After spraying the clearcoat, noticed that this area had an issue 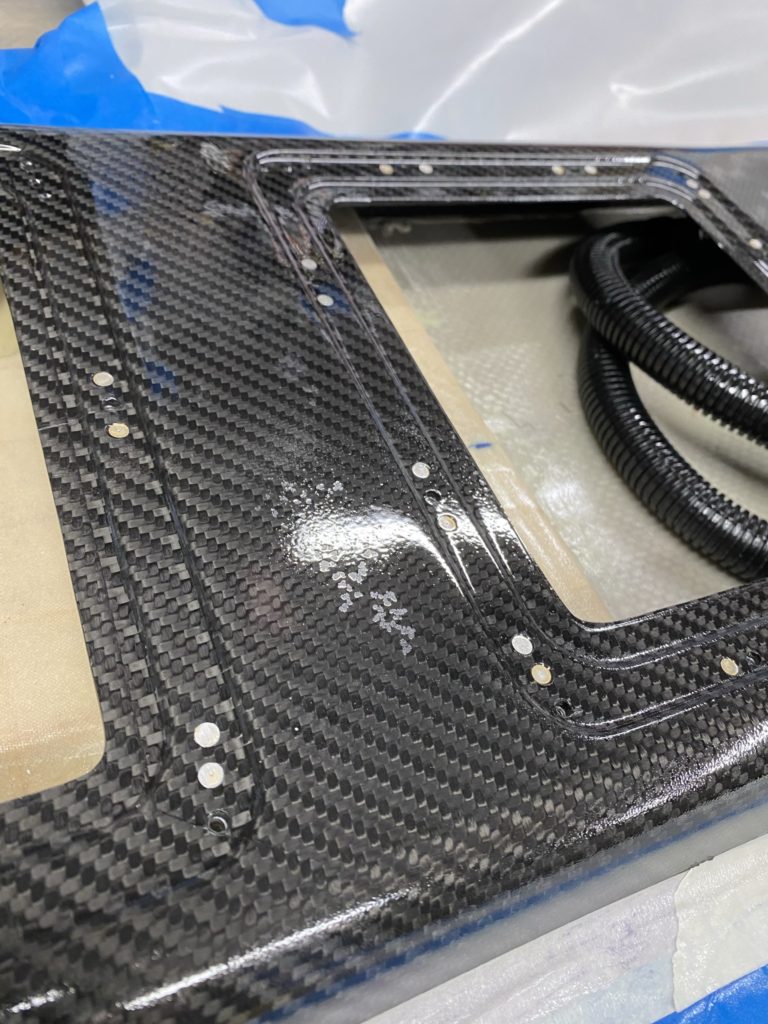
More issues 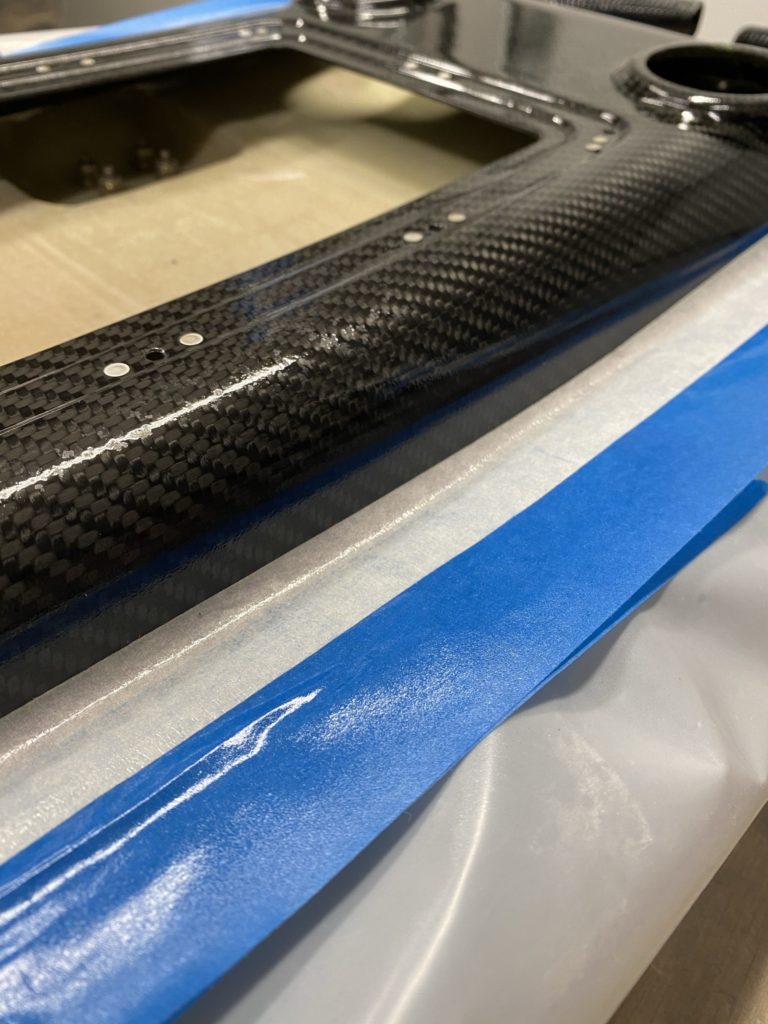
Hard to see, but clear didn’t cover everything
To fix this, I sanded the whole top down with 800 grit sandpaper to scuff the clear coat and sanded the problem areas down until they were flat. Then another round of cleaning (I think I cleaned everything 2-3 times just to be sure). Then it was the same technique of SEM Adhesion Promoter, and multiple coats of Spray Max 2k clear. Final product was a nice clear-coat finish… almost. Honestly this time things worked much better. Not perfect, and saw I had plenty of “orange peel”. Still fantastic for my first time and clear coat out of a rattle can!
Sanding down the clear coat 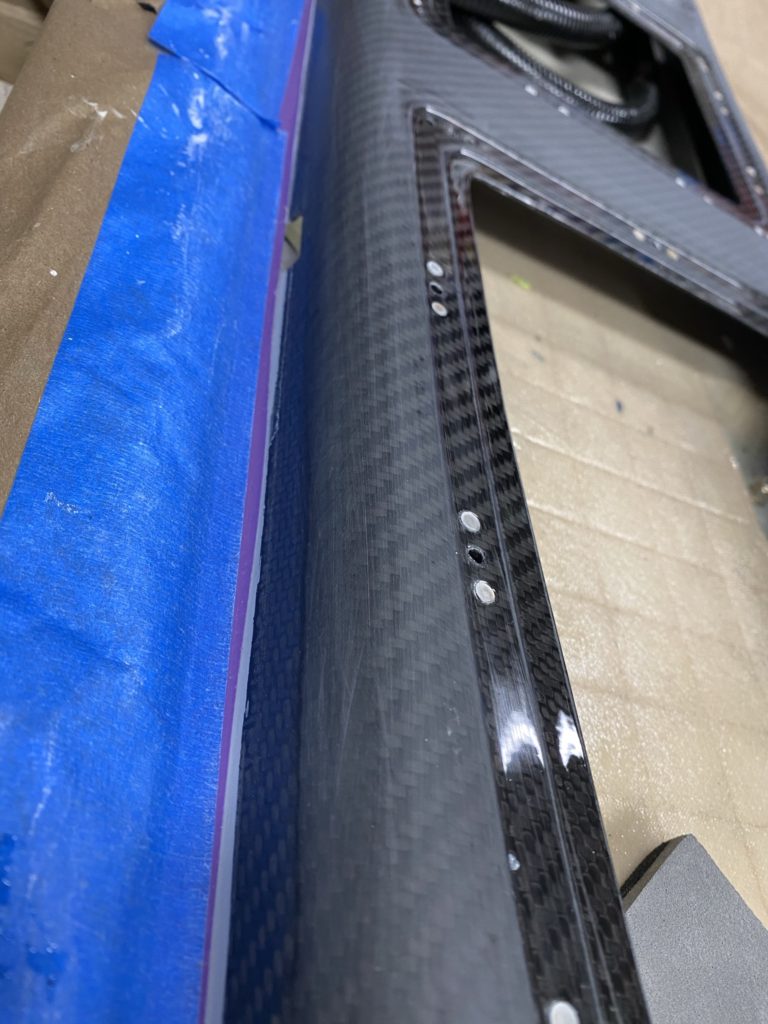
New round of Clear Coat 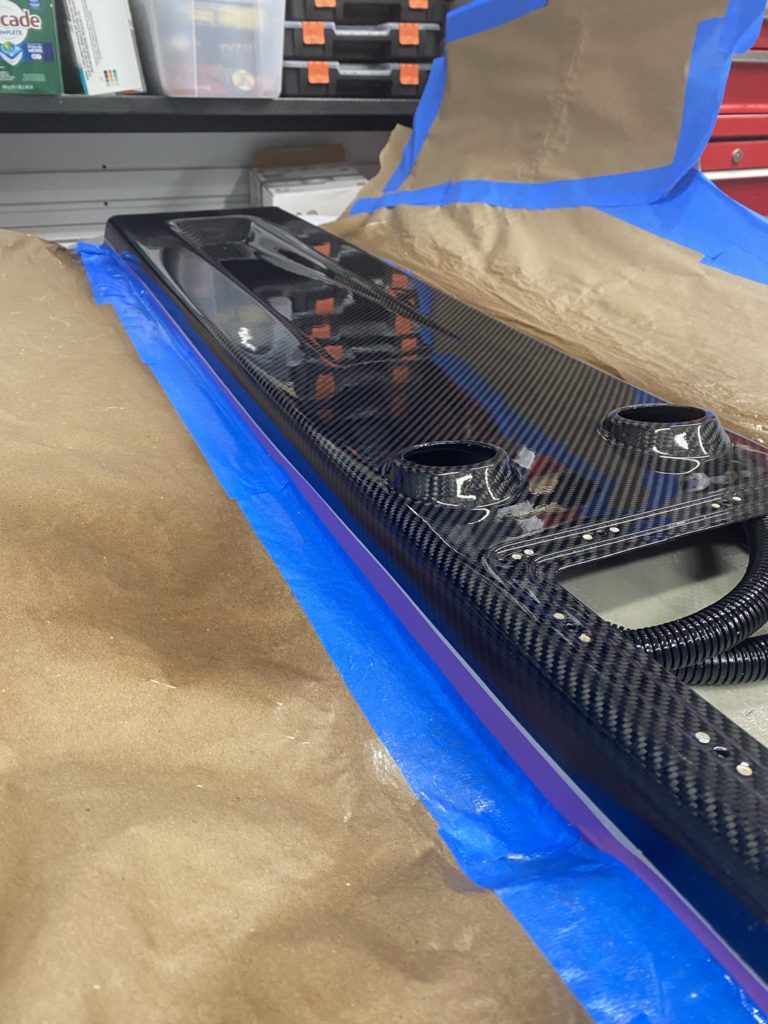
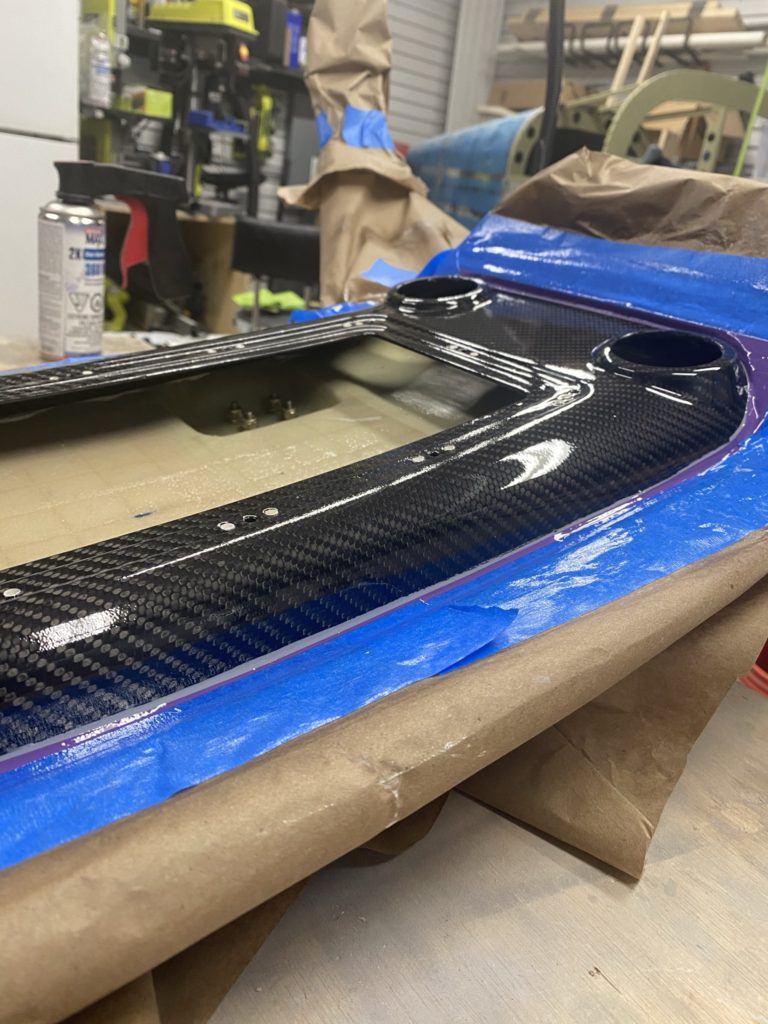
Looks good, but you can see the orange peel
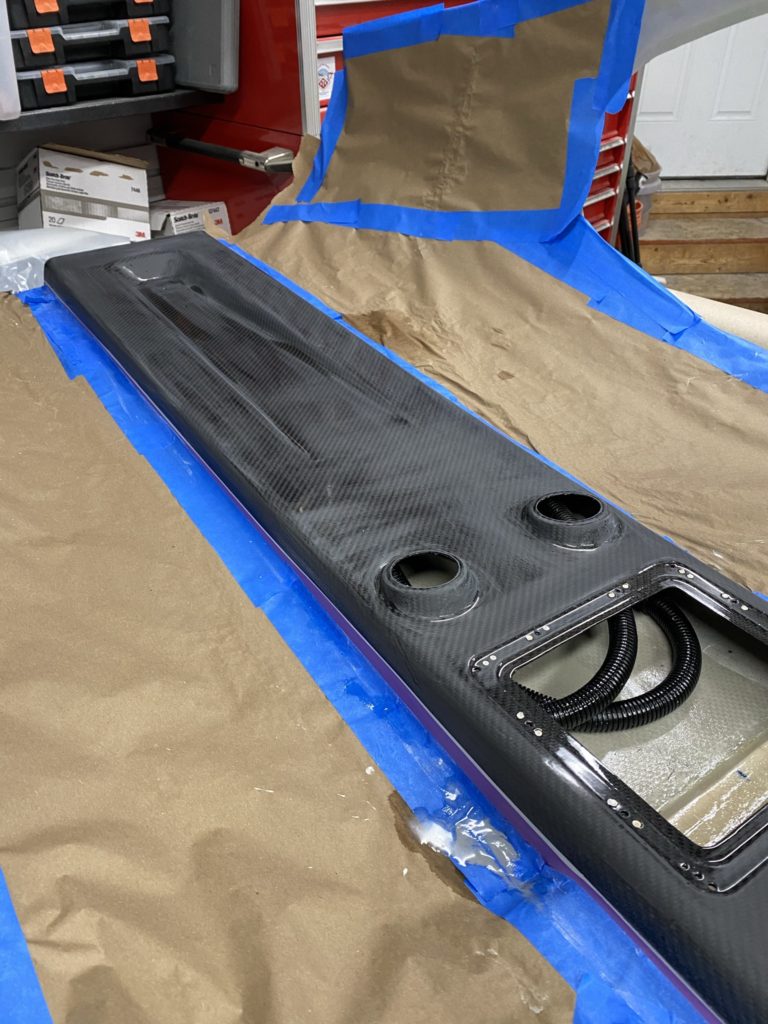
I spend a number of hours wet-sanding the clear coat to remove the orange peel, then purchased a DA buffer and some cutting / polishing compound. I didn’t take it up to a “showroom finish” but did get it to the point where most of the scratches were out and it had a really nice flat shine. Overall I’m really happy with the finish of the overhead console.
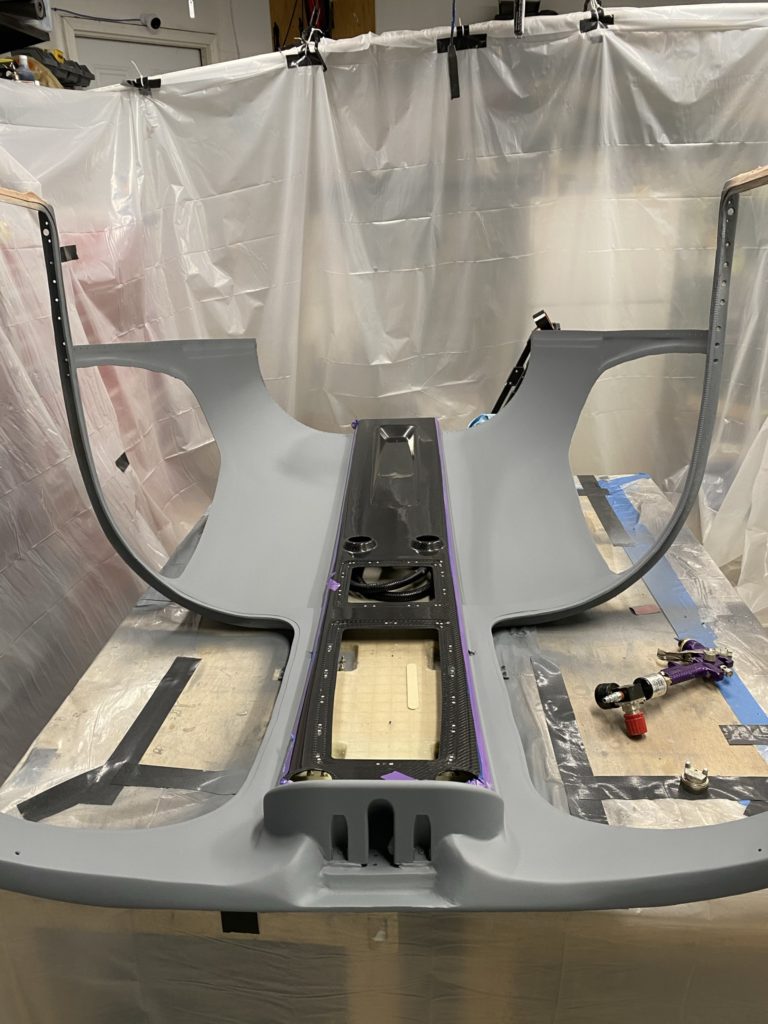
With the overhead console now clear coated, I then decided to permanently install the overhead switch pod. I used screws as well as a bead of Lord Adhesive as the switch pod will not come off. I masked off the are that would remain clear-coated and make some last touch ups needed on the overhead to cabin top transition.
Lastly I trimmed and permanently install the ends of the conduits into the switchpod and built up the transition from the switchpod to the cabin top to blend in the conduit. I’m actually starting to get a bit better with this process now that I’ve been doing it for a few months. Not that I think I could do an entire composite aircraft!
Next I start to spray some cheap high-build primer and start the process of progressively finer sanding until I get up to 800 grit. As I mentioned in an earlier post this year, I have struggled with colors and what I want to do with interior and exterior paint. After a lot of thought, I finally decided to pull the trigger on a paint color.
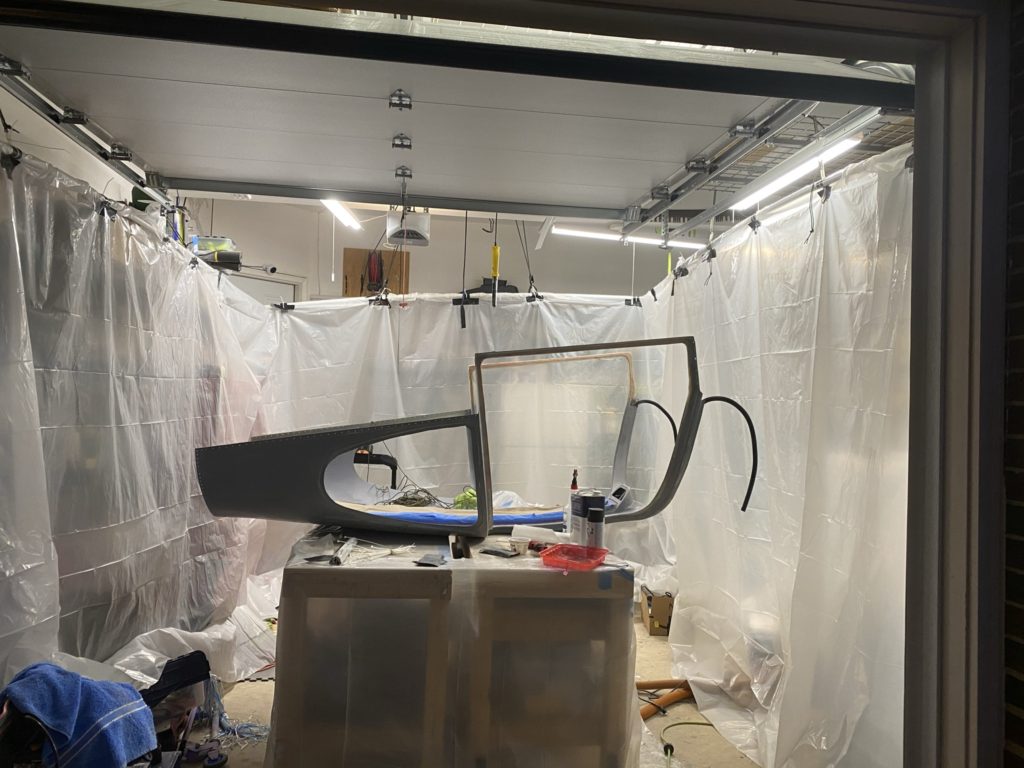
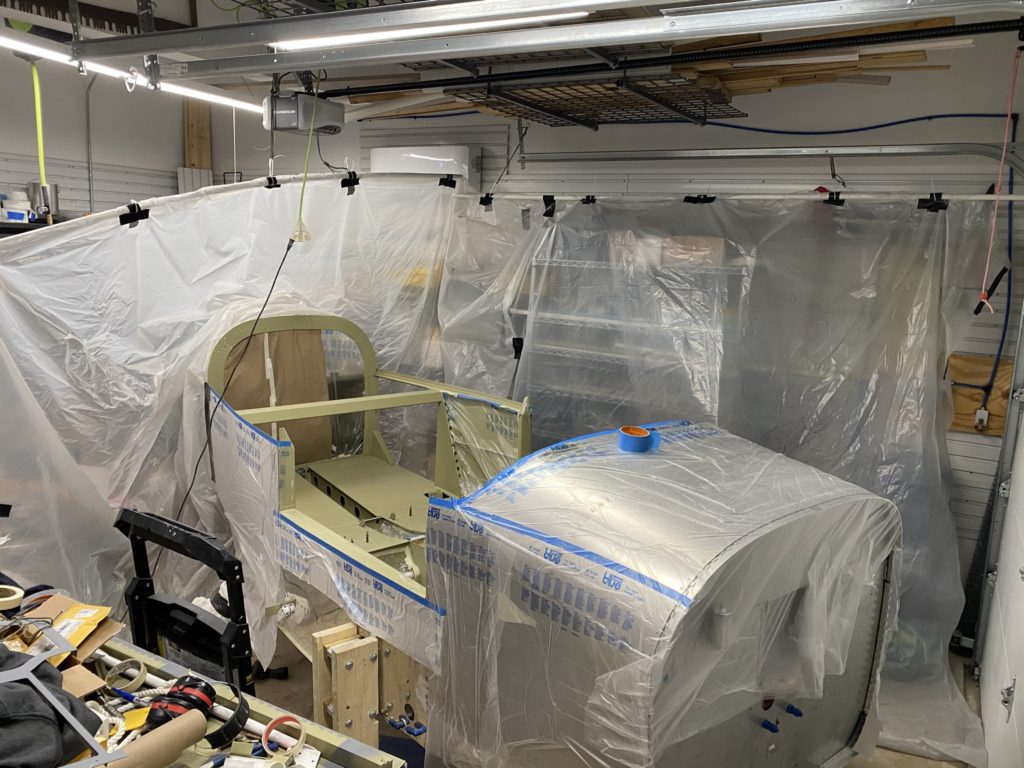
I decided to go with the Summit Racing HotRod Flat Paint – Grey I’ll admit that this was more of me just throwing my hands up and picking something vs a detailed analysis. I built a make shift paint boot and got a fresh set of respirator filters and went to work. I had no illusions that I would get a show quality paint job with my purple Harbor Freight spray gun, but I did at least want a pretty tough paint job without any shine.
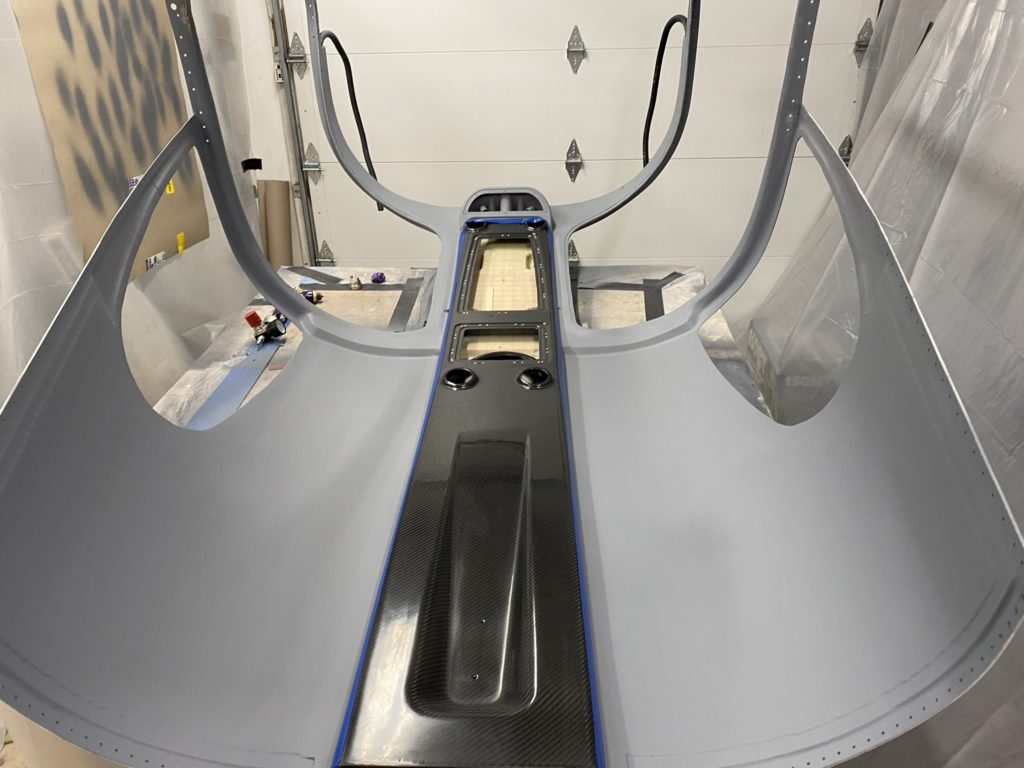
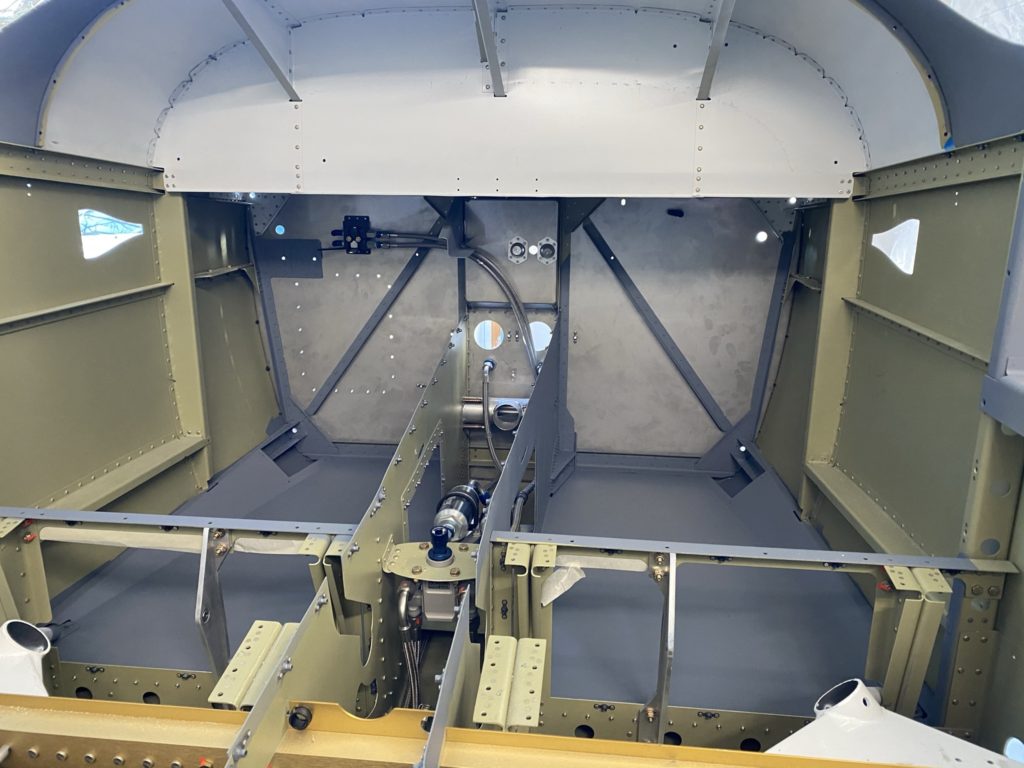
The first part that I painted was the cabin top. Due to the gun quality, the paint ended up with a bit of a textured finish which actually looked pretty good for what I’m using it for. I think I put down 3 coats of paint (just to be sure) before I peeled up the masking on the overhead console. The end result I think looks pretty good and will work for a garage DIY job.

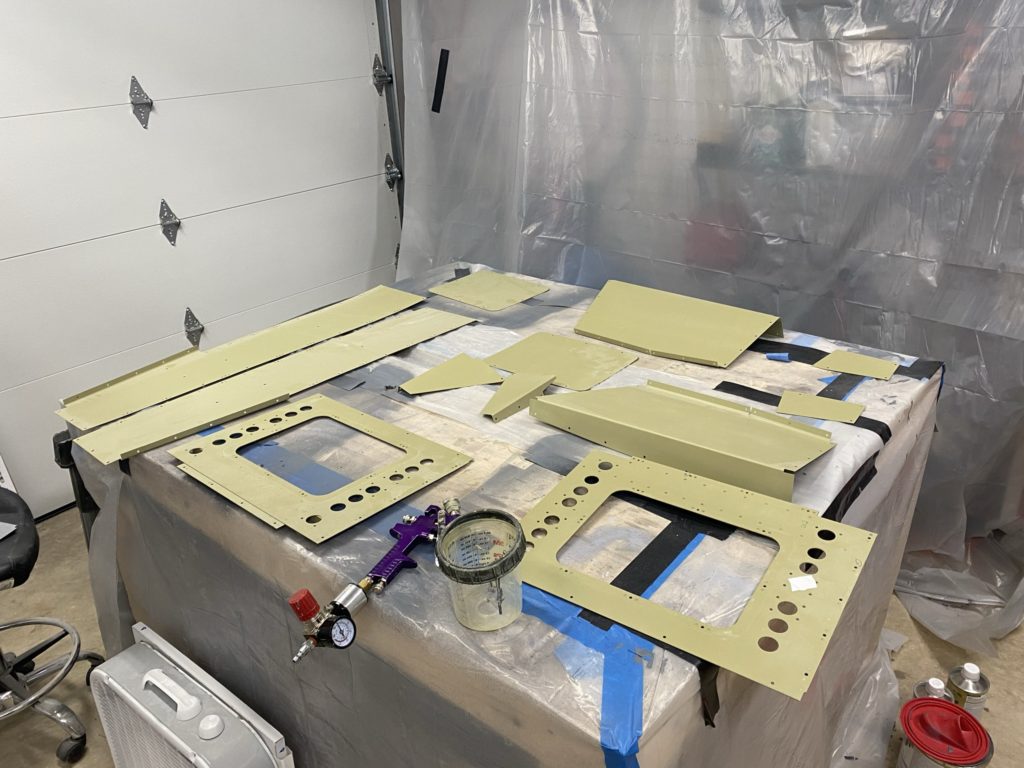
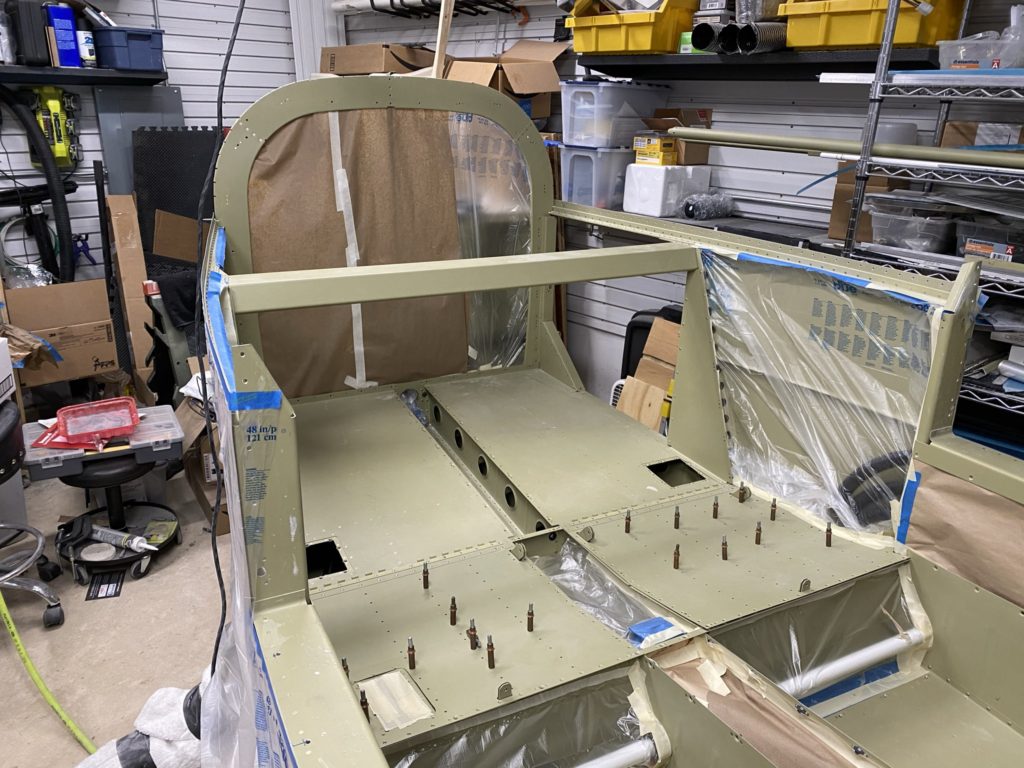
Once the cabin paint was dry, I moved the cabin top inside to get out of the way for a few weeks and started painting all the interior parts that are currently removable. Access Panels, side panels, and seat pans were all scuffed with grey scotchbright pads, cleaned and then sprayed. Then it was on to shifting my paint booth over the fuse and masking off the areas that needed to be protected. I did also remove the control approach pedals and hoses to keep them protected. I also masked off the firewall to ensure no paint got on the Stainless steel.
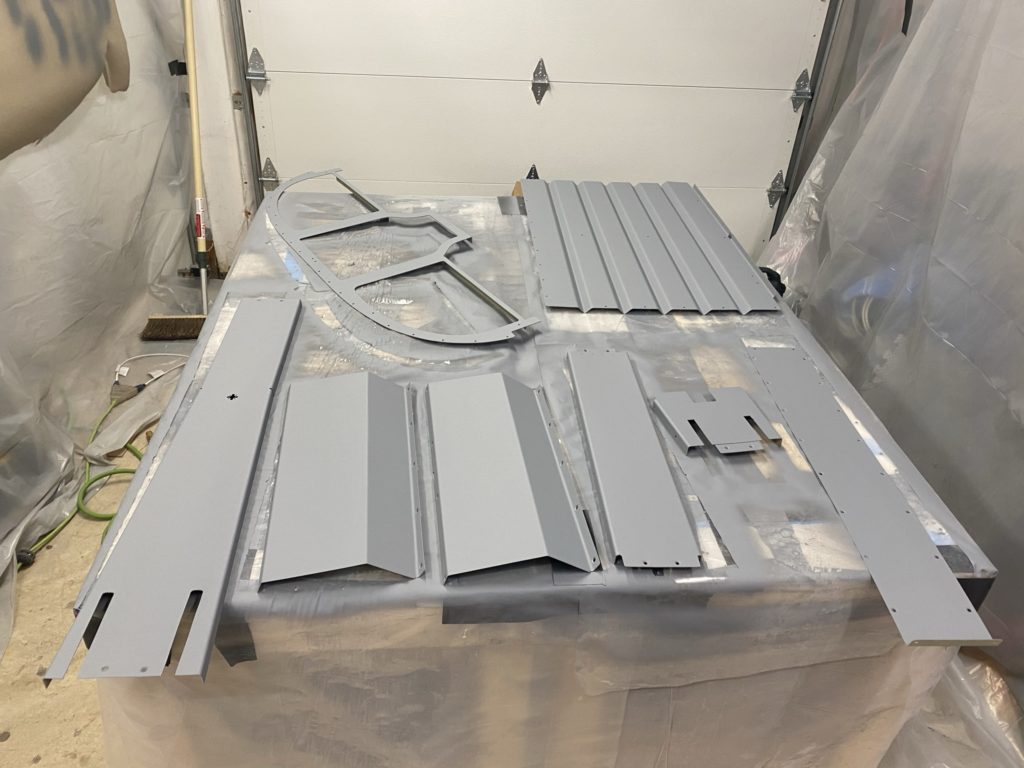
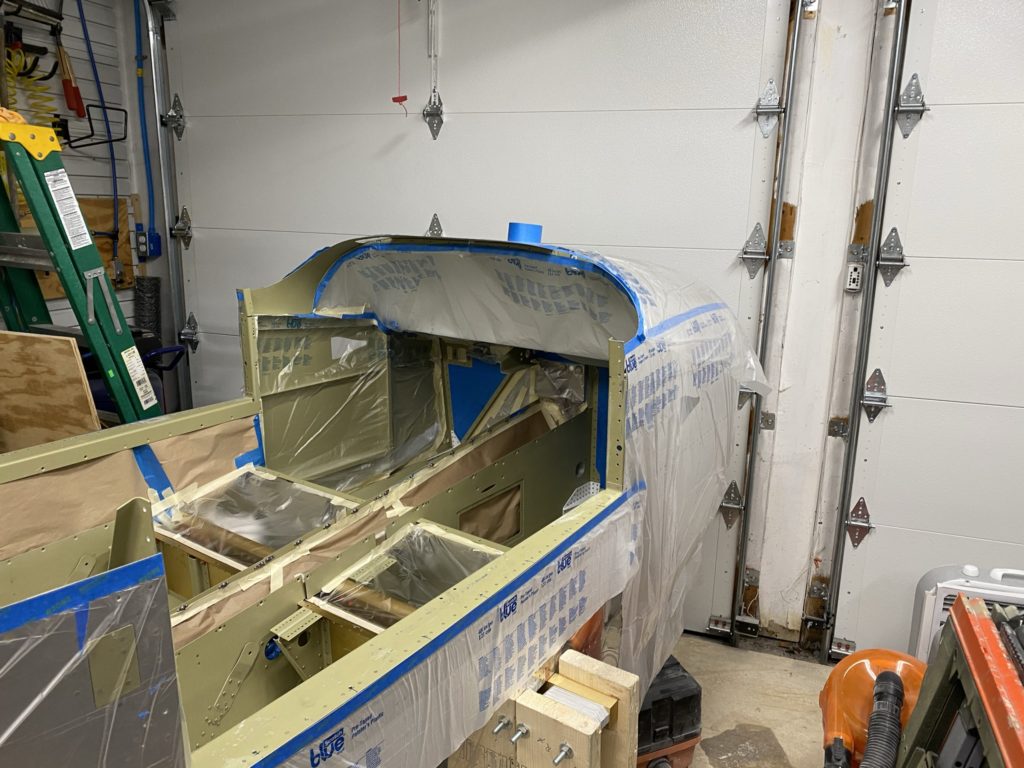
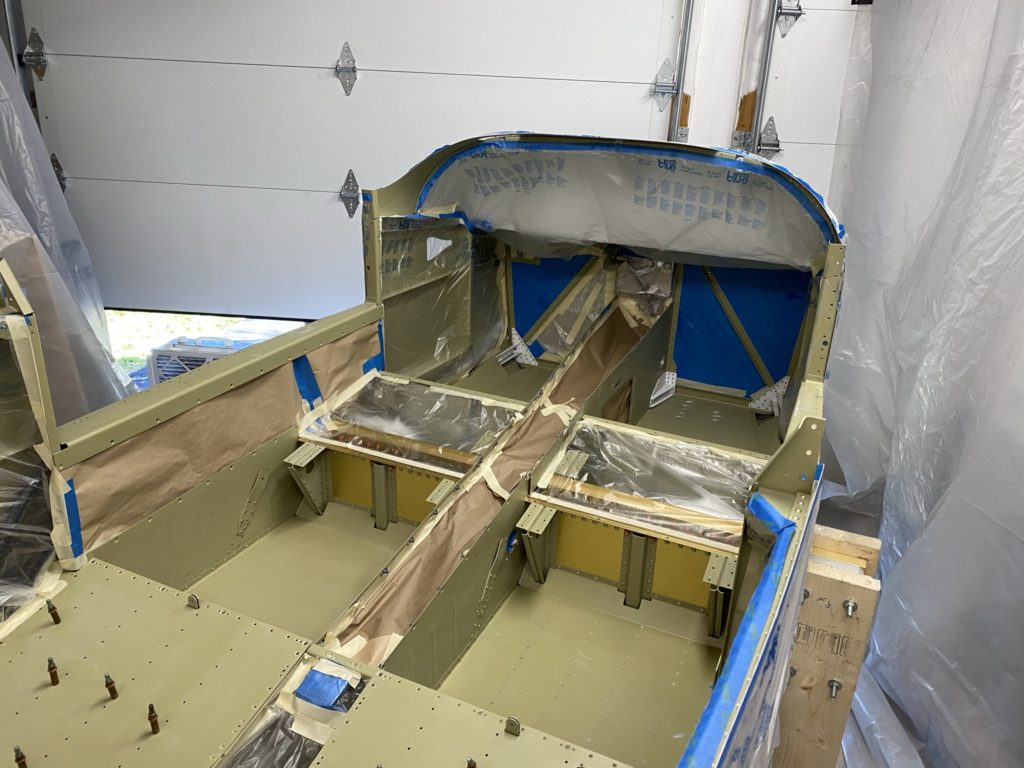
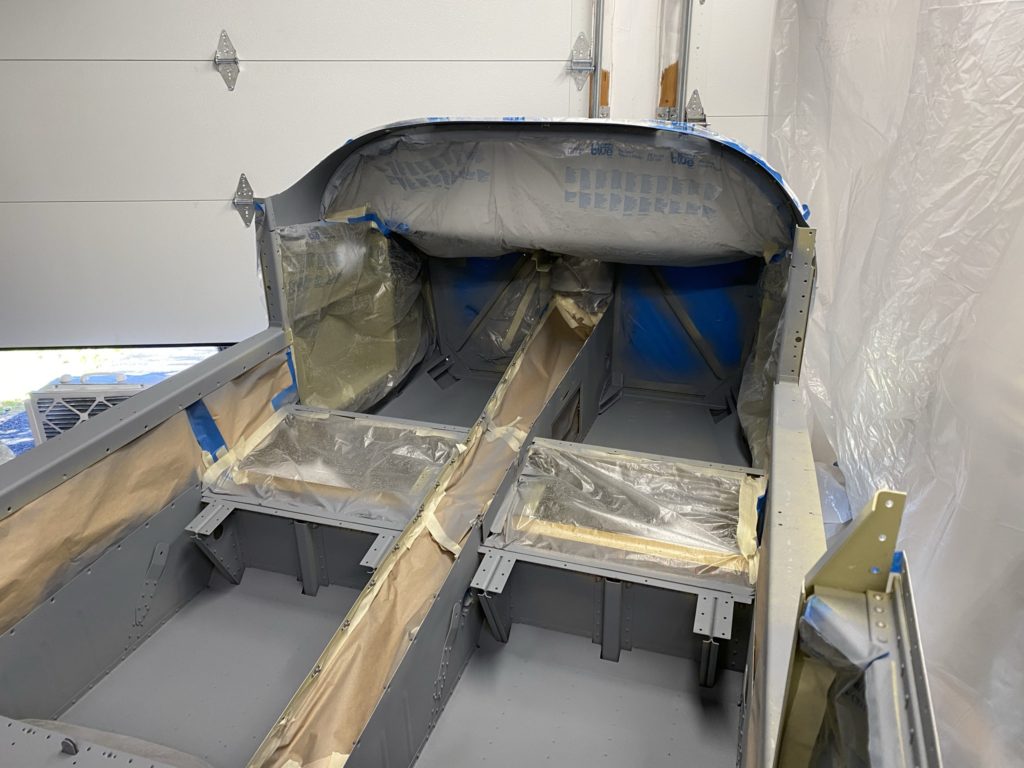
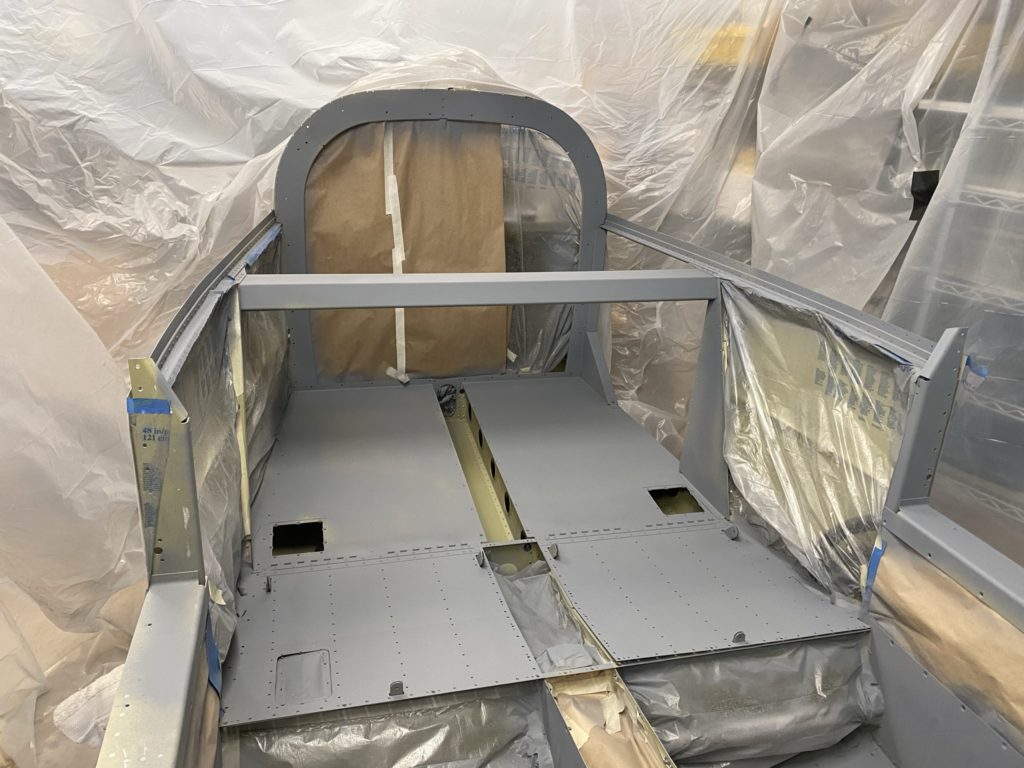
A few coats of paint really changed the entire look of the project and I’m really happy with the results. I have a few places that didn’t get good coverage (trying to lean into some areas was EXTREMELY difficult) and my lighting wasn’t really the best. I’m planning on doing a “touch up” coat in the next few weeks so hopefully I’ll get all those areas addressed.
All in all, LOTS of forward progress.