Garage Updates – July 2018

Well, quick update from the road until I can post a few photos.

After emptying the garage and building a cart for my scrap wood that was taking up the corner of the garage I finally had enough space for the electricians to install a 90- amp sub panel in the garage. They also pulled circuits for my compressor, my tool cart, the overhead extension cords, and a circuit for the air conditioner.

I ended up purchasing a “Mr Cool DIY 12k mini-split” system and got most of the components installed prior to the electricians showing up. Once they hooked up the 120v circuit I finished getting the ac lines hooked up and after some quick checks for any leaks we were up and running. Fun didn’t last long as we packed up for a trip to NJ to visit family the next day.

Upon our return all was still running wonderfully. The Garage was at a very nice 72 while it was hot and muggy outside.

I have a few days to catch up and unpack from my trip before I get back to work on the wings.

Garage Upgrades

For the last few weeks, I’ve been seriously thinking about some potential upgrades in my garage / workshop.  The weather in northern VA has been flopping between oppressive heat and massive thunderstorms with little “nice” weather in between.  Any time I have some time to work, it’s late afternoon with 85% humidity and mid 90’s temps.

I’ve also been getting alerts from the UPS in my office every time my air-compressor kicks on.  I have always known that the circuit in the garage was just enough for my equipment, but the signs are pointing to the fact that I just don’t have the right power for my garage.

I originally was thinking I could get one of those portable AC systems, however my garage has no windows available to vent the exhaust.  Running the vets up through the attic could work, but that puts the vent lines beyond the “recommended distances”. Read more

Hot and muggy. Time to fix that?

So after sweating through a few pages in the wonderful D.C. area humidity I decided I needed to do something about my workshop ( ok. It’s really just a garage). 

Been looking at portable AC units and even some of those mini-split systems. Not for full time AC but relief when I’m working. Decided that I really don’t want to spend my $$ on either and finally just grabbed a dehumidifier. Now I will preface this by saying I did put some work into insulating as much of my garage as I could prior to starting this project and I did recently add some foam around my garage door to better seal the space up when the door is down. Not perfect but it’s decent. 

Once I unpacked and plugged  dehumidifier it was showing 80% humidity after a lovely storm front. Give it about two hours and we are down to a much more comfortable 40%. Still warm but not sticky /sweaty. 

I have some high hopes but will know more in the next few weeks. Will likely keep it running most of the summer to try to keep my tools from rusting if possible. 

Cleaning tools (rust removal)

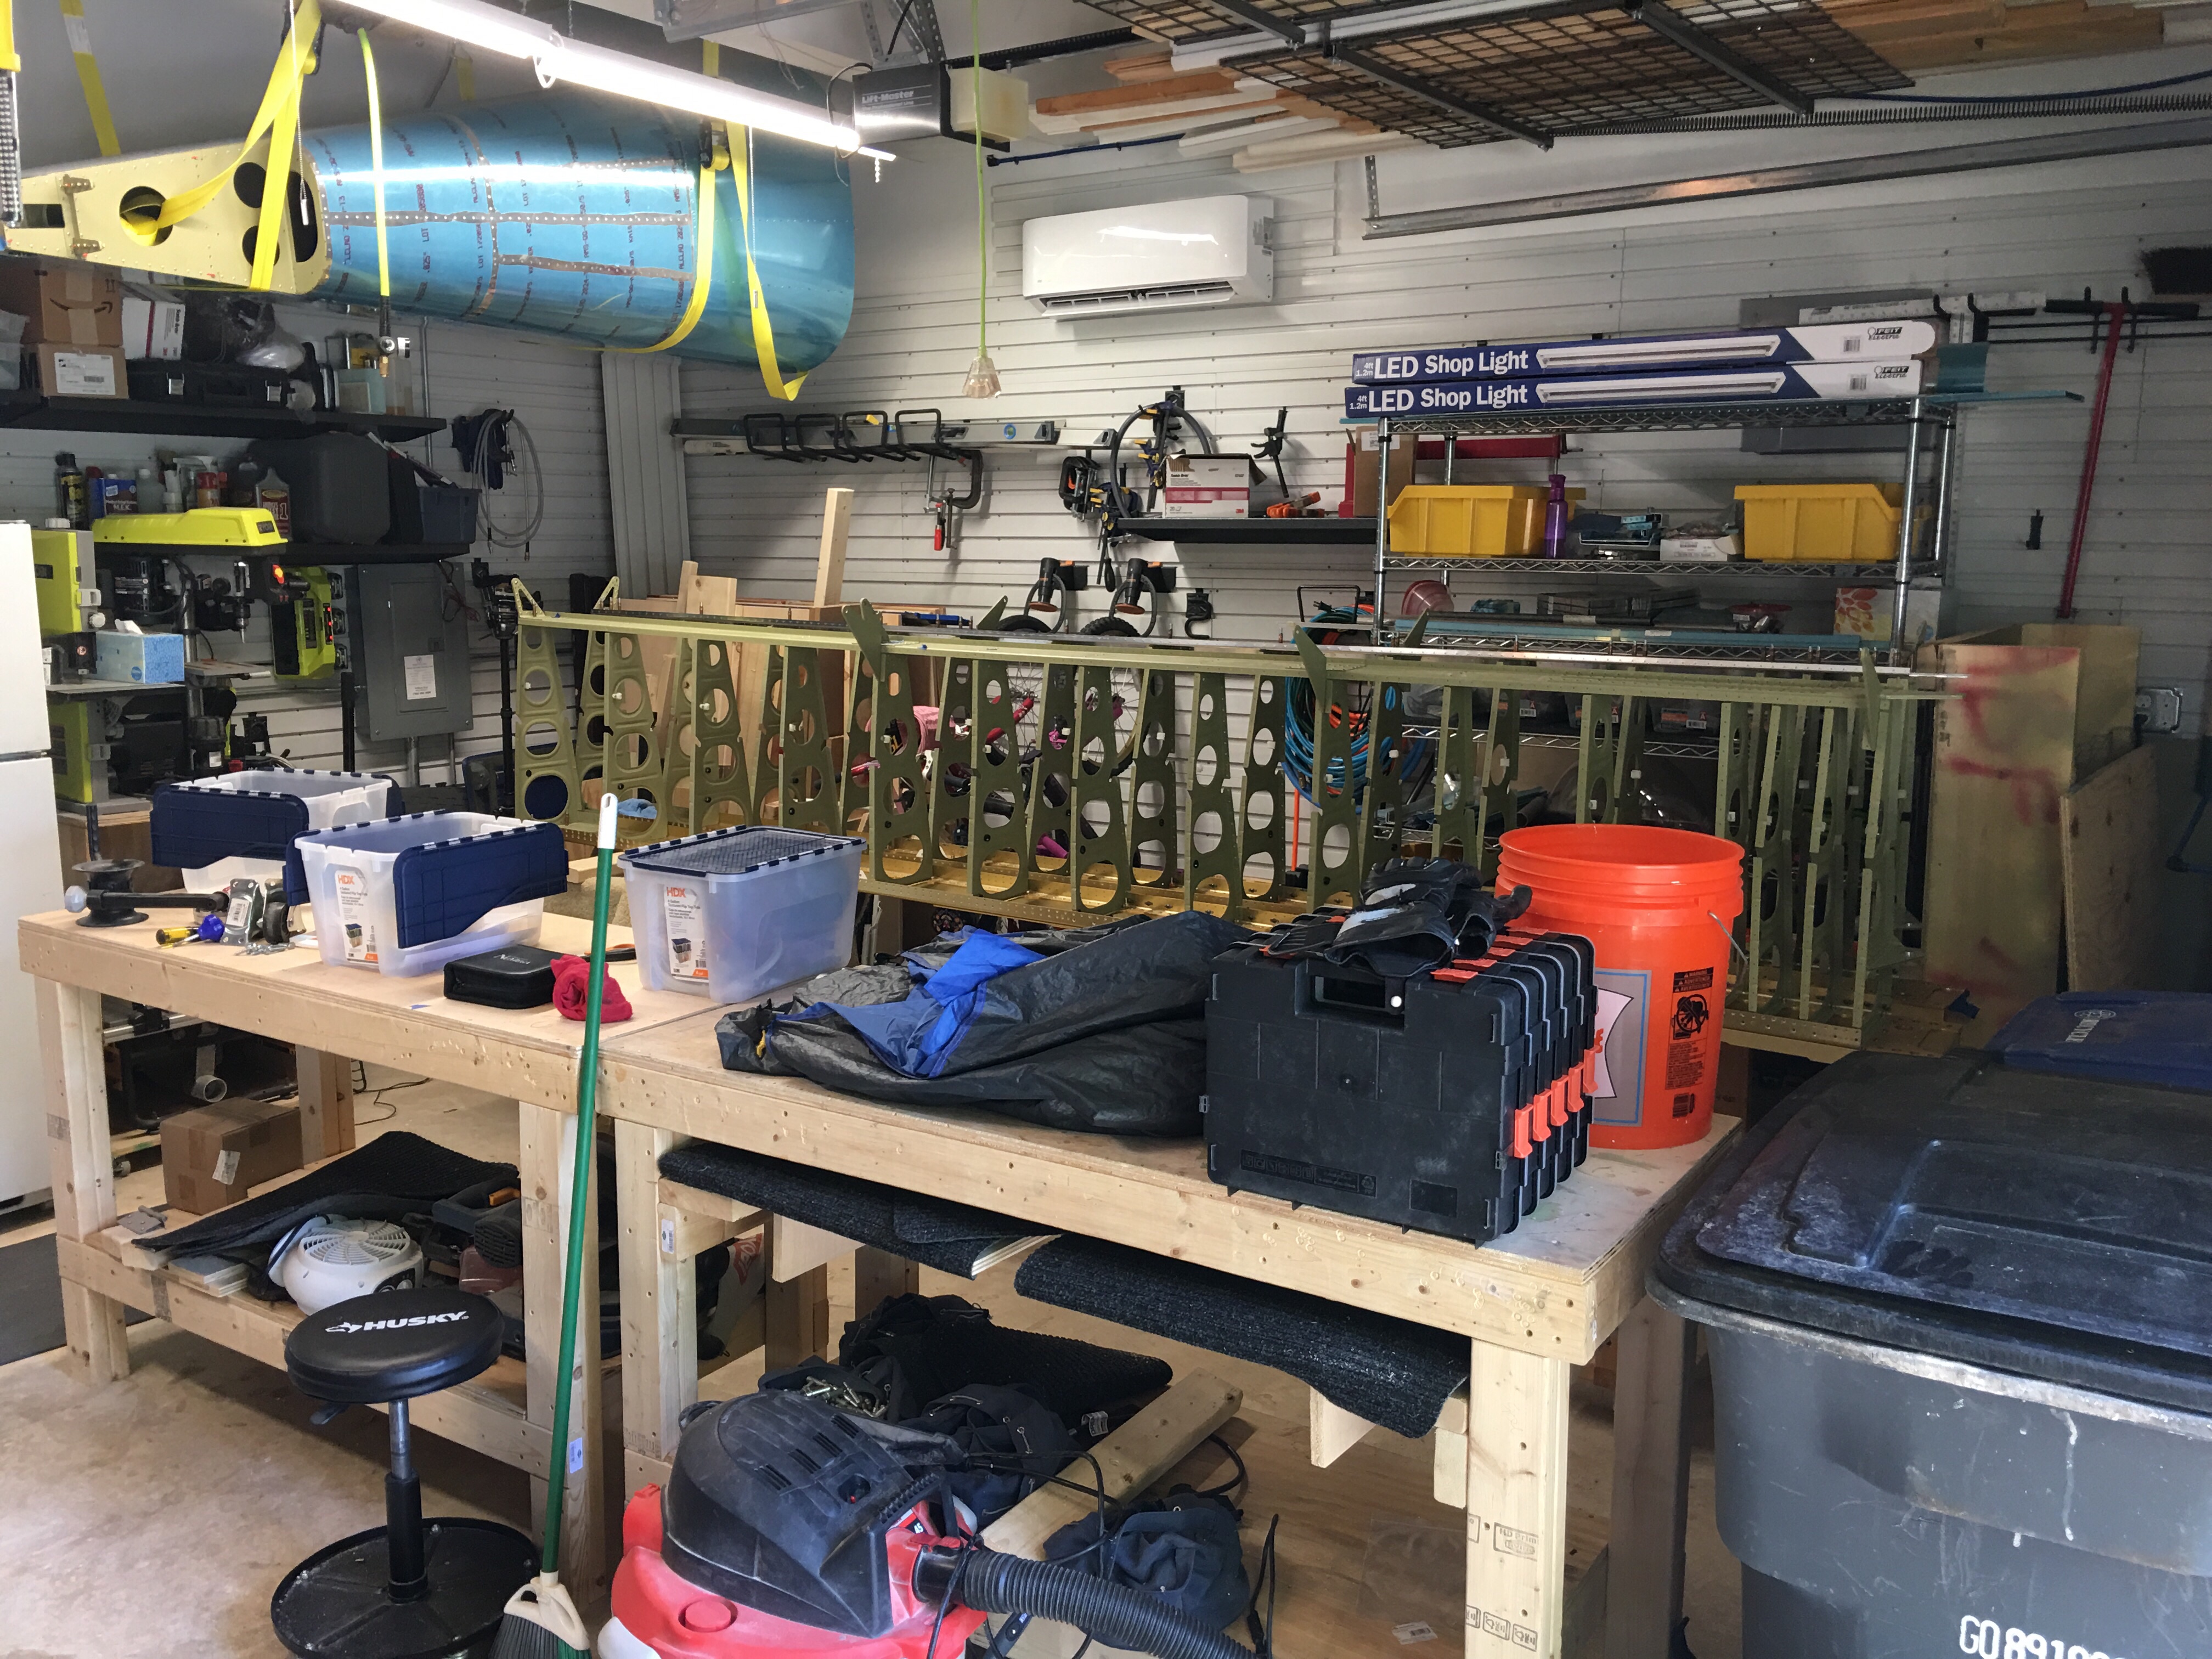
So while looking for a way to clean some of the rust off the steel bucking bars that came in the tools I purchased of the VAF forums, I came across a post talking about Evaporust.  After a few internet searches and videos, I started to see if it was something carried locally and was willing to give it a shot.

[inpost_fancy thumb_width=”200″ thumb_height=”200″ post_id=”148″ thumb_margin_left=”0″ thumb_margin_bottom=”0″ thumb_border_radius=”2″ thumb_shadow=”0 1px 4px rgba(0, 0, 0, 0.2)” id=”” random=”0″ group=”1″ border=”” show_in_popup=”0″ album_cover=”” album_cover_width=”200″ album_cover_height=”200″ popup_width=”800″ popup_max_height=”600″ popup_title=”Gallery” type=”fancy” sc_id=”sc1490053324261″]

Setup and cleanup was actually pretty easy.  Fill a container with the Evaporust product and insert the rusty items.  Granted most of my tools only had what I would call slight or light surface rust, I still wanted my tools to be in excellent shape.  I let them soak for about 2 hours, then pulled them out to see how they looked.  Rinse them off in fresh water, then dry them off and they are looking great!

[inpost_fancy thumb_width=”200″ thumb_height=”200″ post_id=”148″ thumb_margin_left=”0″ thumb_margin_bottom=”0″ thumb_border_radius=”2″ thumb_shadow=”0 1px 4px rgba(0, 0, 0, 0.2)” id=”” random=”0″ group=”2″ border=”” show_in_popup=”0″ album_cover=”” album_cover_width=”200″ album_cover_height=”200″ popup_width=”800″ popup_max_height=”600″ popup_title=”Gallery” type=”fancy” sc_id=”sc1490053464353″]

Realized I forgot a few bucking bars and figured I would throw some of my used clecos in the bucket to see how much of an improvement it would be.  The result is WOW.  For very little effort, the clecos look so much better, and actually are a bit easier to operate.

I’m letting everything dry off completely and will be spraying them all down with the Evapo-Rust rust block product to hopefully keep them from rusting up again.  This makes my initial purchase an even better value, and can’t wait till I have a few hours to take additional pictures / clean the remainder of my nasty used clecos!


UPDATE:  While this worked well for most of my clecos, I don’t think my copper clecos (1/8″) liked this process (or I just didn’t do a good job of rinsing them afterwards).  Something to keep in mind.

UPDATE 2:  While this did clean my silver clecos, they did re-rust. Honestly this was great to clean my bucking bars and other tools but probably not worth the time for the clecos unless you are aggressive with the rust block after. 

DRDT-2 Table and storage

Spend part of yesterday working with my daughter to build a table for my DRDT-2 based on the plans included in the manual.  The plans were pretty general, so I did change some of the dimensions slightly.

A trip to Home Depot for some pre-bound carpet, some wood screws and staples, and my table is complete.  (At least for now it is.  Once I start using it I’ll see if it’s big enough, or if I need to build some additional supports)

Decided to build a shelf under the table to keep it out of the way.  Grabbed some spare lumber and quickly mocked up a shelf.  (Had to rip down the 2×8 a little bit to make it fix.