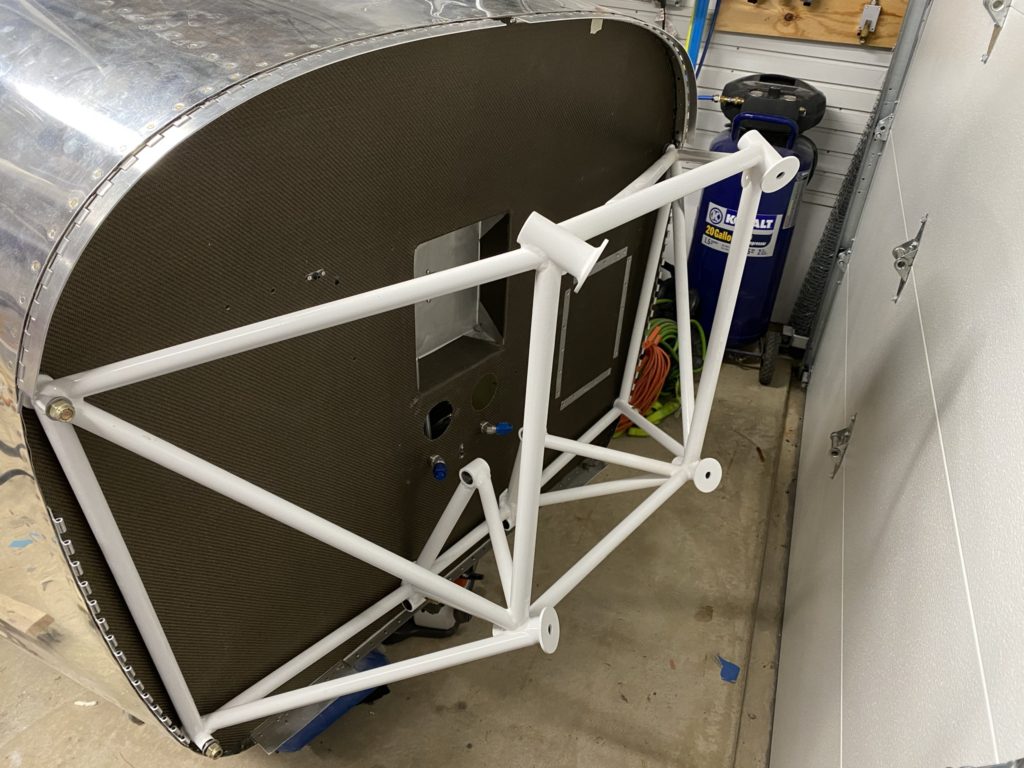
Looking to get the project ready to transport to the hangar, I started to work on the engine mount and landing gear. First step was to go through the process of installing the engine mount weldments. From memory, I believe the process was to drill one of the top mounting holes, then bolt the mount to the firewall. I also traced out where the insulation needed to be cut back so the engine mount will sit flush against the firewall. I then used the engine mount itself as a drill guide to drill the second top mounting bolt. With both top locations bolted down, I then drilled the final four mounting location.
Then it’s time to remove, deburr, clean up the insulation, etc. I then jumped ahead to build my oil cooler mount. Since I decided to go with an air conditioner, I had elected to go with an upgrade oil cooler from airflow system. This did require a minor update to the oil cooler mount to fit the larger oil cooler. I also installed a “turning vane” in the mount to help direct airflow at the advice of Airflow systems. I also traced out the mounting for the oil-cooler so I could trim back the insulation where I’m going to rivet the oil cooler down.
With everything cleaned up and deburred, I then permanently mounted the engine mount to the airframe with the help of some friends. This gave me very little room to move around the garage for a while.
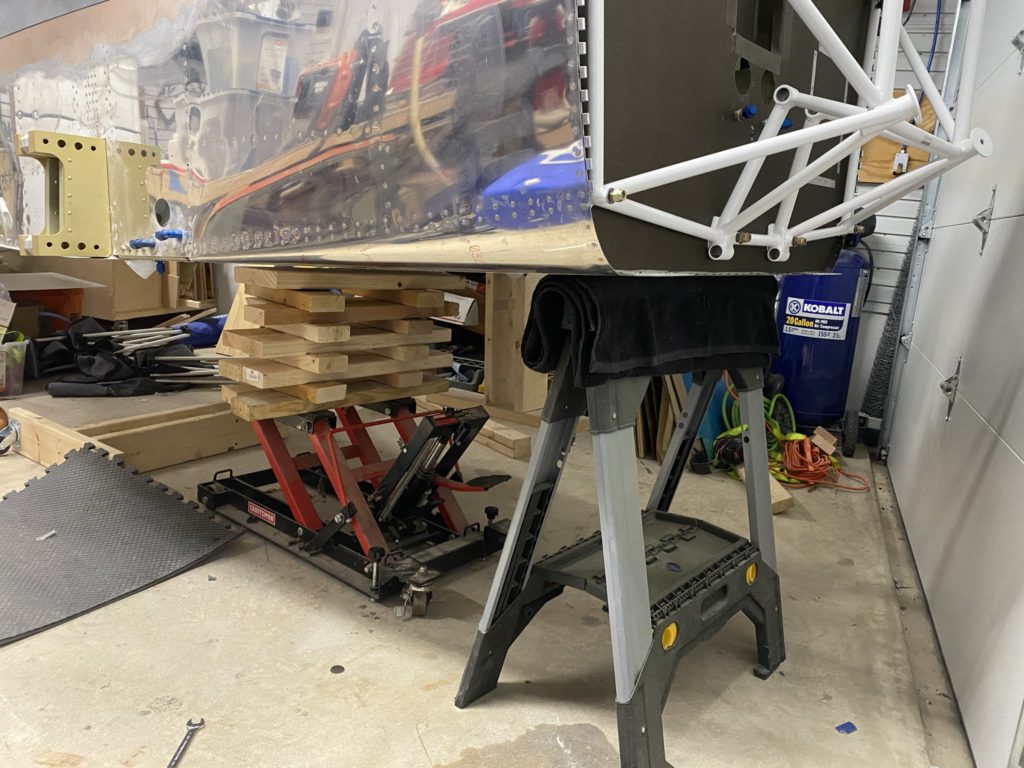
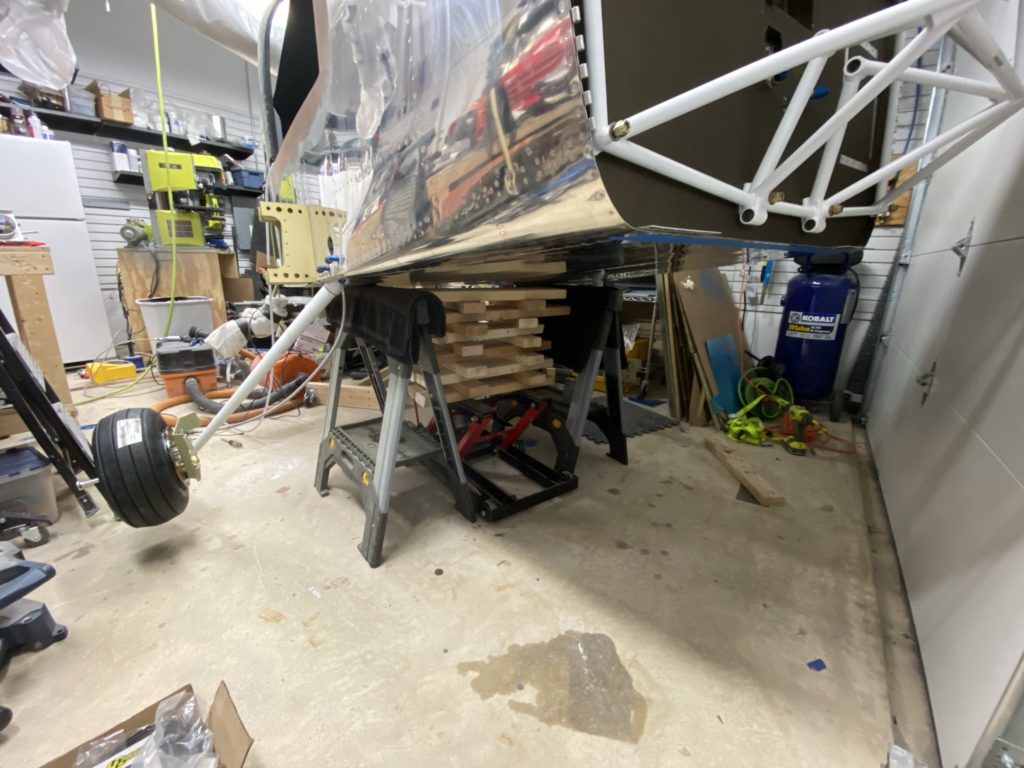
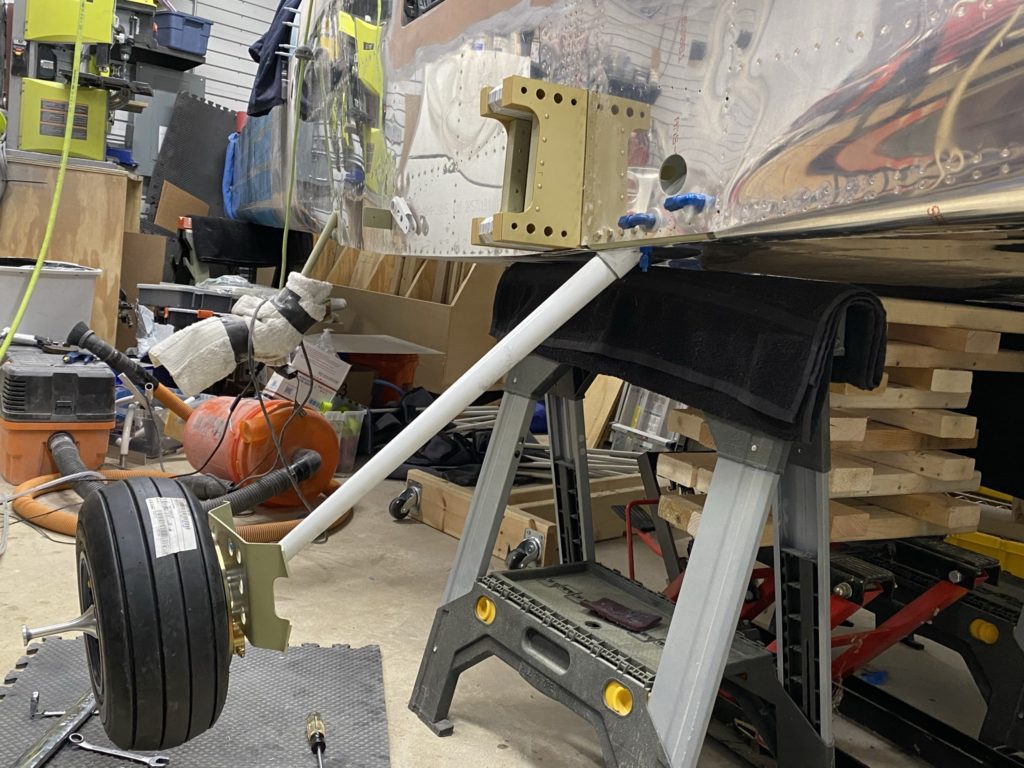
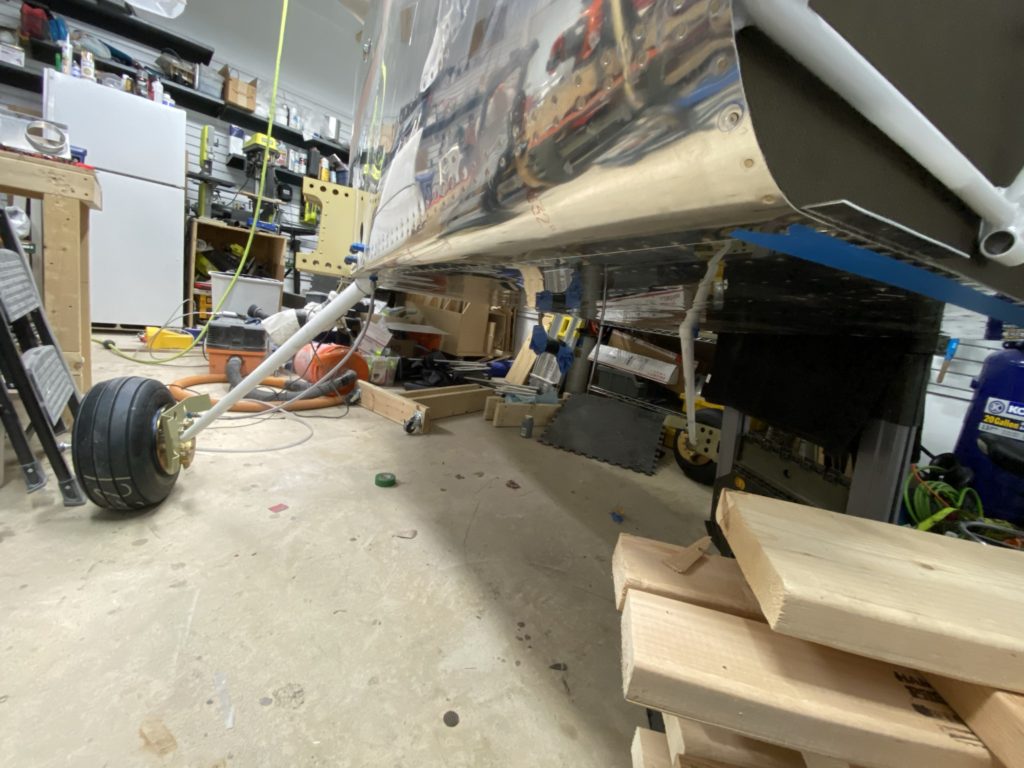
Next step was to start mounting the landing gear to the fuse. Took me a bit to come up with a good way to lift the fuse high enough to allow me to slide the landing gear legs in. I’m glossing over the build of the wheels and fairing brackets a bit. I used the Matco wheels and basically followed their instructions for assembly. Even so I think I still didn’t fully ‘understand’ what they were saying and had to take the wheels off a few times to get everything on correctly.
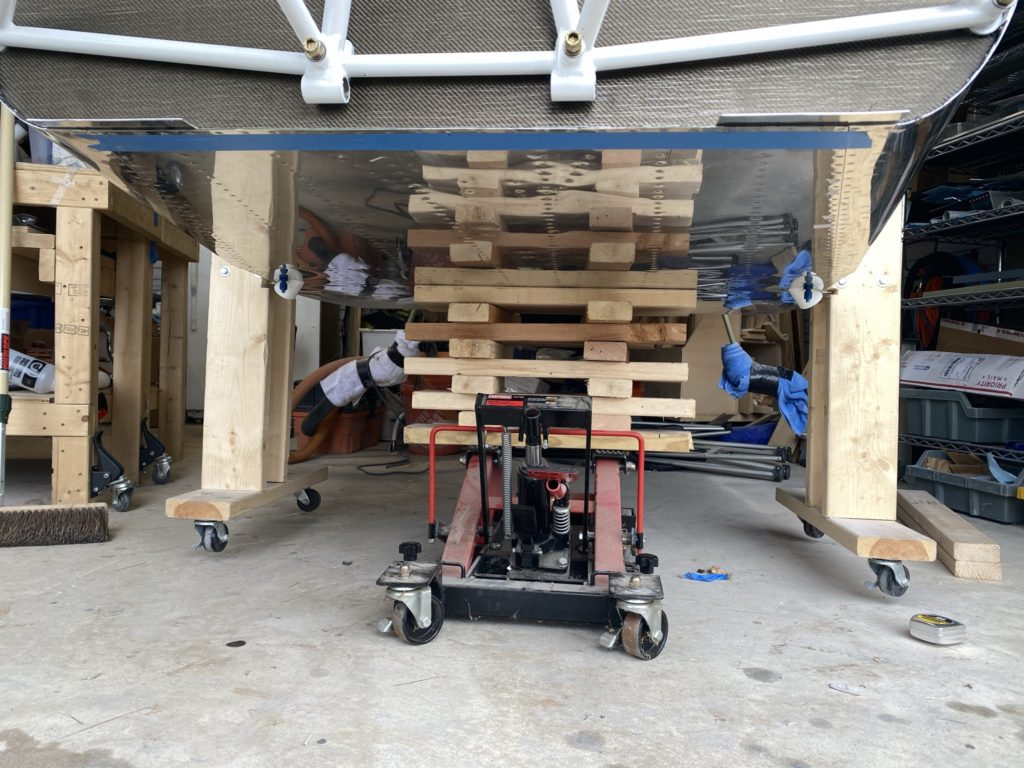
My final solution was to use my motorcycle jack and some 2×4 and 2×6 for cribbing. It was a little sketchy, but it did the job. My family helped keep an eye on things so nothing tipped over while I jacked the fuse up, installed the landing gear and got it lowered back to the ground.
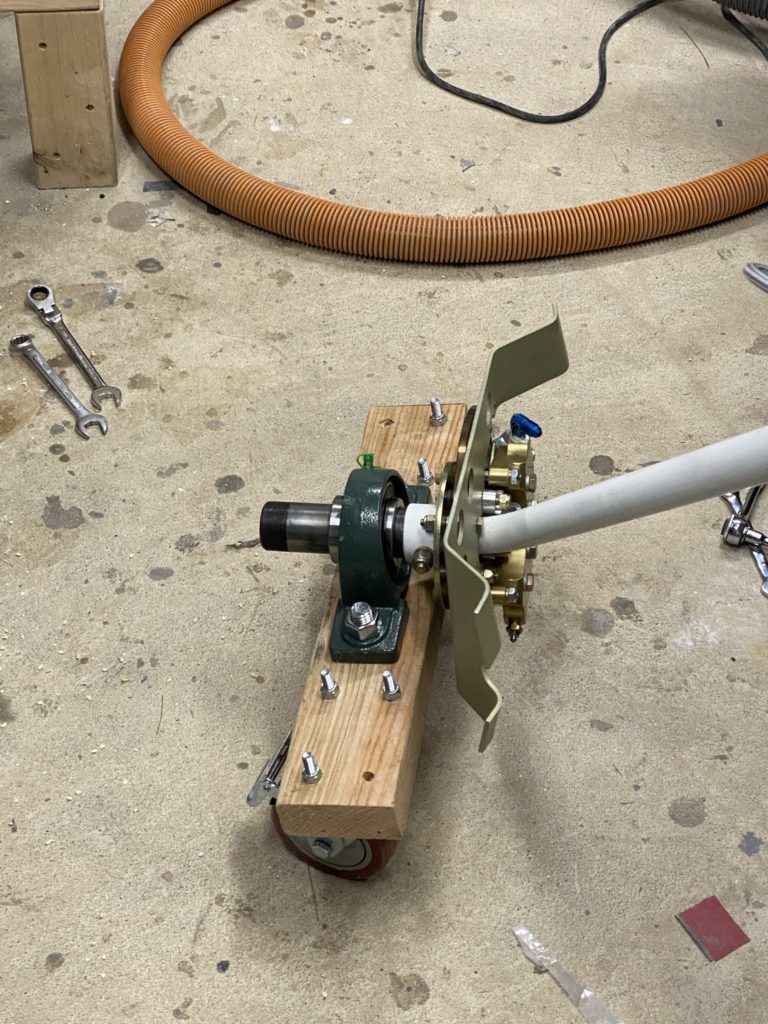
About this time, I realized that I could now no longer get the airplane out of the garage. I also couldn’t move it around at all and decided to try to make something so I could move the plane side to side. I found some pillow block bearings that looked like they could allow me to make a “skate”. I know others did something similar that looked a lot nicer. This was really only needed to get me through a few months before I moved to the hangar. With the help of Amazon, some spare lumber and casters, I swapped the tires, for the skates. Now I could shift the airplane around a bit depending on where I was working.
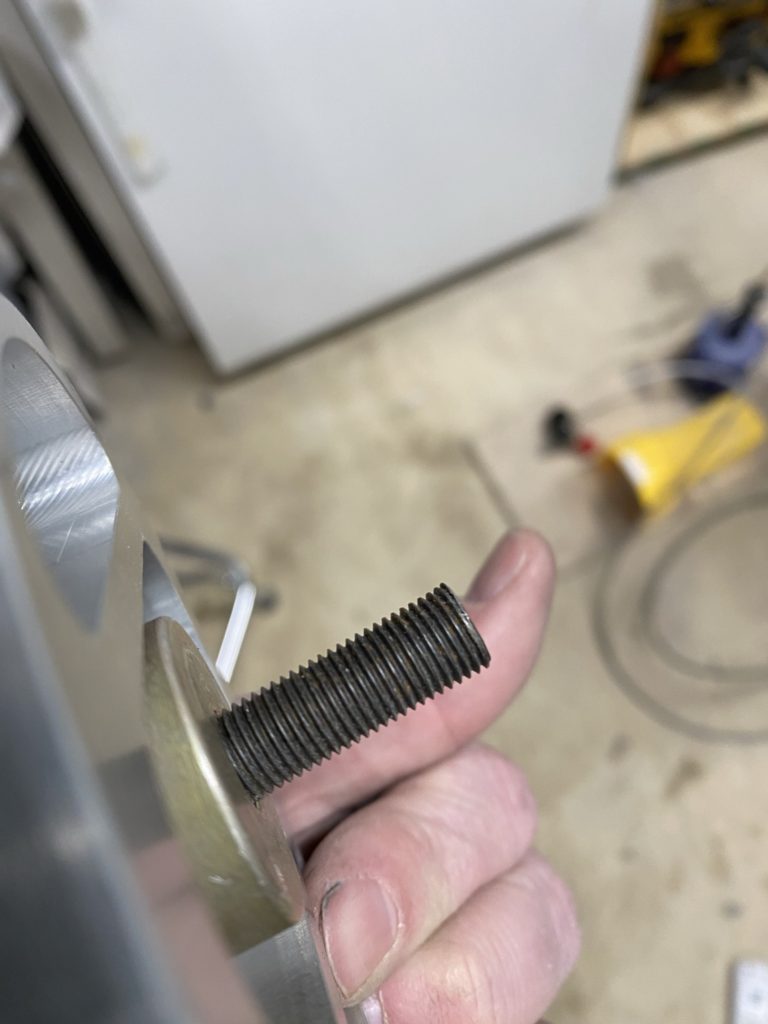
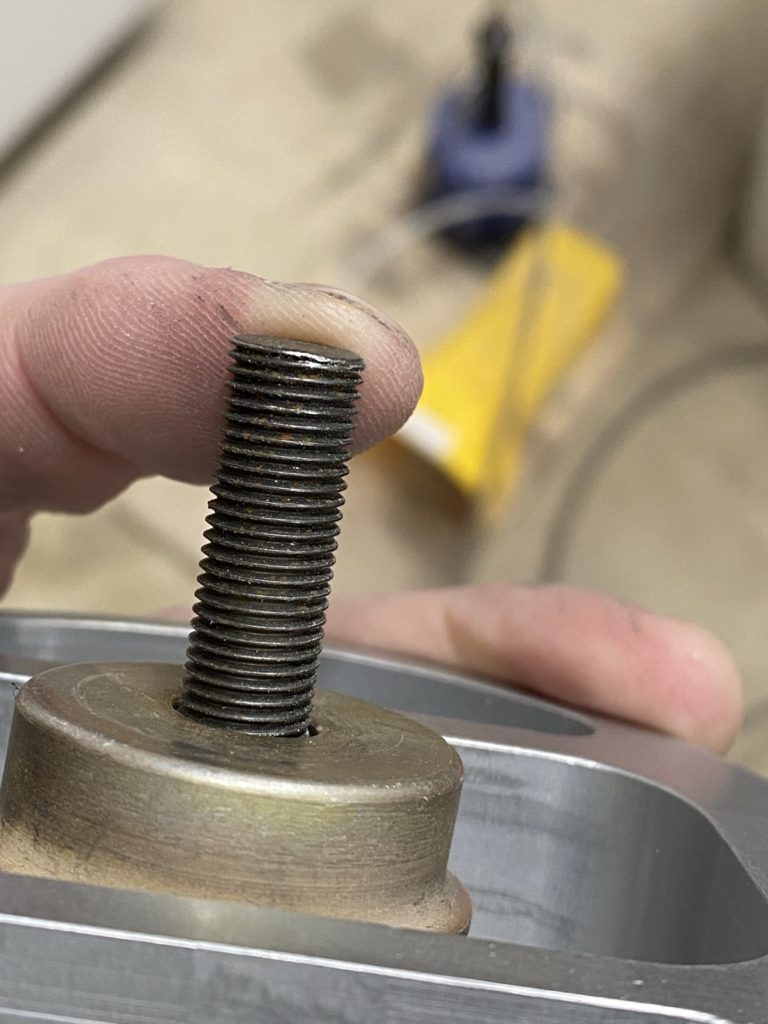
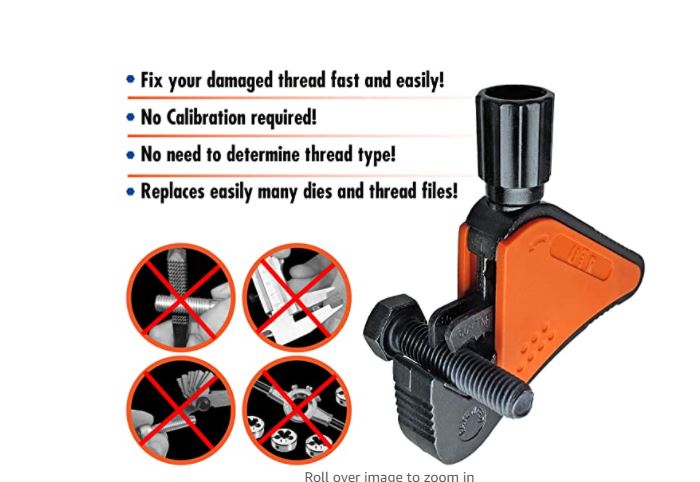
I started to look at the nose gear only to realize that the threads on the end of the nose wheel fork were damaged. After to talking to Vans, they suggested I try to file the threads so I could get the nut started or other “solutions”. I ended up getting a thread repair tool from Amazon that worked well to repair the damaged threads. After using it, I was finally able to get a nut installed.
Next few steps are installation of windows, windshield, and getting everything ready to move to the airport.
