So I haven’t been posting a lot of updates recently as the end of summer ends up being a very busy time of year. Sorry about that. Progress is sorta being made and I’m doing a lot of jumping around between sections.
Currently I have mostly completed chapter 27 (Firewall) and working on section 28. I have also finished and tested both fuel tanks and now have them mounted on the wings (more in a moment). I’m getting quite space limited in my garage and trying to get the wings to a place where I can move them into longer term storage so I have a little bit more room to work. Hopefully I can line up some help in the next few weeks as well as a U-haul to make this happen.
Because I’m bouncing between sections and getting to loose ends, things sometimes get overlooked. Like when I dimpled the top of the gap fairing for the right wing, but forgot to dimple or countersink the 6 holes for the AN426AD4-8 rivets, and didn’t realize till I have riveted all the other rivets to the wing. Nothing to do but drill out ALL of those rivets, fix my problem and re-rivet everything back together.
Since I needed access to the top of the wing to drill those rivets out and both wings were in the cradle, I needed to enlist help to move the wings (one at a time) to a table to get access. Since I had access, I also decided it was time to mount the fuel-tanks to the wings. After starting to mount the first tank, I realized I didn’t countersink the holes deep enough on the spar. More clean-up work to ensure everything sat flush. It’s all little stuff, but it does take time.
Currently I still need to prime and dimple the bottom skin for the right wing, then I’m ready for both wings to go to storage as I’m not going to rivet the bottom skins on till I’m in a hangar and ready to mount the wings.
Last night my wife was able to assist me in getting more riveting done on the Mid Fuse bottom skins. Things were going great but at one point I got a weird feeling something wasn’t right. As we kept riveting, it finally hit me and I stopped riveting. One of the ribs seemed different and when I went back to look, I realized it was. Somehow I didn’t dimple one of the ribs and I was missing dimples on a few holes on the adjacent rib.
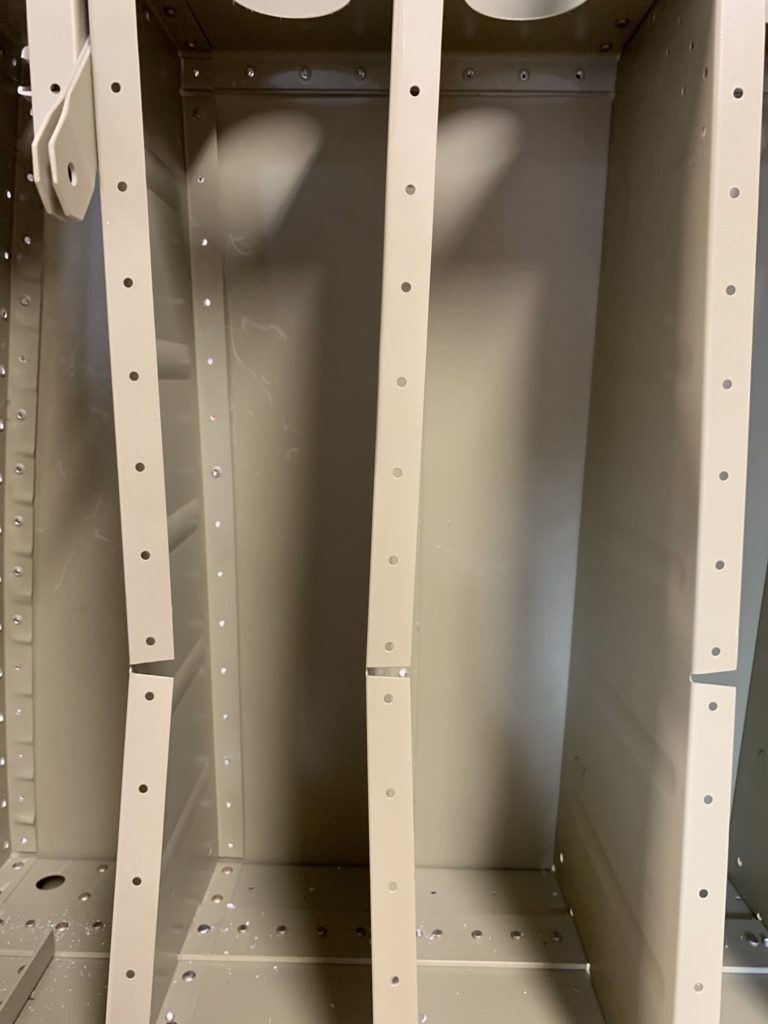
Rib was not dimpled prior to installation. Time to drill out rivets 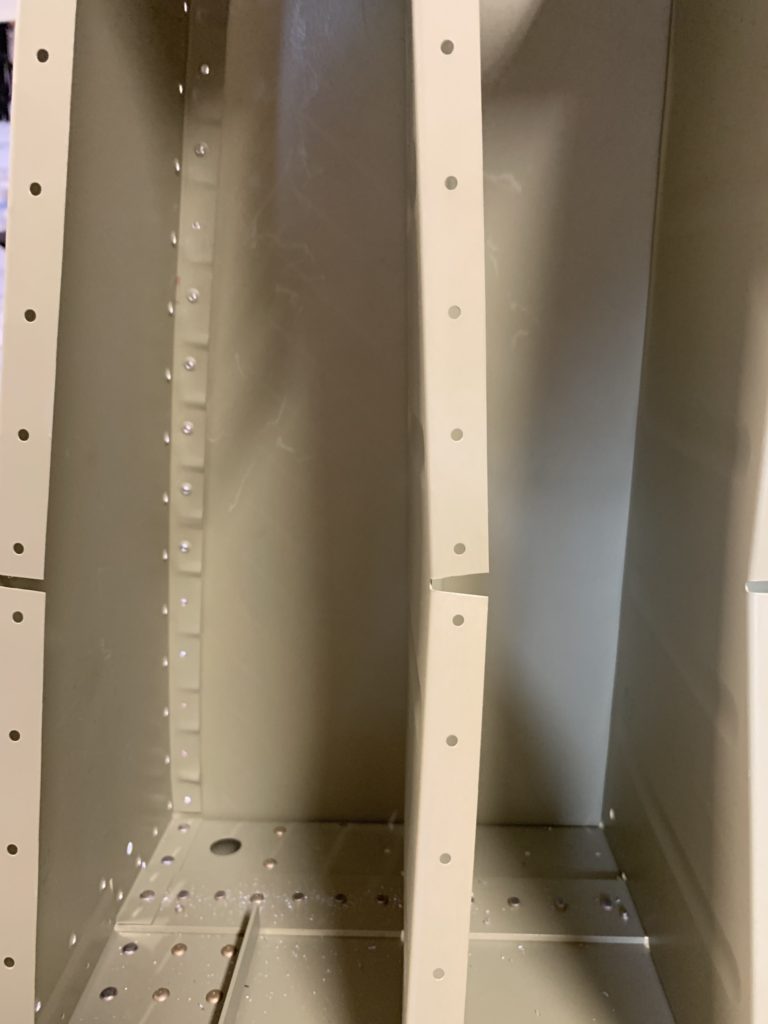
Notice the bottom 5 holes have on this rib were not dimpled. UGH!!! 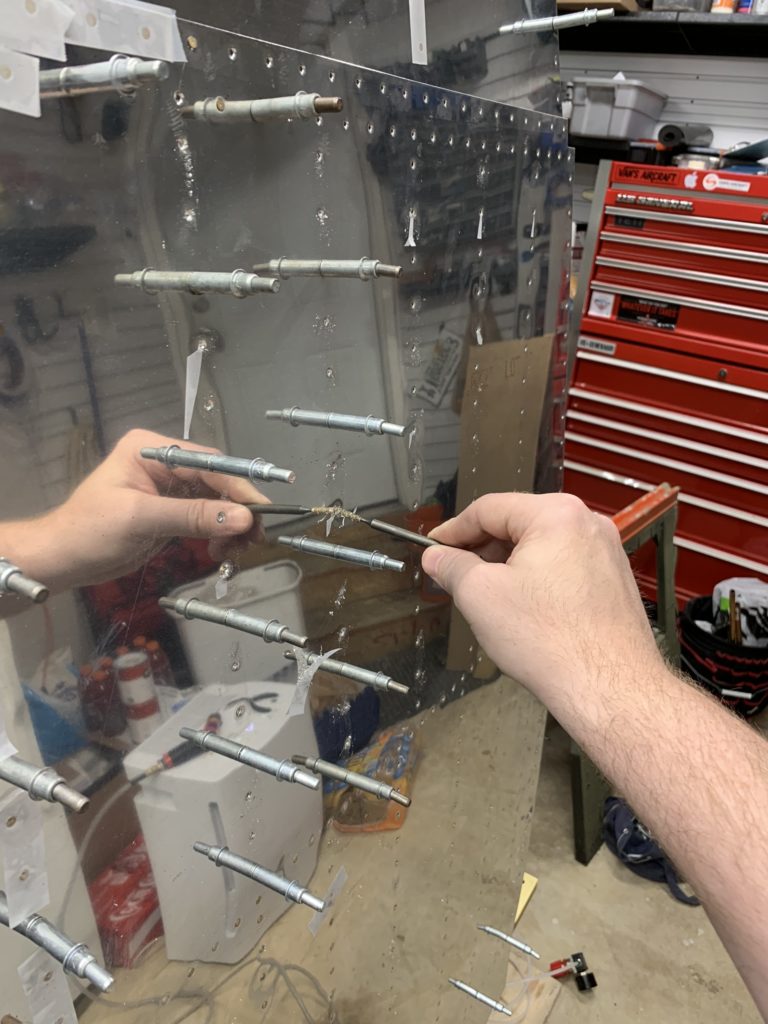
Drilling out a large portion of the bottom skin to address my mistake.
Not sure how the heck that happened, but it is what it is. As I’m looking at it and trying to decide just how big this F**k up is, I slowly told myself to own my problems and fix it. Plenty of people today don’t want to talk about or embrace the mistakes they make. Social media posts celebrate the best moments, blah blah blah. Nope, that’s not me. I’m the guy that will crack a joke at my own expense and has no problem pointing out all the mistakes I make along the way. Not only do I point out my mistakes, I also do my best to fix them. Sorry, got on my “soapbox” for a moment.
With all of that said, I resigned myself to drilling out dozens of rivets so I can get a squeezer into the space between the skin and the rib so I can dimple the ribs I missed earlier. I ended drilling out a significant number of rivets to allow me to get my squeezer access to those ribs. Emotionally painful, but not a huge deal. Dimple the ribs, then bribe my lovely wife to re-rivet the skins back on. Overall, very happy with the results.
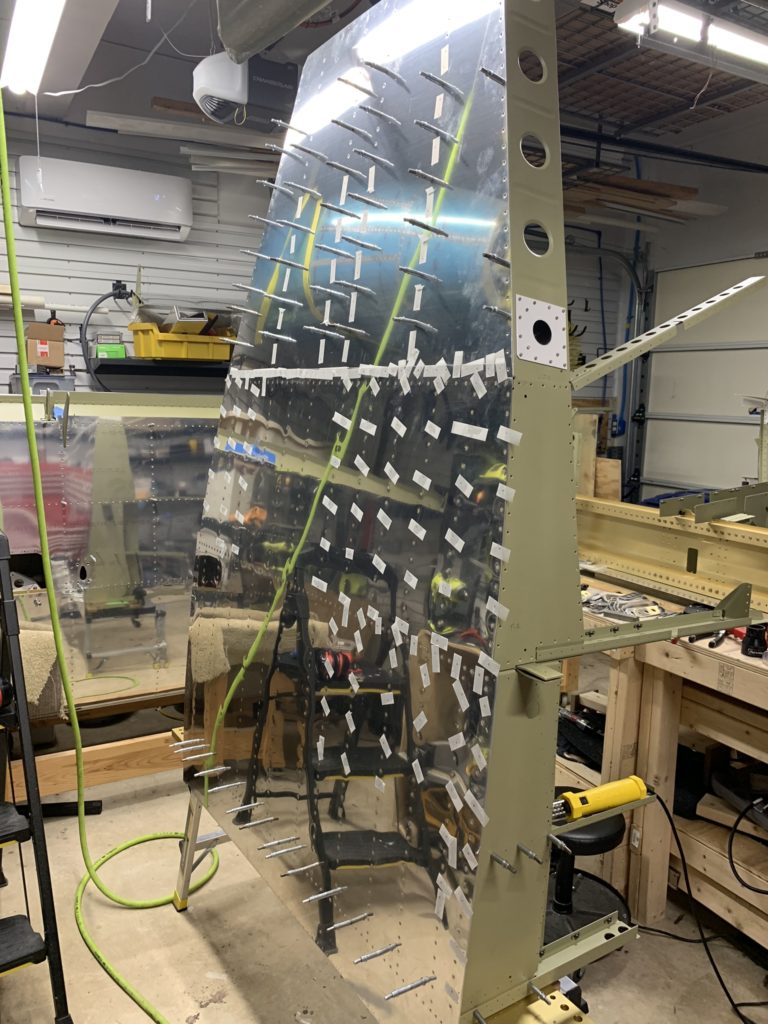
Progress riveting the bottom skin 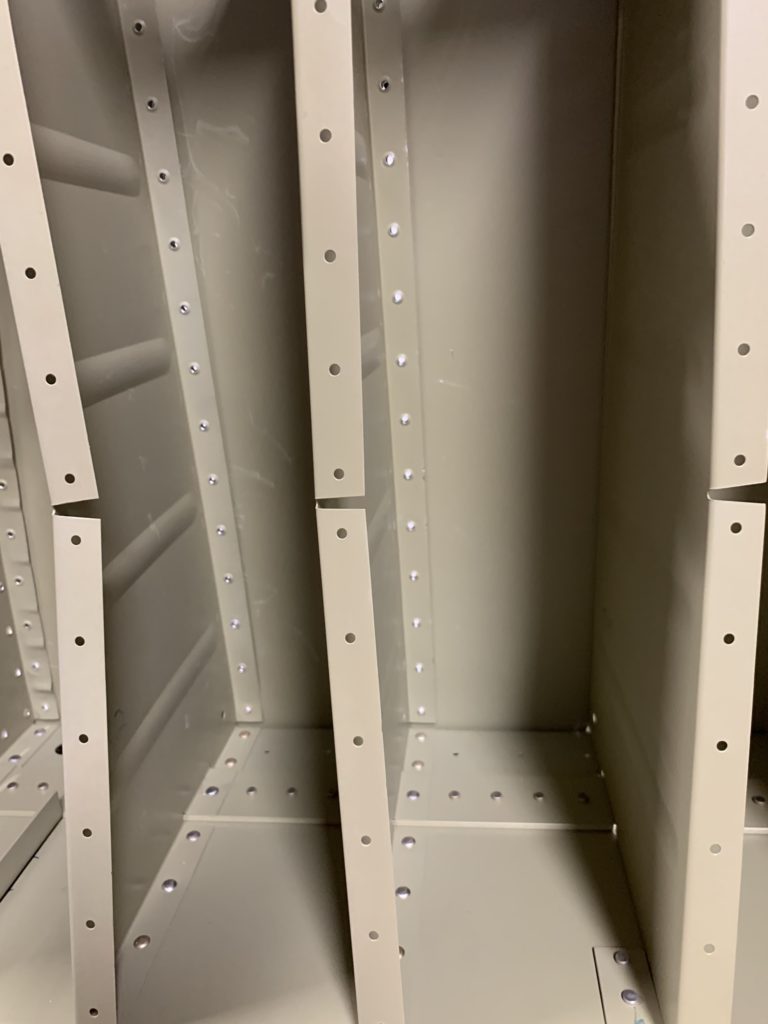
Ribs successfully dimpled!
Sorry, no time-lapse of this work as it was just nothing but riveting.