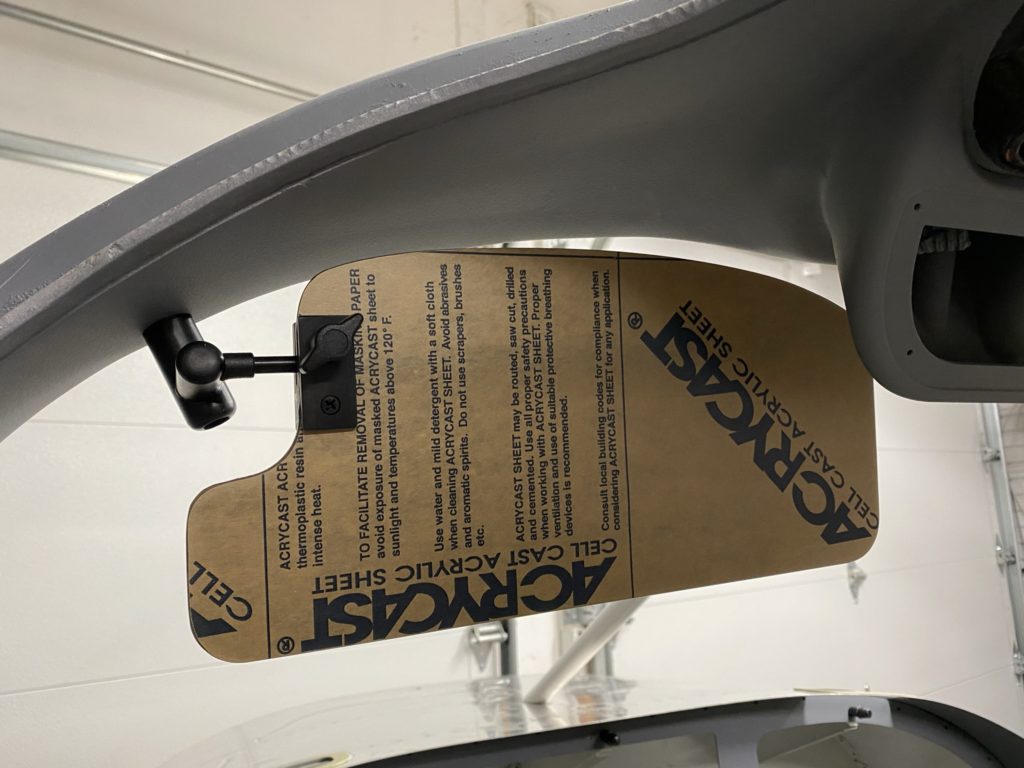
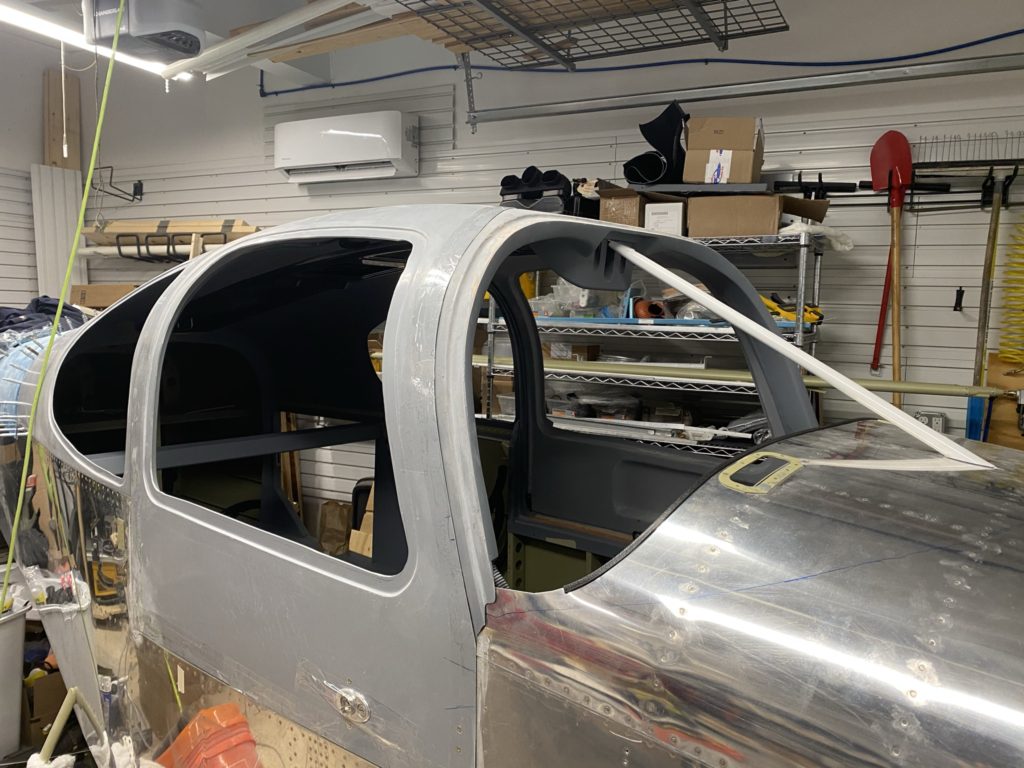
With the cabin top installed, I can start looking at some of the next items on the to-do list. To start, I decided to temporarily install my sun visors to make sure that they fit as expected. This was really a silly exercise as I had done some preliminary testing, but it’s always nice to see that things worked as expected.
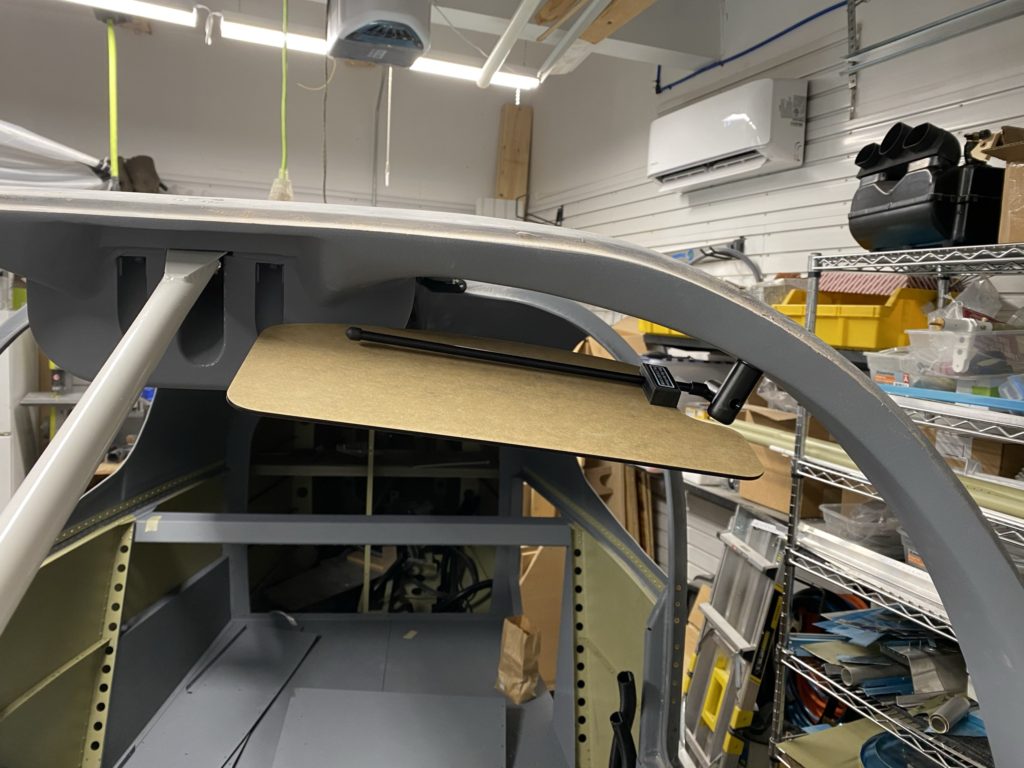
I do realize I have to swing them down a bit to get past the switchpods, but that’s not a huge deal. If it really does bother me in the future, I can always cut the plexi down a bit on that corner.
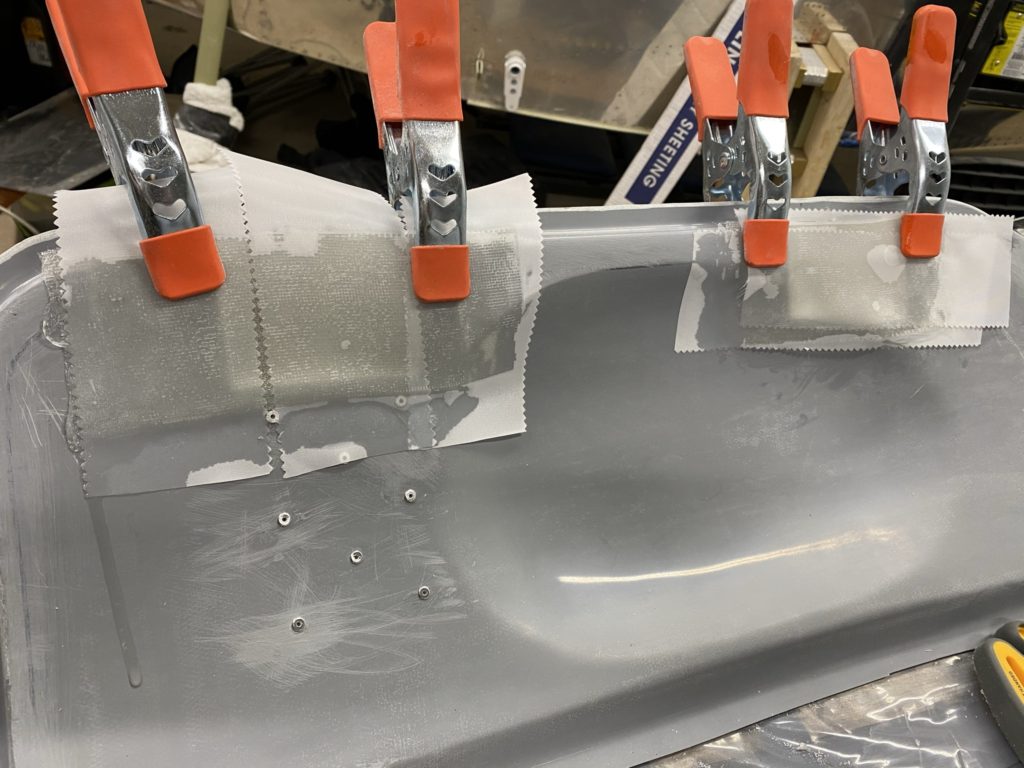
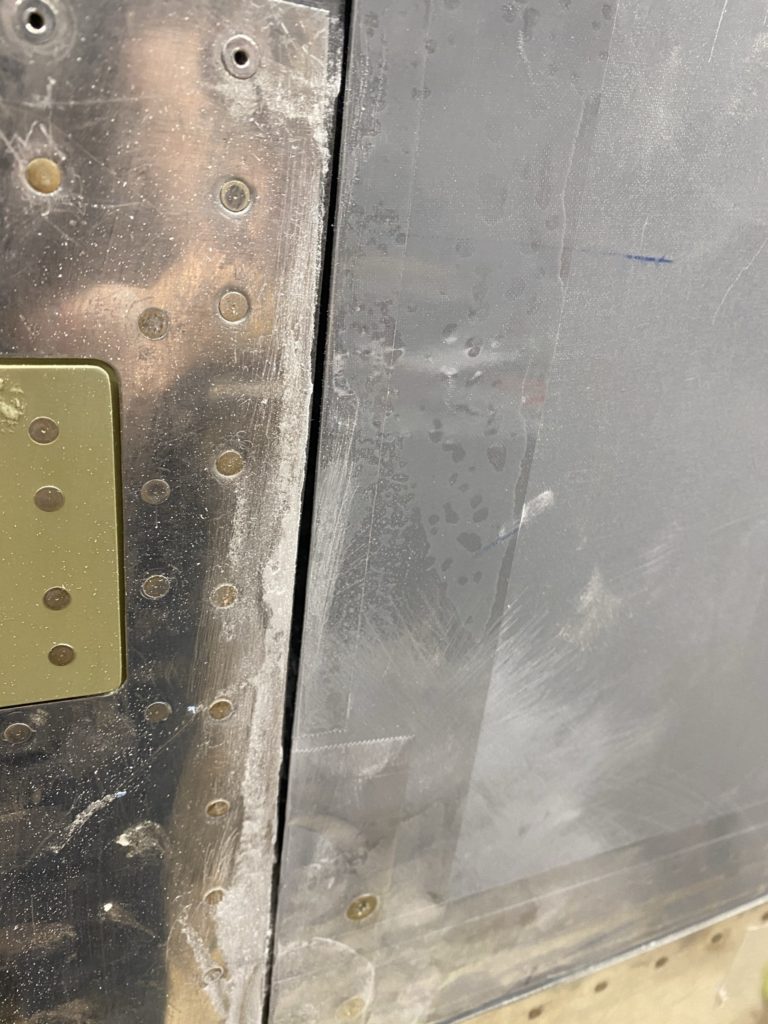
With that fun step done, I then switched focus to the doors. Since I’m going to do the McMaster Carr door seals, I needed to close the hinge pocket at the top of the door. To do this, I made some pre-preg fiberglass strips that I was able to install over the hinge pockets. I used clamps to keep these strips from sagging and allowed them to cure. I then used some Aeropoxy Light to feather the edges and make this change appear seamless. I also put some filler over the blind rivets for the door strut bracket just to make things look a little nicer. After a few rounds of filler and sanding, I sprayed it with grey primer and called it done. (I’ll come back to paint with the same interior paint I used in the cabin once I’m 100% done working on the doors).
Making the coverplates for the door hinges 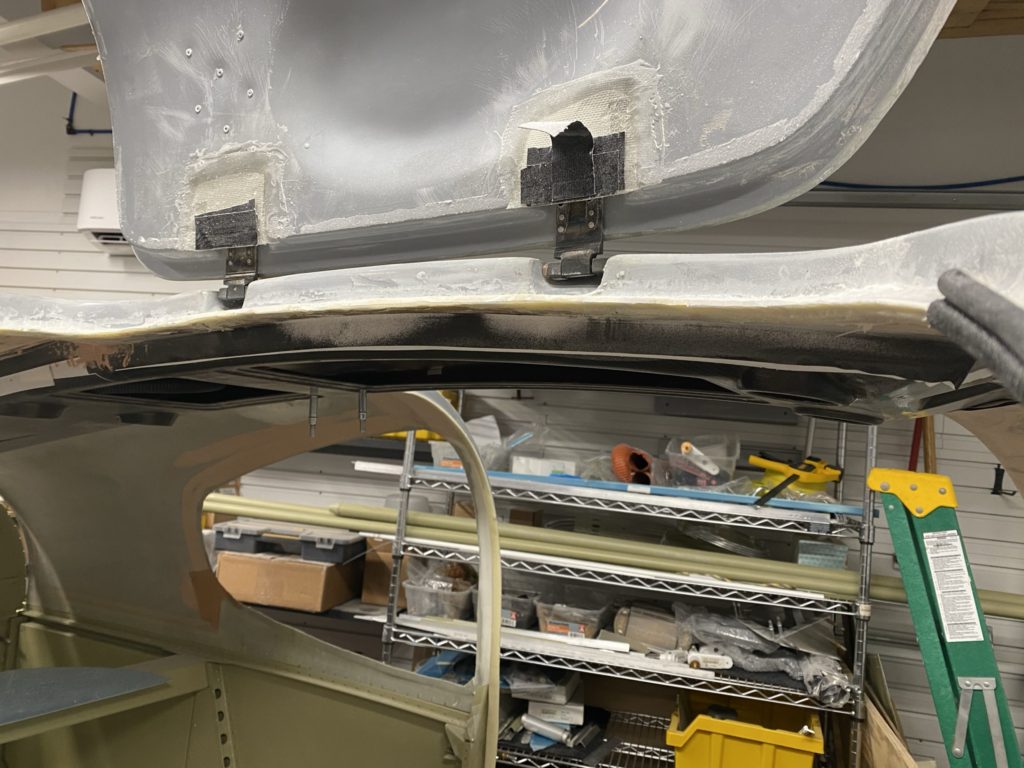
Cover plates installed and test fit. You can just see the nutplates I used. 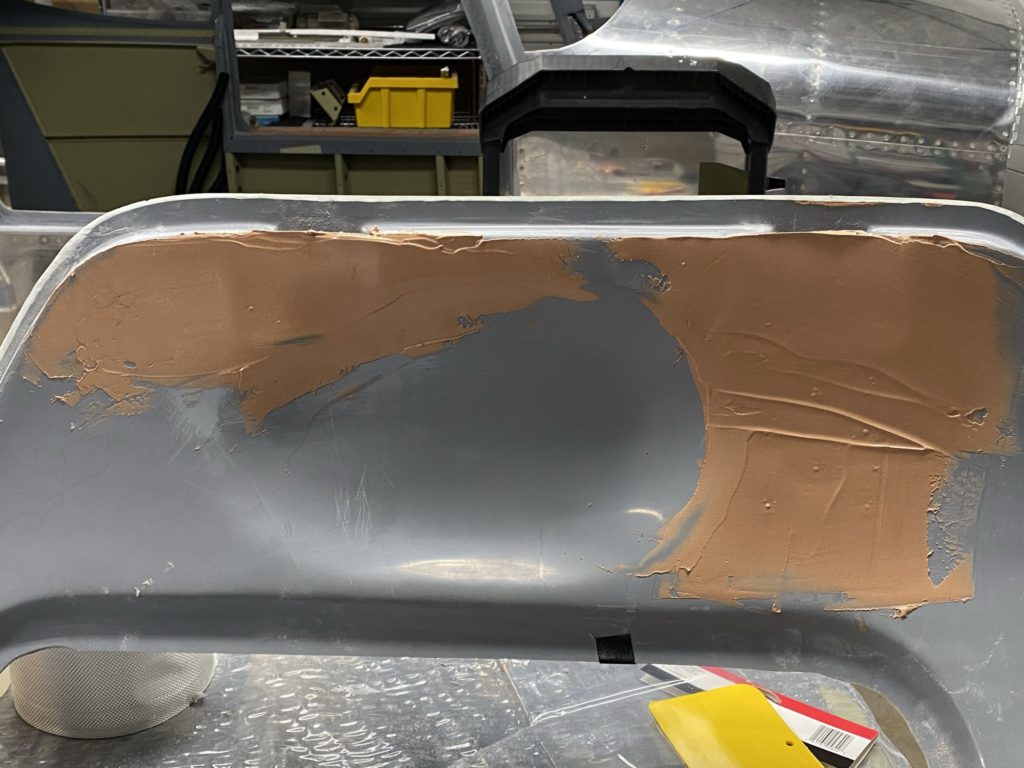
Beginning to blend everything with filler 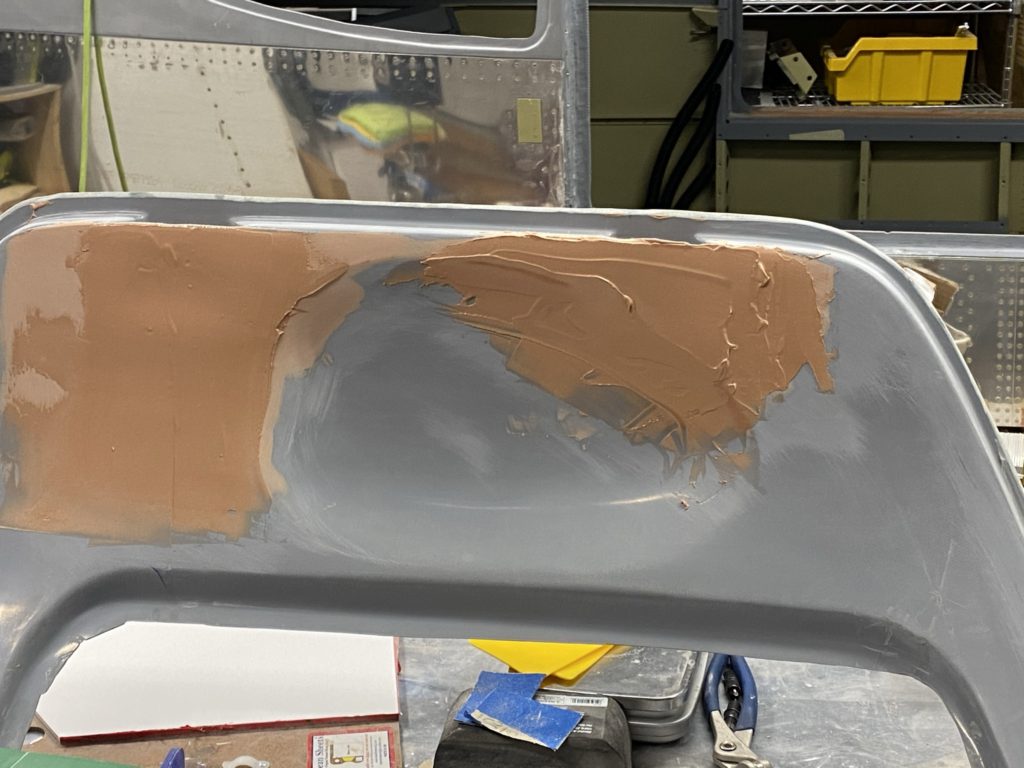

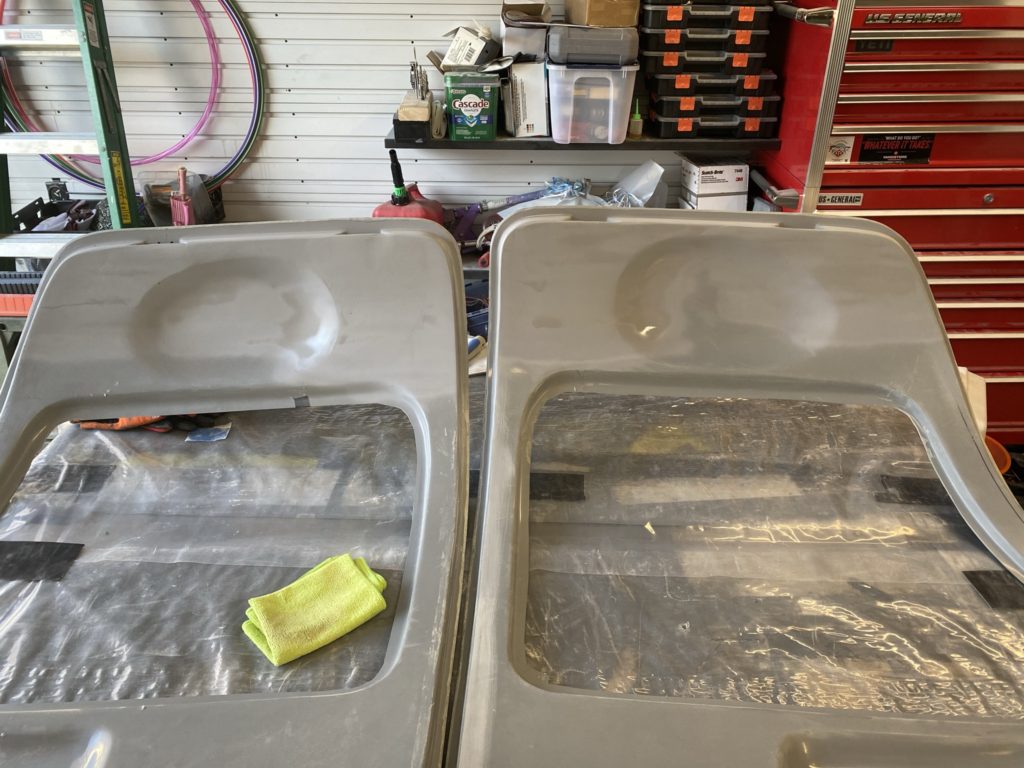
Primed, looks good.
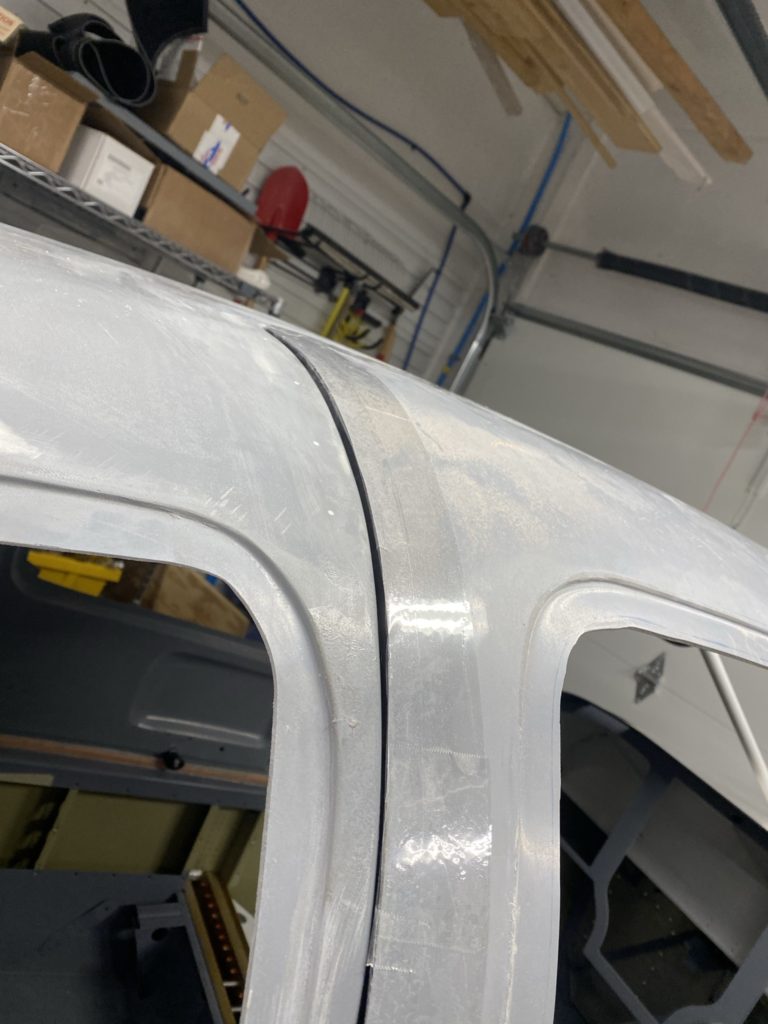
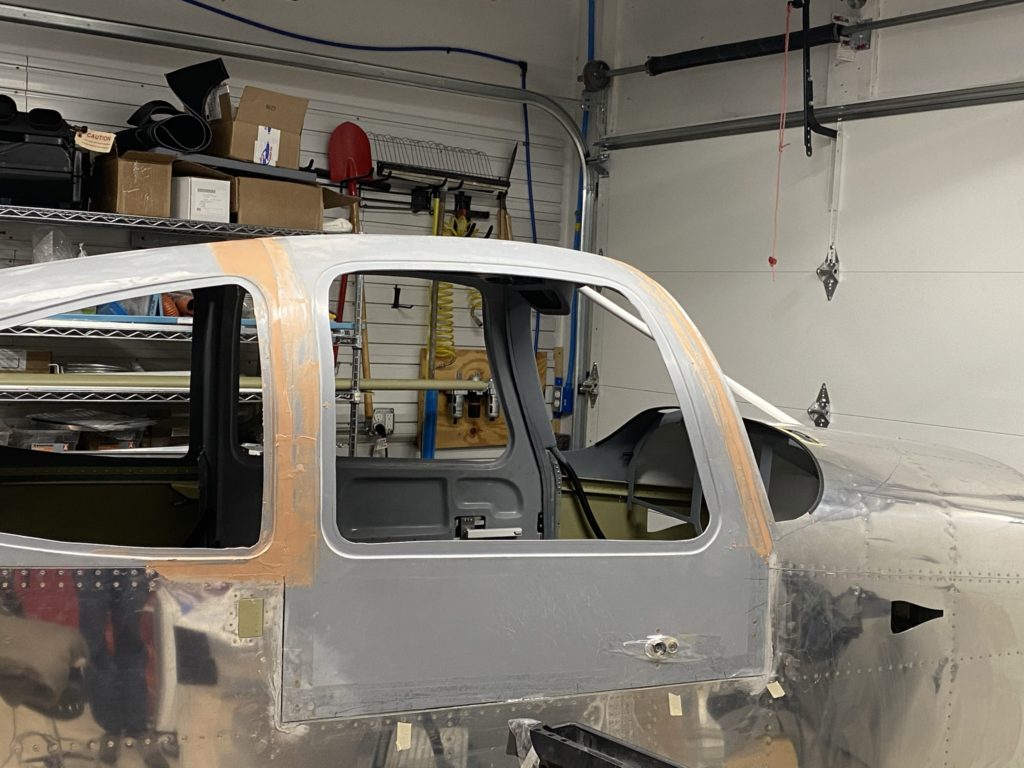
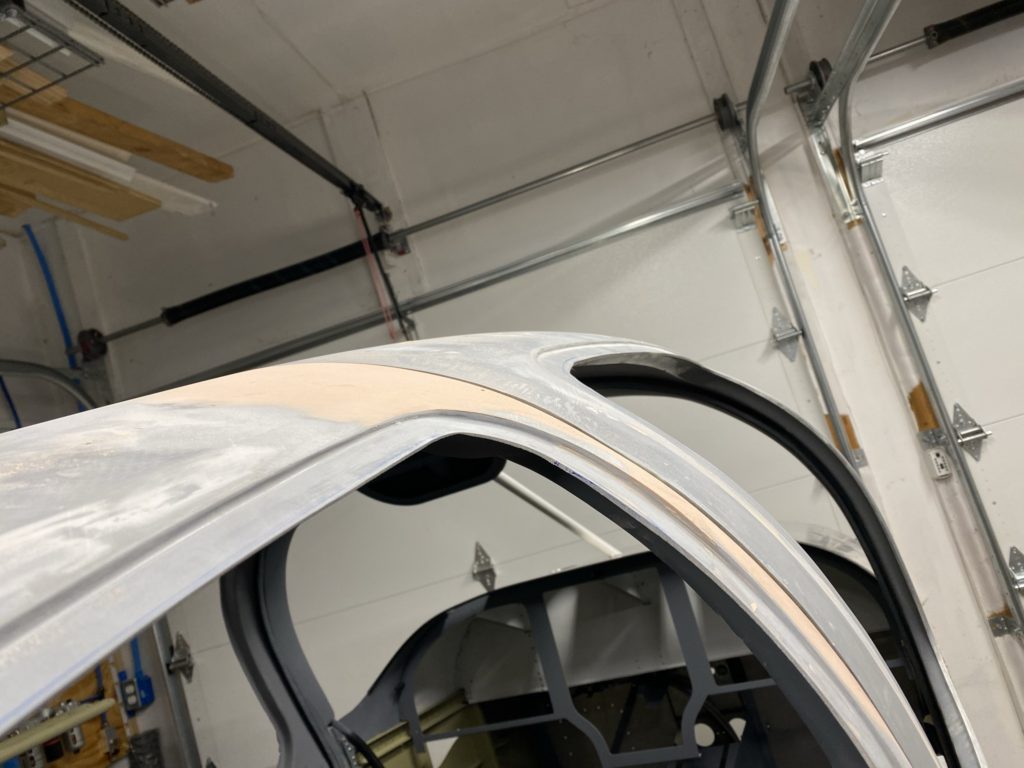
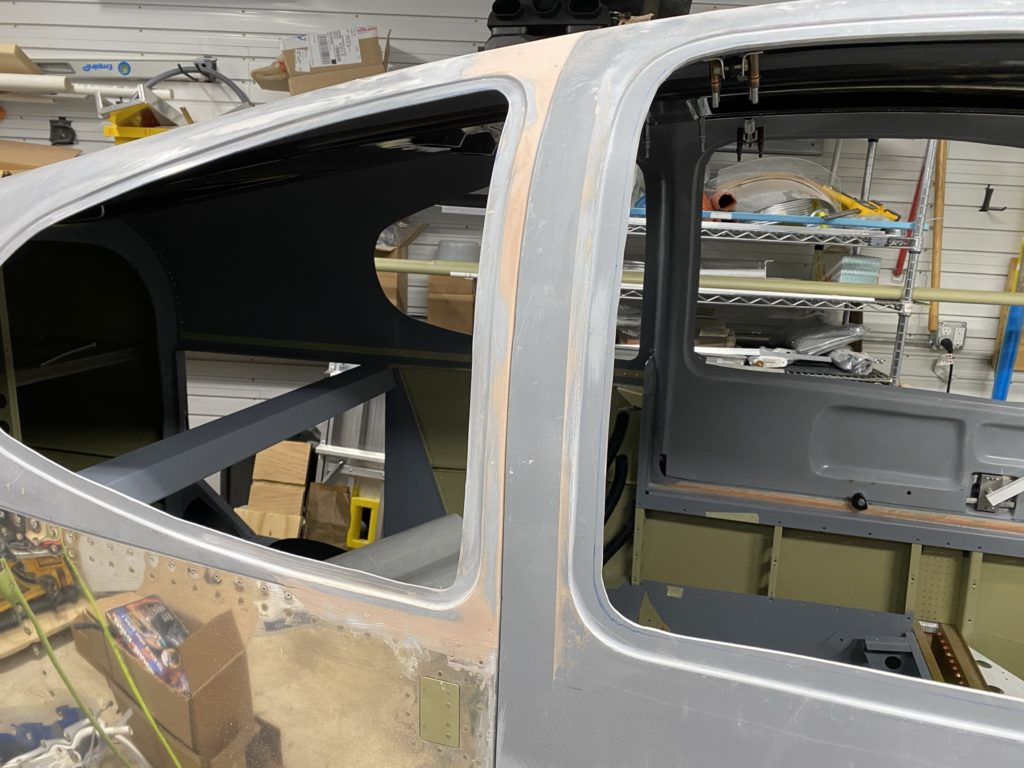
With the doors installed on the cabin top, it’s time to start working on blending the doors to the cabin top. Being careful not to bond the doors to the cabin top, I begin to slightly build up the cabin top edges to match the door edges. Lots of sanding applying filler and sanding it away.
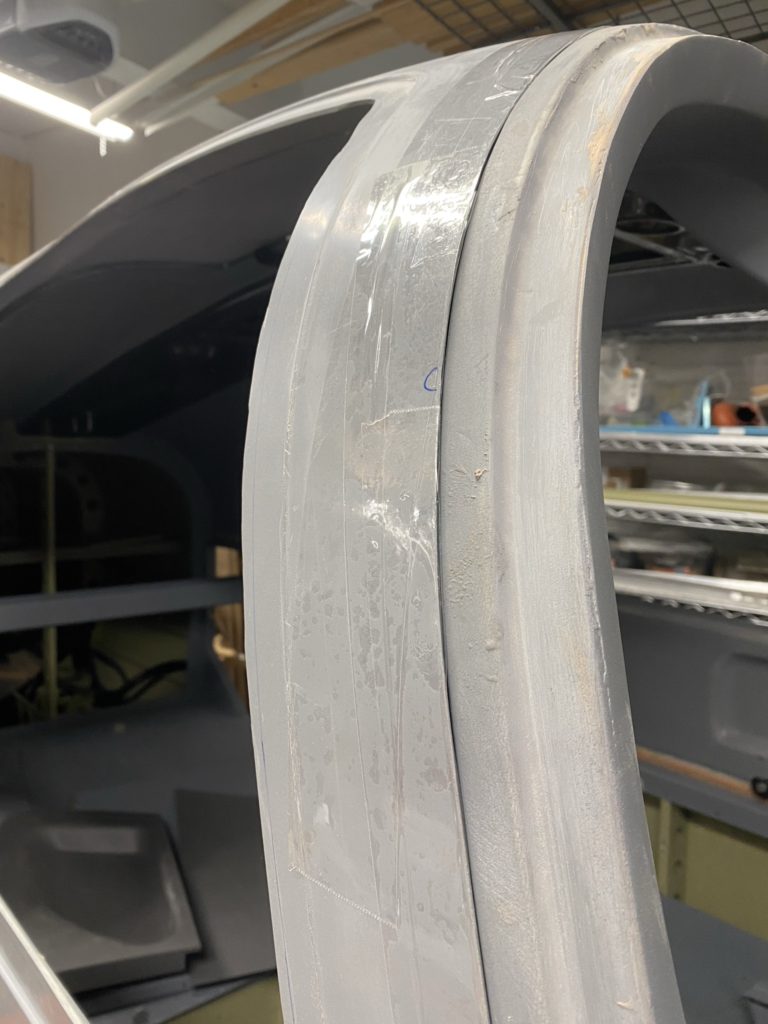

Hope the doors come apart once this cures! 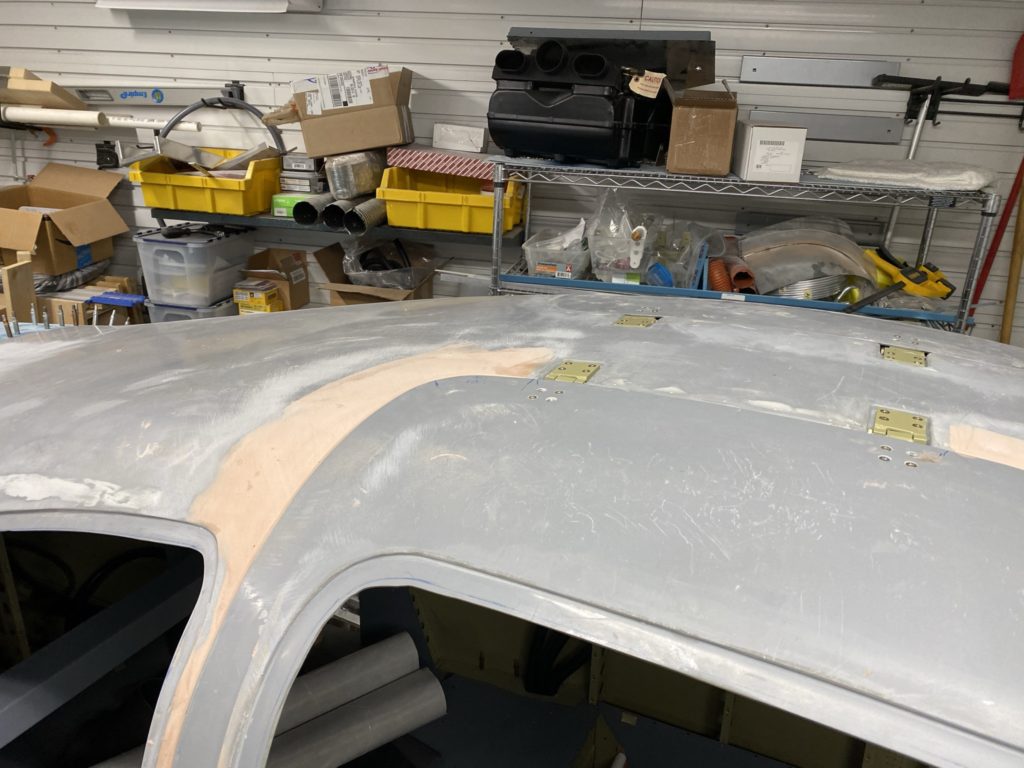
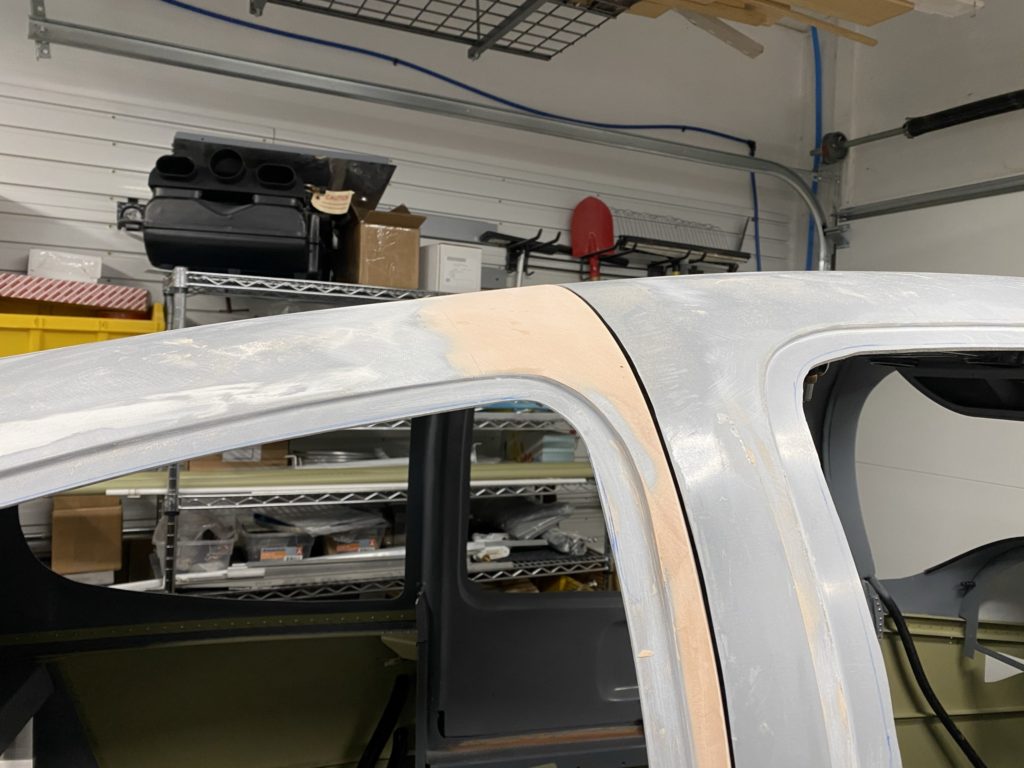
I repeated this on the pilot side and overall things look a lot better. I’m not shooting for laser perfection, but looking good from a few feet away. Still have more work to do, but making progress!