Cleaning tools (rust removal)

So while looking for a way to clean some of the rust off the steel bucking bars that came in the tools I purchased of the VAF forums, I came across a post talking about Evaporust.  After a few internet searches and videos, I started to see if it was something carried locally and was willing to give it a shot.

[inpost_fancy thumb_width=”200″ thumb_height=”200″ post_id=”148″ thumb_margin_left=”0″ thumb_margin_bottom=”0″ thumb_border_radius=”2″ thumb_shadow=”0 1px 4px rgba(0, 0, 0, 0.2)” id=”” random=”0″ group=”1″ border=”” show_in_popup=”0″ album_cover=”” album_cover_width=”200″ album_cover_height=”200″ popup_width=”800″ popup_max_height=”600″ popup_title=”Gallery” type=”fancy” sc_id=”sc1490053324261″]

Setup and cleanup was actually pretty easy.  Fill a container with the Evaporust product and insert the rusty items.  Granted most of my tools only had what I would call slight or light surface rust, I still wanted my tools to be in excellent shape.  I let them soak for about 2 hours, then pulled them out to see how they looked.  Rinse them off in fresh water, then dry them off and they are looking great!

[inpost_fancy thumb_width=”200″ thumb_height=”200″ post_id=”148″ thumb_margin_left=”0″ thumb_margin_bottom=”0″ thumb_border_radius=”2″ thumb_shadow=”0 1px 4px rgba(0, 0, 0, 0.2)” id=”” random=”0″ group=”2″ border=”” show_in_popup=”0″ album_cover=”” album_cover_width=”200″ album_cover_height=”200″ popup_width=”800″ popup_max_height=”600″ popup_title=”Gallery” type=”fancy” sc_id=”sc1490053464353″]

Realized I forgot a few bucking bars and figured I would throw some of my used clecos in the bucket to see how much of an improvement it would be.  The result is WOW.  For very little effort, the clecos look so much better, and actually are a bit easier to operate.

I’m letting everything dry off completely and will be spraying them all down with the Evapo-Rust rust block product to hopefully keep them from rusting up again.  This makes my initial purchase an even better value, and can’t wait till I have a few hours to take additional pictures / clean the remainder of my nasty used clecos!


UPDATE:  While this worked well for most of my clecos, I don’t think my copper clecos (1/8″) liked this process (or I just didn’t do a good job of rinsing them afterwards).  Something to keep in mind.

UPDATE 2:  While this did clean my silver clecos, they did re-rust. Honestly this was great to clean my bucking bars and other tools but probably not worth the time for the clecos unless you are aggressive with the rust block after. 
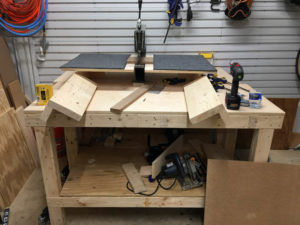
DRDT-2 Table and storage

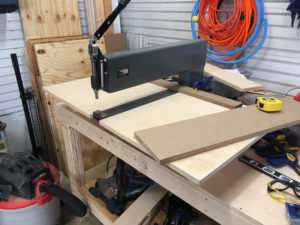
Spend part of yesterday working with my daughter to build a table for my DRDT-2 based on the plans included in the manual.  The plans were pretty general, so I did change some of the dimensions slightly.

A trip to Home Depot for some pre-bound carpet, some wood screws and staples, and my table is complete.  (At least for now it is.  Once I start using it I’ll see if it’s big enough, or if I need to build some additional supports)

Decided to build a shelf under the table to keep it out of the way.  Grabbed some spare lumber and quickly mocked up a shelf.  (Had to rip down the 2×8 a little bit to make it fix.

Let there be LIGHT!

Prep-work for my garage continues as continue to “tool up” for my impending build.

I was lucky enough to grab a number of tools off the VAF classifieds, as well as a few sales from Cleveland Tool and Aircraft Tool Supply, as well as some e-bay finds.

Improvements in the Garage include new LED lights to brighten the place up (WOW what a difference the lights make!), overhead power and air, some new tool cabinets, and generally throwing away more stuff that I no longer need!

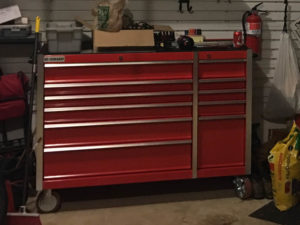
I also upgraded my tool-box to one of the large Harbor Freight boxes (wish I did that years ago honestly!)

My latest purchase has been again off the VAF site.  I now have a secondhand, or more accurately third hand, DRDT-2 from Experimental Aero.

I think the last item I would like to purchase is a Drillpress, but that may wait until the day I actually need to use it.


Change to wordpress

Moving off my previous blog to WordPress.  Now that I’m close to ordering my first kit, time to make sure I have a good system to document / log my progress

I initially thought I would use something like KitLogPro, however once I actually installed it, I felt like I was transported to 1998.  Love me some Visual Basic forms, however I just don’t think this is what a modern Log should look like.  (Don’t get me wrong, it looks like you can easily make a build-log binder and documentation from KitLog.  I just don’t think I can use the tool without wanting to completely re-write it in something more modern.

Found a few good articles on how others have set up their site, as well as borrowed some ideas from some other builders.  At some point I should add links to other Builders I’m following as well as information on how I set up my site.  For now I’m not actively sharing this site, I’m sure this will be public soon enough.


Workbenches and Workspace

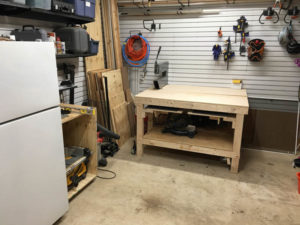
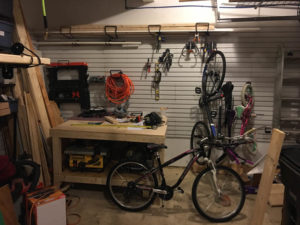
Since I’m still a ways off from ordering tools or the first kit, I have been busy trying to get my garage ready to be a workshop.  I’m not sure if I’m the only one out there that has a TON of stuff shoved into every corner of their garage, but I know this has to end.  To try to claim control of my garage once again, I started by installing a pull-down staircase to access the attic space above the garage.

I then purchased a Sprayfoam kit, sprayed about 1-2 inches of foam to give me a decent air barrier, the installed some plywood so I could utilize this space for storing boxes and other items that were light, but bulky.  Since this space wasn’t really designed for flooring / live loads, I am careful to only use it for things like empty storage containers, empty boxes, holiday lights, etc.

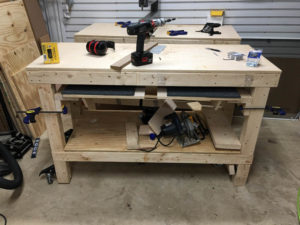
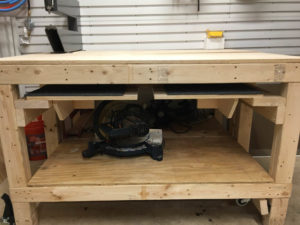
Next I build two of the EAA tables.  This was VERY straightforward and easy to get done.  There are LOTS of good youtube videos from others if you have any questions.  I didn’t think another video needed to be made.

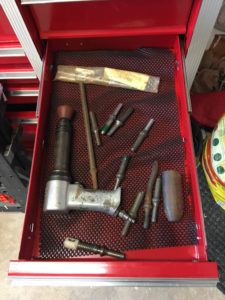
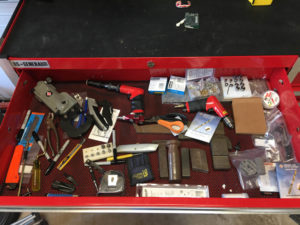
Currently I’m in the process of organizing my tool chest and getting rid of a lot of my acquired crud. Spare parts to old tools, pieces from my old Motorcycle, old battery powered tools that no longer hold their charge, etc.  I haven’t started to touch all the TOYS my little girls have stored along one wall, but everything else has been fair game.

Last thing I’m thinking about doing is making a “quiet box” for my 20 Gallon air compressor as well as installing some more permanent air fittings on the walls near where I plan to work as well as a FRL just off the compressor.  Possibly even installing a pull-down reel on the ceiling  with some lighter weight hose in addition to the reel I have on the wall already.

Basically doing everything I can to get ready for my build before I take the plunge.  Still need to get buy-in from the whole family since this will TOTALLY impact them going forward.