Prep for the weekend

This week was basically back to “normal”.  I spent a total of about an hour working on the RV and really only was able to put the bend on the trailing edge of my rudder skins using the Cleaveland Edge Forming tool.  No need for me to show you how it works as they have a great tutorial video on their site.  I didn’t use this when I was doing my Practice kit, so we’ll see how it looks when I get the rudder attached.   Speaking of the rudder, I had been doing some research and getting ready for this weekend and purchased some Proseal in anticipation of needing it.  HOWEVER:  it seems that with the newer RV14’s the guidance has been to use some 3M adhesive tape.  While not called out in the plans, the description on Vans Website is very interesting

3M F9460PC Tape

Double Sided for Construction

Used for control surface trailing edge assemblies (replaces the older tank sealant method).

1 roll (1/2″ x 60 yards) will suffice for a complete airplane, even the RV-10.

Well, I think I’ll try this vs Proseal as it sounds like it’s a bit cleaner!  Also decided to purchase some additional items from Cleaveland Aircraft.  Got a set of Rudder Cable fairings, the threaded tie-down block, tail light adapter, and the drill jig for the trailing edge.  All of these arrived yesterday so I have everything ready to be productive.  Also should have the panduit ligntening hole brackets by this evening so I can potentially start to button up the Vertical Stabilizer.


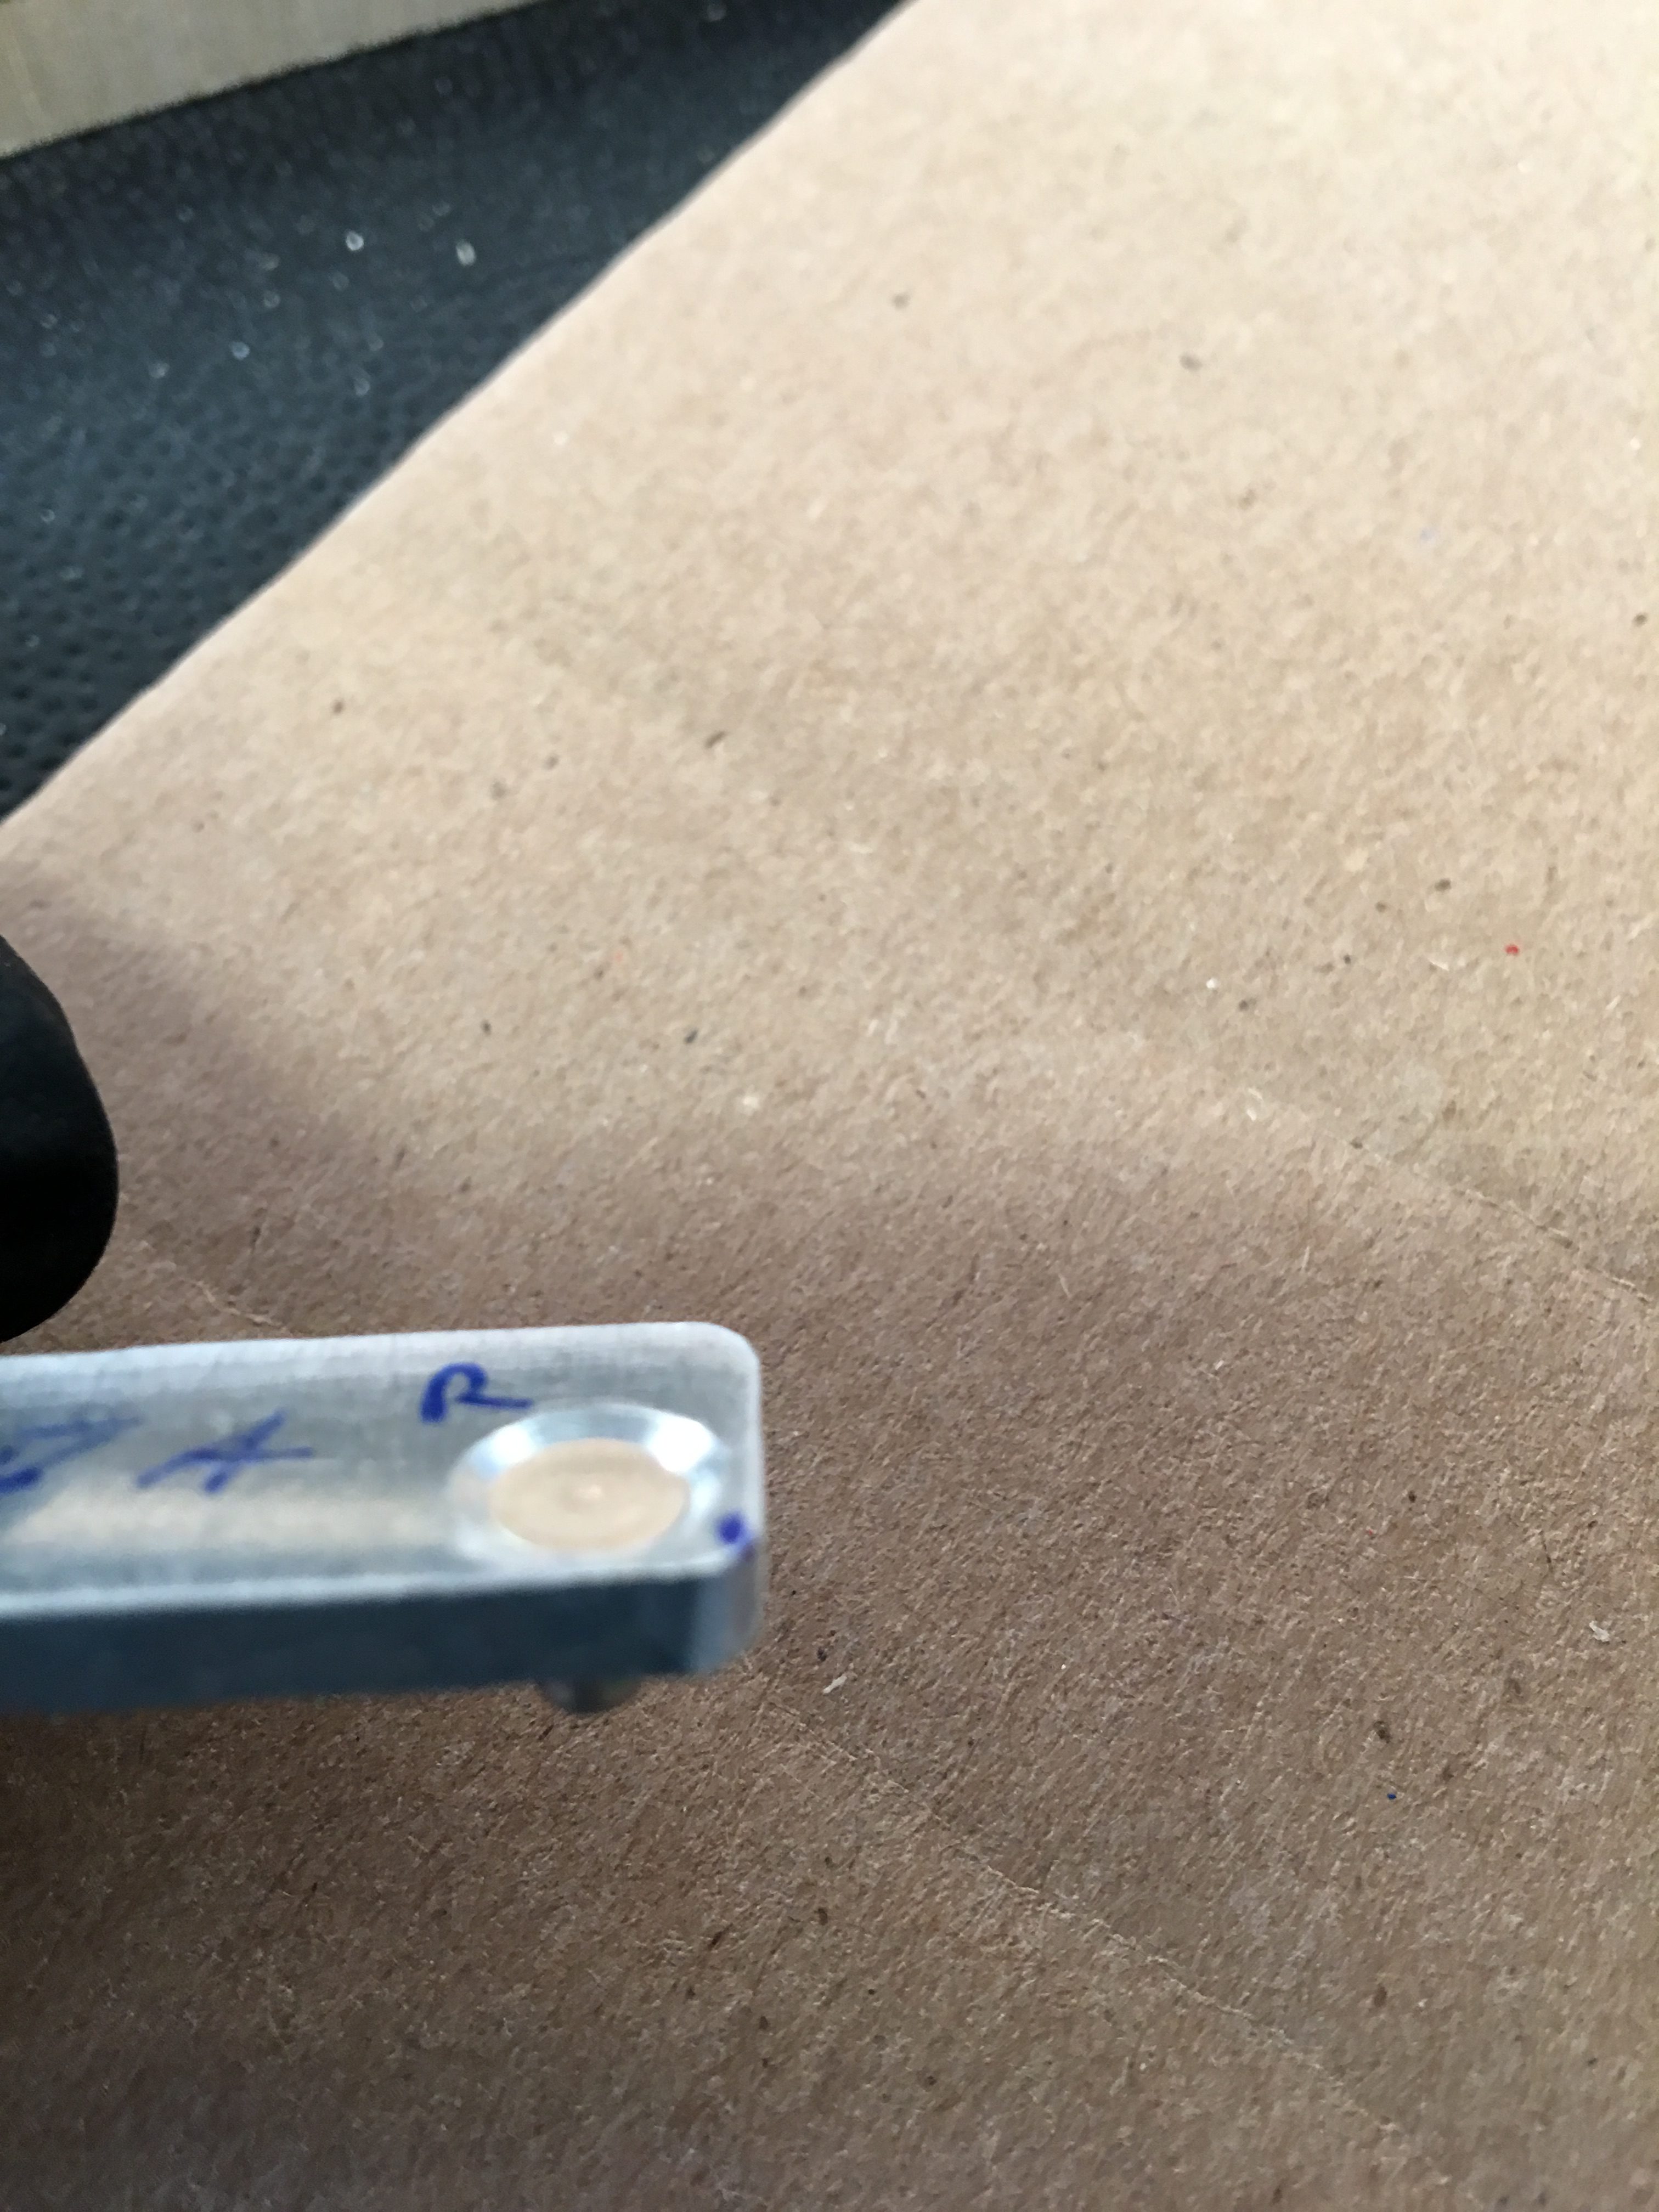
Now to admit to another “oops”.  In drilling my rudder striker plates, it seems that my countersink bit allowed me to drill a bit too deep.  Reading online there were suggestions that you could use JB weld or make a shim for places where you may have countersunk something a little too deep, however after discussing with Vans it seems that the best approach is to replace the part.  This plate will take a fair bit of abuse, so why set myself up for an issue down the road (and a potentially annoying repair) when I can just order the $4 part now and be done with it. If I had the correct thickness stock material, I could have just fabricated it as this is a simple part, however I don’t yet have any material of sufficient size.


Hopefully this also arrives either today or tomorrow so I can have both the VS and the Rudder completed this weekend?  I expect my progress to significantly slow down as the next few sections are much more involved and I have other commitments that need my attention (work, family, life, etc).


Rudder – Part 2

Another productive day in the Garage.  With great weather outside, I was able to spend time working while my girls were out playing in the yard.

With most of the rudder components fabricated, it was time to start assembling the rudder so I could final drill everything. Got the skeleton assembled, then added the skins and it started to look like a rudder!

[inpost_galleria thumb_width=”200″ thumb_height=”200″ post_id=”212″ thumb_margin_left=”3″ thumb_margin_bottom=”0″ thumb_border_radius=”2″ thumb_shadow=”0 1px 4px rgba(0, 0, 0, 0.2)” id=”” random=”0″ group=”1″ border=”” show_in_popup=”0″ album_cover=”” album_cover_width=”200″ album_cover_height=”200″ popup_width=”800″ popup_max_height=”600″ popup_title=”Gallery” type=”yoxview” sc_id=”sc1492385991514″]


Because this is a control surface, you need to take a little longer to ensure you are not adding a twist into the part.  This requires a more measured approach to match drilling and adding clecos for EVERY hole along the spare (and trailing edge).  This is a lot of clecos and it towards the end of the day my arms and hands were quite sore.

[inpost_galleria thumb_width=”200″ thumb_height=”200″ post_id=”212″ thumb_margin_left=”3″ thumb_margin_bottom=”0″ thumb_border_radius=”2″ thumb_shadow=”0 1px 4px rgba(0, 0, 0, 0.2)” id=”” random=”0″ group=”2″ border=”” show_in_popup=”0″ album_cover=”” album_cover_width=”200″ album_cover_height=”200″ popup_width=”800″ popup_max_height=”600″ popup_title=”Gallery” type=”yoxview” sc_id=”sc1492386731796″]

With the drilling done, it’s time to take everything apart and start to deburr everything.  By the end of the day, I had completed all of the deburring except for the skins.  Tomorrow I’m planning to put the bend on the trailing edge using the edge forming tool (hopefully without messing it up).  Not sure when I’ll have enough time to clean and prime the parts.  This may not happen until Saturday, so I’ll have to figure out if I’ll start the first few steps of the next section, or if I’ll just put my toys away for a few days.

Rudder – Part 1

The first few steps for the Rudder are cutting a bunch of parts and cleaning them up.  Once again I’m probably overthinking it, but I’m spending a lot of time cleaning up each part and removing any sharp edges.

My bandsaw wasn’t large enough for me to cut some of the parts, so I ended up using the left and right aviation snips.  Honestly they work fine and after using the belt sander to clean off the edges (and square them up), all the parts look great.  To deburr the edges, I finally broke out the 6″ scotchbright wheel on my bench grinder.  After mixed success using it for my practice project, I finally decided to remove the “safety cage” to give me better access to the wheel with those long parts.  I’m sure this isn’t the best way to use the bench grinder, but it works for me.

After getting the kids to bed, another 1.5 hours working on page 7-4, Steps 1-3.  Didn’t have enough time to start deburring and cleaning up the rudder spar, so I’ll have to work on that tomorrow.  All in all good progress today!