FWD Fuse Ribs, BHDS, and Bottom Skins – Part 3

Continuing on with Section 28, I had an EPIC priming day and got all of the outstanding items painted (including the last of my wing skins!)

With everything primed, I begin to do the final assembly on all the ribs and bulkheads for the forward fuselage. First step is dimpling all of the parts that will have flush head rivets, then installing rivets in all of the sub-components.

I then pull out my trusty DRDT-2 and begin to dimple the bottom wing skins (after I remove the plastic and deburr). Didn’t catch the larger skin being dimpled, but it’s in the background of my timelapse). I’m basically out of room to move in the garage so I’m about to have a moving day to get the wings into storage.

I then complete the dimpling of all of the other components (making sure I take the time to understand what does and does not get dimpled). Then it’s on to prepping the bottom skin so I can back rivet the ribs on. This was very easy and looks great once done. Even got a little assistance from my oldest while I was working on this part.

I decided to order some firewall sealant from skygeek vs using proseal to seal between the skin and the firewall. It looks very much like proseal in the tube, but has a very different consistency when applied to the surfaces. Almost has a foam type of quality to it? Anyway, with the sealant applied, I quickly squeeze those rivets then start to rivet the tunnel to the bottom skins.

My attempts to back-rivet these parts did not work as planned and I ended up drilling these rivets out I’ll need to call in some favors to help set these rivets before I join the fuse and hopefully move it to the cradle.
Bottom Wing Skin – Part 5

With the gap fairing installed, and thoughts that maybe I should just install the bottom skin on the wings, I decided to stop avoiding it and get moving.

First thing I needed to do was read up on where I wanted to mount the Pitot tube mast on the wing. Saw lots of folks talking about mounting it almost at the wingtip, but honestly decided I was going to mount mine in the location outlined in the RV-10 plans.

At this point, I’m already thinking I’m going with the G3X system (or at least the Garmin ecosystem) in my airplane, so I went ahead and purchased the GAP-26 heated and regulated pitot tube as well as the pitot mast. I also purchased the Gretz pitot mast kit from Aircraft Spruce so I could get that installed as well.

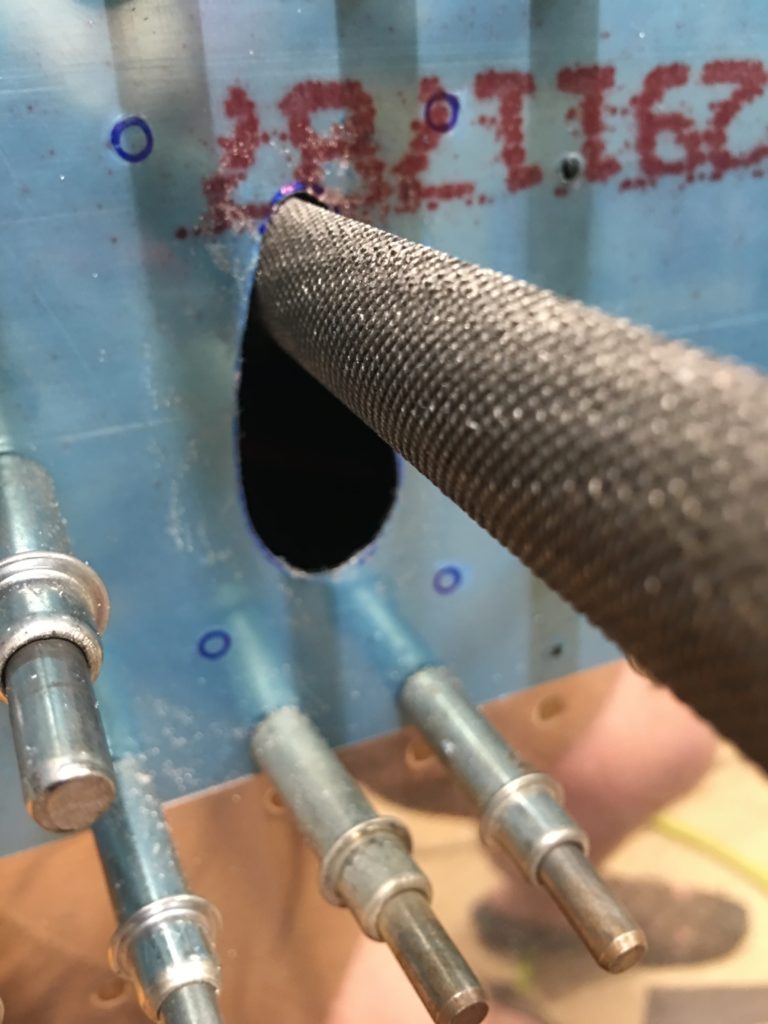
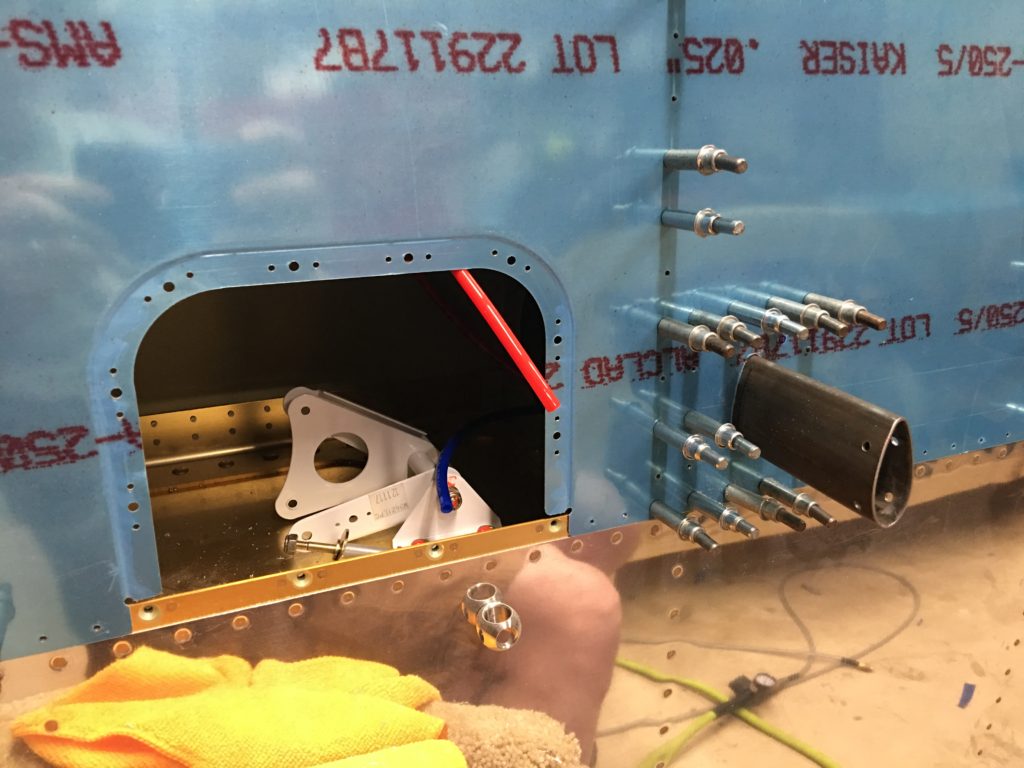
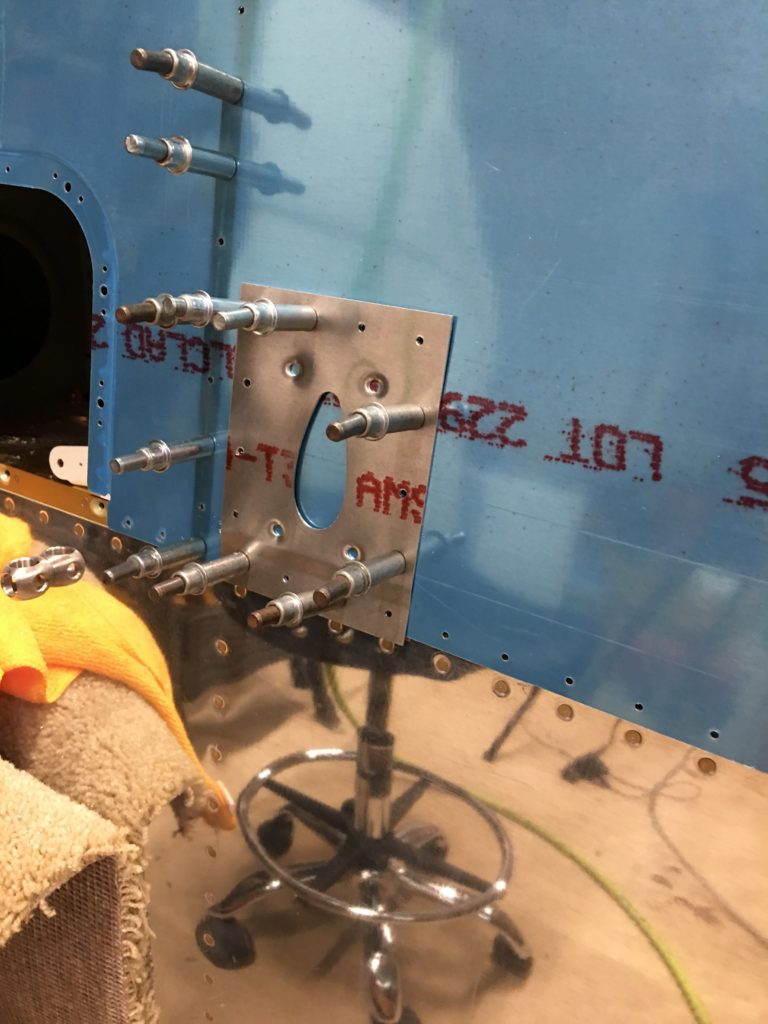
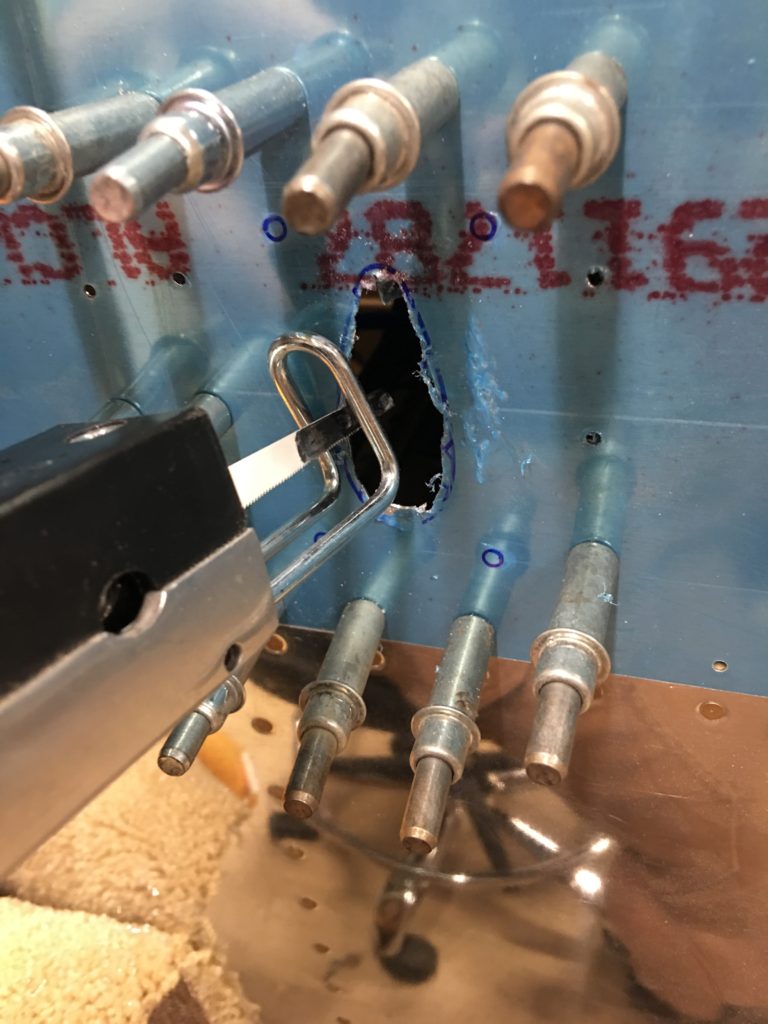
Reading up on the plans, it didn’t seem like this was all that difficult, but it is a bit nerve racking making that first cut into the bottom skin. Following the directions for the Gretz mount I first line up the backplate and match drill the holes on the flange using the spar as a guide. Next, I drill the holes in the backplate per the instructions making sure they are evenly spaced. The directions then say to drill the holes from the inside of the wing into the skin using the backplate as a guide. I can’t contort or get my drill in that confined space. Instead, I just put the skin on the wing, and cleco the back plate on the outside of the skin and match drilled the holes that way. (see photo). I also marked the hole locations for the pitot mast and the screw holes so I could drill those out with the backplate removed.

Using my harbor freight air-saw, I then rough cut the opening for the pitot mast. I then clecoed the backplate on the inside of the wing, then started to slowly file the opening back to match the backplate using a combination of files, die grinder, sandpaper, and finally scotchbright. Then I just needed to drill the screw holes into the skin.

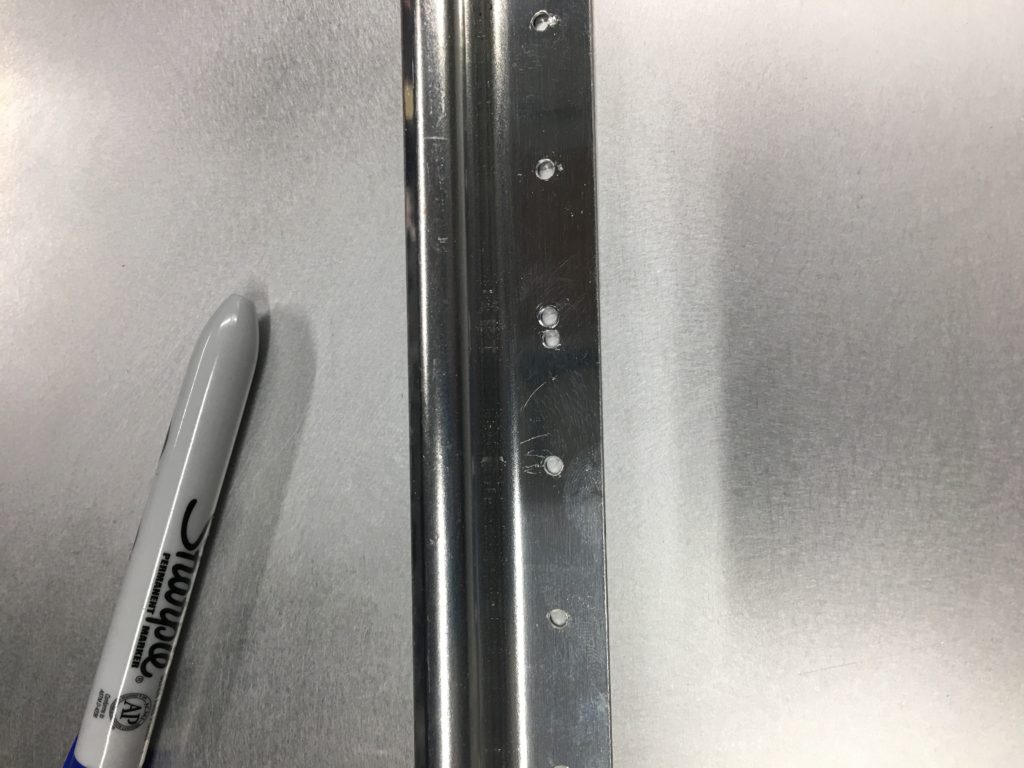
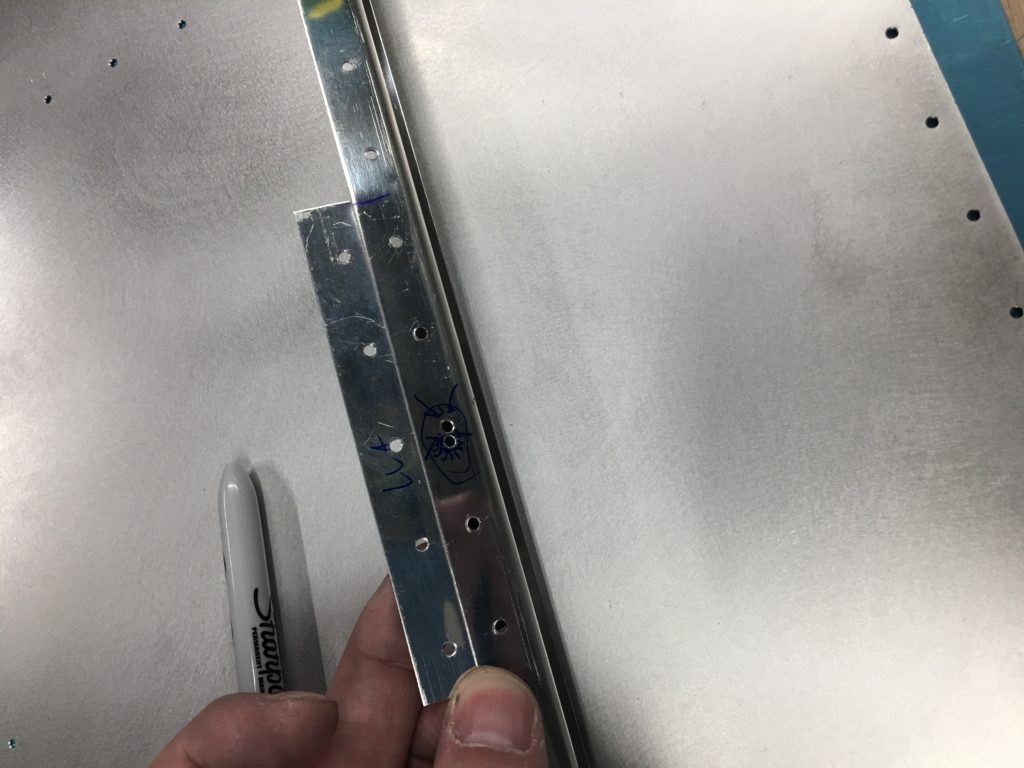
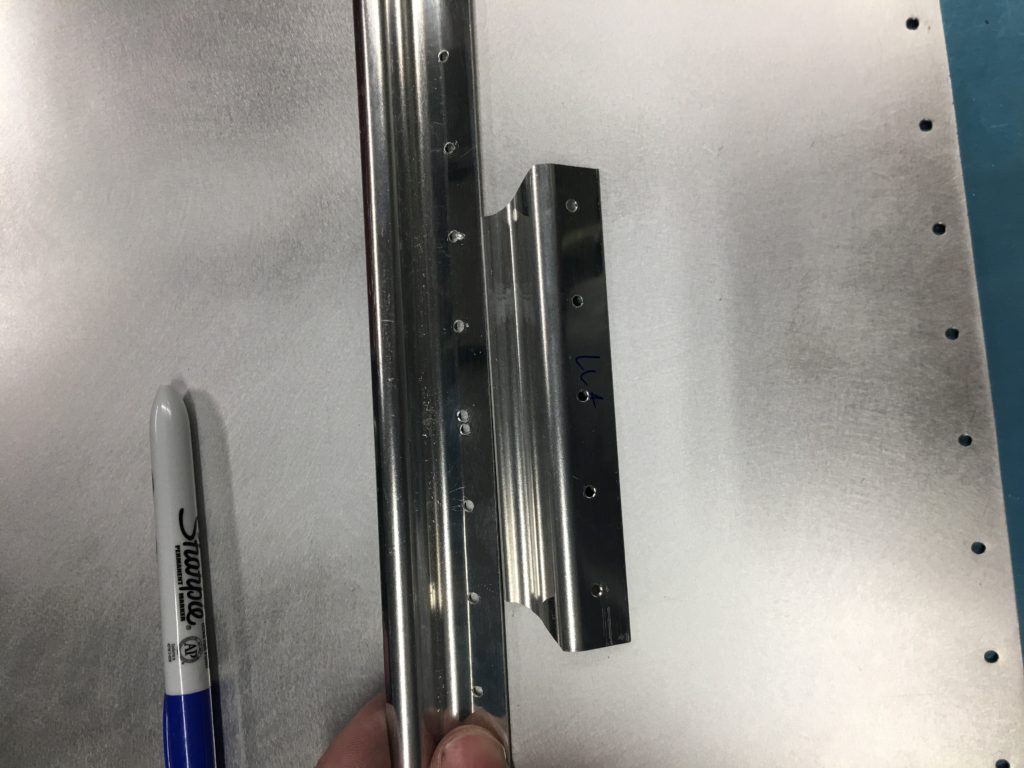
Upon starting to prep the skins for priming, I realized I had a small “oops” with my J-channel. When match drilling it looks like I ended up drilling two holes right next to each other. To repair this, I decided to fabricate a doubler that I will install as I complete the bottom skin. Attaching photos below of my “fix”

Then its on to sanding the scarf joint, priming the skins and J-channel, and getting everything appropriately dimpled. Sorry, no timelapse of this work, but it’s not really any different than what I did for the top skin. With everything primed for the left wing, I just install the skin and cleco into place for now. All advice I got was that a second set of hands is really needed. That means I may just kick the bottom skins down the road a bit, possibly till I move the project to the airport?

Bottom Wing Skin – Part 4

Ok, so I’m totally jumping around in the build as I circle back to things I skipped due to weather and mental fatigue. Regardless, please forgive the fairly random order as I try to finish up the last few items before I focus on the fuselage.

With both ailerons completed, and one flap done, I needed to go back and install the gap fairings. This is a very straightforward install and the only newsworthy item to report is yet another new tool I ended up getting. Due to a post on VAF as well as a a sale on one of the major tool vendors, I ended up picking up a hydraulic-pneumatic squeezer by Numatx. This is a foot operated squeezer that uses hydraulic oil to actuate the squeezer. Benefits are the squeezer head is so much lighter and smaller, and you don’t have to adjust the RAM for each rivet length.

In practice, I find I do spend more time than I expected adjusting the ram / squeezer dies on the Numatx , however I really do like the operation of the unit.

Back to the gap fairings, I primed them and dimpled the #40 holes. I then dimpled the top wing skins using the Numatx squeezer. Next I install the gap fairing, and using the Numatx squeezer start to install the rivets in the skins. Next I cleco the gap fairing to the spar and change the dies and air pressure into the Numatx squeezer so I can set the AN470 3-x rivets. All goes together very quickly. Off camera I also finish up the other GAP fairings for the flaps and aileron on the other wing.

Bottom Wing Skin – Part 3

With both wing skins match drilled, I begin to prep the skins for priming. First I remove enough clecos so I can remove the blue film on the skin where the skins overlap. This will allow me to mark and mask off the skin to prep them to sand.

I wasn’t very aggressive on the top skins, however I’m interesting in trying to make this overlap section a little nicer on the bottom. Granted nobody but me will really be looking at the bottom of my wings, but I guess it’s just a challenge for me.

With the film removed and the overlap marked in sharpie, I then remove both skins and coil up the larger skin to get it out of my way. I then can begin to file and deburr the smaller skin just in case I have enough time to prime it before my fuselage arrives.