Social Distancing – COVID-19

Well, things have significantly changed in the last few days. We went from business as usual to lock yourselves in your houses mode (at least around the DC area currently). School closures and telework have completely changed the dynamic at home.

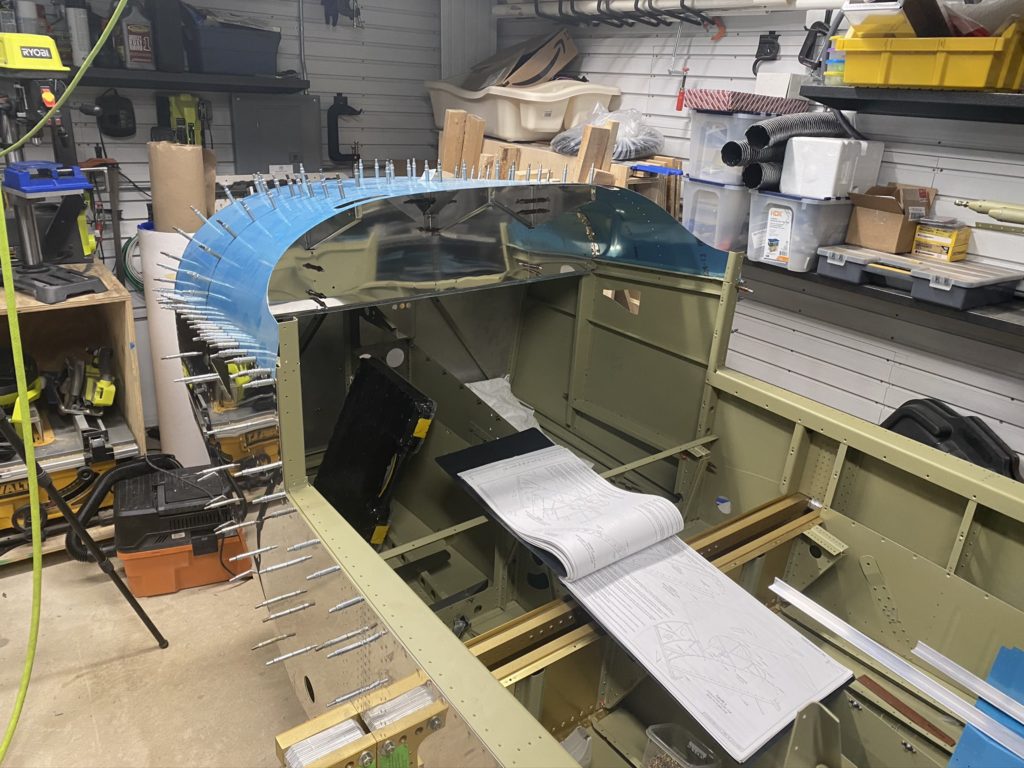
Down-side, I cannot get anyone over to help me build. I have been working around the fact that my bottom skin rivets are not completed for a while now, and that may continue to be the case for the foreseeable future.

Looking on the bright side, I have a a little more time in the afternoons to work in the garage! No hour long commute means I have the ability to jump into the garage right after work and catch a few hours of nice weather should I need to paint or just open the garage door to get some fresh air.

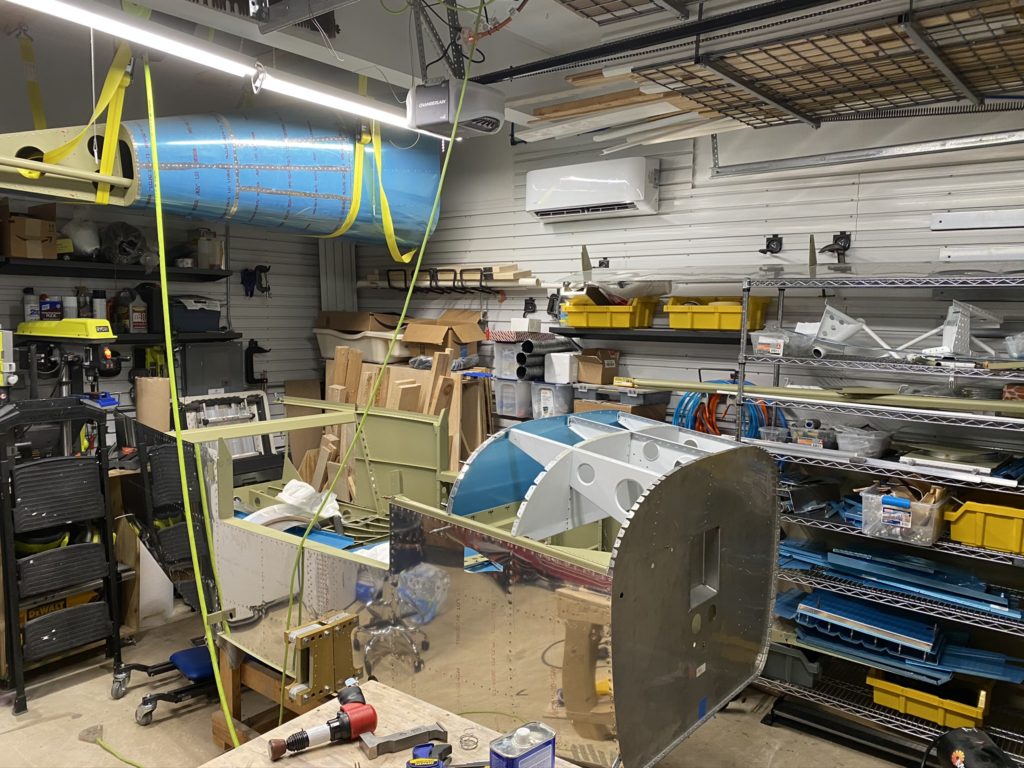
Currently the garage / workshop is a complete disaster which has been making me avoid taking the video camera out. I think tonight I’m going to make a serious effort to clean / organize so that I can start filming again. I’m also jumping around a LOT in the build which makes the updates bounce around all over the place. I have a lot of drafted articles that are waiting for photos, measurements, or “One more step” to be completed before I publish them. I am working hard and making progress, but it’s just not linear.

Bonus news, I just spoke with VANS, and my finish kit was released to the crating department and should be shipping soonish. They also told me the shipping quote was between $300 and $400, but may take a little longer to make it to me. I’m not in a rush as I’m still behind at the moment. (Also nor sure where I’m going to put it when it gets here!)

Hope to make significant progress and get more progress posted in the next few weeks.

Rudder Pedals

I was getting a little frustrated with the overall progress of the build and wanted to do something to help with my motivation. I decided that installing the rudder pedals (Control Approach upgrade) would both make me happy and was something that wouldn’t have an impact on the build process.

The rudder pedals are in my opinion a huge upgrade both visually and functionally. Dealing with Paul was very pleasant as I was not in any rush when I ordered them. I honestly was the biggest holdup as I didn’t have my master cylinders before he was ready to ship, so he ended up sending me the pedals with a set of his master cylinders and I just shipped him the ones I got from Vans in my Fuse kit when it finally arrived. Nothing but great things to say about Paul.

Setup of the pedals was SUPER easy. There are no instructions that come with them, but it’s pretty easy to figure out on your own. Connect the two sets of pedals in the center and screw in the four bolts. Only new skill I had to figure out was how to do the safety wire on the bolts. Quick refresher from YouTube and I was good to go. (Think they turned out pretty well).

The only thing that I don’t like about them at the moment is they are not compatible with the aerosport rudder trim system. Paul has said he is working on something, so fingers crossed that may become a thing.

Fuselage Side Skins – Part 3

While the wings seemed to just take forever, the side skins of the fuse made me question my life choices. This chapter just took forever for me to complete. Between family, work, and the desire to keep my sanity I found that I was just dragging my feet on this chapter for many reasons.

Looking back, most of my delays were trying to find time to get someone to help me rivet in areas where I just couldn’t do it myself. As I have said before, I don’t have many friends that are into aviation and those that are really don’t want to help me rivet unless I desperate. (I think they are scared that if they do it wrong my airplane will fall out of the sky one day! LOL. ) My other default choice is my wife, however she also has her limits on what she is willing and capable of doing.

With the challenges to get helpers scheduled, I ended up jumping around quite a bit. I’ll post updates on those shortly, however the main point of this update is to celebrate that I completed Chapter 29. The takeaway is, keep working at it. While it seems to take forever, there is light at the end of the tunnel.

One thing I’m going to start doing is posting more details about upgrades and mods. I have been spending a lot of time looking ahead in the project and trying to make some decisions. Hopefully I’m not getting too far ahead of myself, but thinking ahead will help prevent some pain later on. As I mentioned in my New Years post, I did order the Finishing kit, as well as a smattering of other items. Hopefully I’ll start getting some of those goodies in the near future.

The timelapse for the end of this chapter isn’t complete as I just didn’t have it in me to video everything. But it does show I was doing most of the work myself. 🙂

Upper Fwd Fuse Assembly

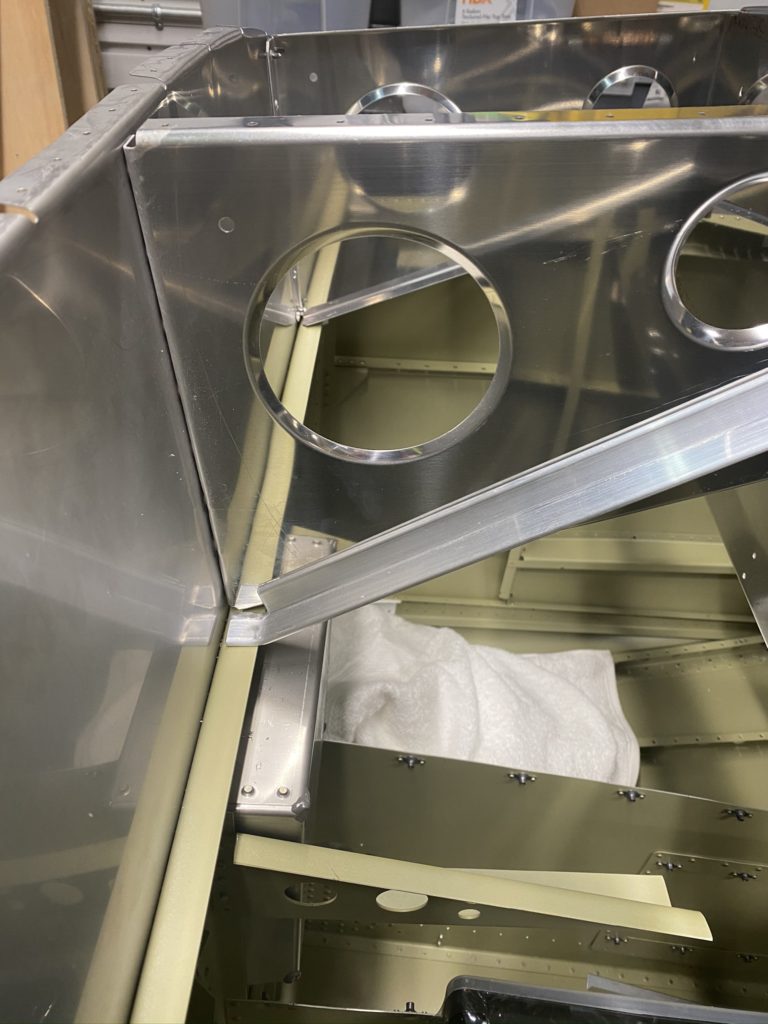
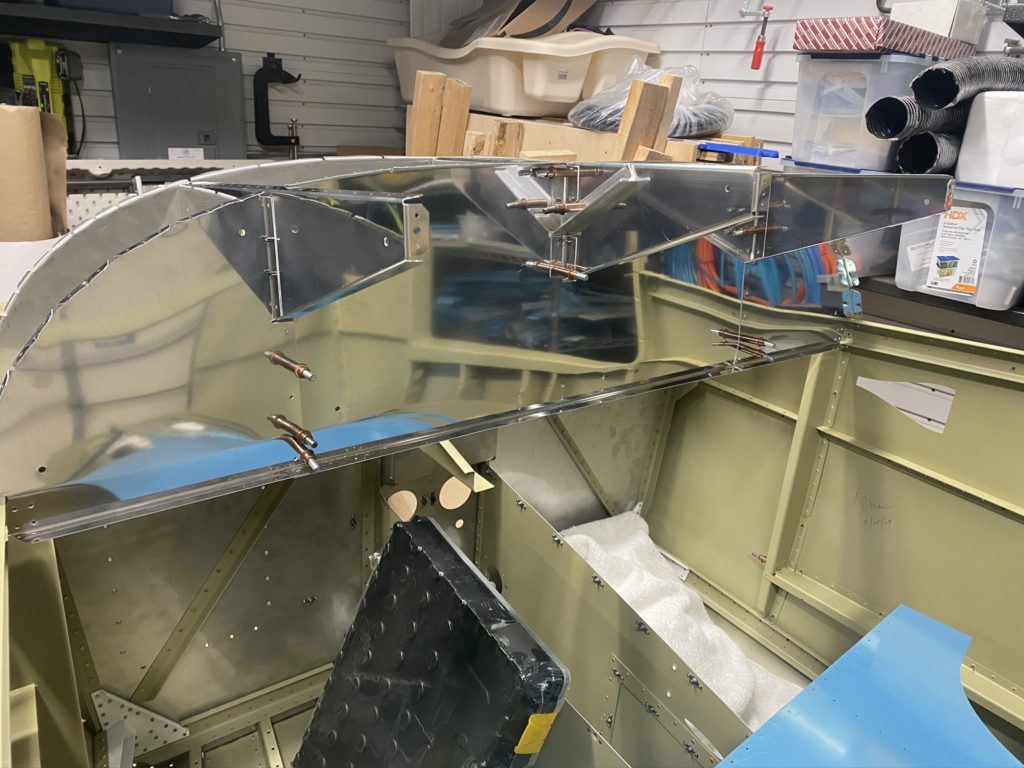
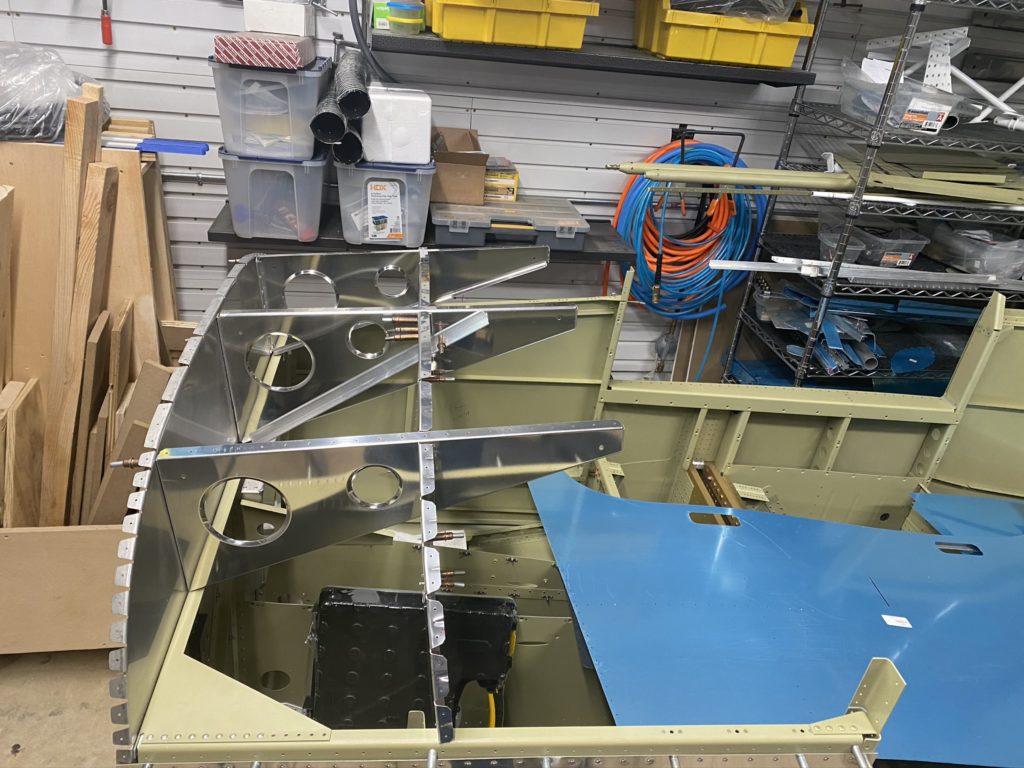
This chapter has two versions. One for a Throttle Quadrant (mounted on the panel), and one for standard push-pull knobs. As I’m planning on doing the center armrest quadrant, I basically followed the version for the Quadrant, but didn’t rivet on the control cable bracket.

This section is pretty straightforward. The only step that was a little funky was final assembly and riveting the F-1044 rib and angles together before inserting into the F-1068A sub-panel. I’m sure I could do it, but just couldn’t figure out how it would work so I just assembled everything together and set the rivets that way. Maybe I just made it harder on myself? :shrug:

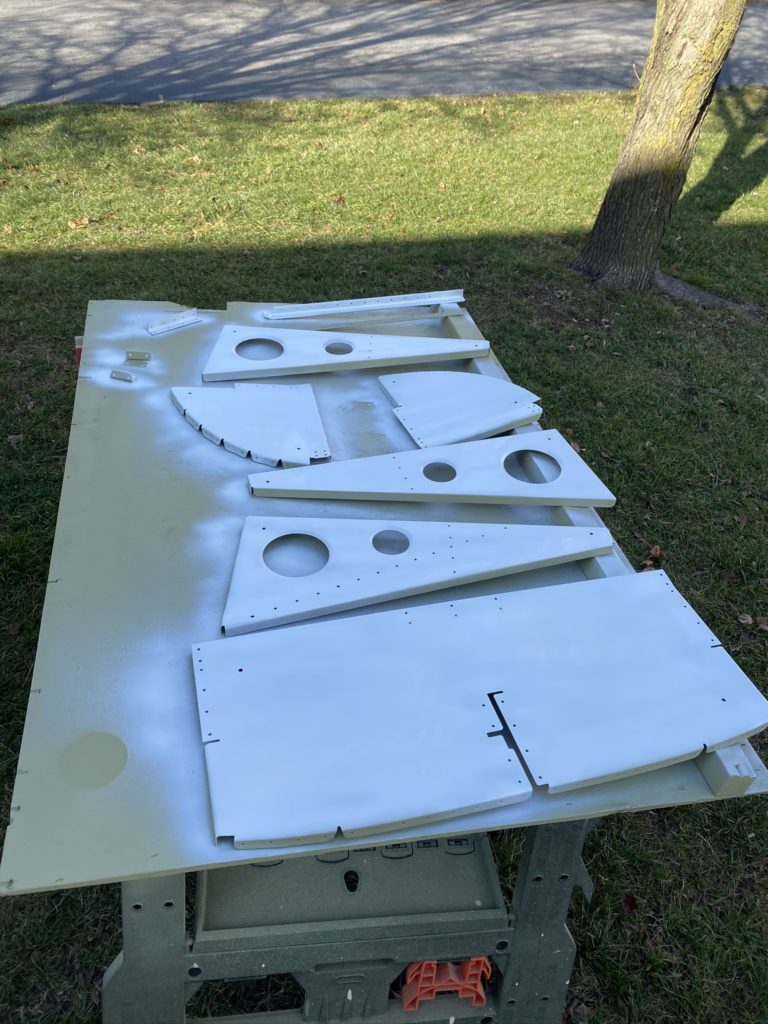
I also decided to paint all of the ribs and the sub-panel white. The thought is that when I’m working on the sub-panels or doing avionics it will be easier to see vs the darker green.

At this point I have the sub-structure riveted together, but decided not to rivet on the top skin. I’m also waiting for my Aerosport Products panel to arrive (or at least the sub-structure) so I can mock up the installation of the panel and the Fwd Fuse structure as I know I have to make some modifications to get everything to fit.

Happy New Year and Status Update

With the holidays over, I’m trying to recover from all the excitement. Lots of time with friends and family even though we stayed local this year. Since the last update I have made some progress on the airplane build, but not as much as I was hoping. But hey, that’s how life is sometimes.

Fuselage Skins: So I’m still working on getting the fuselage skins riveted. This task is taking much longer than expected due to the fact that I don’t always have access to a “rivet buddy”. While my wife is willing to help me, she is also limited in what she is able to do (no crawling under the plane anymore due to some back issues). Luckily my brother and father were down for the holidays and helped me get most of the “hard to reach” places riveted so hopefully I can start making more progress.

With forward progress on the fuse skins slowed down, I decided to start working on some other areas (more to come in a future update). Upper Forward Fuse Assembly (panel area) and the steps are basically done. I’ll have to take some video of them as well as some pictures. I also started to build the baggage door as I was getting a bit stir crazy wanting to do something on the airplane!

In addition to all of this, I had a mix of things arrive that I ordered earlier as well as placed some more orders for items that I’ll need in the next few months. Most of my air conditioner system arrived from Airflow Systems. I’m waiting on just a few pieces from this order and trying to make sure I understand how everything goes together. The instructions are pretty clear, however I upgraded from the Standard kit to the “aussie” evaporator so I need to figure out how that goes together. (More posts / photos to come). I also ordered and got a floor creeper to help me work on the bottom of the plane.

Earlier I posted that I installed one of the air ward tunnel access kits. As I did more research on the SDS installation I decided to go ahead and install the access kit on the other side of the tunnel as well. It’s a bit more difficult with the side skins on 🙁 I also ordered the parking brake kit and step access panel kit from air ward. I’ll be installing those in the near future.

Lastly I decided to make a few purchases so I’ll have all the stuff necessary to work on the tunnel. I ordered a set of hoses from AS Flightline. Been working with Steve over the last month and all I can say is wow. Responsive and extremely helpful. I’m hoping to provide additional documentation for their site for anyone looking to install the SDS system as they already have documentation on the EFII System 32 system. That also lead me down the path of ordering the AndAir duplex fuel selector.

With all of that stuff ordered, I then start thinking that I may also need to put in my order for Aerosport Products line of goodies. Center console with throttle quadrant, panel, over head console, and switch pod. They have some other items I’m interested in, but may have to wait for my bank account to recover. I’m waiting for Geoff to get back to me about a custom quadrant with no mixture control since I’m going with the SDS system.

That’s it for now. Hopefully I’ll make some additional progress and have a few more videos in the next few weeks.