As I was reviewing the plans the other day, I realized that I had skipped the first practice project completely. Oops! So decided I would complete that before I went back to the control surface project.
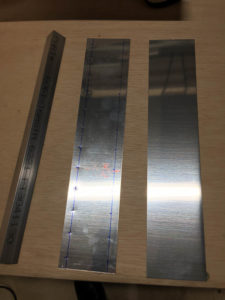
First step, was to mark up one of the sheets and measure where to center punch for each of the rivet holes.

Using the cleco clamps, make the first hole, install a cleco and continue down the line. Deburr all the holes, then figure out how to install (dimple / countersink) for the AN426AD (flushmount) rivets. The sheet is too thin to countersink, and the metal bracket below is too thick to dimple. I’m totally guessing at this point, but I decided to dimple the skin and countersink the “L” bracket to allow the sheet to sit flush. (did a few tests on some scrap pieces, and thought this was the best choice!).
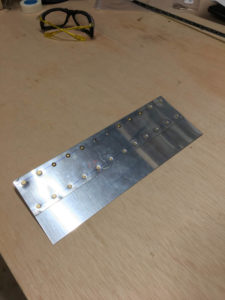
Once everything was appropriately dimpled and countersunk, I started to rivet. Two center rivets were Blind (or POP) rivets. Fairly easy.
Next, 3 of the AN470 on either side of the pop rivets. This is where I really enjoy having the squeezer. A little minor tweaking of air pressure and squeeze distance and my AN470AN4-r rivets were set.
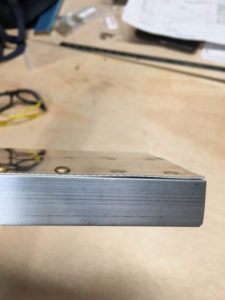
Lastly I set the AN426AD4-4 rivets in the dimpled / countersunk holes. Honestly I think my dimple or countersink on one of the holes may have been slightly off (or not deep enough). Looks like the final sheets didn’t sit completely flat.


Sheet to sheet with the AN3 rivets was quick and easy. If I had additional blind rivets, I might try to drill the first row out and adjust the countersink. I’ll have to think about it.