Well, it is time to finally seal up the fuel tanks. To begin this process, I first leak tested the tanks with tap water just to make sure there were no obvious leaks. Easy enough to do, put the tanks in the cradle, and fill with as much water as you can before it spills over one of the sides. Then put some paper towels down under the tank to help show if there was a leak.
I found a small leak on both tanks, but both instances were from the blue AN hardware that just needed to be tightened. No leaks from rivets or seams so started to feel confident that I could seal up the tank.
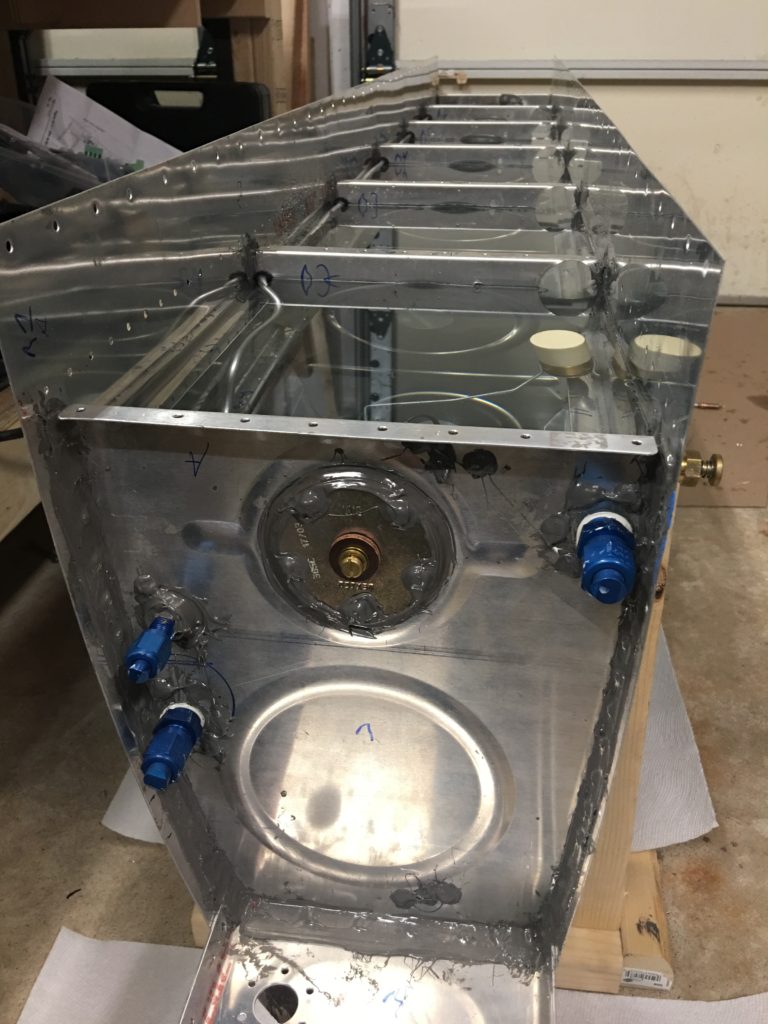
Next, I got everything ready to seal the tanks. I primed the back of the baffle as well as the tank attach Zees. With everything collected, I set aside a few hours to get it all assembled For the first tank, I mixed a batch of proseal from my pint container as I ran out of the pre-measured tubes (ordered more for the second tank). Then into the SEMCO dispenser and applied a good bead to all the tank baffles and the skin edges. I made sure to put a larger glob in the corners of the inner and outer baffles as there is a decent gap there. I also spread the sealant out to ensure full and even coverage.
Next, I dropped the baffle into place and clecoed every hole along the skins and outer ribs. Following the directions, I then rivet the outer rivets on all of the ribs, followed by installing the attach Zees and blind riveting them into place (dipping the ends of each blind rivet into proseal). Then it’s on to riveting the skins to the baffle with the exception of the non-countersunk holes. Let the proseal set up about 24 hours, then countersink and rivet those last few locations.
All went wonderful for both tanks, until I was just about done, when I saw the following:
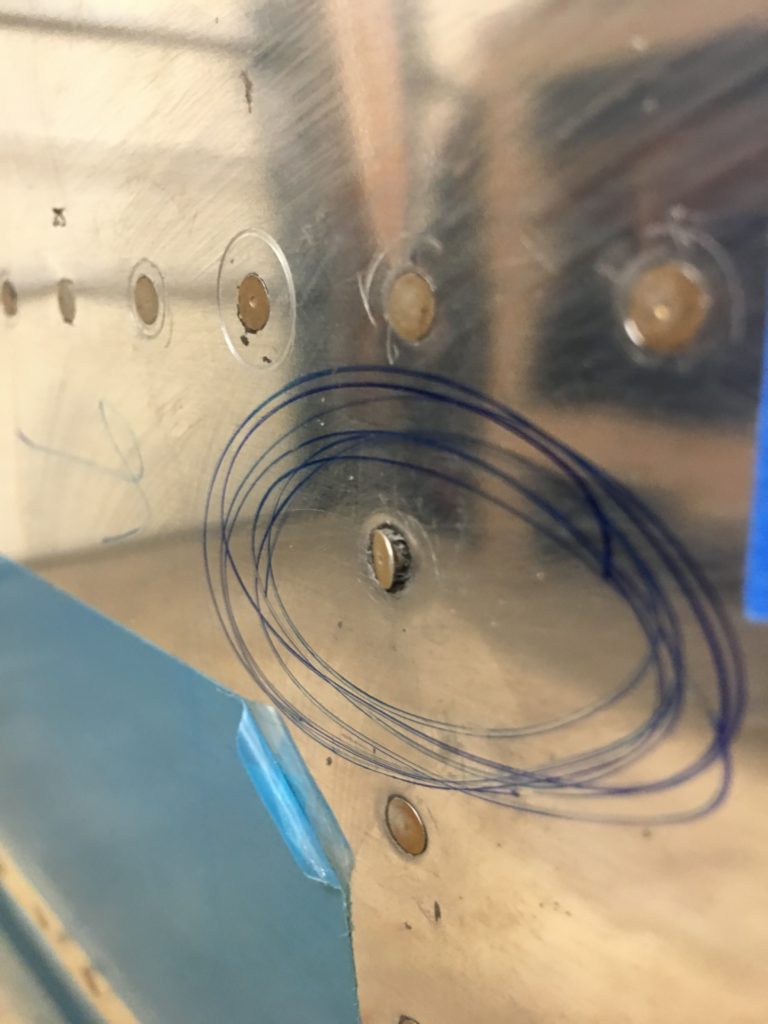
Much cursing and and anger followed, but honestly it is what it is. I’m guessing this rivet wasn’t fully set for one reason or another but I failed to notice it. Maybe it got caught on the cradle and pulled the rivet head? Who know, but this does mean I’ll have to install an access panel on this tank. Already reached out to Vans and think I know what I need to order. Just waiting for the proseal to fully set (30 days) then I’ll do a pressure test on both tanks to make sure there are no other areas that need repair before I order the access panel kits. If this is the only thing that needs to be fixed, I’ll be thrilled!.
Currently the tanks are sitting in storage. I have all the holes plugged and tank cap on. With the temp changes, I’m expecting some pressure build-up in the tanks and last time I opened the fuel cap, I did hear the pressure equalize. This makes me fairly confident that I have a good seal at the moment. Fingers crossed. For now I’ll keep the tanks off the wings until I’m done pressure testing and repairing the bad rivet.