Returning to our adventures in Section 29, I decide to skip to the end of the section and assemble the rear vents. This is very straightforward and requires a little cutting of parts into their individual pieces followed by some light sanding / deburring. Then it’s on to clecoing them to the skin and match drilling. I finish up this minor detour by countersinking the parts as detailed in the plans.
With that completed, I go back to bending skins. The forward skins are a little more complicated as you don’t have the same advantage of using the holes in the edge of the side skin you did on the aft skins. This means you are free-clamping the aluminum angle in place and just using pressure to keep everything lined up. There is a small note of caution in the plans to make sure the clamps don’t crash into the skins. It’s real, and it’s easy to do. At least that’s what a friend told me. 😒
After doing the dance of bending a little, test fitting, bending some more, I finally have the forward skins appropriately bent. I will note that the skins are not a perfect bend. I.E. they are close and as you install the clecos they do pull in the last 1/4″-1/8″ or so to be flush. My opinion is this is fine. I have seen others struggling to get the bend perfect. If this was necessary Vans would have sent the part pre-bent. Just make sure everything lines up correctly.
With the skins done (mostly), then I bend the two small lower fuse channel clips. Easy to do with a vice and a few hits from a mallet. I then pull out all of the remaining understructure that will support the forward skins and install them on the fuse. With these parts in place, the skins go back on and I can begin the process of match drilling all the holes.
The only challenge at this point was match drilling into the steel firewall brackets. As I was getting everything set, I noticed that the firewall brackets are not perfectly aligned with the fuse channels. Also drilling through the steel parts takes a little more “umph” and something to push against the steel bracket. I used some scrap wood to drill the holes in the upper fuse bracket, but had to enlist the assistance of my wife to drill the holes on the face of the bottom bracket.
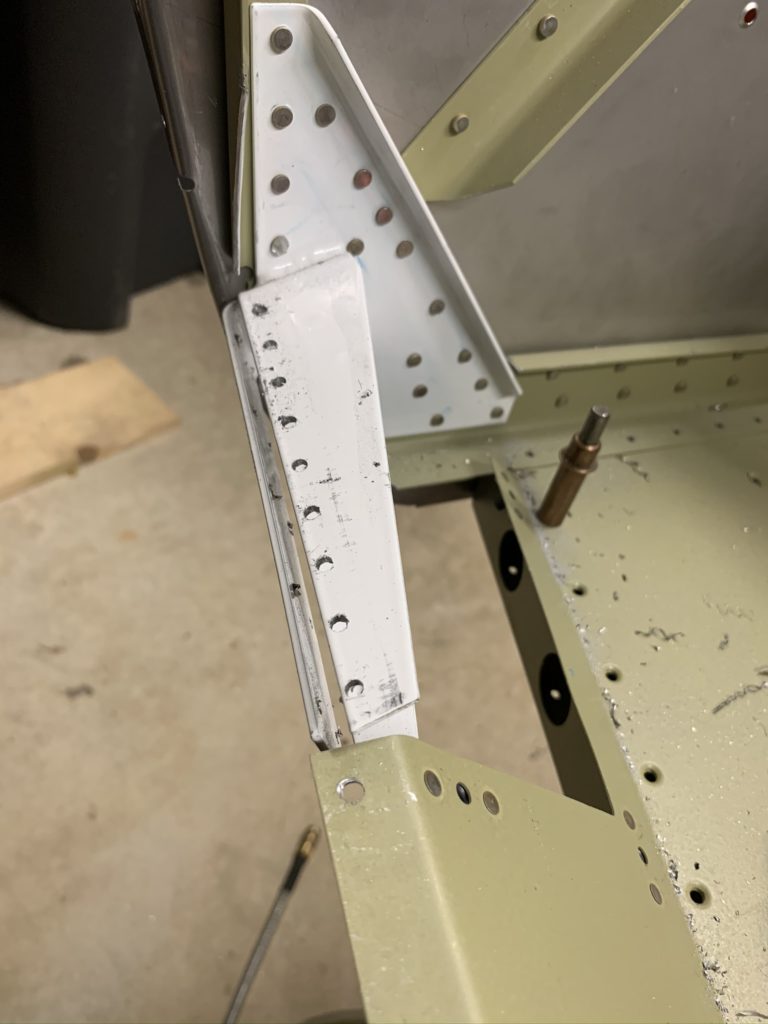
With the longeron and the understructure match drilled, the skin comes off again. Now I have more access to drill all the remaining holes in the firewall brackets. This is where edge distance seems to be the biggest concern. I didn’t initially use clamps to pull the brackets into perfect alignment, and for the first three brackets, all worked perfectly. The last bracket however was just a little off and I was not happy with my edge distance.
Original Bracket 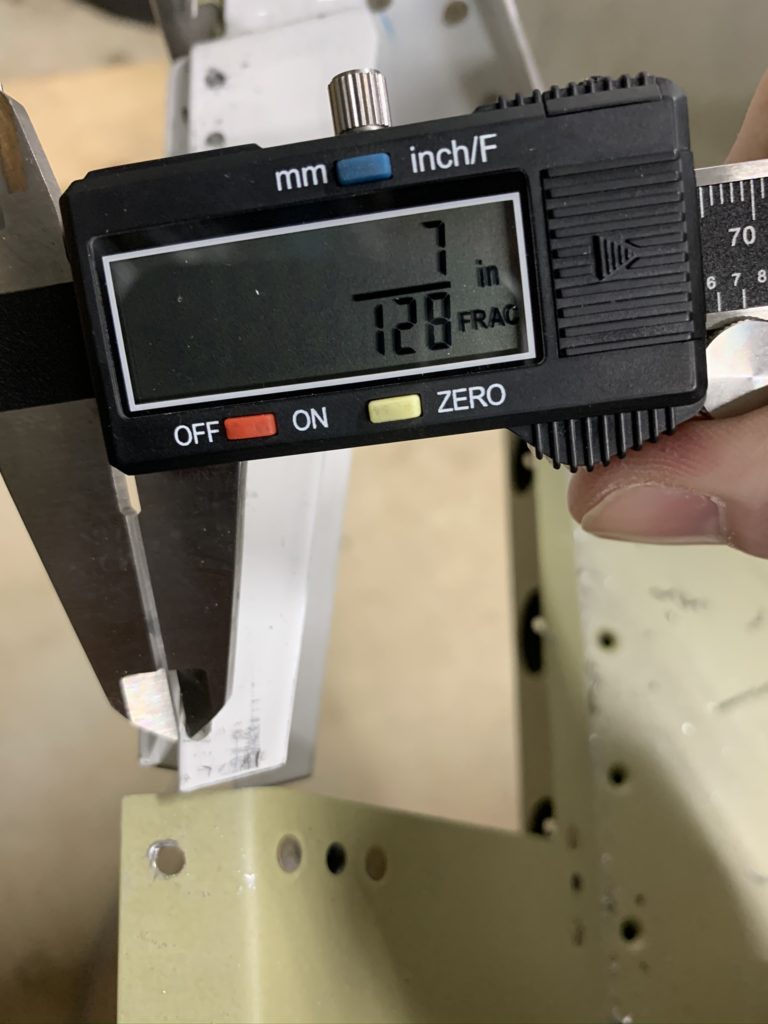
Poor edge distance 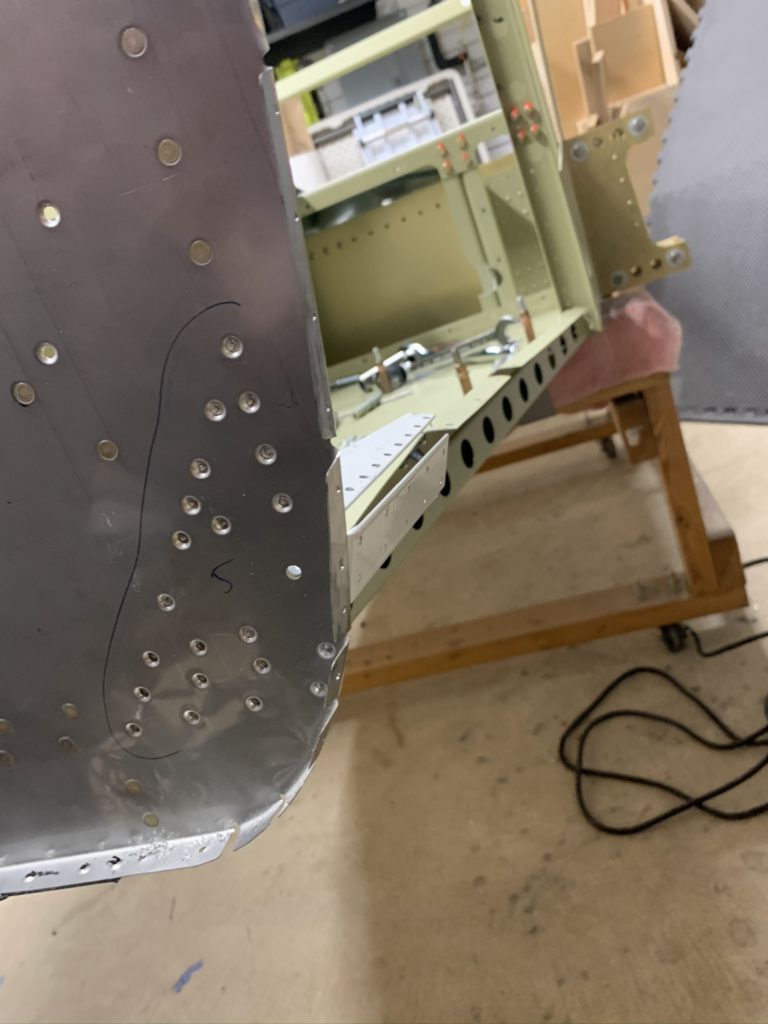
Remove the original bracket 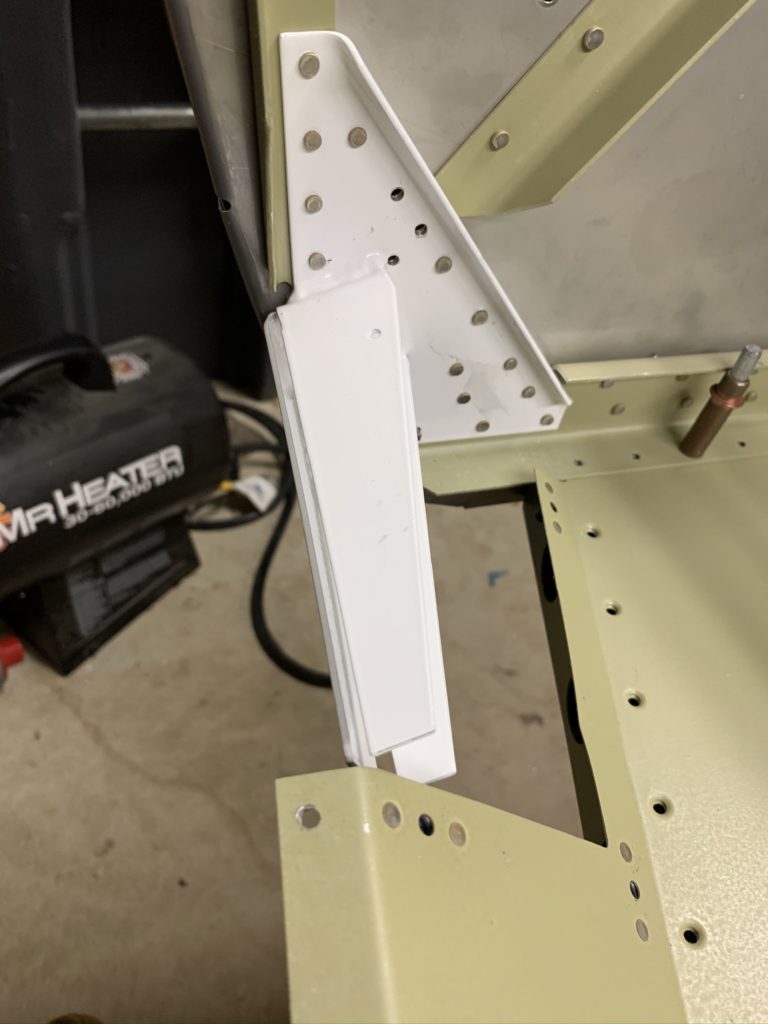
Hmm. New bracket looks off 
That’s not going to work. 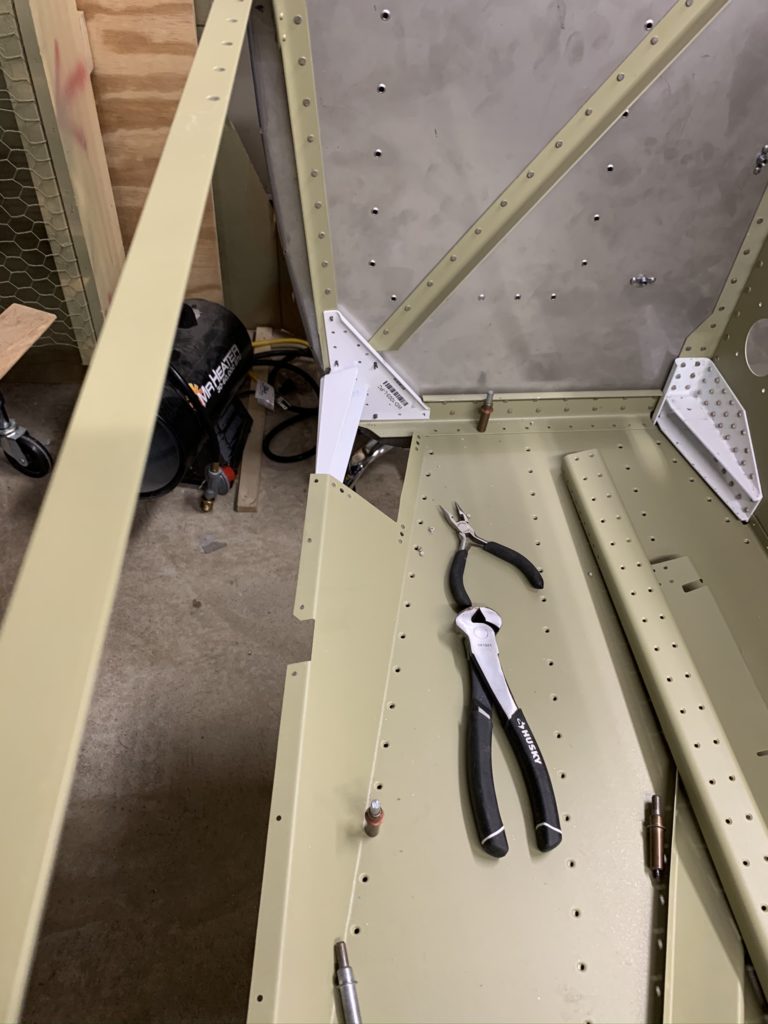
Vans sent a free replacement. Looks better! 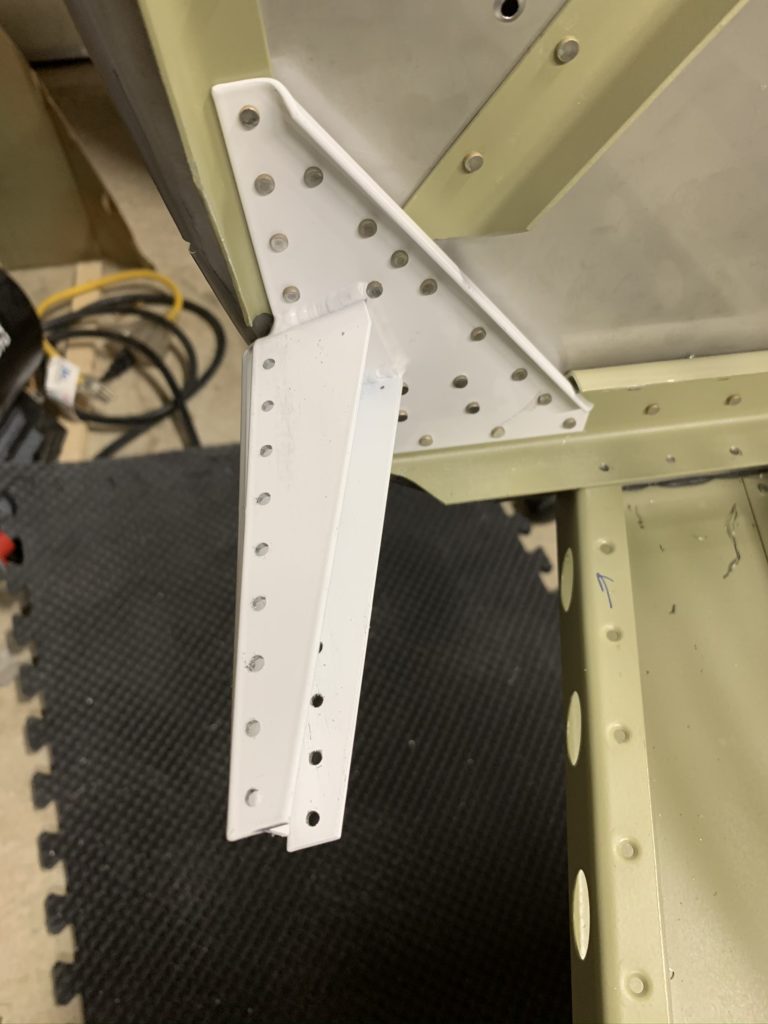
Man, that looks MUCH better!
Took a few photos and sent to Vans. The first three brackets were fine, but the first photo above was concerning. Vans recommended replacement. Honestly I thought I needed to replace all my brackets, but for steel parts I really only need 1D edge distance. Ordered a new lower bracket, riveted it on, and it didn’t look right. I reinstalled the lower channel and skin to show just how off it really was. No way to pull that into alignment without putting a significant twist on the firewall. Another e-mail to Vans and they confirmed that these brackets have been problematic and they sent me a free replacement. Finally got it the day before Thanksgiving and had it installed over the weekend. Photos above of just how well the last bracket worked. Very glad I took the time (and delays) to get this done correctly!
Between all the issues with the brackets, I deburred, primed, and dimpled the skins as well as counter sunk all the understructure as called out in the plans. I did come to realize that Vans also didn’t do me any favors a few chapters back. I specifically remember not dimpling the F-1015A-L and F-1015A-R ribs after reading that chapter a few times. I even took the advice of Jason Ellis in one of his videos that these didn’t need to be dimpled because this is where the wing was. WRONG. Do yourself a favor and dimple the F-1015A ribs (and the F-1015B Intercoastals where they overlap the F-1015A ribs). If not you will find yourself digging into your bag of tricks to dimple this stuff. 🙁 I got it done but it wasn’t pretty. It’s obvious when you look at the rivets you need to install on page 29-17 Figure 1. Oh well. Another learning experience.
With that I’ll wrap up this LONG update as I’m caught up with my videos and progress to date. I’m basically ready to rivet the skins to the frame. Exciting times!