With most of the interior completed, I was eager to finally get the Cabin top. Honestly pulling the cabin top down has been one of my “goals” for a while. I was originally hoping to have the cabin top started in December of 2019, but hey, stuff happens.
With the assistance of my wife, we get the cabin top off the ceiling and on to my work bench. I inspect the scribe lines and find the a number of them are a bit off compared to the plans. Using my calipers, I re-scribe lines and mark them with my sharpie. Then it’s time to start trimming.
Ok, so this part kinda sucks. I tried a few different tools with different levels of success. First was the oscillating multi-tool that was recommended in the fiberglass class. This is pretty light on dust, but it’s loud, hard on your hands and cuts SO SLOW!. Also the tool was a bit heavy and I got tired before I finished my first cut line. I then decided to switch to the Dremel tool with a cutoff wheel. I moved the cabin outside and started it up and it cut pretty good. It did EAT a lot of those tiny disks and my lines were really that straight, but it worked. I had enough disks to at least cut the door sill, under the rear windows and the aft end of the cabin top.
With these done, I enlisted the help of my wife and two girls. Let’s just say that my girls were more excited to help than I expected. They absolutely loved to climb into the cabin and crawl around to help out. With their help holding the weight on the rear of the cabin top, my wife and I tried to slide the door frames between the cabin pillars.

I REALLY didn’t want to sand too much off, so we did this 5-6 times with me sanding a little each time before we could get the cabin top to bottom out. Then I had to mark where I had interference, both in the door frames and under the rear windows where the cabin top hit the longerons. To sand things down at this point I used a Ryobi belt sander from Home Deopt with some 40 grit sand paper. The belt sander could chew through the fiberglass with a little pressure, or just lightly sand if needed.
On and off another 4-5 times as I sand a little here, a little there, I finally felt like I had things almost perfect. The frame is thin in a few places, but looking at posts from others, this really isn’t unusual. I can build it up with some epoxy and flox without too much issue.
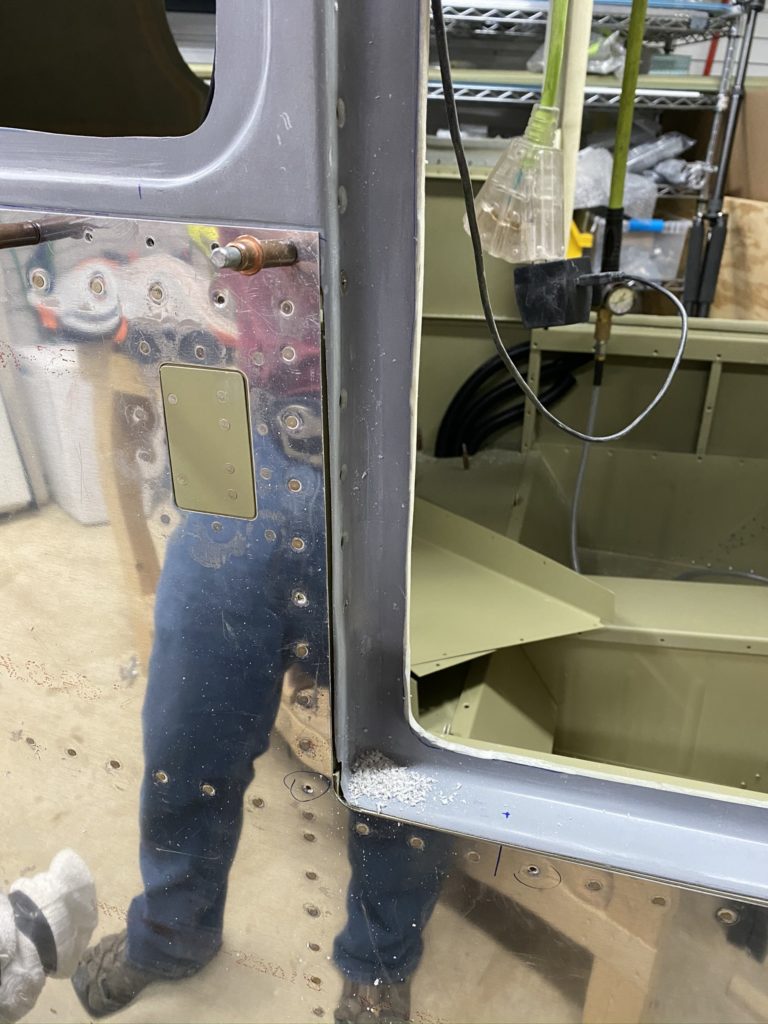
Slightly over-sanded, but will be fine with a little epoxy and flox 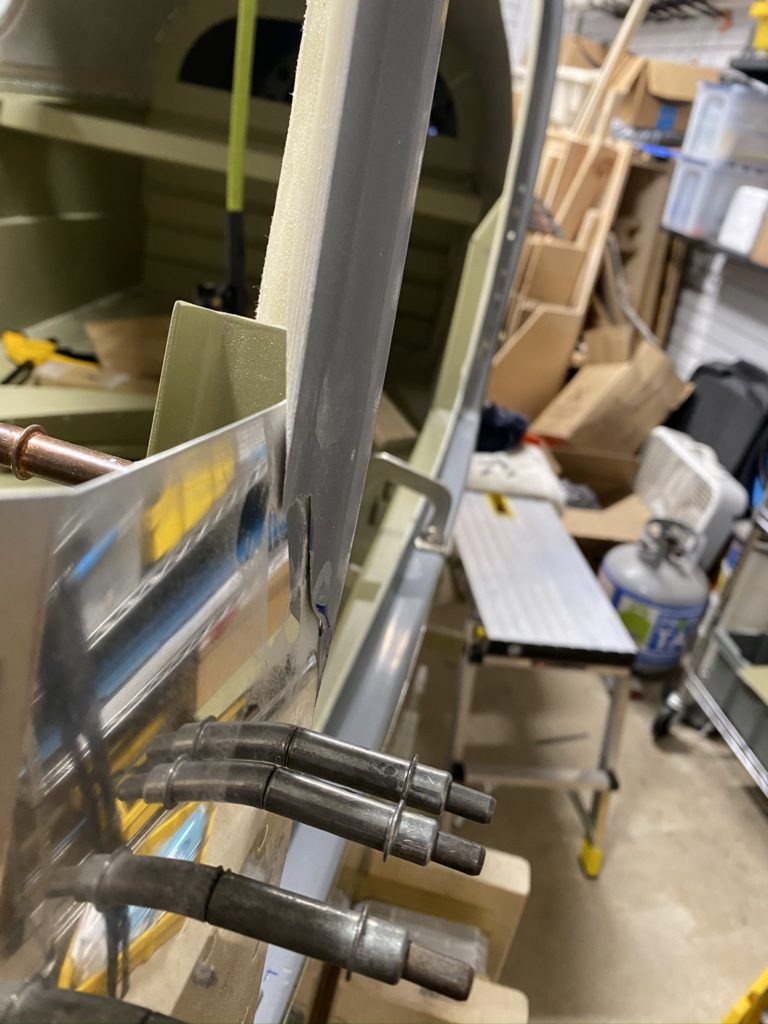
Looks really good for my first time doing this! 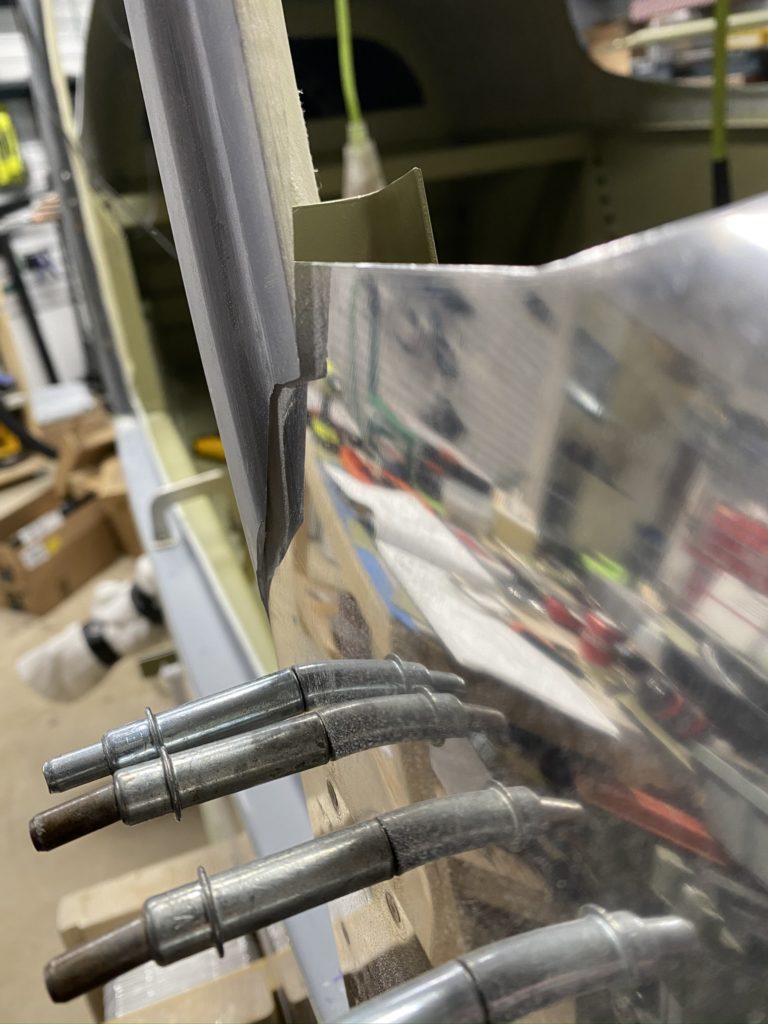
Mostly flush corner radius isn’t the best 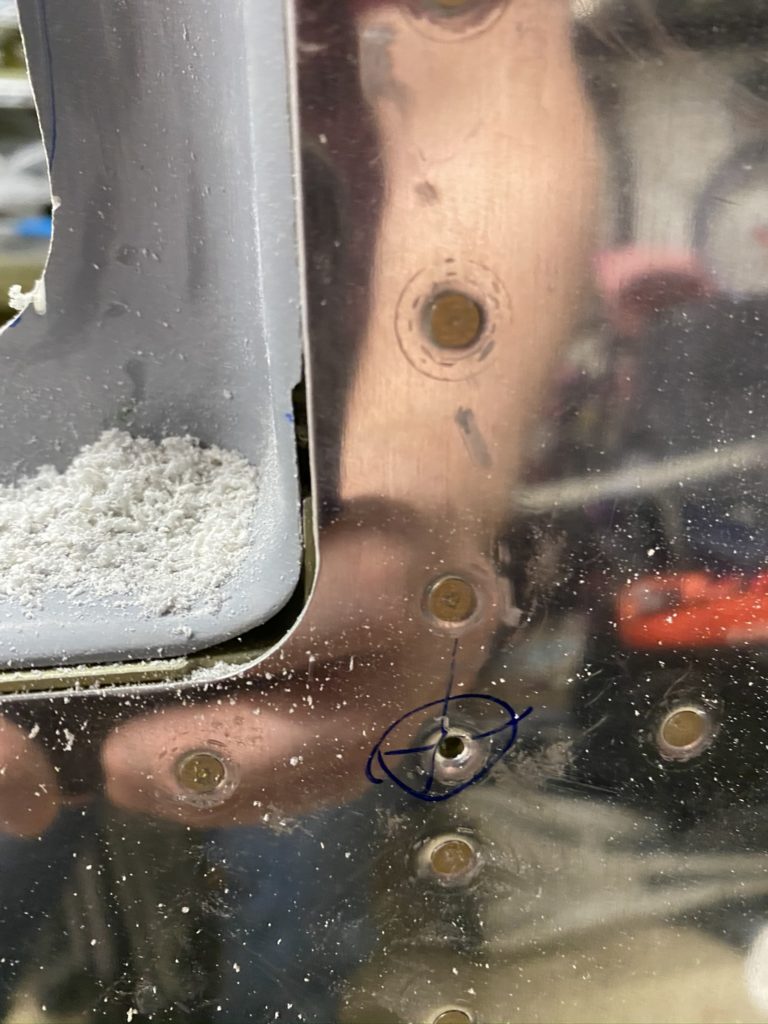
Close-up of my corners
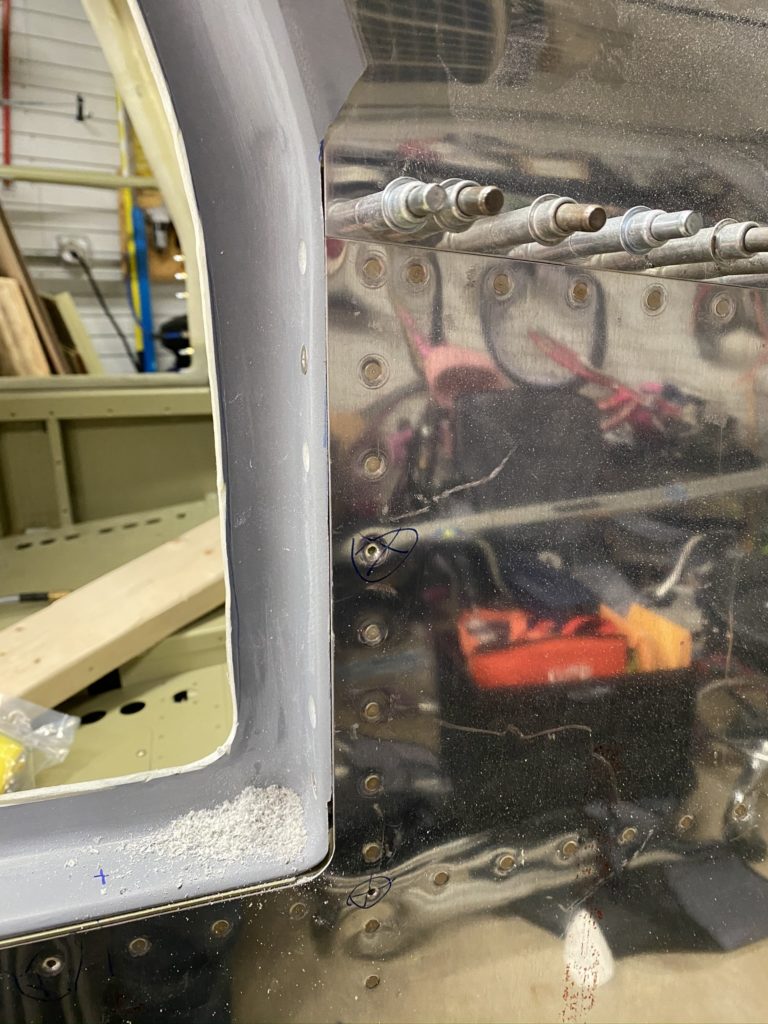
Added a few photos to show examples of how close a fit I got. This was hard to visualize so I ended up sanding a little too much in a few places. Not the end of the world. Overall really happy with how it turned out so far. I will say that making the cuts, and then eventually drilling the holes in the canopy top is scary the first time you do it! All went well – no regrets.