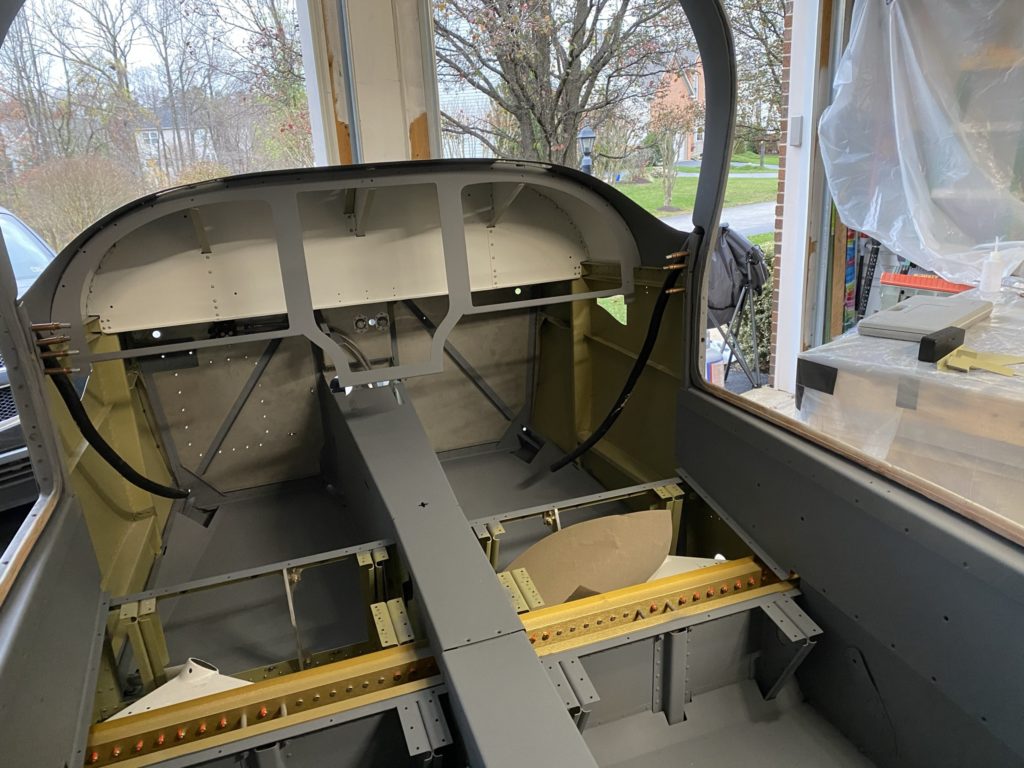
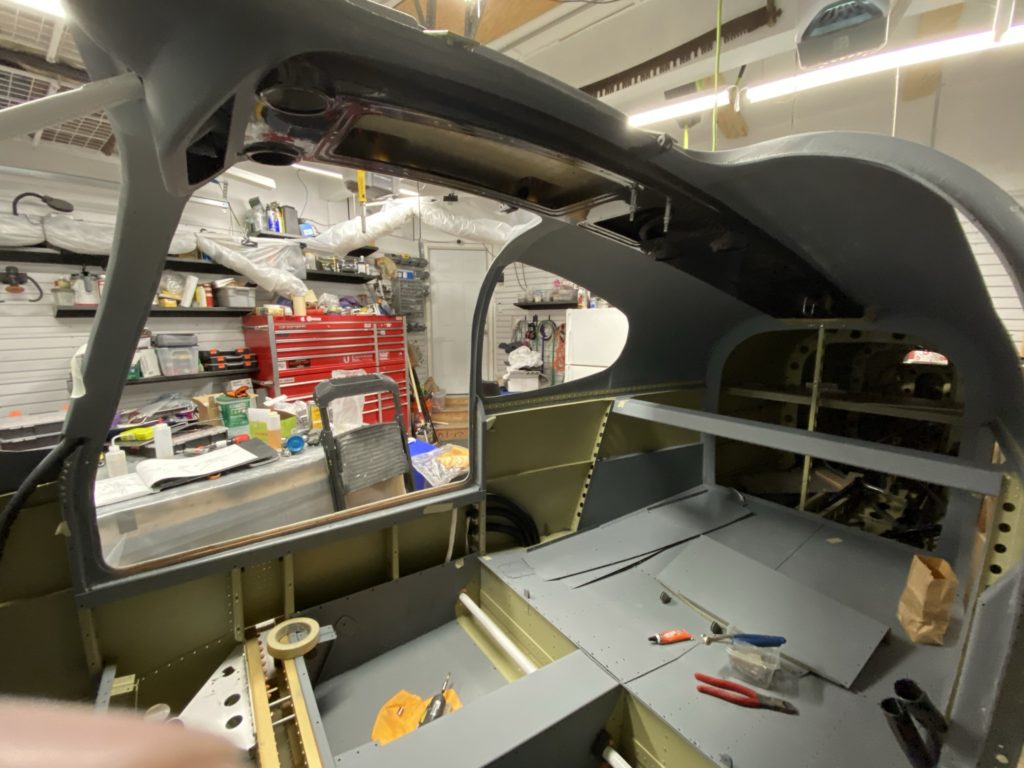
With the cabin top painted, my next major step forward was bonding the cabin top to the fuse. Prior to doing this I took a moment to verify that EVERYTHING that I needed to do was completed prior to installing the cabin top.
The last few items on my punch list were installation of the coat hanger for the aerosport overhead console, install the flanged ducts in the baggage bulkhead to feed air into the overhead console, match drilling the backing strip for the rear cabin top, and painting the glare shield.
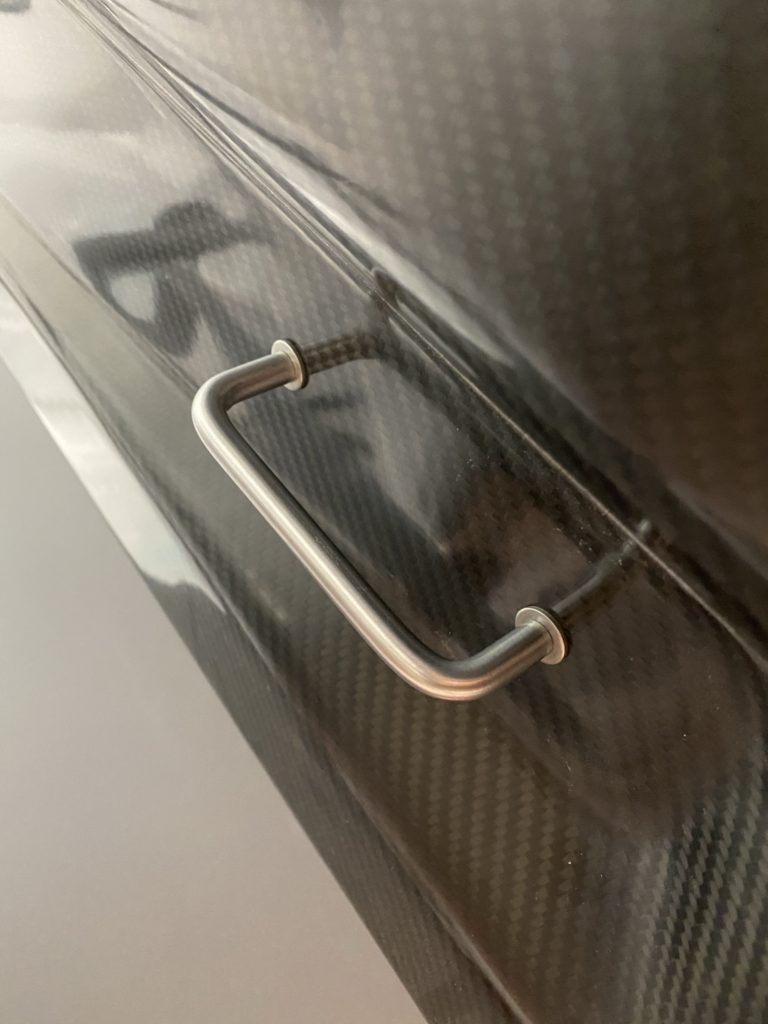
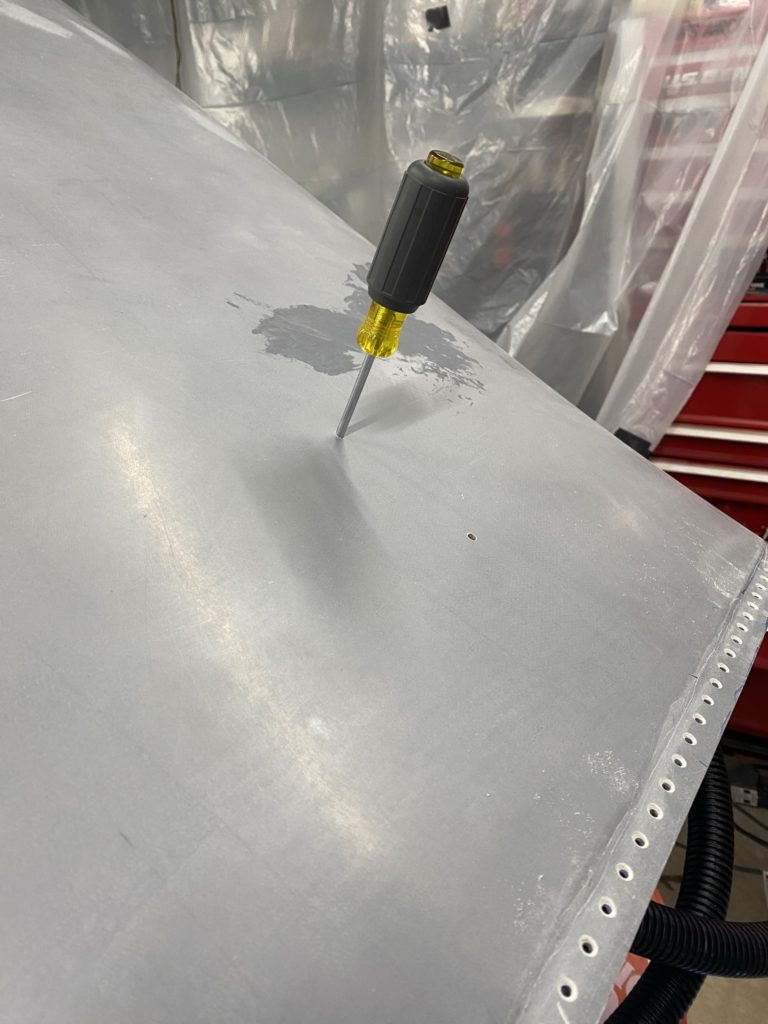
I had a real mental block trying to figure out how to install the coat hanger hook in the aerosport overhead console. None of my “low profile” ratchets would fit between the console and the overhead to tighten the screws. I even ordered some hex head screws trying to get a wrench in there to tighten everything. Finally I remembered that the cabin top is fiberglass and I can fill/patch two holes without any real issue. It was quite easy to then install the hanger.
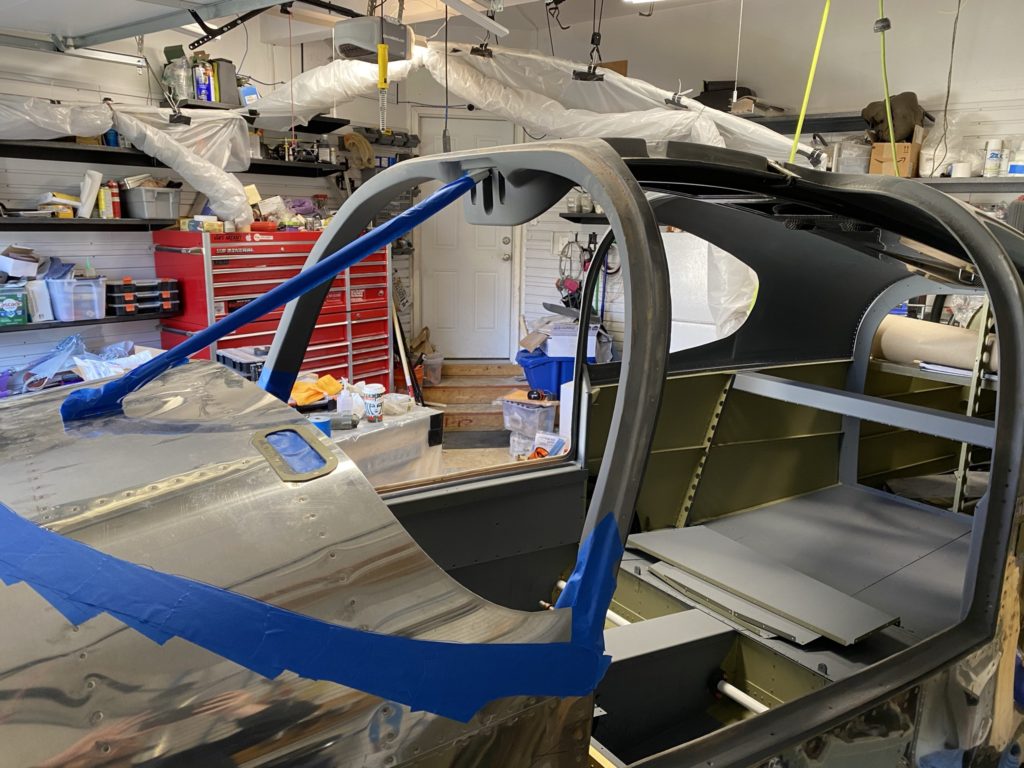
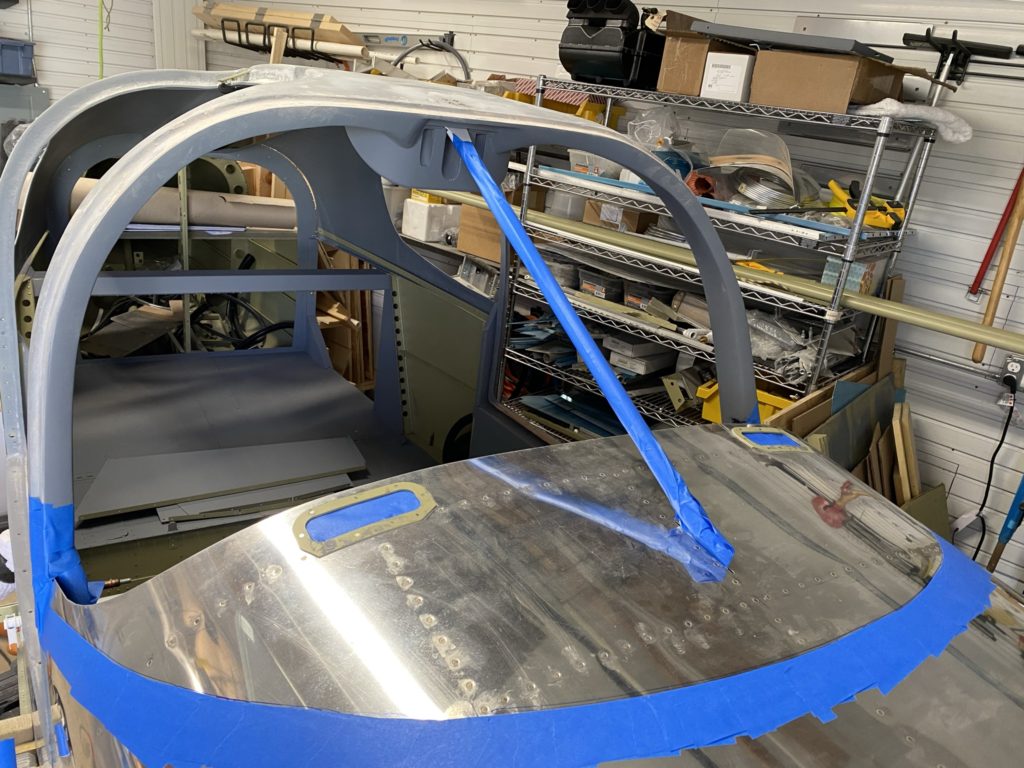
Next I placed the cabin to on the fuse and pulled out my windshield to mask off the area where I was planning to spray some black bed liner on the glare shield. It just so happened that just before I was going to go outside and start painting, I saw the Aerosport Products was offering a nice glareshield online that looked much better than anything I could have done myself. After a quick chat with my wife, I decided to not paint, but just purchase the Aerosport glareshield. Only thing wasted was some of my time, and a roll of tape.
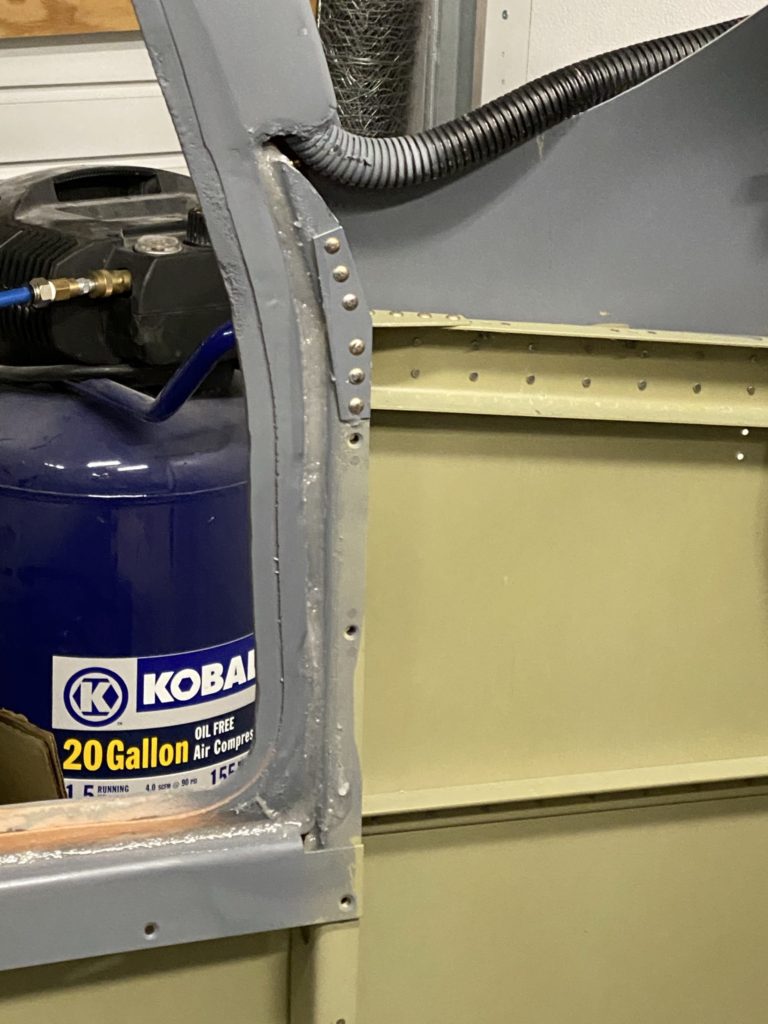
After removing all the tape, I completed all the countersinking of the holes in the cabin top and prepped the backing strips. I initially thought that the side backing strips would be hidden by the Aerosport panels, but once everything was bonded in, I may not have been correct. We’ll after I finally install all the panels. Regardless I’ll have to do some touch up painting inside the cabin.
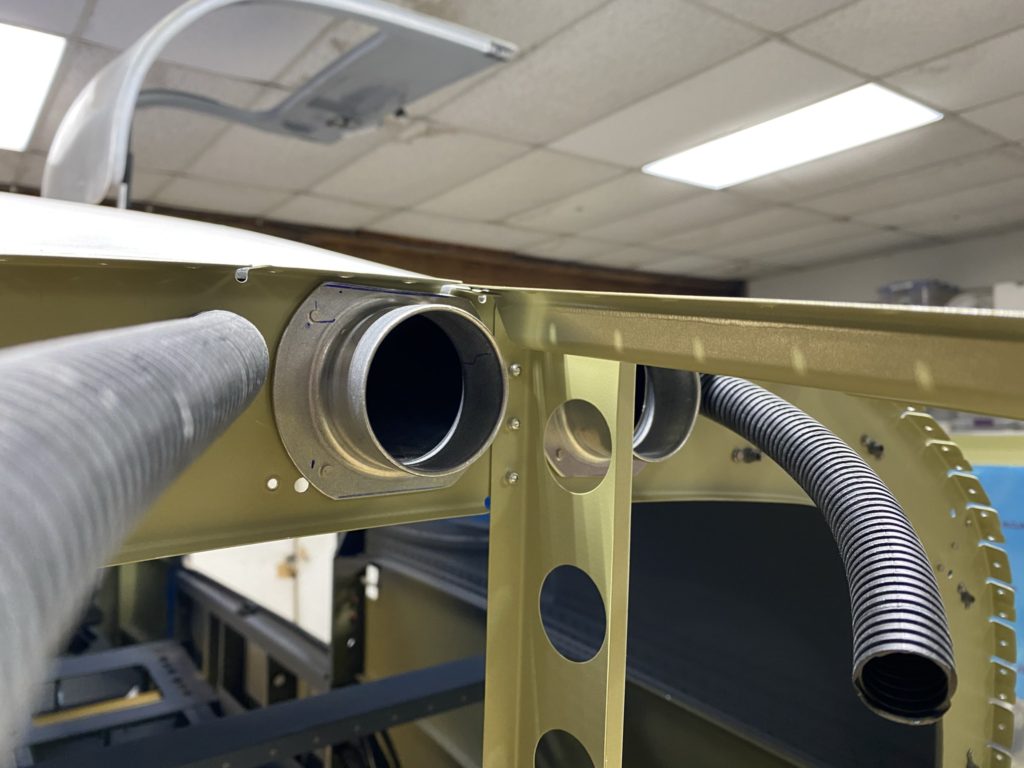
To feed air into the overhead console, I marked where I needed to install the flanged ducts, as well as the holes for the conduits. I ended up using a set of flanged ducts from Aircraft Spruce, however I may have been better off with the sets from Vans. End of the day, it all worked out as expected. I also drilled holes for the overhead conduits and pulled those through. Not sure if I need them, but easy enough to do now.
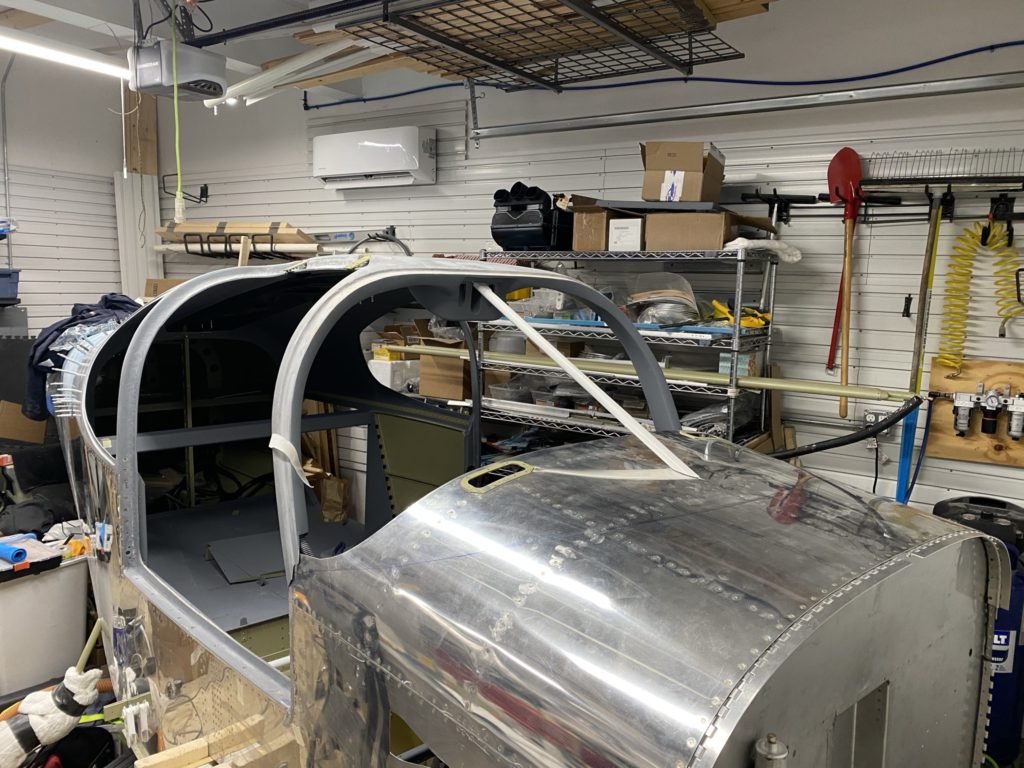
It was then time to install the cabin top. I mixed up a large batch of epoxy and flox and installed the cabin top filling any any gaps around the door with the epoxy and flox mix. I then riveted the rear edges of the cabin to the fuse below the rear windows with pull rivets and installed all the screws around the door frame to lock the cabin top in place with the epoxy cured.
With the cabin top installed, I realize that I have some touch-up to do around the doors and the cabin top backing strips, so I’m going to be crawling in with the paint gun a few times.
At this point (Early December 2020) I am paying for hangar space at Manassas Airport (EAA Chapter 186 Builder Hangar), but I’m obviously not ready to move yet. I do have a fire under me to get as much of the temperature dependent work done as quickly as possible, as well as all the painting, since the hangar is not insulated or heated. I’m also not allowed to do any painting in the hangar, so I’m trying to take full advantage of my nice heated workspace while I can.
