With the gap fairing installed, and thoughts that maybe I should just install the bottom skin on the wings, I decided to stop avoiding it and get moving.
First thing I needed to do was read up on where I wanted to mount the Pitot tube mast on the wing. Saw lots of folks talking about mounting it almost at the wingtip, but honestly decided I was going to mount mine in the location outlined in the RV-10 plans.
At this point, I’m already thinking I’m going with the G3X system (or at least the Garmin ecosystem) in my airplane, so I went ahead and purchased the GAP-26 heated and regulated pitot tube as well as the pitot mast. I also purchased the Gretz pitot mast kit from Aircraft Spruce so I could get that installed as well.
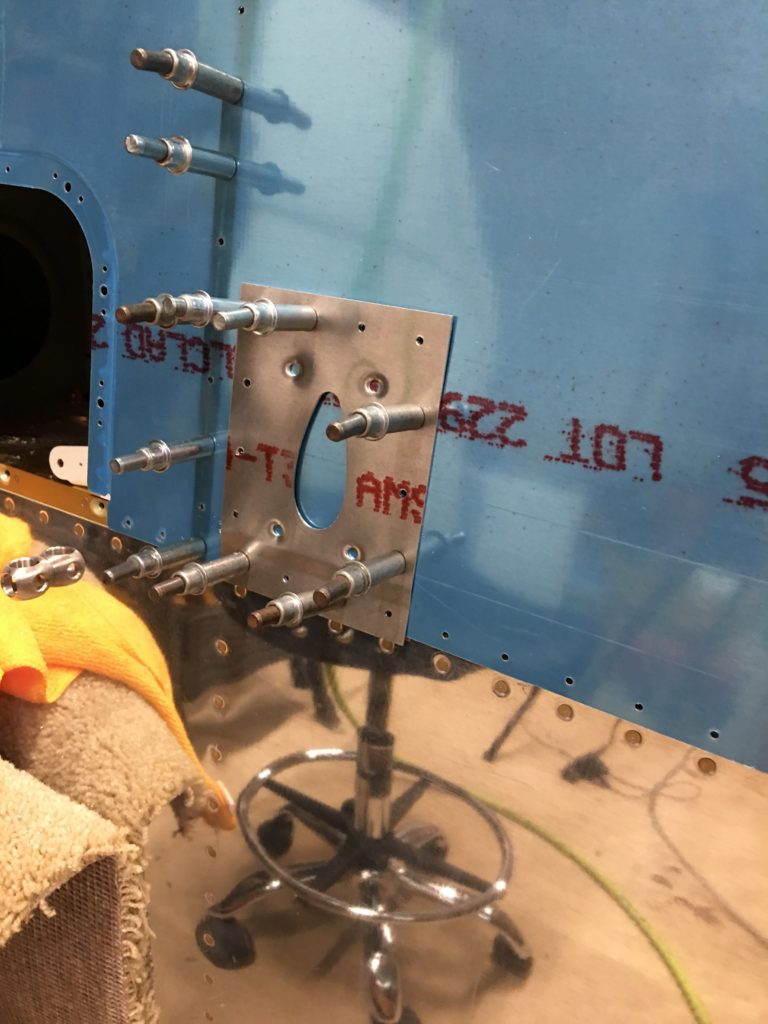
Reading up on the plans, it didn’t seem like this was all that difficult, but it is a bit nerve racking making that first cut into the bottom skin. Following the directions for the Gretz mount I first line up the backplate and match drill the holes on the flange using the spar as a guide. Next, I drill the holes in the backplate per the instructions making sure they are evenly spaced. The directions then say to drill the holes from the inside of the wing into the skin using the backplate as a guide. I can’t contort or get my drill in that confined space. Instead, I just put the skin on the wing, and cleco the back plate on the outside of the skin and match drilled the holes that way. (see photo). I also marked the hole locations for the pitot mast and the screw holes so I could drill those out with the backplate removed.
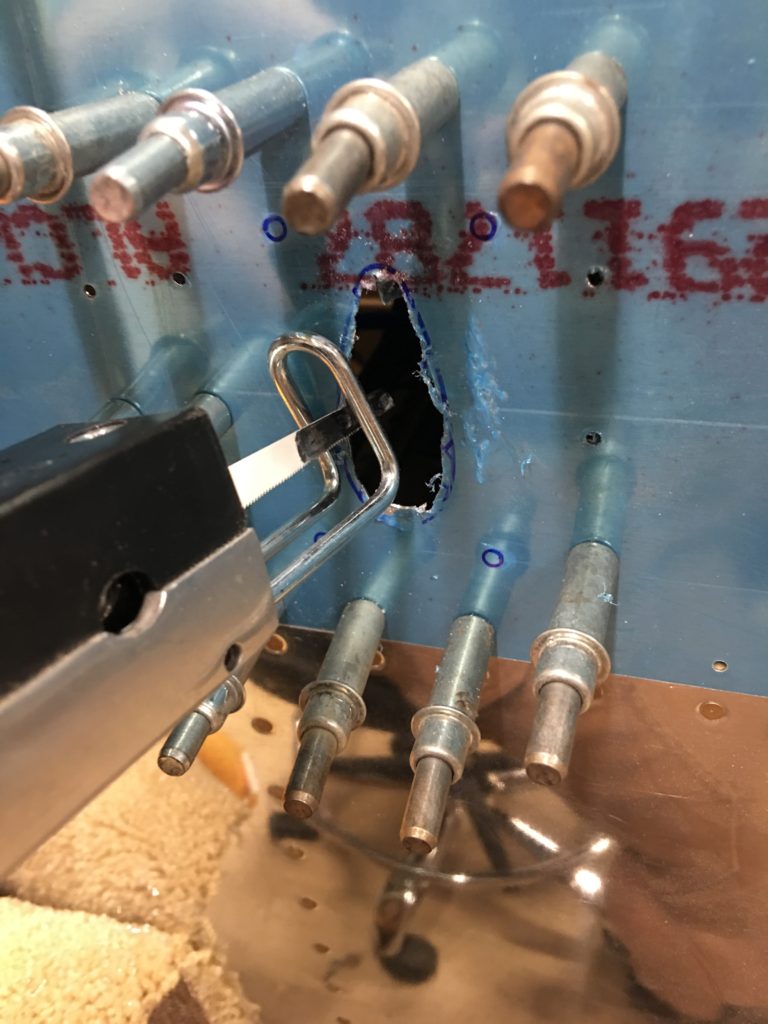
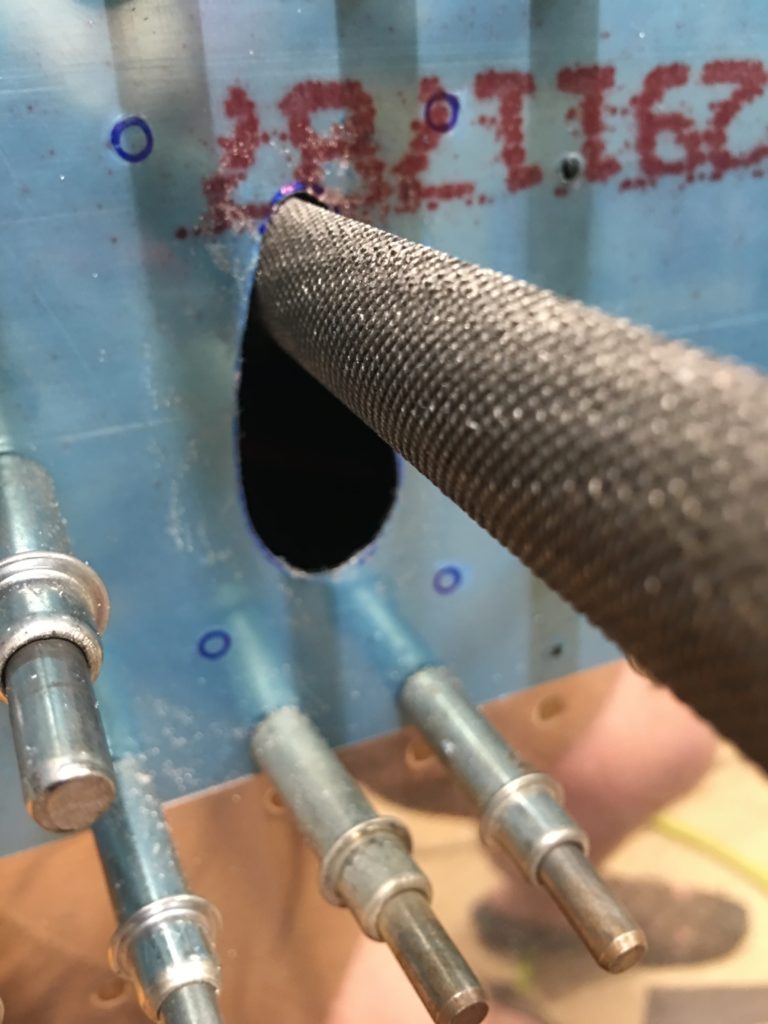
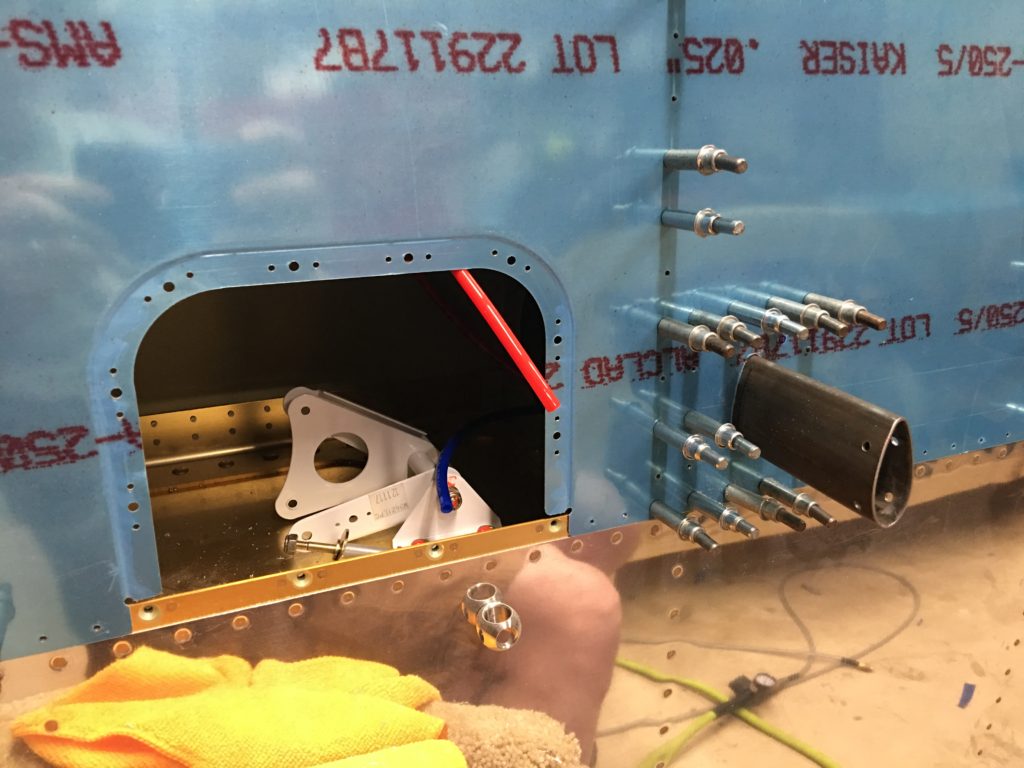
Using my harbor freight air-saw, I then rough cut the opening for the pitot mast. I then clecoed the backplate on the inside of the wing, then started to slowly file the opening back to match the backplate using a combination of files, die grinder, sandpaper, and finally scotchbright. Then I just needed to drill the screw holes into the skin.
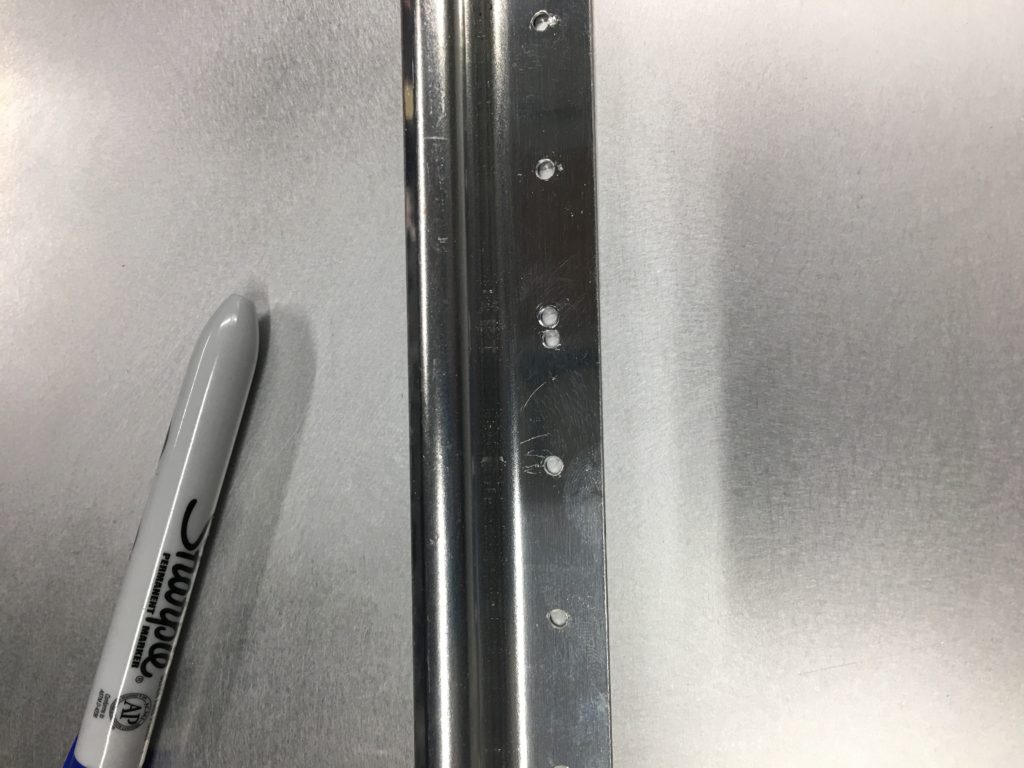
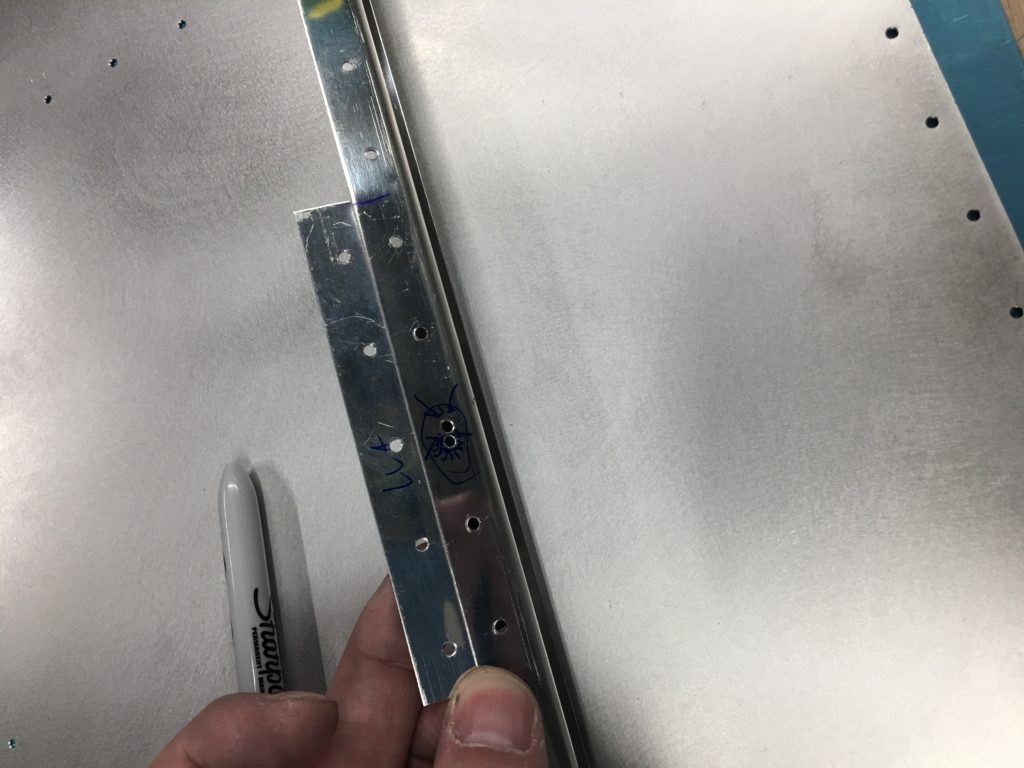
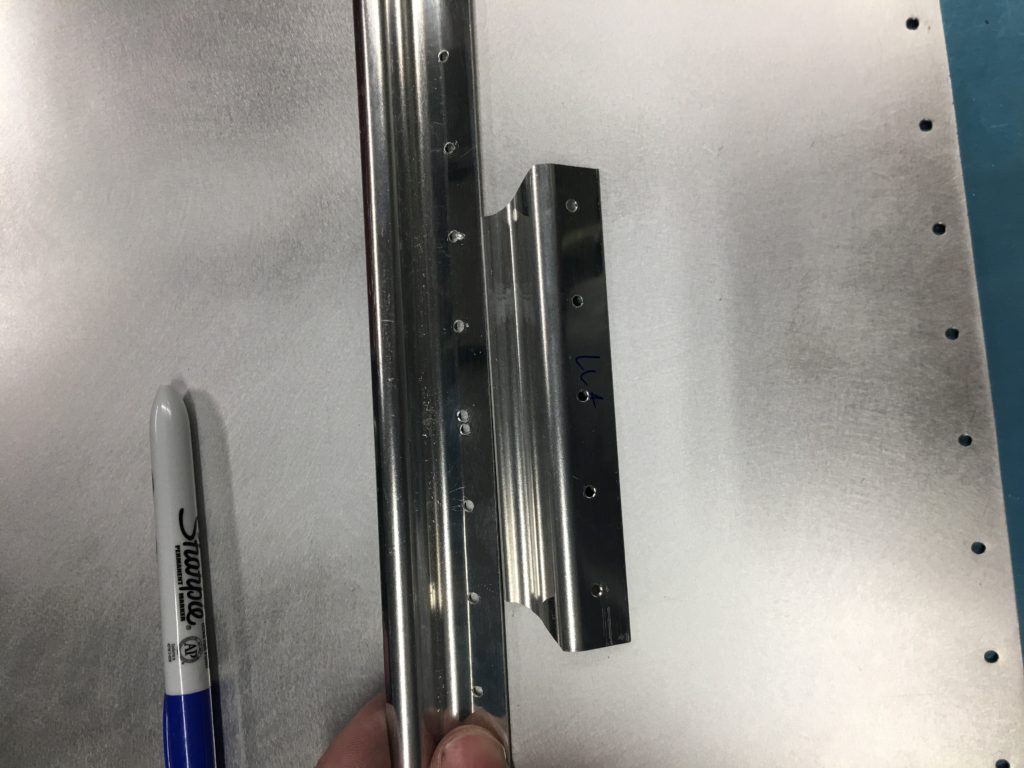
Upon starting to prep the skins for priming, I realized I had a small “oops” with my J-channel. When match drilling it looks like I ended up drilling two holes right next to each other. To repair this, I decided to fabricate a doubler that I will install as I complete the bottom skin. Attaching photos below of my “fix”
Then its on to sanding the scarf joint, priming the skins and J-channel, and getting everything appropriately dimpled. Sorry, no timelapse of this work, but it’s not really any different than what I did for the top skin. With everything primed for the left wing, I just install the skin and cleco into place for now. All advice I got was that a second set of hands is really needed. That means I may just kick the bottom skins down the road a bit, possibly till I move the project to the airport?
