Doors – Part 2

With both doors bonded, I continue to work on the “fit and finish” part of making sure they sit flush to the cabin top. One difficulty I had was making sure I didn’t sand too much off the doors as I tried to get them fit. I finally broke down and made myself a tool to try to help speed the process up.

I decided to use some extra aluminum scrap and make a poor-mans edge finder so I could mark a rough outline of where I had to sand down to. Easy enough to make. Just take a strip of aluminum, fold in half. Drill a hole near the edge and then using some duck-bill pliers, bend the other half to line up with the hole. Bent part goes against the fuselage, and your sharpie goes in the hole. Should line up mostly – if adjust the bends.

This worked great to give me something cut/sand down too and really allowed me to speed things up. My first door took forever before I made this. The second door was just a few hours now that I knew what I was shooting for.

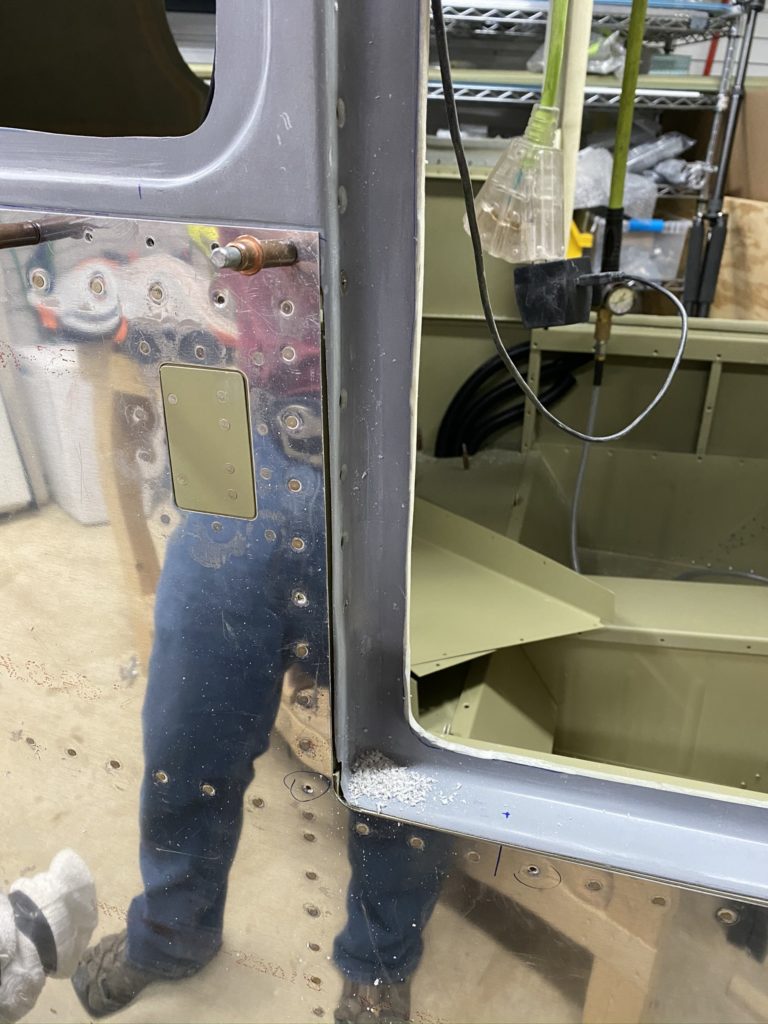
I also got a little aggressive with the belt sander on the door gutters and got them all sanded down appropriately for the McMaster Door seals. Only issue I can see at the moment is on the passenger side bottom sill. With the door closed, it doesn’t compress the door seal. I may have to sand / re-build up that area with fiberglass to get it to better compress against the door. That is the beauty of fiberglass, easy to fix things if you are willing to make it happen.

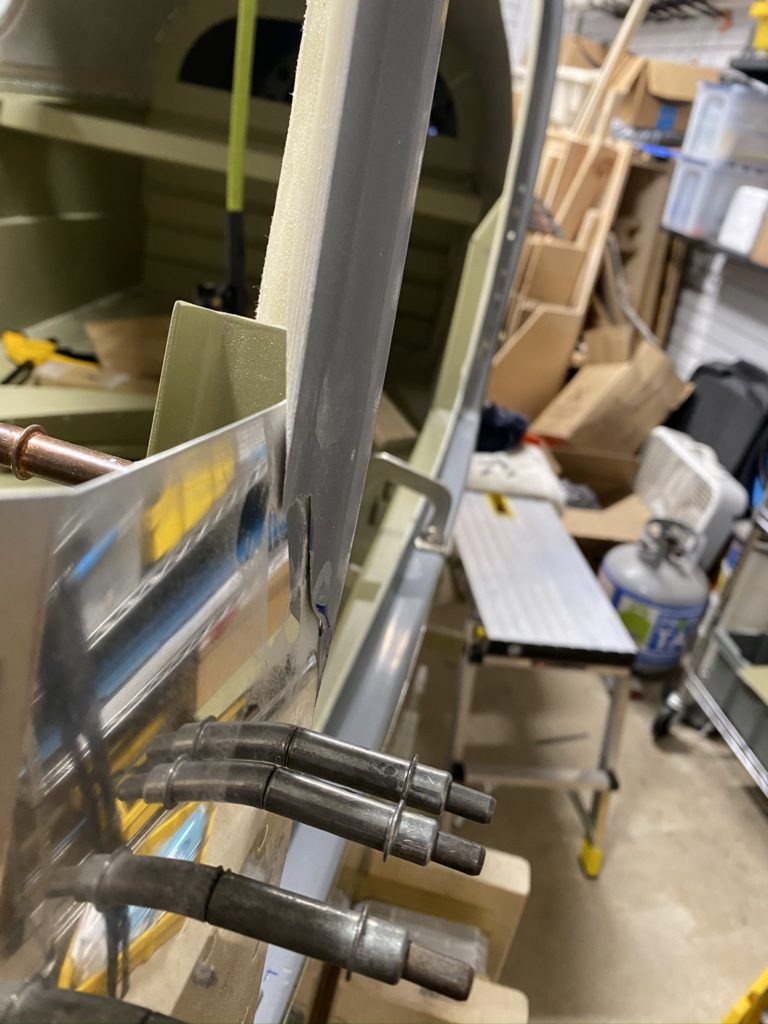
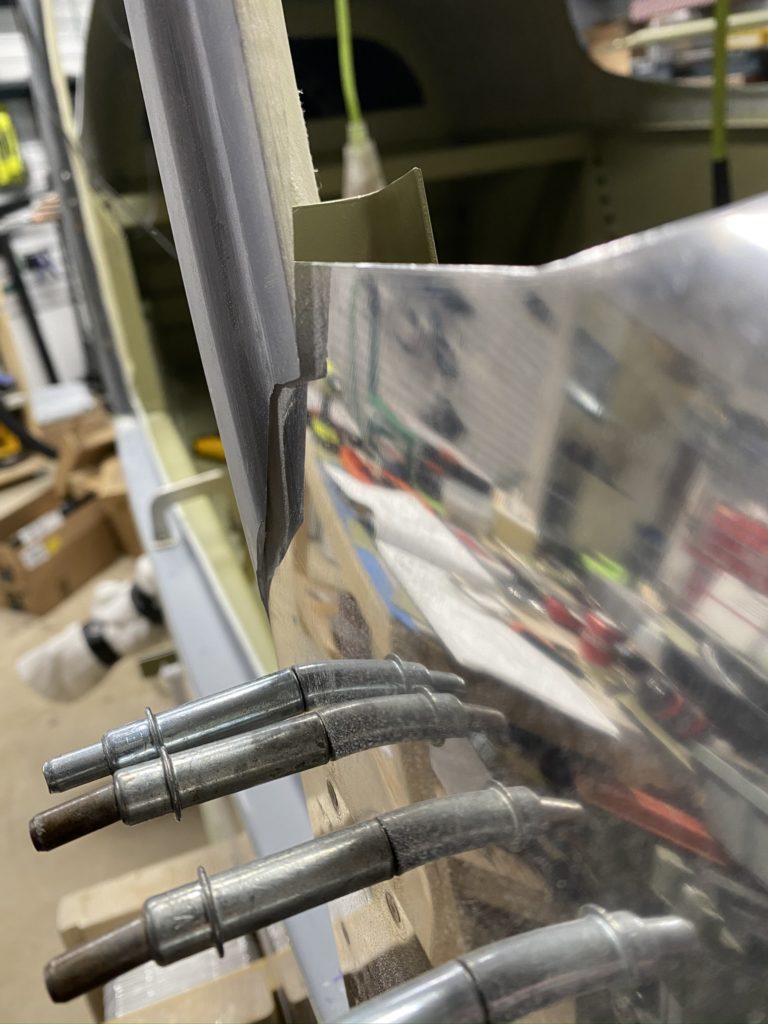
With the doors basically trimmed to size, I then cut off the alignment tabs so I can start mounting the doors to the hinges. With the tabs cut off, I end up having to do a bit more sanding to get all my edges even more beveled so the door sits flush (Oh so much sanding). These photos are from mid-June and even then the weather only allowed me to sand outside early in the mornings for an hour or so before it was miserable. I ended up throwing my hands up a bit and just used a dremel sanding drum and belt sander somewhat aggressively.

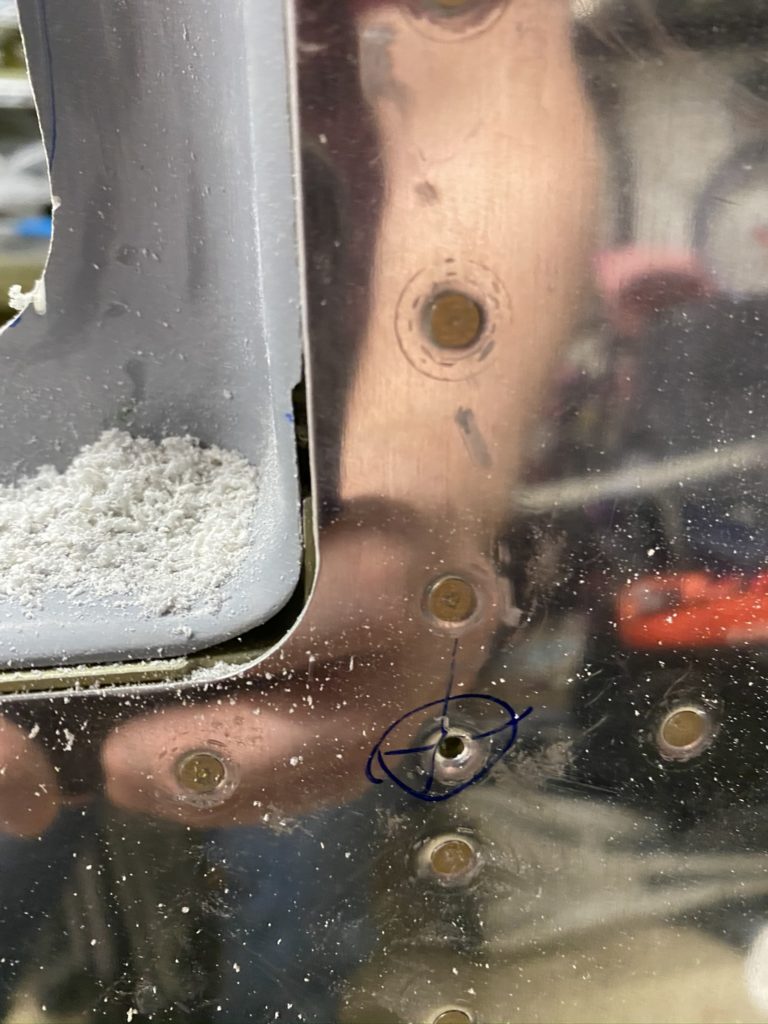
Once the doors really sat flush (or as close as I was able to get), I went to mount the hinges. Again, another mental block as this seemed like another big step. I really wasn’t. Study the plans so you understand what hinge part goes where. Cut the threads off the correct bolt, and use some shims to get the hinge aligned in the hinge pocket. It wasn’t really that bad. Only thing I had to do that wasn’t in the plans was sand a bit of relief on the side of the hinge where the “hinge” bolt sits to allow some movement to get the hinges aligned.

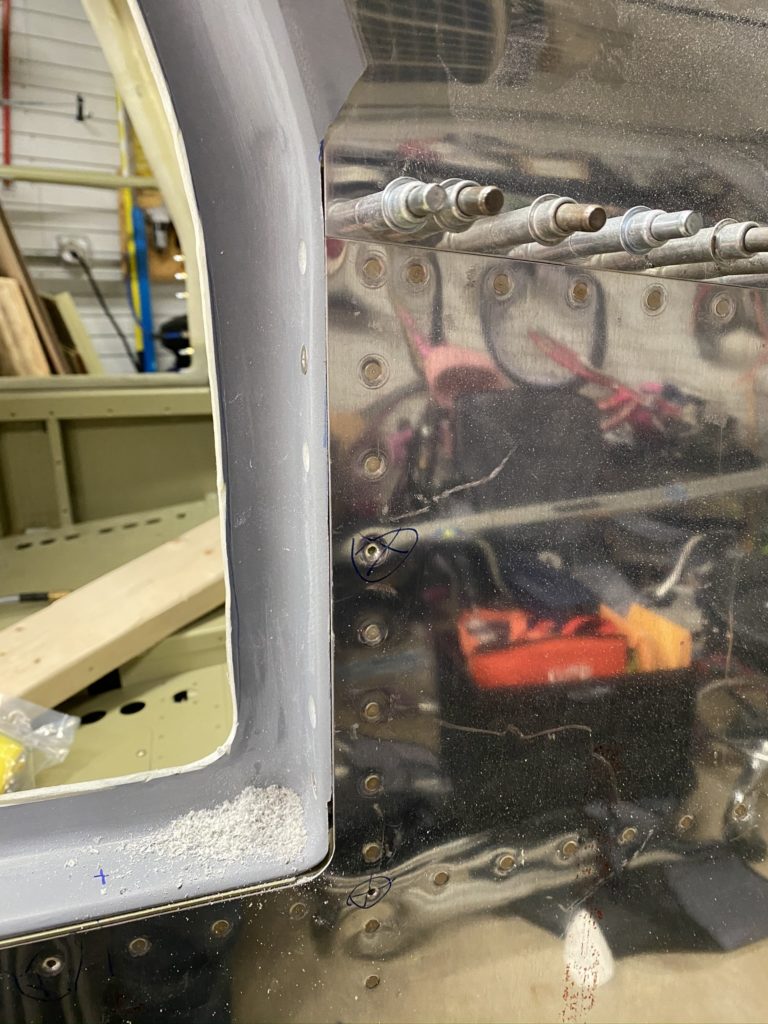
Then I get to crawl into the cabin with the door taped into place, and attach them to the hinges. Everything went according to plan and the doors were able to swing open on the hinges.

With the doors hinges installed, I can move to working on the overhead console and cleaning up the cabin top interior as well as trying to install the door handles and latching mechanism.

Doors – Part 1

With the cabin top in place and temporarily fastened to the fuse with screws, I started to trim and fit the doors. My current thought process for the build sequence is a little different than the VANS plans due to a few upgrades I purchased.

I’ll do the initial / rough fitment of the doors with the cabin top installed with screws / clecos. Once the door hinges are installed, I can then put the doors to the side, mount the strut brackets, then remove the cabin top to install the overhead canopy. I’ll also install the conduit in the pillars and clean up the cabin top as I’m not sure if I’m going to go with the Aerosport headliner or just paint it.

Anyway, I first have to mark the doors so I can rough trim everything. Honestly I didn’t trust the scribe marks, so I added a little bit to all the measurements before I cut things. I marked the window trim, celco, and final trim lines as well as the outter trim lines of the door shells. I also drill out the “dimples” called out in the plans on each part. I really shouldn’t have bothered on the upper window holes as I’ll touch on later.

I then take the doors outside and begin to trim using the cutoff wheel provided by vans. Others have not been happy with these wheels, but honestly they are holding up for me and working well. Give yourself extra room so you don’t accidentally go over the lines but it made fairly quick work. Only downside was my air compressor couldn’t keep up so that was my only limiting factor.

With the doors trimmed, I then sanded the inside of the shells, then went to mount both halves together on the fuse. The forward and aft door holes did line up and fit into the holes in the fuse (mostly). Also the lower window alignment holes matched up fairly well, but with those four points clecoed together, there was no way to get the top of the windows clecoed. I got concerned till I heard this was a common issue with the mold. Ignore and move on was the answer.

With the door initially clecoed in, I used my hole finder to drill out the other locations. With those clecoed, I then re-drilled the fwd and aft holes using the hole finder so they were square and clean. I then drill all the window holes together. Clean everything up, then worked on getting my courage to start the first epoxy session.

So it ended up taking me almost a week before I was confident I was doing everything correctly. Even still, it was very stressful for me as I felt the clock ticking the whole time. Take your time to have everything prepped. I decided to use packing tape to prevent the door from bonding to the fuse. I applied tape all long the door edges and anywhere I thought epoxy might get on the cabin top.

Mixed up about 5oz of neat epoxy and painted both mating surfaces with a light coat. Next I installed the parabeam fiberglass and applied some neat epoxy to it as well. Then I mixed up a batch of epoxy and cab-o-sil. I think I made about 15oz of thickened epoxy total for each door (more than the 10 oz that Vans estimated). This may be because I left my flanges larger than the plans but would rather have extra squeeze out vs having voids.

With epoxy applied, I put the halves together and installed on the cabin. I applied the bottom clecos, then the window clecos. I then decided I was going to drill holes in the door flanges just outside the scribe line into the cabin top. I drilled just enough to get the cleco to “bite” but not necessarily all the way through the cabin tip. On the right door (first one), I chickened out and then just grabbed a bunch of clamps and put water bottles on top of the door. On the left door, I went “whole hog” and fully clecoed the door to the cabin top to hopefully get an even better fit.

Once the epoxy cures, I remove the door from the fuselage and begin to trim the doors to size. This is now getting into the “artistic” side of the build a bit. Trimming and sanding the door to the proper size without sanding too much off does require some skill, which I will admit I really don’t have. As much as I try to get a nice close fit, of course I muck it up a bit. One thing I realized was that I really didn’t trim the cabin top door edges back far enough. I’m planning on doing the McMaster Carr door seals, so they already needed to be trimmed more, but in a few places the cabin door edge was hitting the door making things more difficult to get flush.

In trying to get more info on the McMaster Door seal installation technique, I did find this PDF from Les Kearney that is on the Matronics site. Looks like I don’t need to be a perfectionist as I can once again use the cabin top as a mold with some micro epoxy to get really perfect door edges. This helps me move forward a bit as I don’t have to be a perfectionist on the edges as I originally thought..

Cabin Top – Part 2

With the cabin top basically fitted, I finally gathered my courage and started to drill the aft end of the cabin to the top skin. I had a small mental block as this seemed like permanent step and I really wanted everything to line up perfectly. Finally got to the point where I had to get over myself.

Some small notes: the mid fuse skins did not fully touch the top of the joggle on the cabin top. This was not due to hitting the longerons but due to the door sills needing to be sanded more I guess. I basically had the door sills sanded flush, so I made the decision that it was good enough and I would fair it out with epoxy/flox/micro. We are talking about maybe a 1/16″ gap.

I use some scrap 2×4’s and a reversible clamp and apply some upward pressure on the cabin top so it is tight against the top skin. I then start at the center of the cabin top, and match drill #40 all the holes between the three top longerons. I clean out any trapped dust, then go back to the center and up-drill the holes to #30. This reduced the dust that got between the cabin top and the skin as I drilled at the expense of taking a little longer. Maybe a wash on time/effort.

With the top holes drilled I reposition the wood and clamps so I am appying pressure to the sides of the cabin top and I repeat the same process along the rest of the aft end of the cabin top. Things got progressively easier as I went along and only had to stop a few times to clear out dust between the parts. I then shift my wood shims and drill every 8th hole down the side of the mid-fuse skin into the cabin. Same process. Drill #40, then updrill to #30.

Next was drilling the screw holes into the door sides. I lined up the cabin top per the plans and clamped into place. Using a 90 degree drill, I make the initial #30 hole clecoing as I go. Then up-drill using my regular drill to #12 and using my 3/16 clecos to keep everything in place. To countersink the holes, I end up using my 90 degree drill with the countersink bit in it as I didn’t have a threaded to chucking adapter. I had to free-hand countersink the holes to fit the screws and installed 2-3 screws on each side to keep things in line.

Next I transfer the markings from earlier in the chapter to the cabin door sill and drill the holes up to #19. With a few screws installed the door is pretty solid so I then begin to install the front cabin brace. I then measured and marked the centerline of the cabin top to help align the cabin brace.

Cabin Top – Part 1

With most of the interior completed, I was eager to finally get the Cabin top. Honestly pulling the cabin top down has been one of my “goals” for a while. I was originally hoping to have the cabin top started in December of 2019, but hey, stuff happens.

With the assistance of my wife, we get the cabin top off the ceiling and on to my work bench. I inspect the scribe lines and find the a number of them are a bit off compared to the plans. Using my calipers, I re-scribe lines and mark them with my sharpie. Then it’s time to start trimming.

Ok, so this part kinda sucks. I tried a few different tools with different levels of success. First was the oscillating multi-tool that was recommended in the fiberglass class. This is pretty light on dust, but it’s loud, hard on your hands and cuts SO SLOW!. Also the tool was a bit heavy and I got tired before I finished my first cut line. I then decided to switch to the Dremel tool with a cutoff wheel. I moved the cabin outside and started it up and it cut pretty good. It did EAT a lot of those tiny disks and my lines were really that straight, but it worked. I had enough disks to at least cut the door sill, under the rear windows and the aft end of the cabin top.

With these done, I enlisted the help of my wife and two girls. Let’s just say that my girls were more excited to help than I expected. They absolutely loved to climb into the cabin and crawl around to help out. With their help holding the weight on the rear of the cabin top, my wife and I tried to slide the door frames between the cabin pillars.

I REALLY didn’t want to sand too much off, so we did this 5-6 times with me sanding a little each time before we could get the cabin top to bottom out. Then I had to mark where I had interference, both in the door frames and under the rear windows where the cabin top hit the longerons. To sand things down at this point I used a Ryobi belt sander from Home Deopt with some 40 grit sand paper. The belt sander could chew through the fiberglass with a little pressure, or just lightly sand if needed.

On and off another 4-5 times as I sand a little here, a little there, I finally felt like I had things almost perfect. The frame is thin in a few places, but looking at posts from others, this really isn’t unusual. I can build it up with some epoxy and flox without too much issue.

Added a few photos to show examples of how close a fit I got. This was hard to visualize so I ended up sanding a little too much in a few places. Not the end of the world. Overall really happy with how it turned out so far. I will say that making the cuts, and then eventually drilling the holes in the canopy top is scary the first time you do it! All went well – no regrets.

Baggage Door

I had actually started to assemble the Baggage Door itself a while ago when I was waiting to get my wife to assist with some riveting. The door itself is pretty straightforward. Bending the pre-cut channel and cleco to the outer door skin. then cleco on the lock bracket in place and add the inner skin. Match drill everything, disassemble, deburr and prime all but the outer skin.

I wanted to do the same “mod” that Ed and Colleen did on their baggage door. I cut the hinge to length, and cut the center three eyelets back just enough to get the hinge wire out. I then put the door in place on the airplane to mark where the door side hinge should sit. I found that by using a piece of gorilla tape on the fuse skin edges, I could make “shims” to better center the door and have a consistent gap. This seemed to work well for me.

Once the hinge locations were marked on the door, I did my best to eyeball how proud the eyelets should protrude from the skin. I then drilled the holes basically following the directions from VANS, and began to rivet everything together.

When I went to hold the door in the opening, I realized that I didn’t have the hinge where I wanted it. Crud. It was a little low, so I needed to drill out the inner skin that I already installed with pop rivets, and then drill out the hinge. I did that successfully, and used a strap duplicator to re-locate a new hinge piece where I wanted it. Match drilled everything again, primed the new hinge piece, and reinstalled. Looked much better.

I then went to my scrap pile and found some scrap .063 aluminum and cut some “shims” to go between the substructure and the outer door skin. I taped these to the door so the scrap was at the edge of the skin and the gorilla tape acted as a centering shim just like before. I installed the door post in the airplane and modified the clecos per the plans.

I swear you need 7 hands for the next step. Holding the door in place, putting pressure on the plane hinge so it sits flat against the door post while also lifting up so the door doesn’t drop the .035″, and holding the drill while you try to make the first hole. Somehow I did this with some measure of success. I also tied to drill the top most hole as high as possible with my right angle drill. This is great, but doesn’t allow a cleco to be installed. Drill a hole or two further down, and cleco goes in just fine. Now I can see the door swing.

Ok, so the door will not fold flat against the airplane but does open enough to get luggage in. I’m leaving it for now as it looks like it will work. I’ll have to see if this will be a problem for paint scraping (maybe some wear tape on the door edge in my future?)

I also ordered locks from the aviation department of Amazon. Got the 7/8″ version that worked great. I didn’t used the lock arm from Vans, but the one included in these locks were perfect. Only thing it didn’t have was the tabbed washer that I’ll have to order from VANS next time I place an order for something. At least I now have 4 locks (2 doors + Baggage + spare). I’ll have to make extra keys, but happy so far.

With all of this done, I just have to disassemble, deburr, prime anything that needed it and rivet everything together. I then install the doors and they look great. Only thing I still need is the weatherstripping to put around the door edge so it doesn’t rattle.