I have completed most of the work on the doors at this point. I have successfully installed the 180 degree plane around kit as well as the Aerosport Products low profile handles. This was tricky and while I took some video and photos, I’ll point you to Ed Kranz’s video.
I had originally purchased some Amazon door locks for the baggage compartment and doors, however I was never able to get them to fit properly with the low-profile doors. Path of least resistance was to go ahead and special order a set of 4 matching locks from ACS. They fit perfectly with no issues!
I then started to work on the McMaster Door seal mod. Honestly I had a really hard time wrapping my mind around how this would work. I had the great idea to purchase some 1/4 weather strip to help visualize and possible help with molding the flange. I installed the weather strip where I thought the seal should meet with the door, spread some epoxy and flox around the lip around the door opening, and closed the door so it could set. (Hint: this may help, but it doesn’t release from epoxy. This lead to a minor panic attack). Ended up climbing in from the other side to cut / tear the weather strip and sanding out what was embedded in the epoxy. Ugh!
OMG, what did I do! Thought I accidentally bonded the door to the cabin! 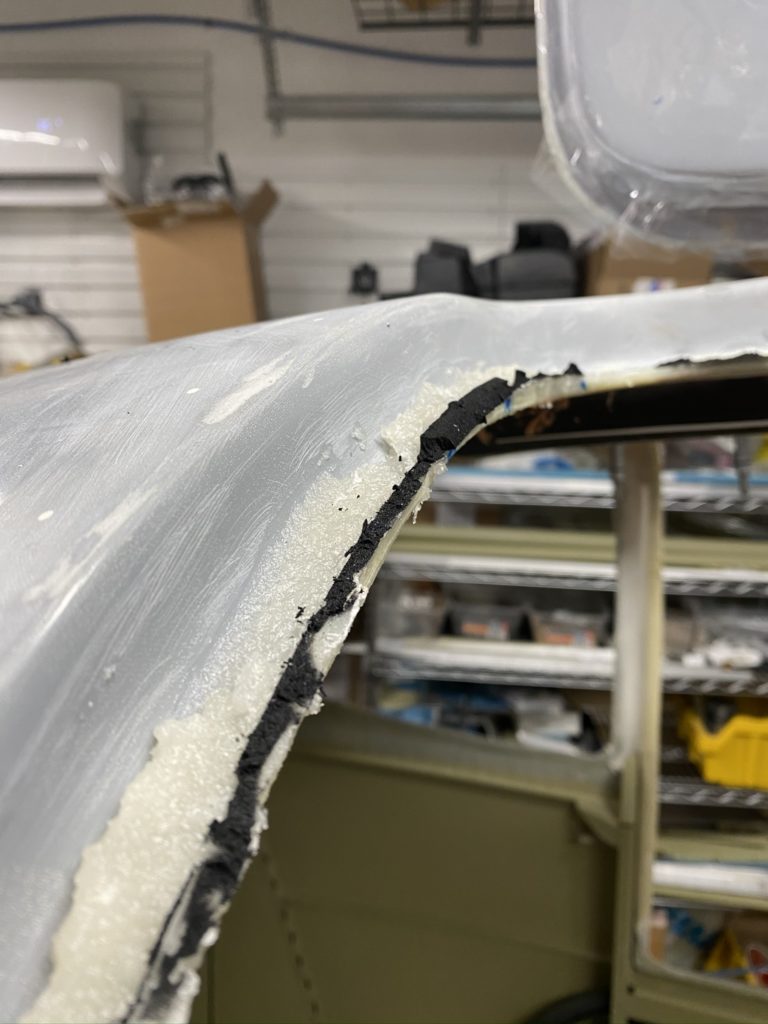
This did not work as planed 🙁 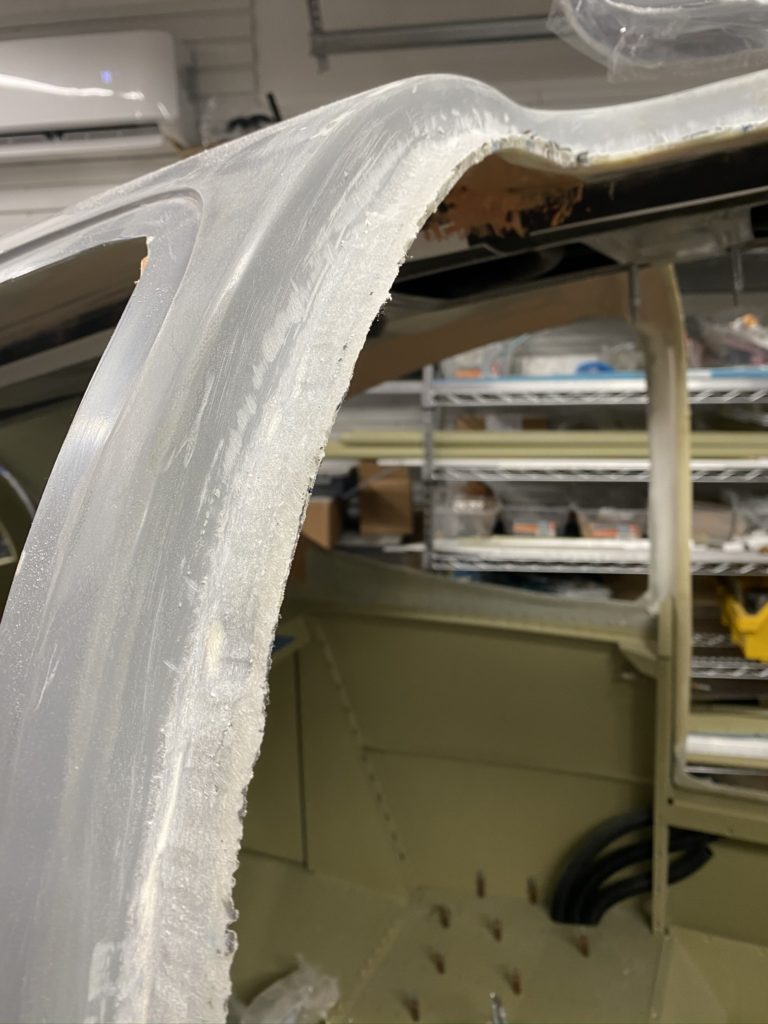
After a lot of sanding, looking better.
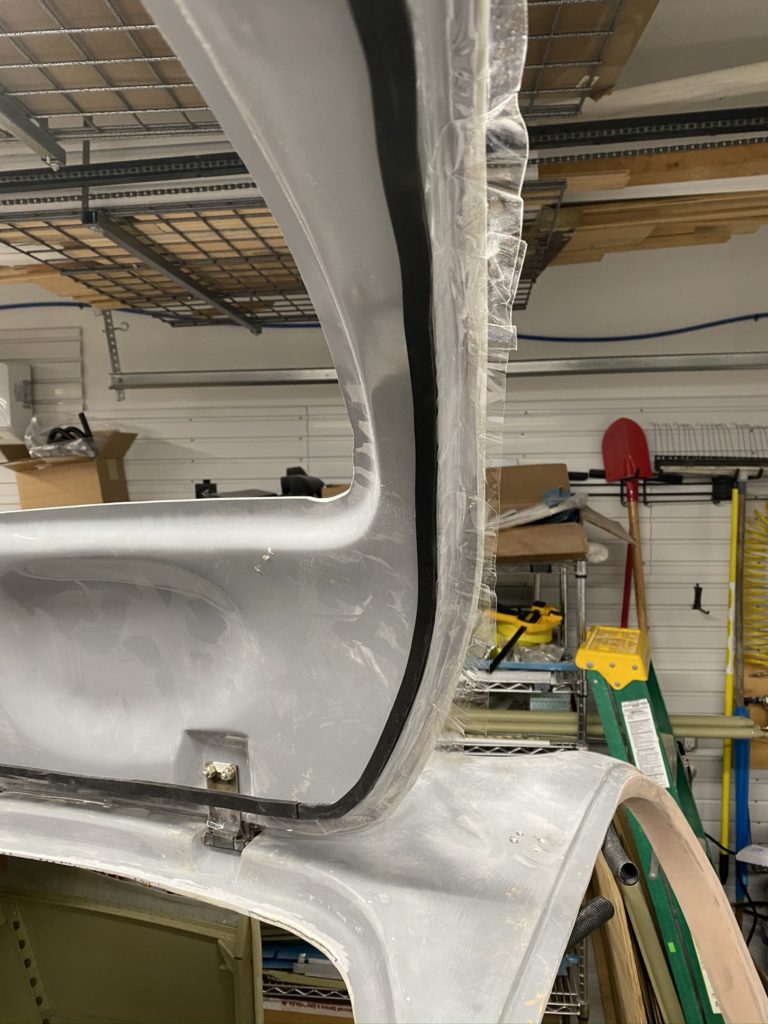
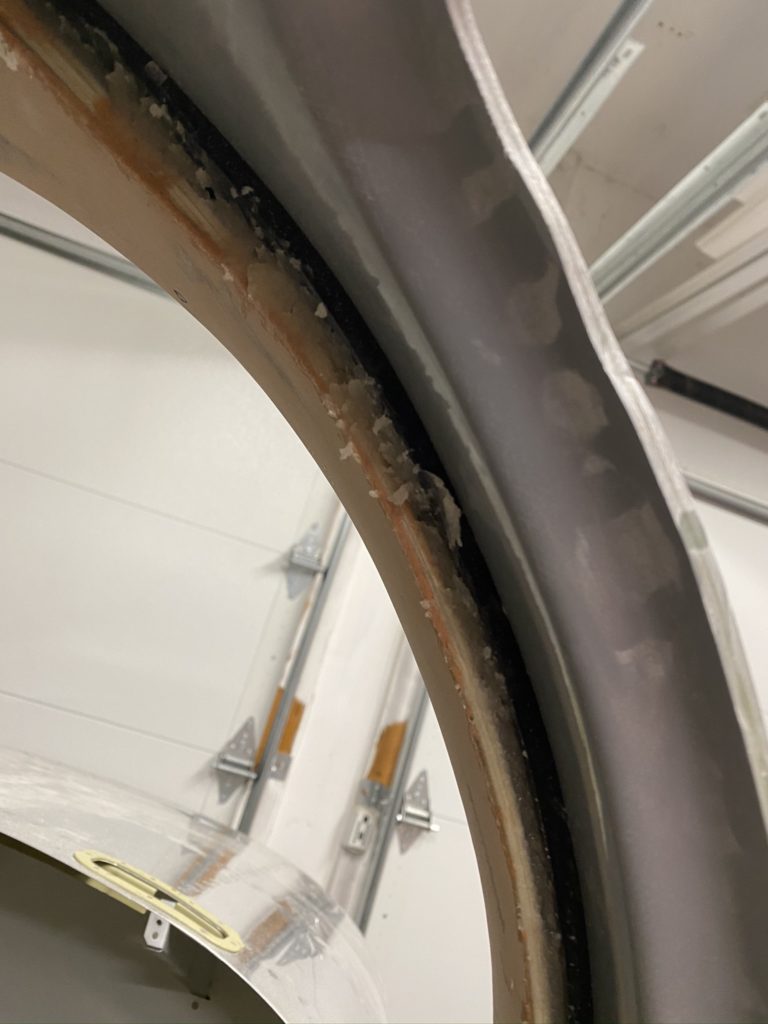
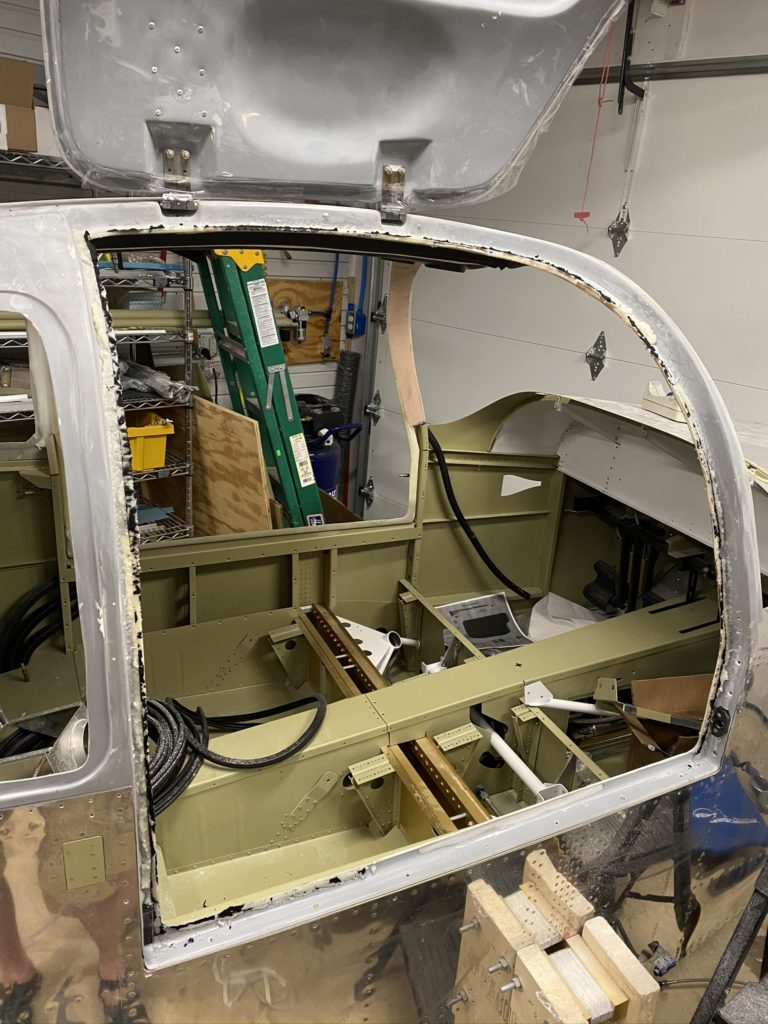
At this point I realized I had trimmed my cabin top door flange a little too far back. To fix this, laid up some strips of fiberglass on the interior of the door flange (poorly I might add). Once that was cured, I built up the area with epoxy and flox using the previous strips to support everything. I learned from my previous mistake and this time used the weather strips but covered everything in packing tap. I then closed the door to give me the needed clearance between the cabin top and the door.

The edge of this mess is where the flange should be. 🙁 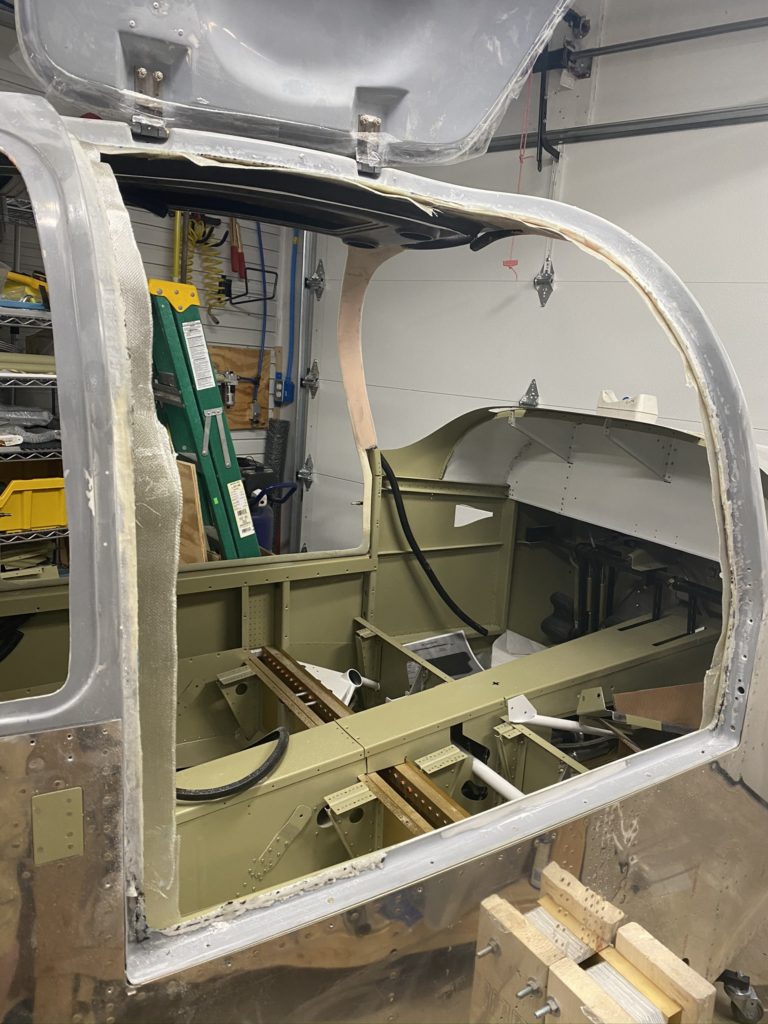
Go ahead and mock me, this looks horrible! 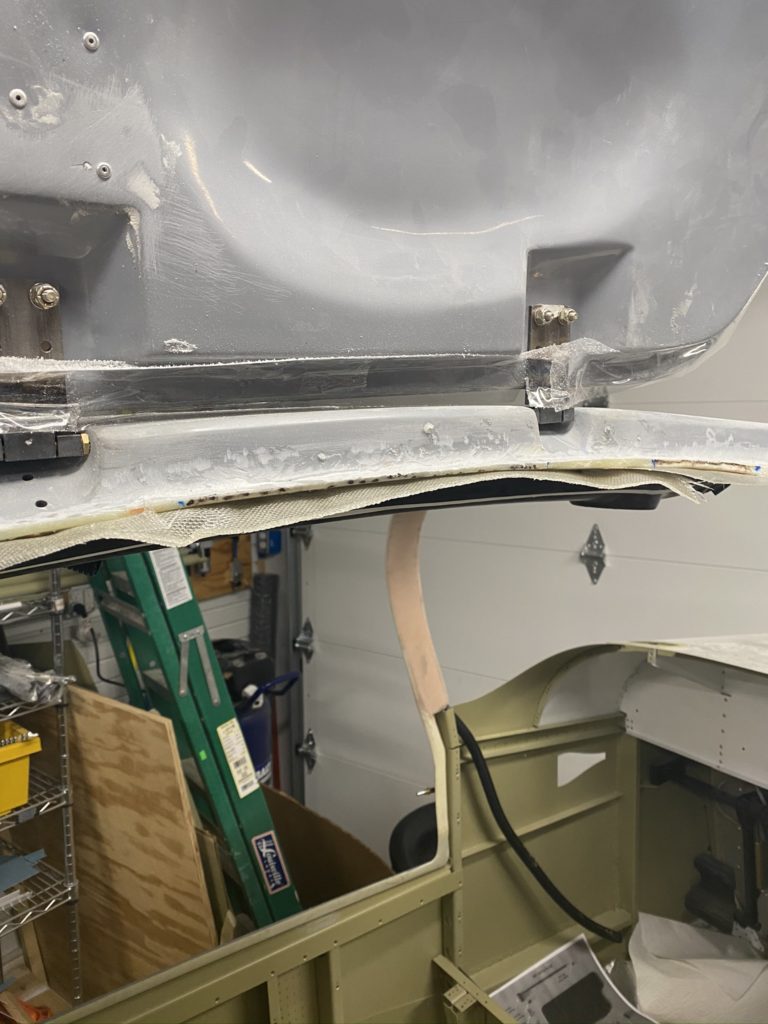
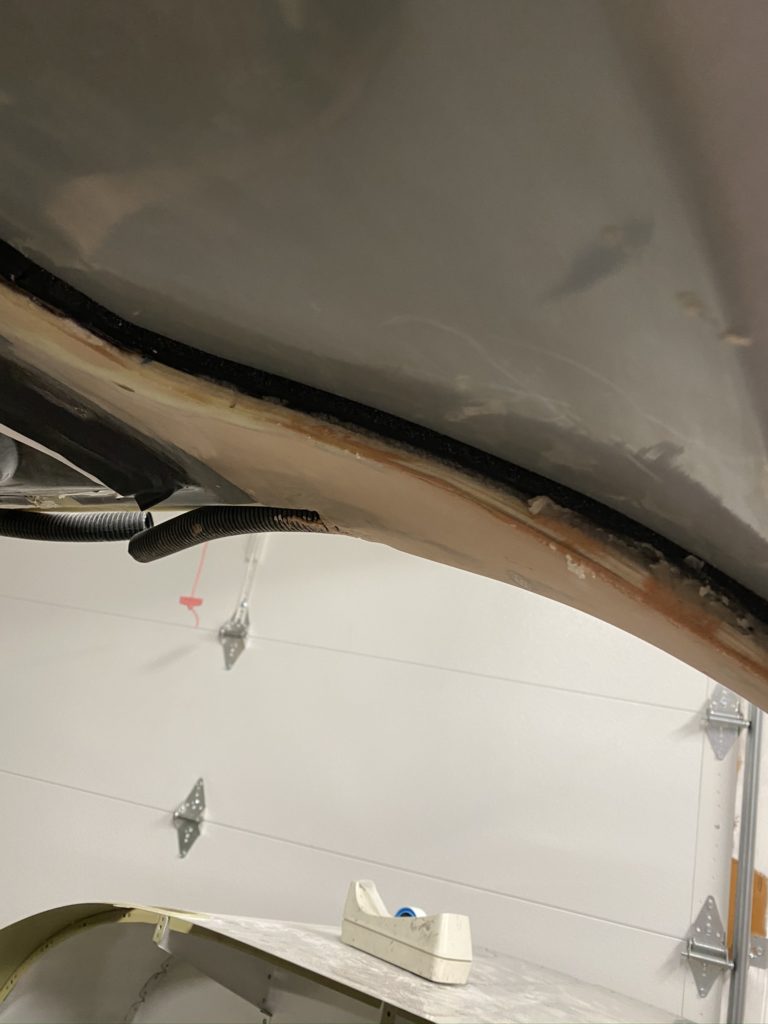
Fiberglass tape as a temp support so I can build up the flange 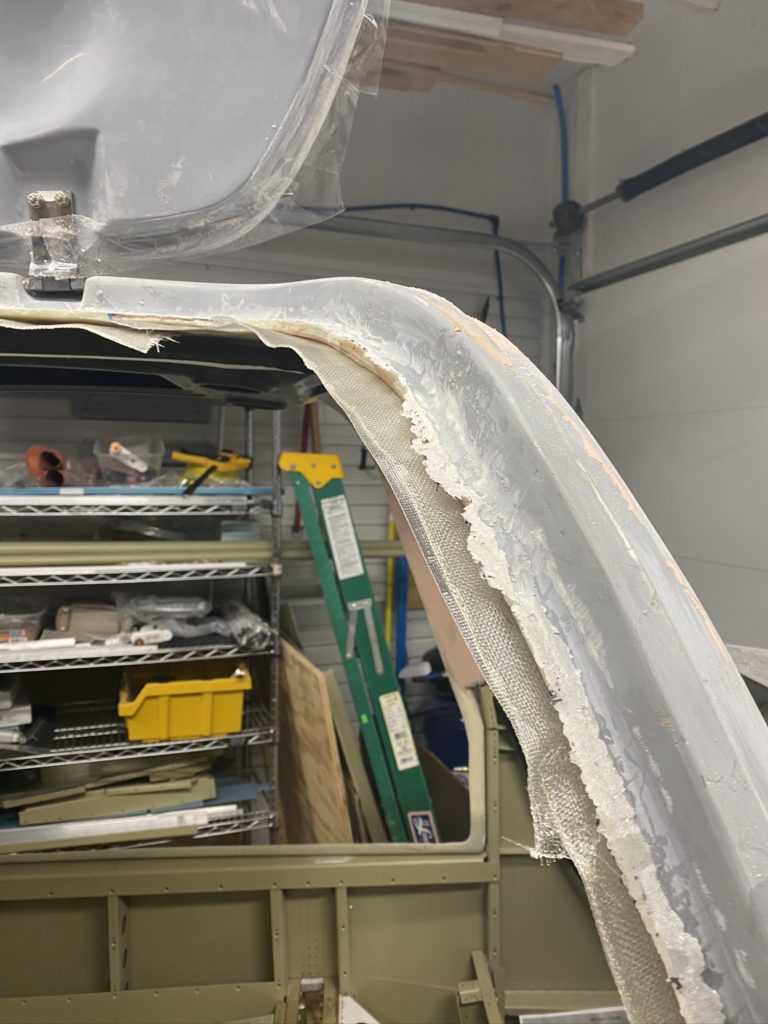
Fill this area with Flox and try again. 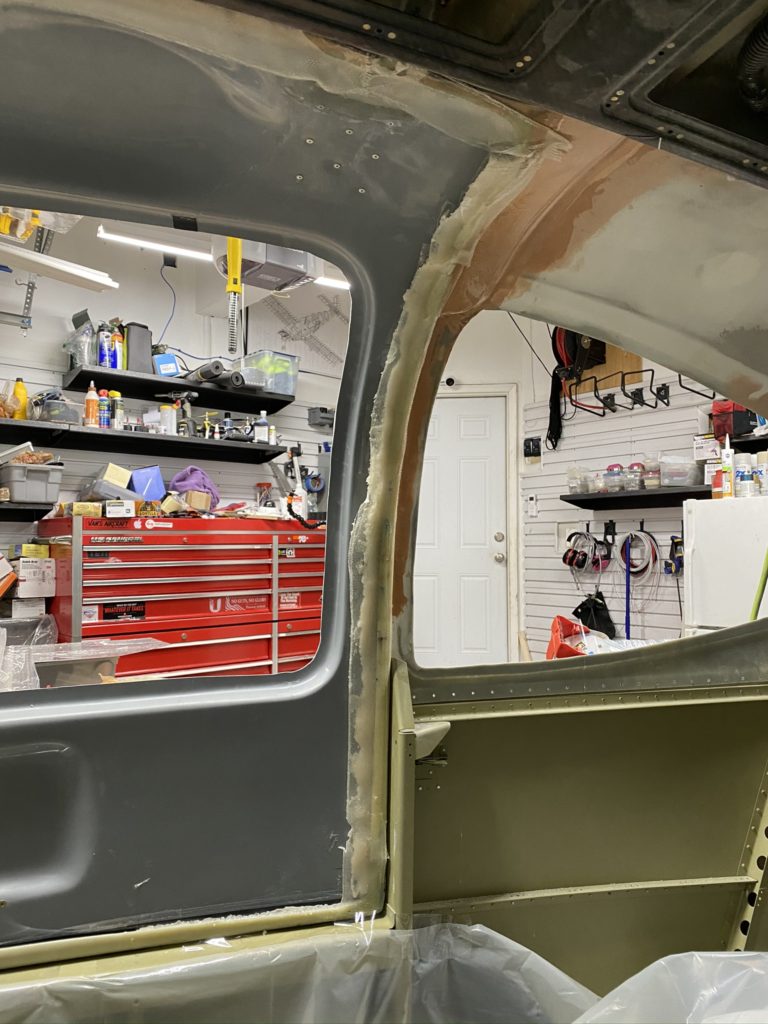
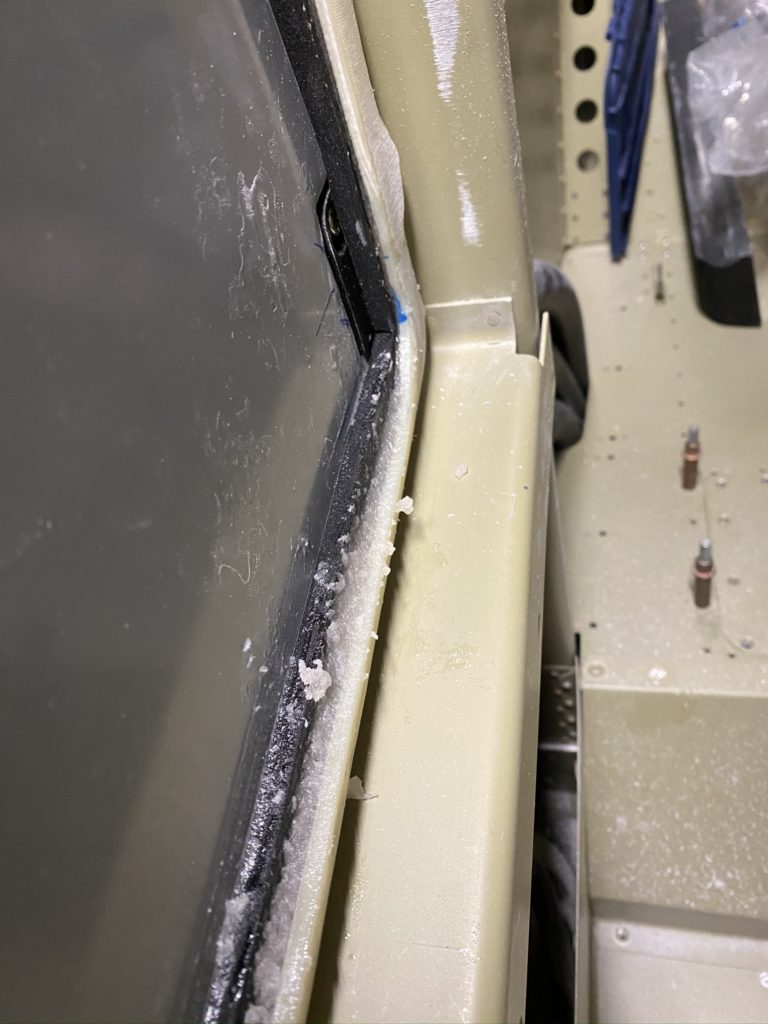
Epoxy and flox curing. 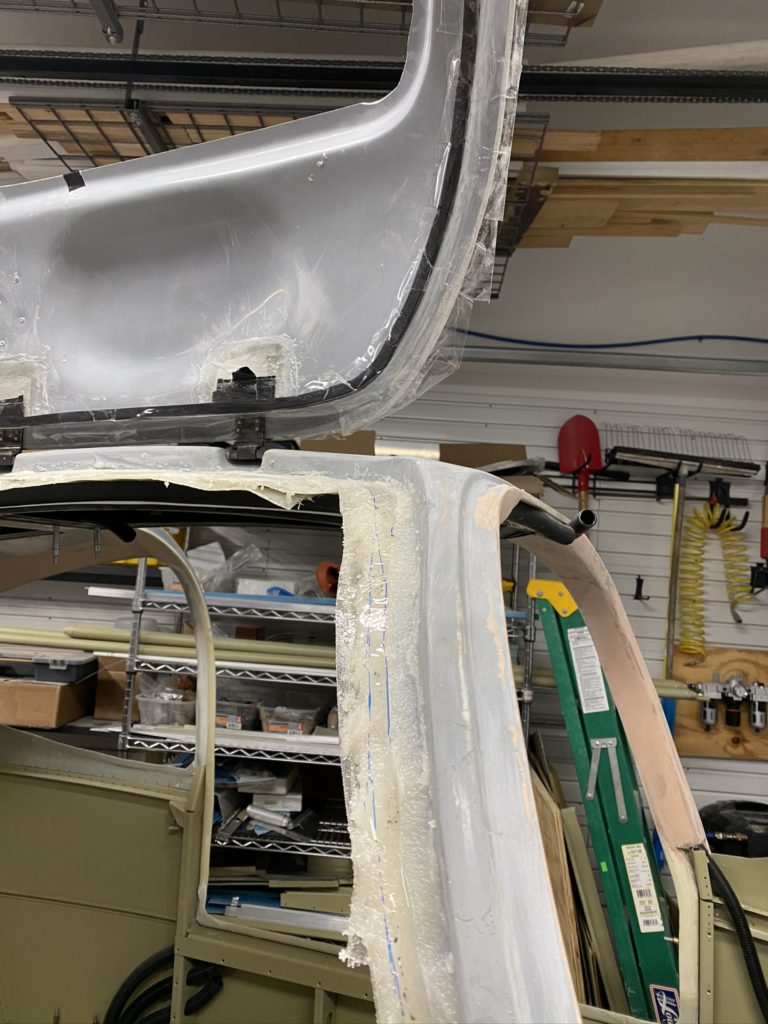
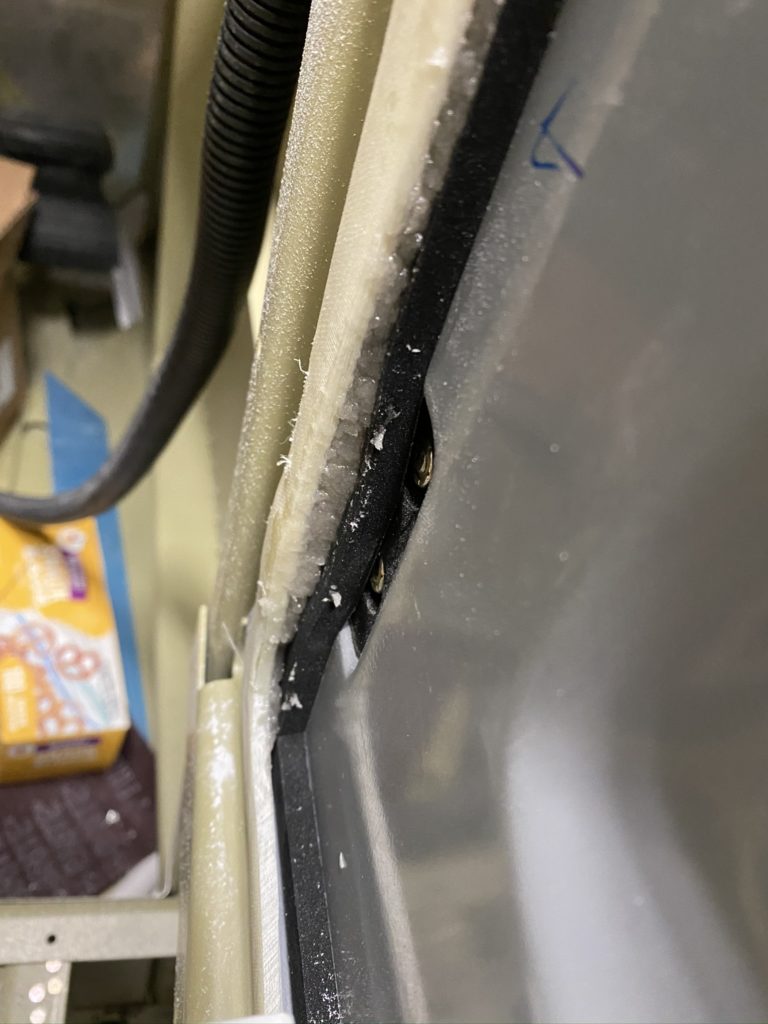
Notice I put packing tape on the weather strip this time. Lesson learned. 
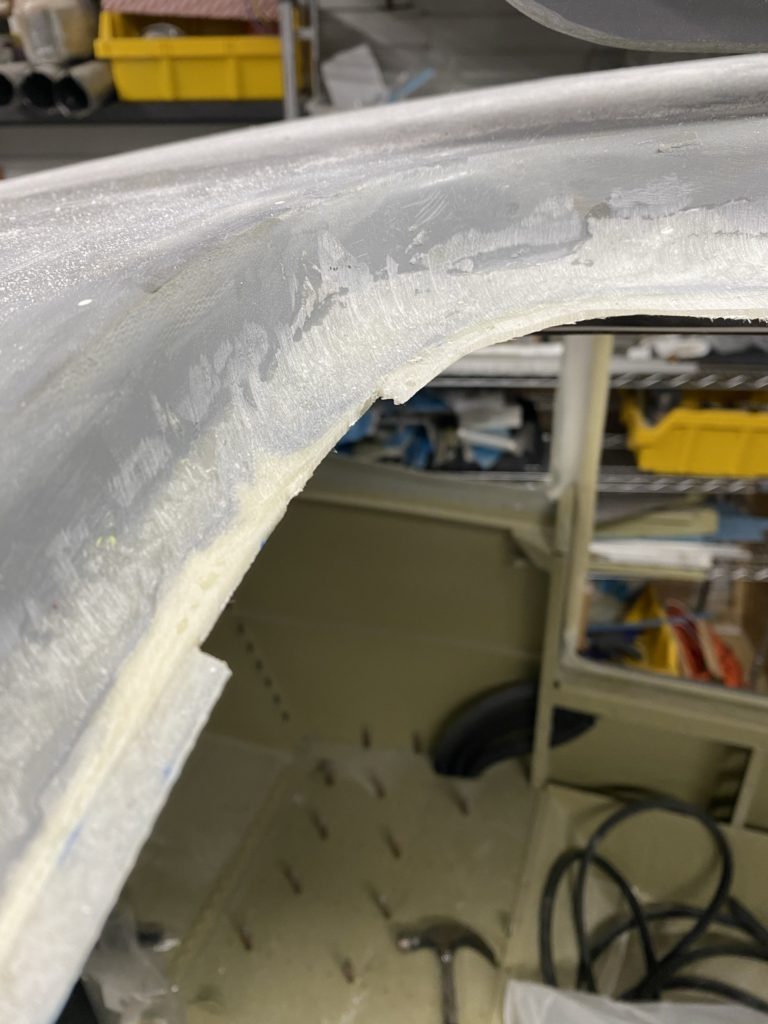
Success 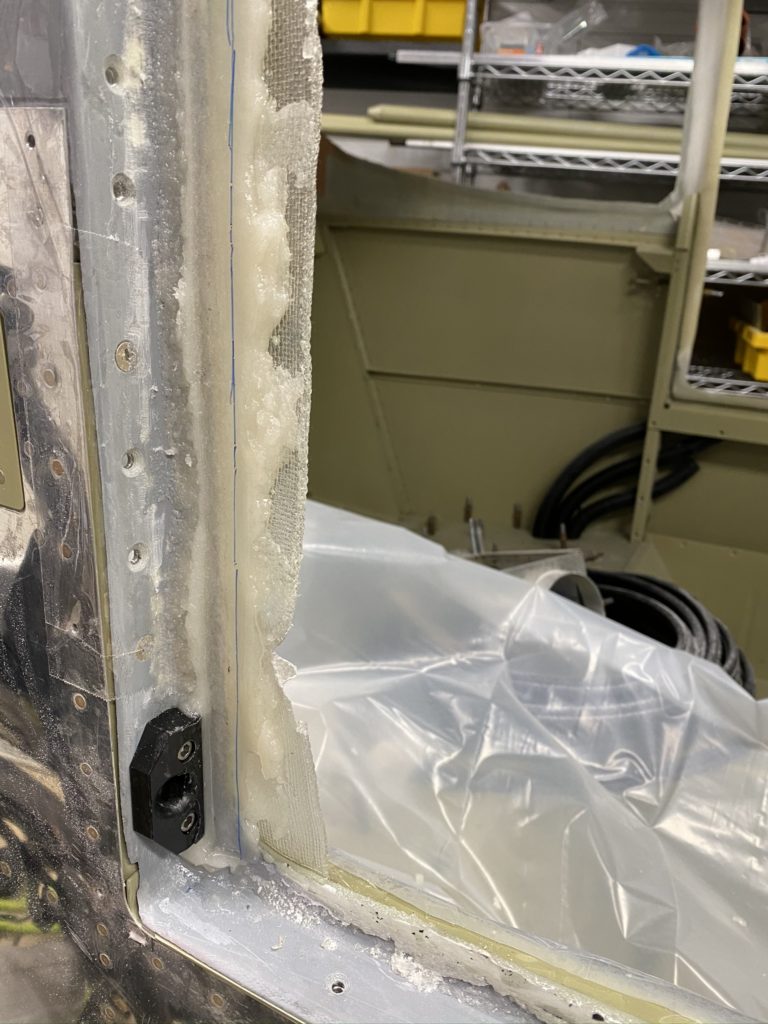
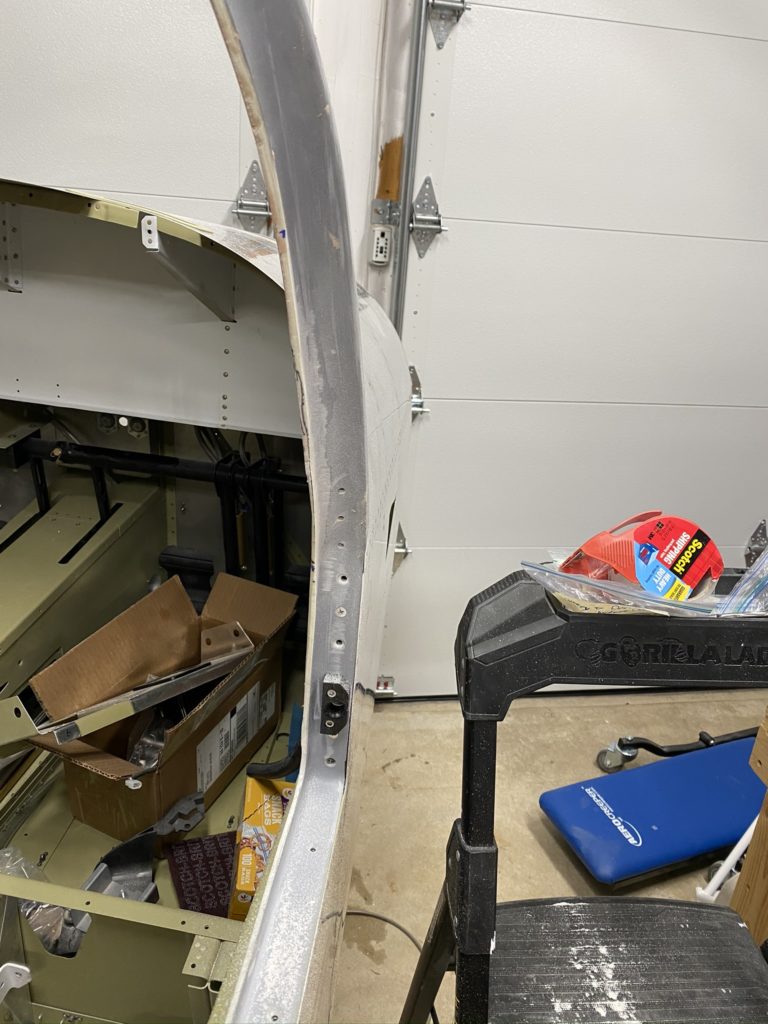
Sharpie lines to show where to trim 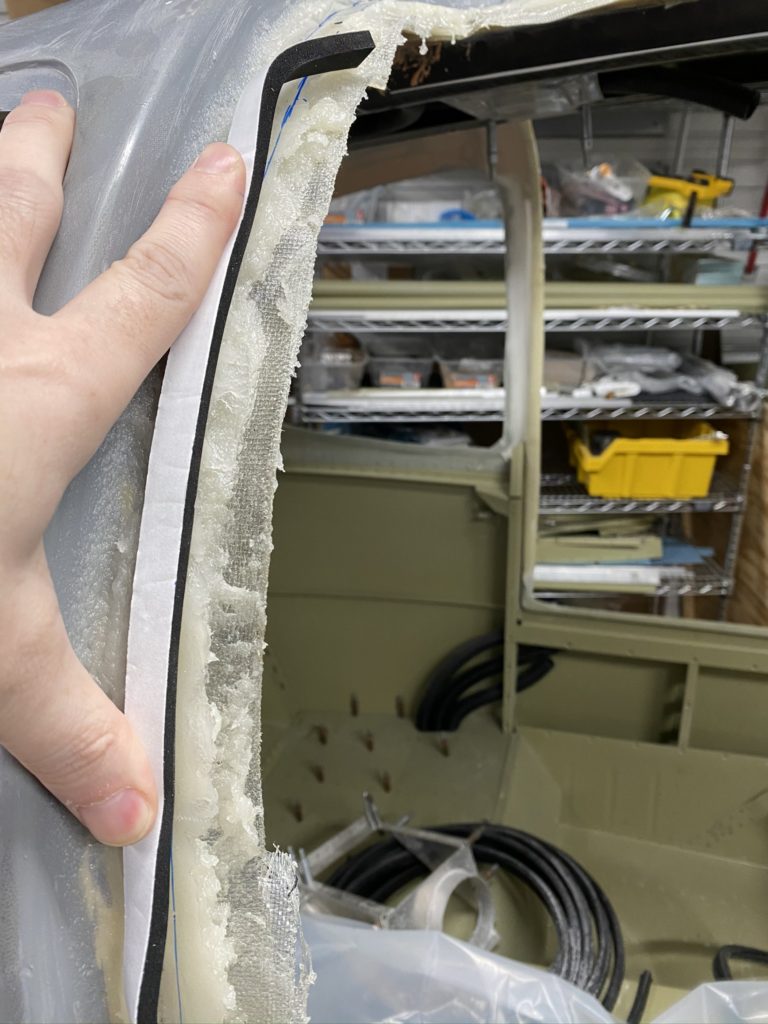
With that adventure completed (at least on one door), I started the process of trimming all the excess. Cutoff wheel I used for original trimming of the flange worked perfect, followed by a lot of sanding of the interior to clean everything up. (Basically sanded away the fiberglass tape and some of the epoxy flox.). Wasted a bunch of supplies, but part of the learning process.
Not everything worked perfectly, had a few places where my new flange broke off while I was sanding. I just scarfed the surrounding area and built it up again. I’ll say that’s the one thing about fiberglass I do like, it’s not too hard to repair, it just takes time.
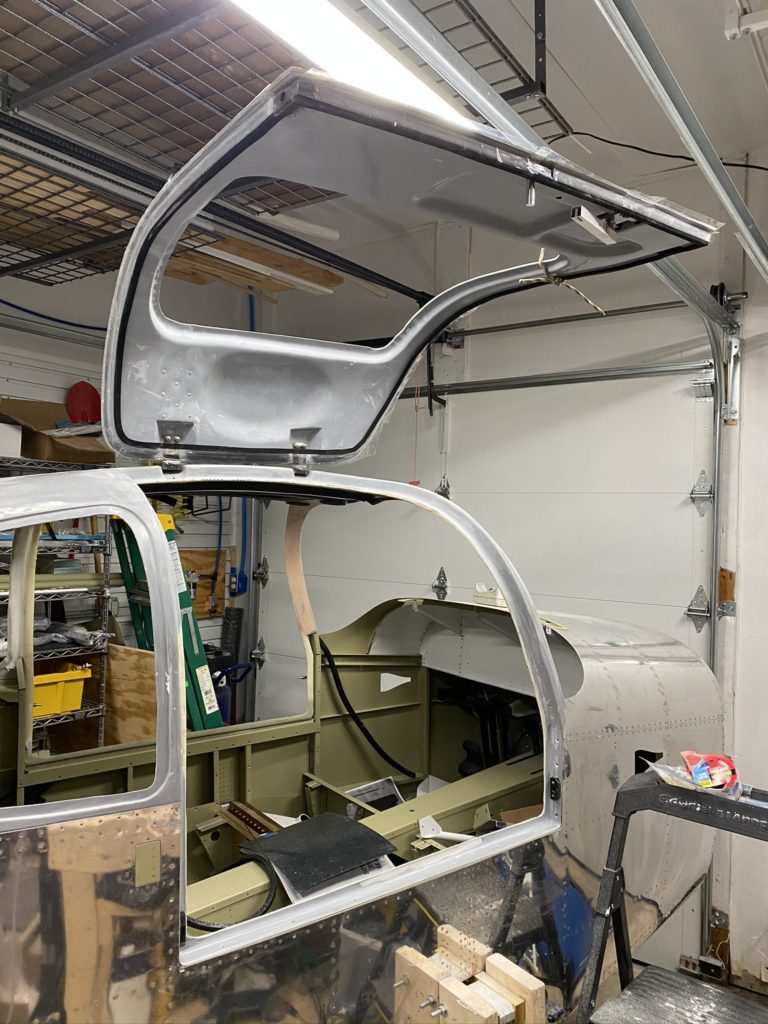
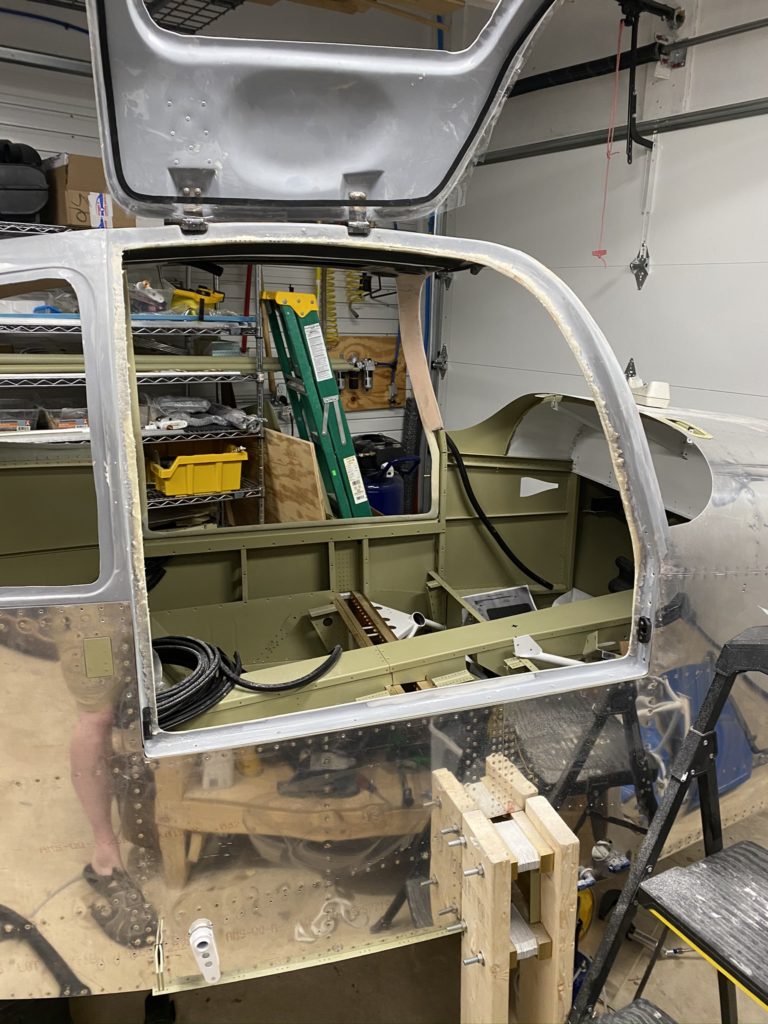
With the door flanges build up to the correct width, I then moved on to using a length of the McMaster door seals as a mold to get the right depth for flange. I mixed more more epoxy and flox and using a piping bag I squeezed the mix into the seal. I then installed on the door flange and closed the door to allow to cure. This gave me a custom fit flange for the door seal. Once the entire opening was completed, I removed the cabin top to start finishing in inside.