So I’m a big fan of conduits just in case you need to pull a wire or change something in the future. For the cabin top, I had seen where others had installed conduits in the front cabin pillars to the overhead console and thought that was a fantastic idea. What I didn’t realize when I started down this path, was that this also had an impact on how I was going to have to mount my sun visors in the future and lead me down that path of getting creative.
Starting off, I decided to use some extra conduit from Vans that I purchased for my wings. It’s the 3/4″ stuff (I think) that fits nicely in the cabin top channel. I used a small batch of epoxy and flox to “glue” the conduit in place so I could use some spray foam insulation to create the general contour of the forward pillars.
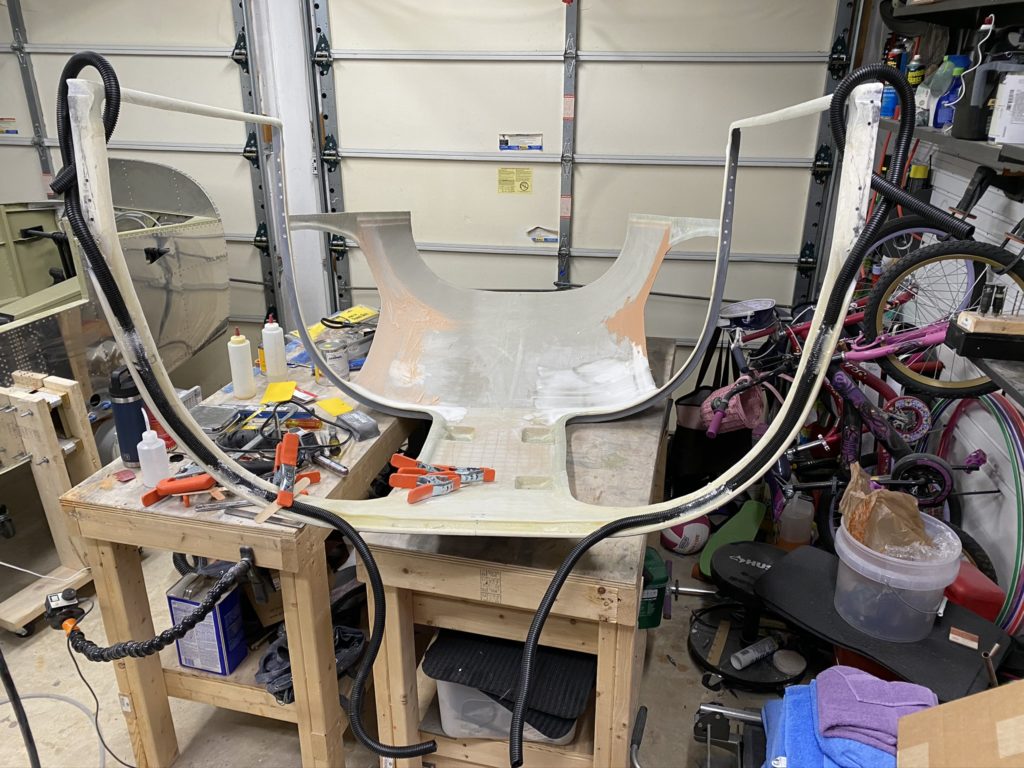
Conduit clamped in place 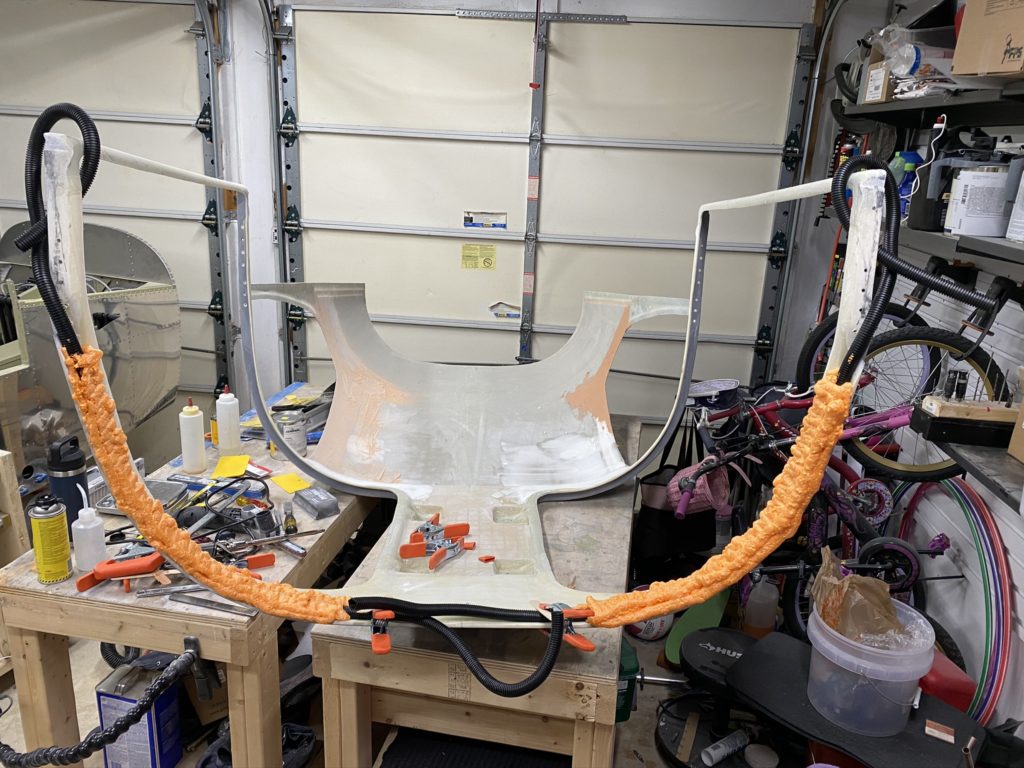
Spray foam 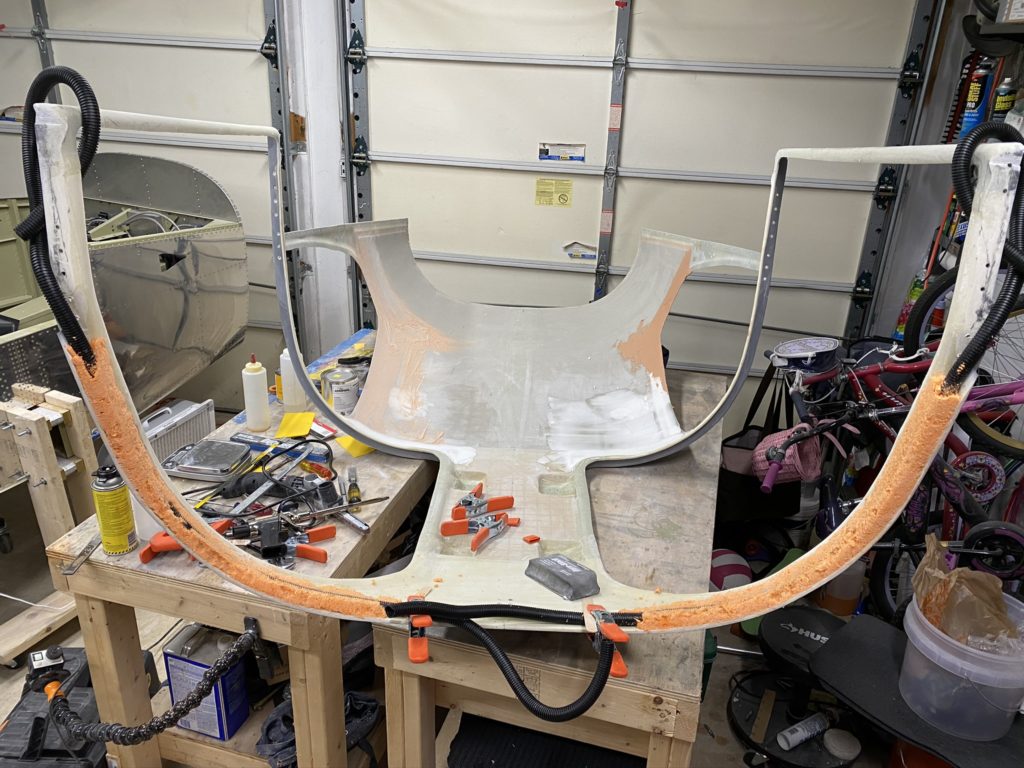
Sand the foam to create the rough shape 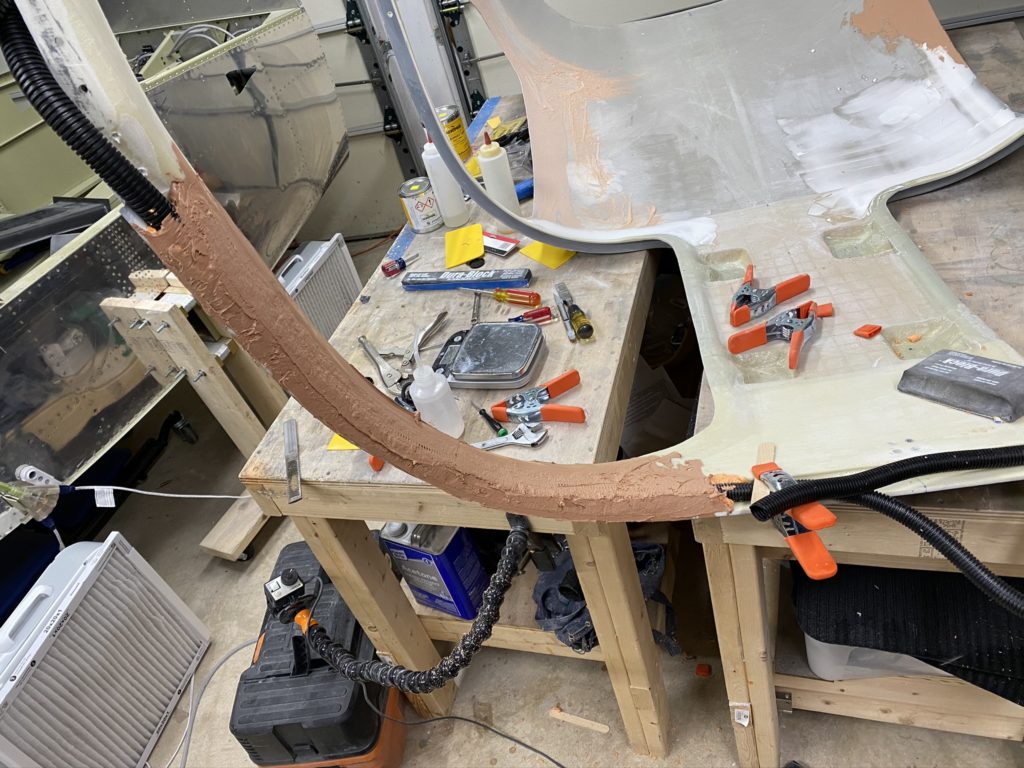
Aeropoxy Light (or expoy and micro) as a base for additional finishing
Once the foam was cured, I sanded it down to a rough shape, then put a skim-coat of AeroPoxy Light on to fill the outer most voids in the foam. This gave me a general profile and protected the conduit. I’ll cover this with a 2-3 layers of fiberglass later.
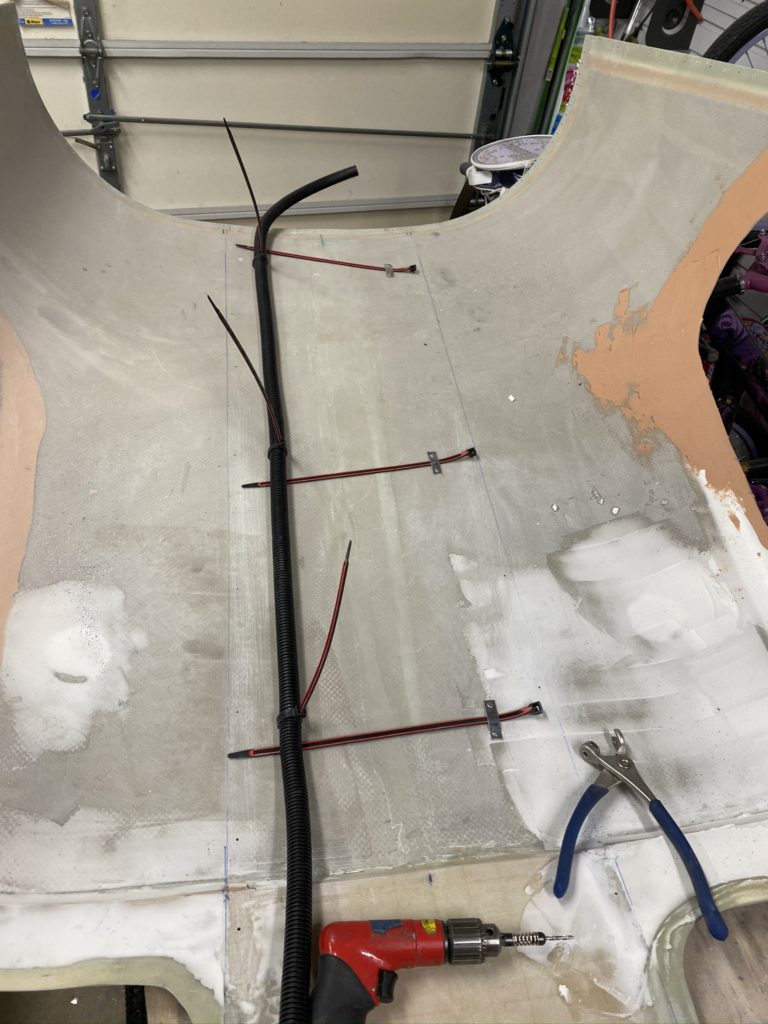
Next I begin to lay out the overhead console. I marked the center of the cabin top and the overhead console. I then began to drill #40 holes and cleco the overhead to the cabin top. I’ll use these holes later when I bond the overhead to the cabin top.
I know I mentioned how much I like conduits, so no surprise that I also wanted some conduits from the overhead area to the rear of the aircraft. Now this wasn’t my original idea. Honestly most of my “mods” aren’t my original idea, but I do adapt them to fit my needs. Anyway, I made a few small aluminum strips to hold zip ties to the cabin top. I secured them with pop-rivets and used the zip ties to hold the conduit in place.
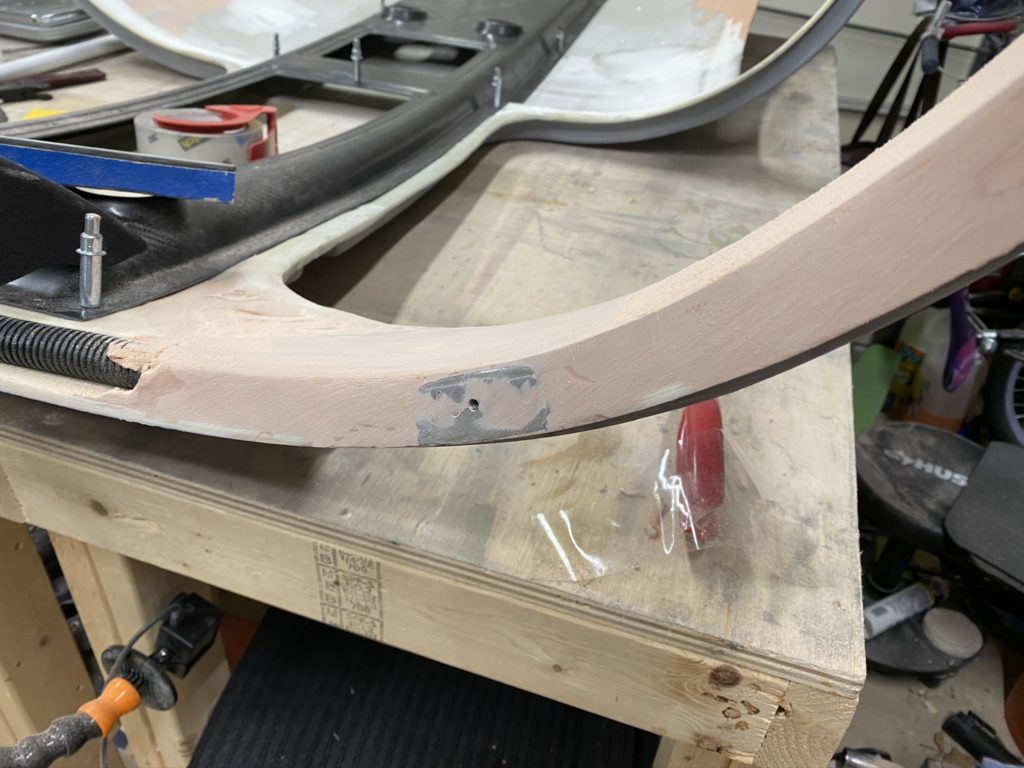
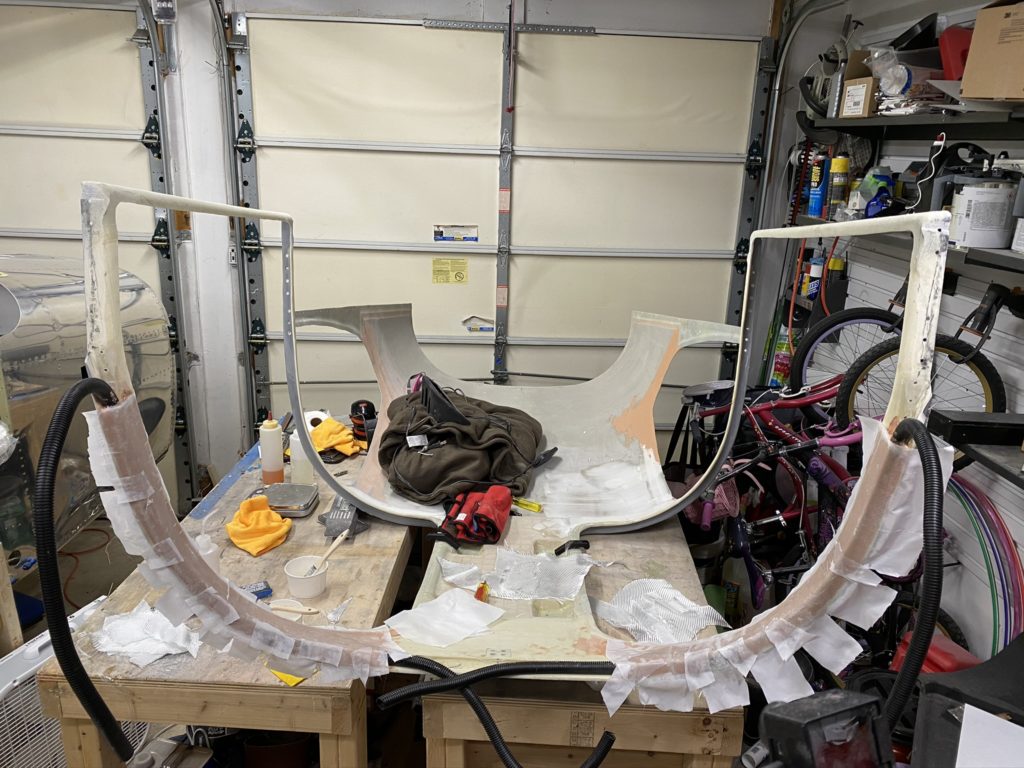
This is about the time I started to think about the visors. My original plan was to go with the Rosen visors, but decided to go a little cheaper and purchased the BlueSky visors. With the visors in hand, I had to come up with a mounting solution. The vendor instructions use a bock installed where I just ran the conduit so that won’t work. My first idea was to install a nutplate on a aluminum coupon for the visor to mount. I mounted this on the forward part of the pillar and contoured this in place. *Note this didn’t end up working. more later. I then glassed in the pillars and began to work on the overhead to cabin top transitions using Aeropoxy Light and lots of sanding.


When I put the cabin top back on the fuse and tried to verify that the sun visor mounts worked, I found that it didn’t. With the nutplates on the front of the pillars, it isn’t able to support it’s own weight. 🙁
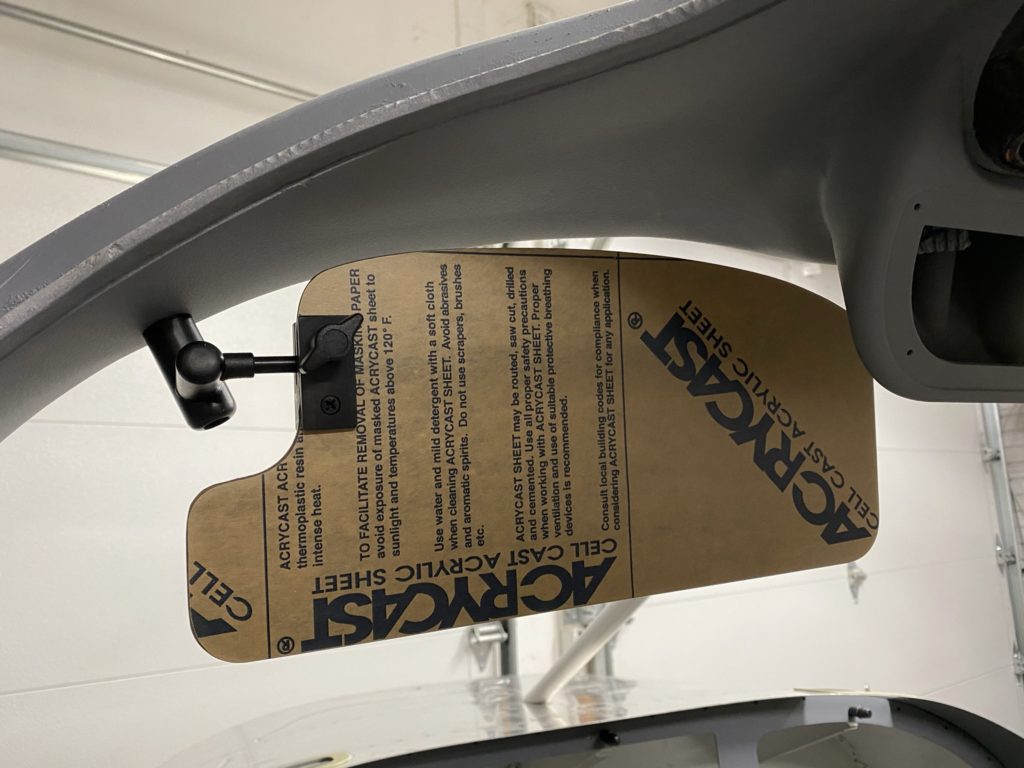
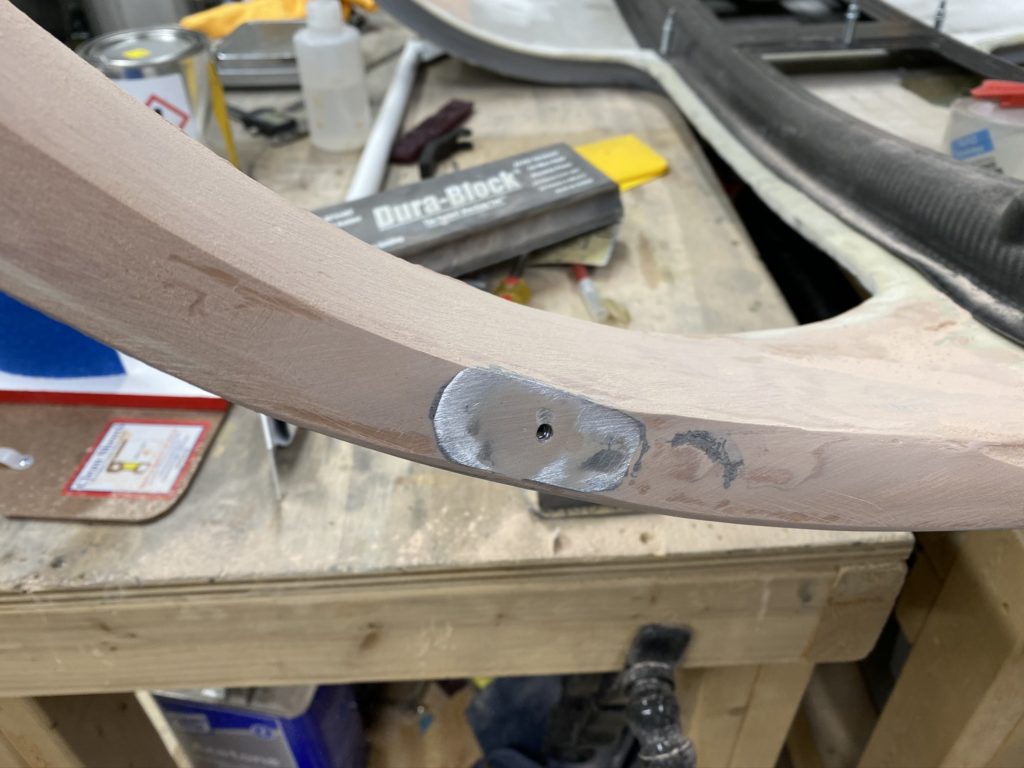
After some thought, I realized I needed to move the mounting point so it faces the center support bar. I removed these original nutplates, and created a new mount bracket using some 3/4″ aluminum angle with a nutplate mounted on it. I cut out space on the pillars to make enough room for my new angle aluminum mounting bracket and installed the new brackets (now facing towards the white cabin brace) and covered it with two layers of glass. Next I spend time with some Aeropoxy Light and sanding blocks to contour everything and get it looking nice again. I also went around the overhead console where it joins to the cabin top and dressed up those areas with Aeropoxy Light and more sanding until things were looking good. One of the details I also did was to install a segment of the McMaster Carr door seal when applying the Aeropoxy Light. This allowed the door seal to be flush with the cabin top interior. Hopefully it turns out looking nice.
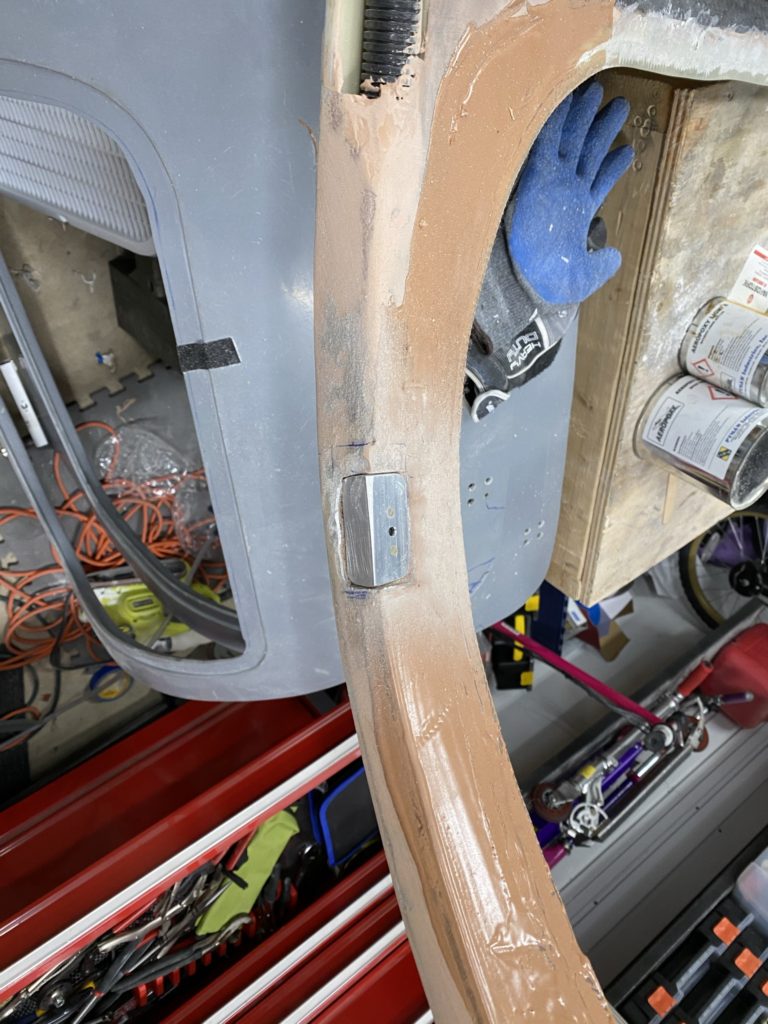
New Visor mounting points 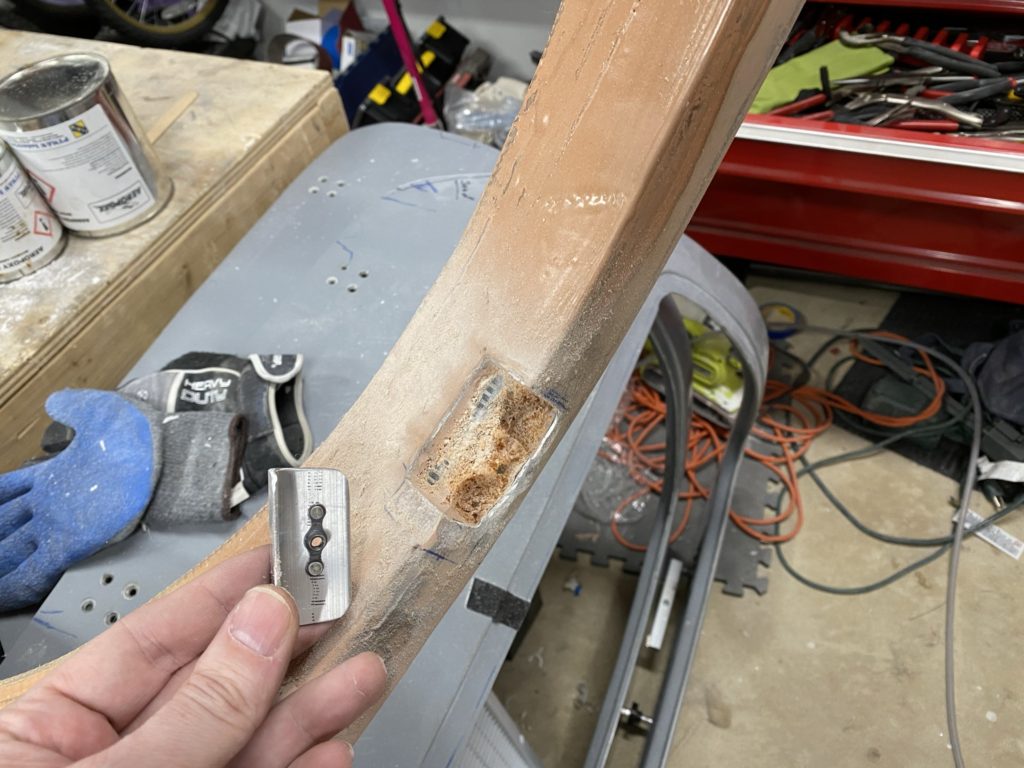
Ugly cut into my pillar 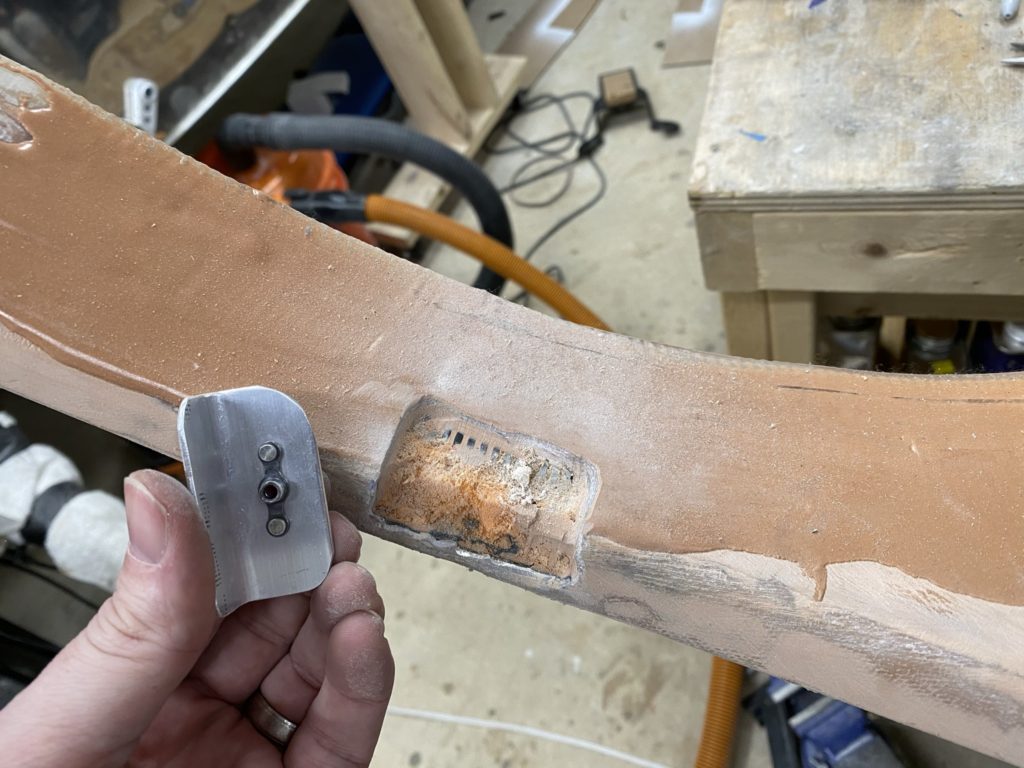
First round of filler 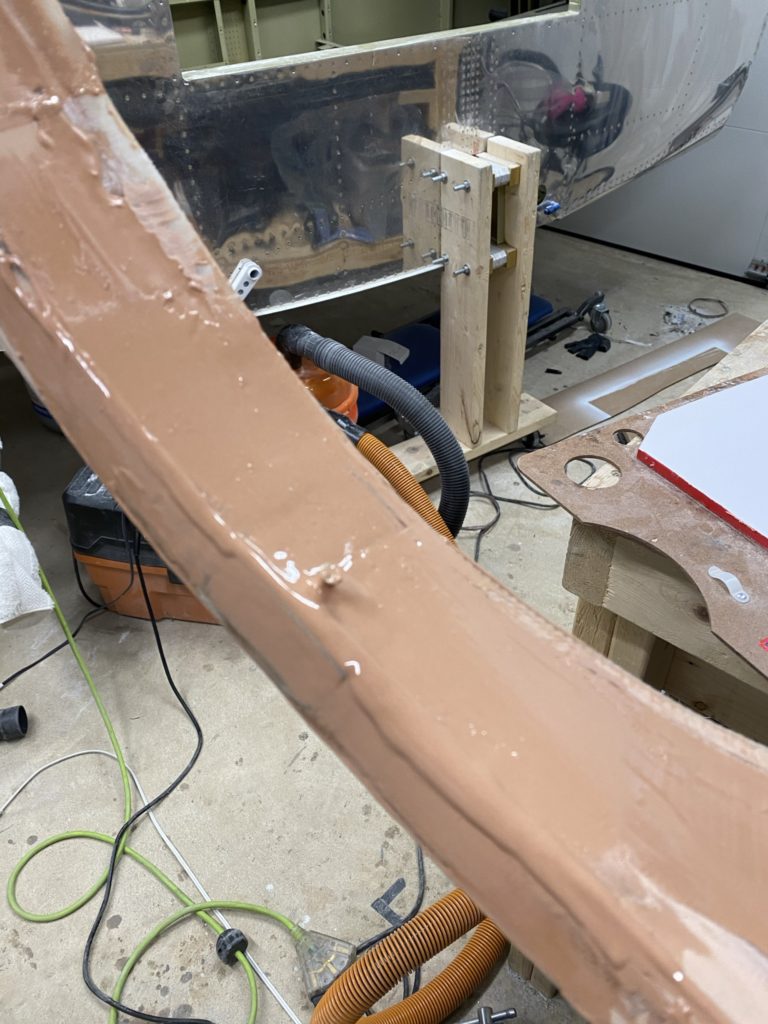
I used screws in the nutplates to keep them clean. 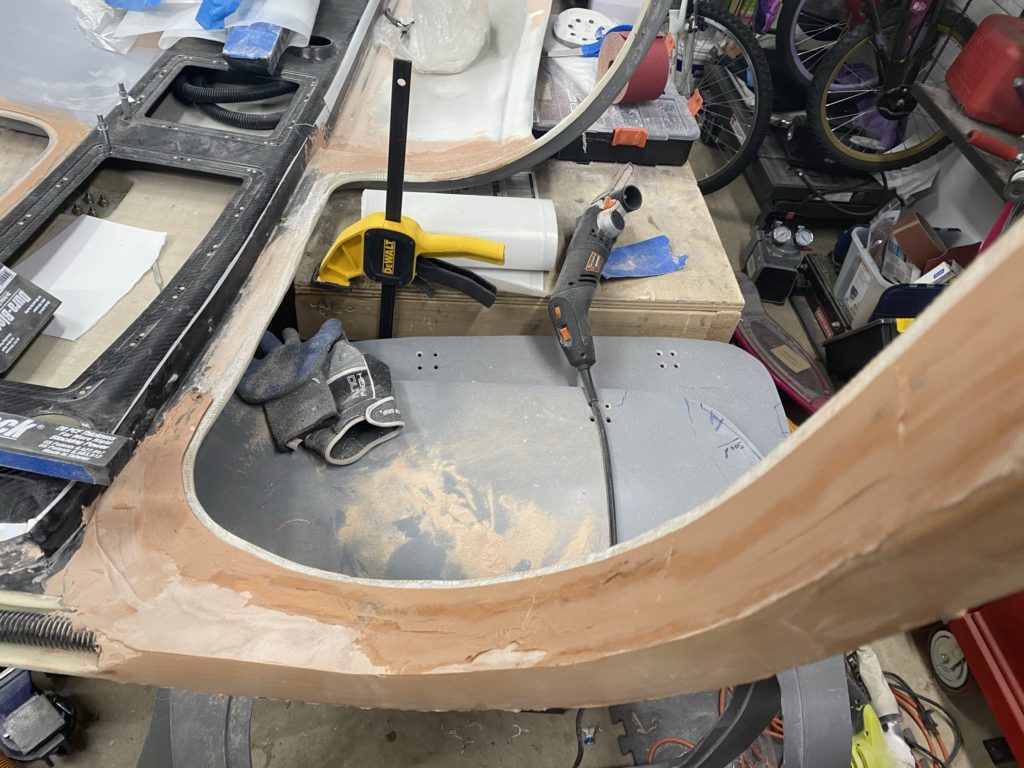
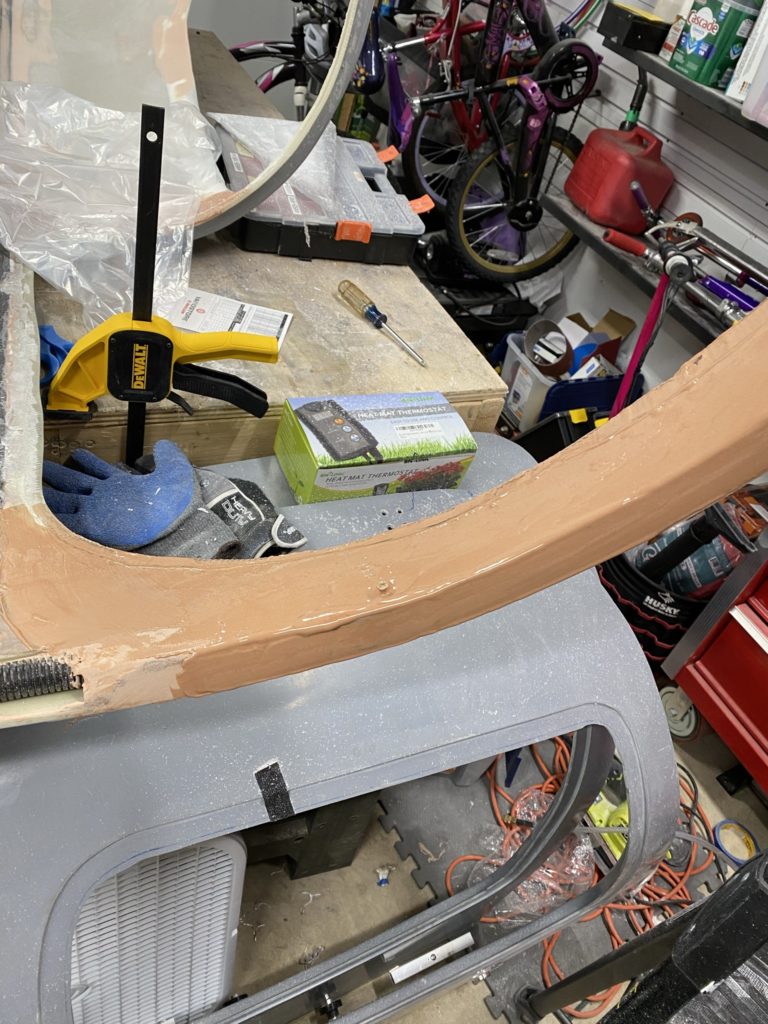
Starting to build up the interior to McMaster seal area. 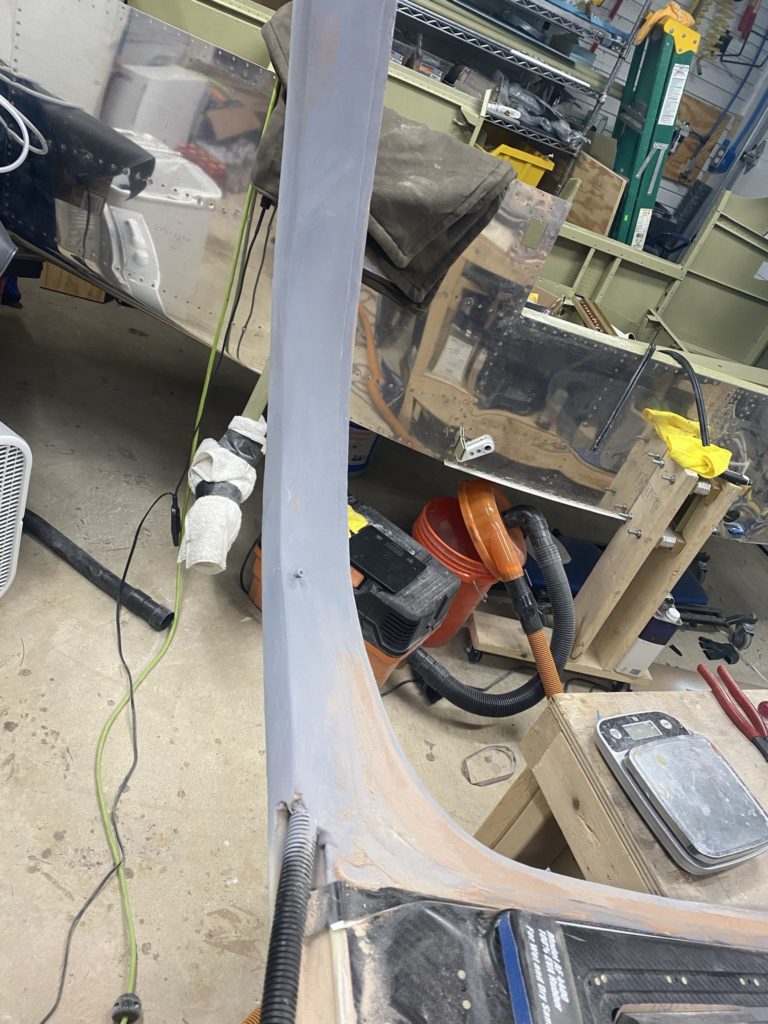
Some high-build primer to help me see imperfections. 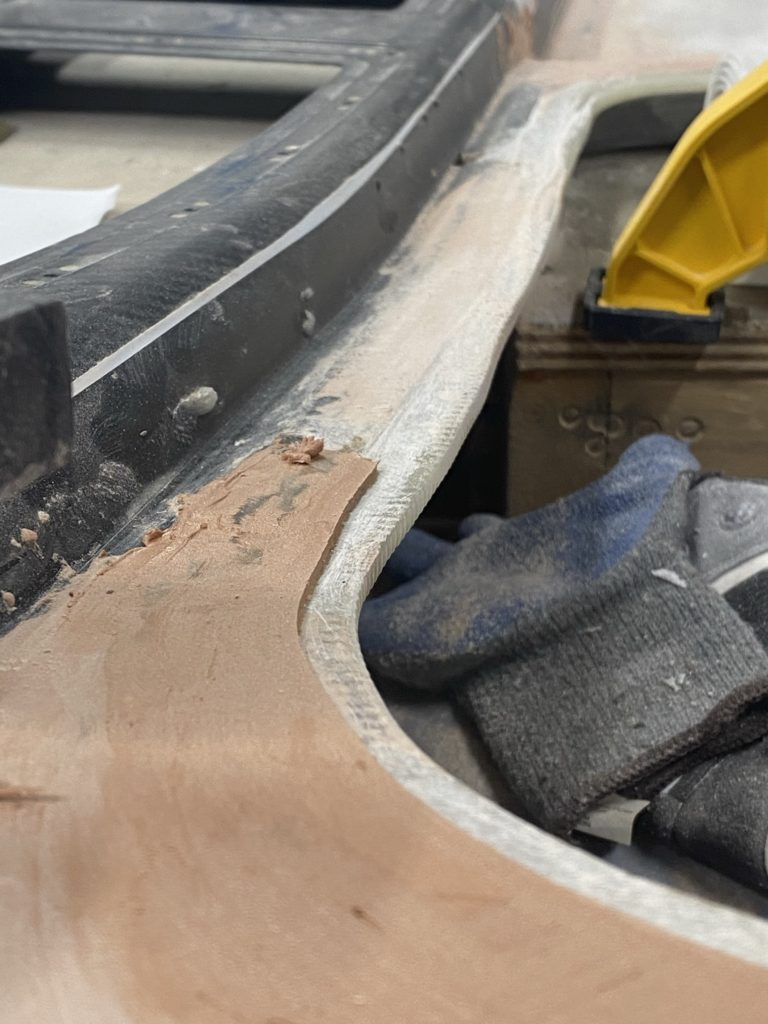
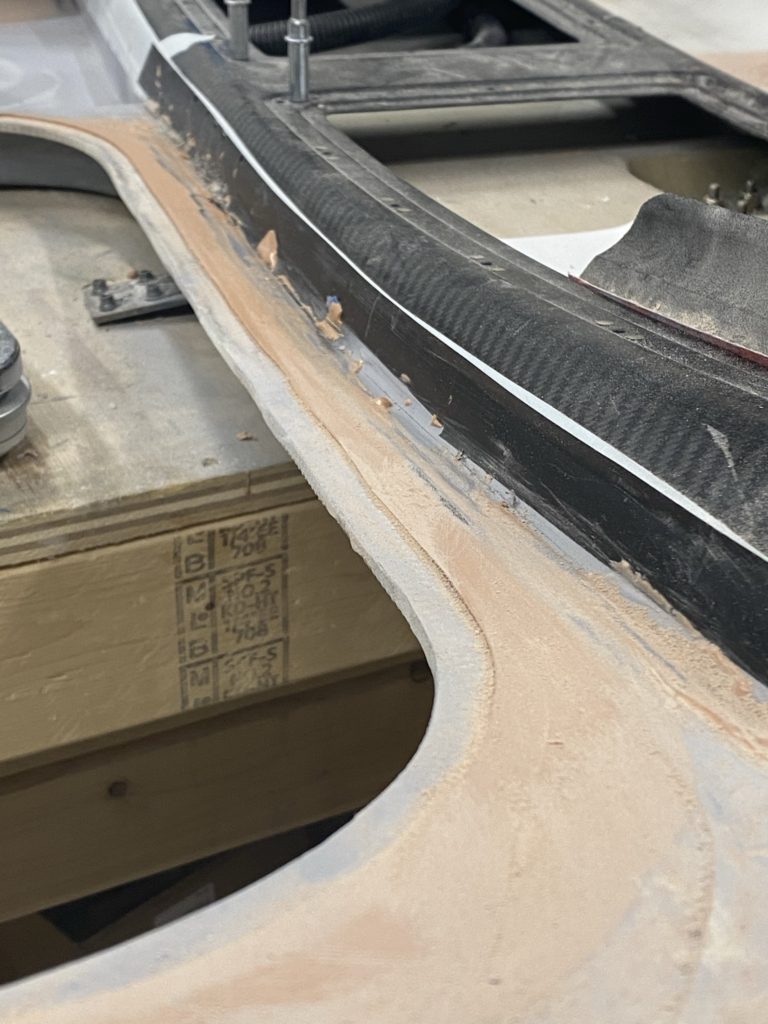
Working on the overhead to cabin top transition as well as the door edge to McMaster Carr seal edge.
After I thought everything was looking good, I started to spray some rattle can high-build primer from Home Depot to help me get everything cleaned up. (Overhead was taped off when spraying primer). Once I had the inside door openings as well as the pillars and overhead transitions completed, Everything was sprayed with high-build primer and sanded (I think up to 800 grit) using some soft sanding blocks.
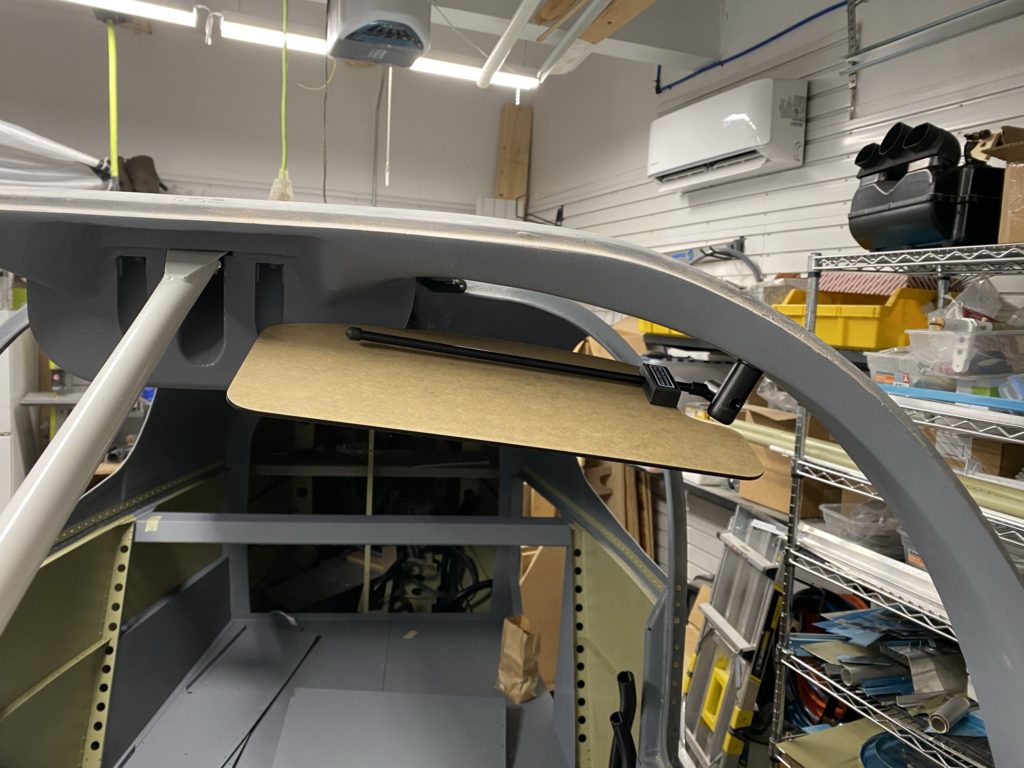
Slightly jumping ahead, here are some photos of the visors mounted. I’ll talk more about finishing the overhead console and switch pod in the next post.