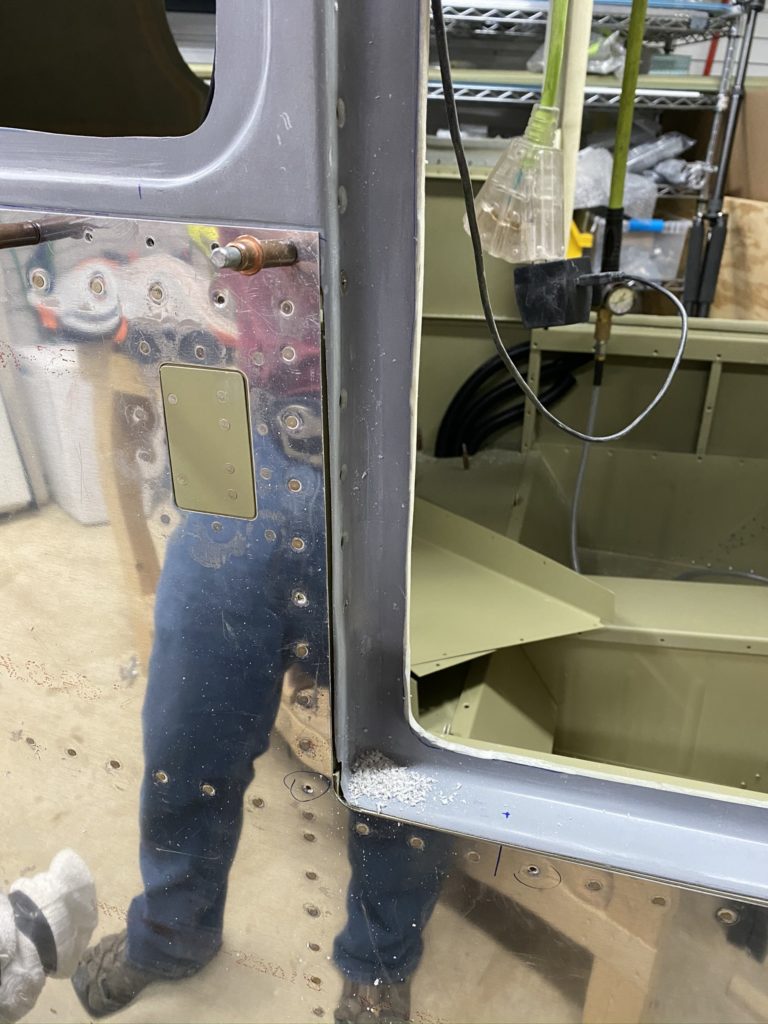
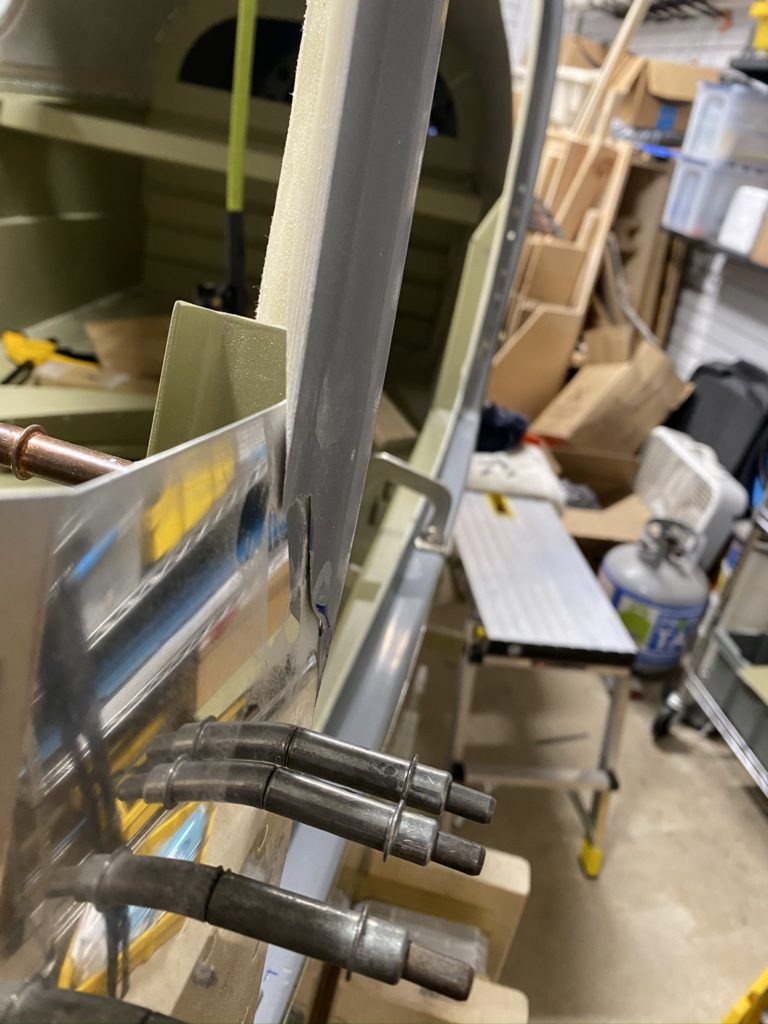
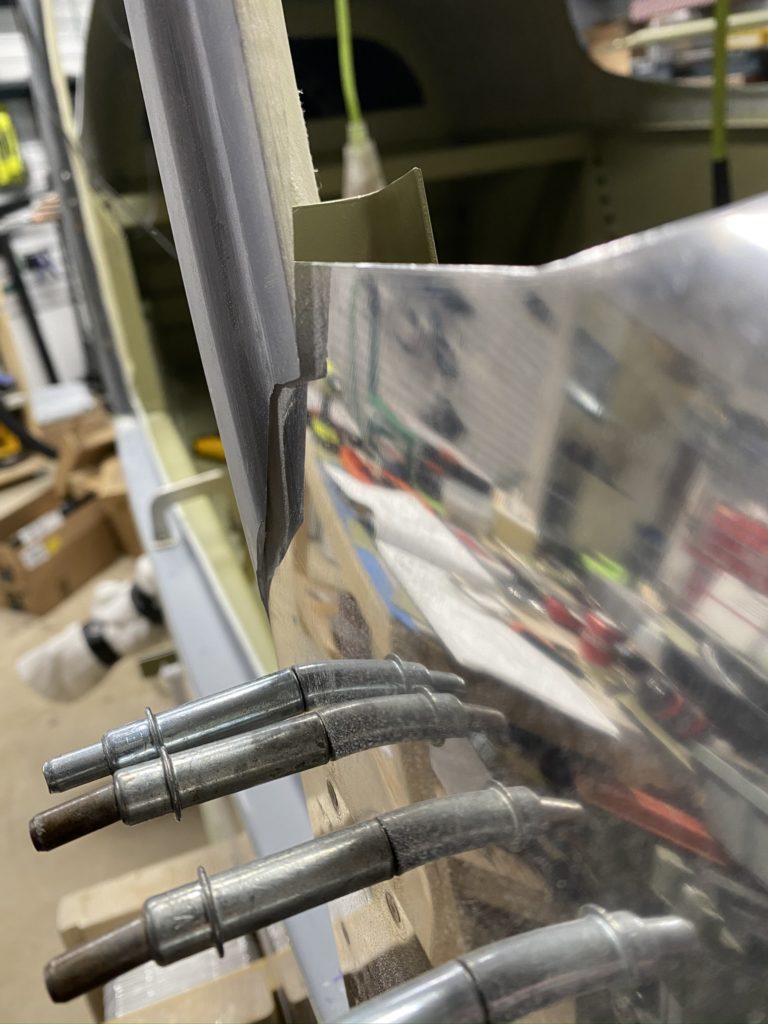
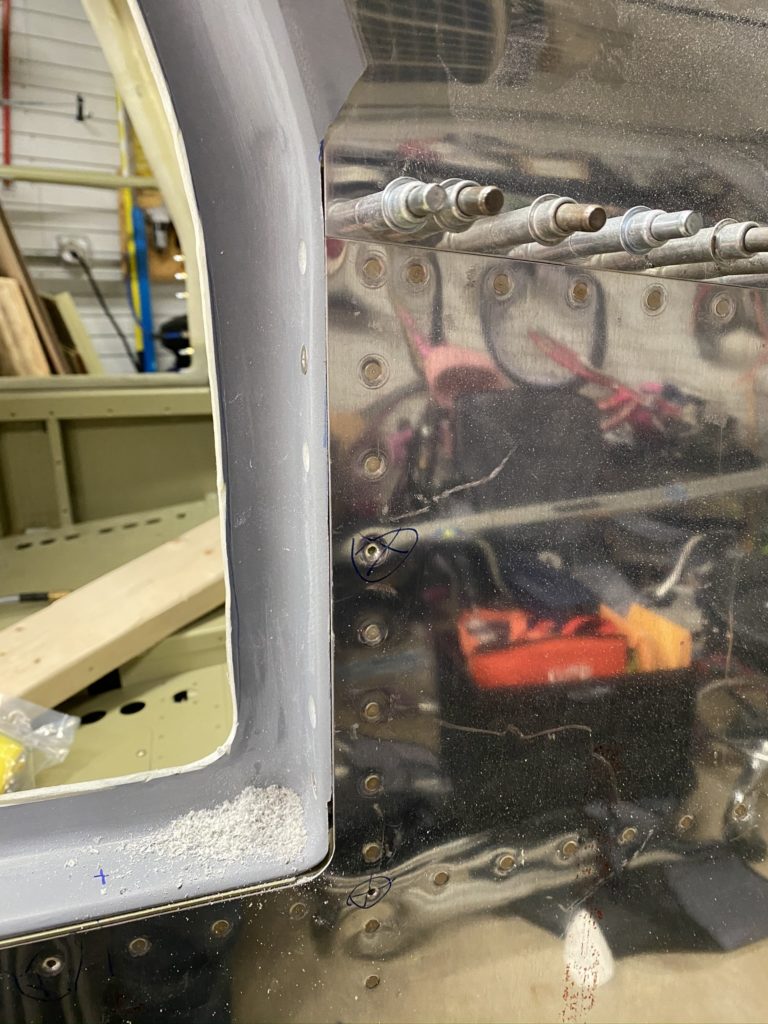
With both doors bonded, I continue to work on the “fit and finish” part of making sure they sit flush to the cabin top. One difficulty I had was making sure I didn’t sand too much off the doors as I tried to get them fit. I finally broke down and made myself a tool to try to help speed the process up.
I decided to use some extra aluminum scrap and make a poor-mans edge finder so I could mark a rough outline of where I had to sand down to. Easy enough to make. Just take a strip of aluminum, fold in half. Drill a hole near the edge and then using some duck-bill pliers, bend the other half to line up with the hole. Bent part goes against the fuselage, and your sharpie goes in the hole. Should line up mostly – if adjust the bends.
This worked great to give me something cut/sand down too and really allowed me to speed things up. My first door took forever before I made this. The second door was just a few hours now that I knew what I was shooting for.
I also got a little aggressive with the belt sander on the door gutters and got them all sanded down appropriately for the McMaster Door seals. Only issue I can see at the moment is on the passenger side bottom sill. With the door closed, it doesn’t compress the door seal. I may have to sand / re-build up that area with fiberglass to get it to better compress against the door. That is the beauty of fiberglass, easy to fix things if you are willing to make it happen.
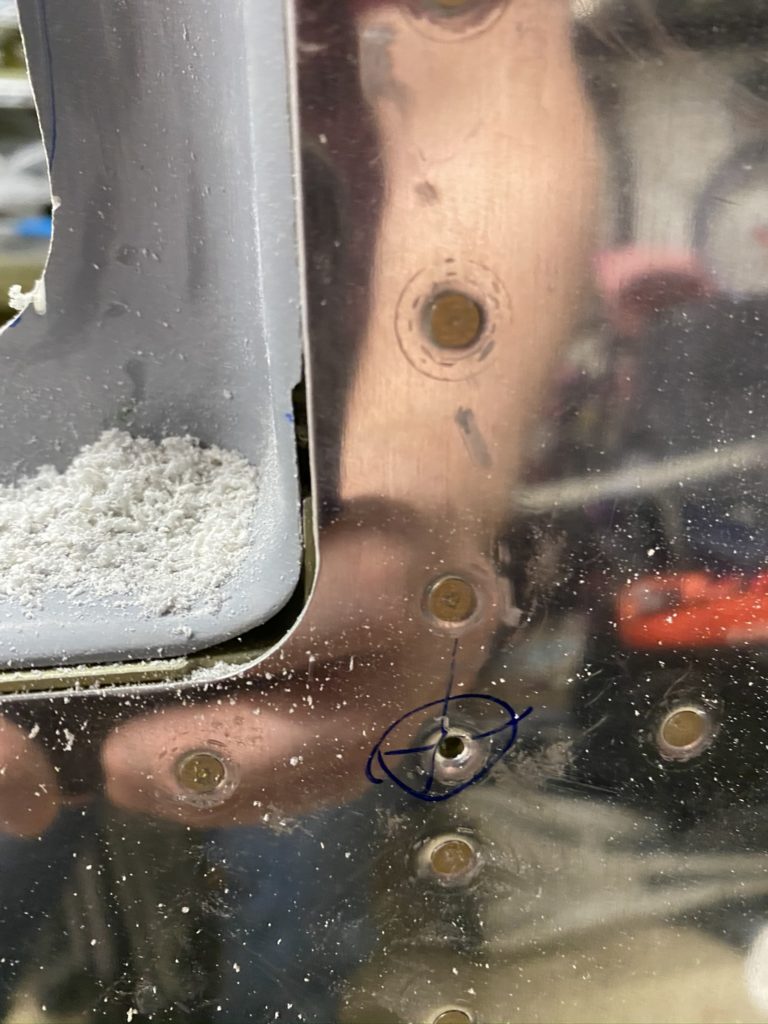
With the doors basically trimmed to size, I then cut off the alignment tabs so I can start mounting the doors to the hinges. With the tabs cut off, I end up having to do a bit more sanding to get all my edges even more beveled so the door sits flush (Oh so much sanding). These photos are from mid-June and even then the weather only allowed me to sand outside early in the mornings for an hour or so before it was miserable. I ended up throwing my hands up a bit and just used a dremel sanding drum and belt sander somewhat aggressively.
Once the doors really sat flush (or as close as I was able to get), I went to mount the hinges. Again, another mental block as this seemed like another big step. I really wasn’t. Study the plans so you understand what hinge part goes where. Cut the threads off the correct bolt, and use some shims to get the hinge aligned in the hinge pocket. It wasn’t really that bad. Only thing I had to do that wasn’t in the plans was sand a bit of relief on the side of the hinge where the “hinge” bolt sits to allow some movement to get the hinges aligned.
Then I get to crawl into the cabin with the door taped into place, and attach them to the hinges. Everything went according to plan and the doors were able to swing open on the hinges.
With the doors hinges installed, I can move to working on the overhead console and cleaning up the cabin top interior as well as trying to install the door handles and latching mechanism.


